
Restaurant Menu Design Ideas, From Concept to the Table


Sofia is our design and templates voice, built from the knowledge of our production team, with over 20 years in printing.
How a Menu Moves From Concept to Printed Piece
A restaurant menu makeover treats the menu as a sales document that a guest holds for three or four minutes and remembers for the rest of the meal. Rebuild it in that order: decide what you sell, decide how you want it read, then decide how it looks and feels in the hand. Concept first, layout second, paper and finish last. Work that way and the printed piece does a job that a pretty layout on its own never does.
Most menu projects go sideways at the start, when someone opens a template and begins styling dish names the kitchen has not finalized. Lock the food, the prices, and the section order with the chef and the owner before any type gets set. Every decision after that gets faster, and the proof round stops turning into a rewrite.
Since 1999, 4OVER4.COM has run 10 billion+ cards across its products, and restaurants, cafes, hotels, and caterers bring us the same menu questions again and again. How many panels does the food actually need. Which stock survives a Friday night. Whether the wine list should live in a cover with swappable inserts so a vintage change costs one sheet instead of a full reprint. Free proofs on every order mean you approve the real layout before the run prints, and our production process is built so a same day job still gets a human check.
Write the menu before you design it
Type the full list in a plain document: section names, dish names, descriptions, prices, allergen notes. Read it out loud. Cut every description that repeats the dish name and every adjective that could describe anything on the page. The copy edit is the cheapest part of the whole project and it decides how much space you need.
Let the food decide the page count
Count the items. Under thirty dishes usually fits a single large page or a two panel layout. Add a bar program, a dessert list, and a brunch service and you are into a multi panel piece or a cover with inserts. Never shrink type to force a page count. Guests forgive an extra panel and never forgive six point type.
Pick a size the table can hold
The table is the real constraint. A four top with plates, glassware, and a candle has less room than the design file suggests. Standard dine in and takeout dimensions are laid out in our restaurant menu sizes guide, and choosing one of them early keeps templates, folders, and inserts compatible later.
Set hierarchy before you set type
Decide the three levels of importance on the page: section headers, dish names, descriptions and prices. Give each level one size, one weight, and one color, then stop. Menus look expensive because of restraint, not because of ornament.
Shop the room
Restaurant printing collection
Menus, covers, table tents, and the rest of the printed pieces a dining room runs on.
A Restaurant Menu Makeover in Five Steps
A makeover changes four things in a fixed order, and the printed run comes last. Restaurant menus print in seven sizes, from a 4.25 x 11 inch rack card to an 11 x 25.5 inch spread, and the default stock is 100# gloss text.
- 1. Cut the list. Drop the dishes that do not sell and rewrite the descriptions that repeat the dish name.
- 2. Pick the size. 5.5 x 8.5 for a cafe card, 8.5 x 11 or 8.5 x 14 for a dine in page, 11 x 17 for a folded dinner menu.
- 3. Choose the stock. Fourteen to sixteen point card for a seasonal menu, lamination for one handled all day.
- 4. Proof it. Every order comes with a free proof, so you approve the real layout before the run prints.
- 5. Print a test run. Fifty menus cost $57.11 and 500 cost $155.97, so a small run under your own lights costs little.
Menu Concepts That Give the Layout a Job
A menu concept is the argument the page makes before a guest reads a single dish. A tasting room that changes its list weekly needs a cheap single sheet it can reprint on a Tuesday. A steakhouse that turns tables twice a night needs a heavy cover that still looks new in month six. Same food, completely different print decisions, and the concept is what settles them.
Three concepts cover most rooms. The single sheet, printed often and treated as disposable. The bound or folded piece, printed twice a year and built to last. The cover with inserts, where the outside carries the brand and the inside pages get swapped whenever the kitchen or the sommelier changes something. That third one is where presentation folders quietly earn their place in a restaurant.
If your menu is landing at the same time as a wider identity refresh, work through the identity first and the menu second. Our complete restaurant branding guide covers the order to make those calls in, and this restaurant rebrand case study shows how the menu carried the new look into the dining room.
- Seasonal single sheet. Lowest cost per reprint, ideal for kitchens that change the list weekly.
- Folded dine in menu. Two to four panels, coated for spill resistance, reprinted a few times a year.
- Cover with inserts. A durable branded outside plus cheap inside sheets that change with the season.
- Wine and cocktail list. Its own piece, usually taller and narrower, so it reads separately from the food.
- Takeout and delivery menu. Lighter stock, folds flat, built to survive a bag and a refrigerator door.
Print picks
Three covers built for swappable menu inserts
Live prices, ready to customize with your logo, stock, and finish.
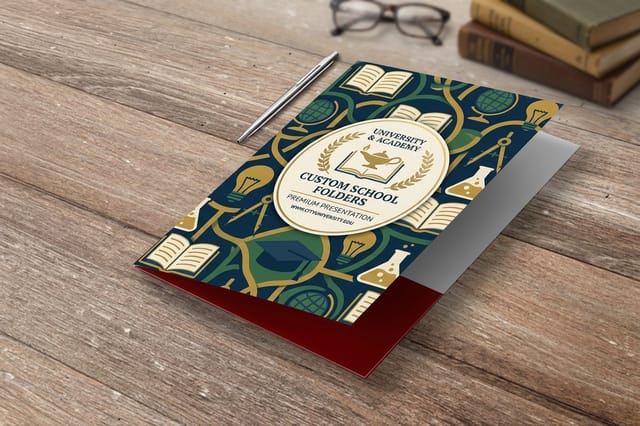 Education Presentation Folders 250 for $844.54 Pocket folders that hold reprintable menu inserts for seasonal and banquet service.
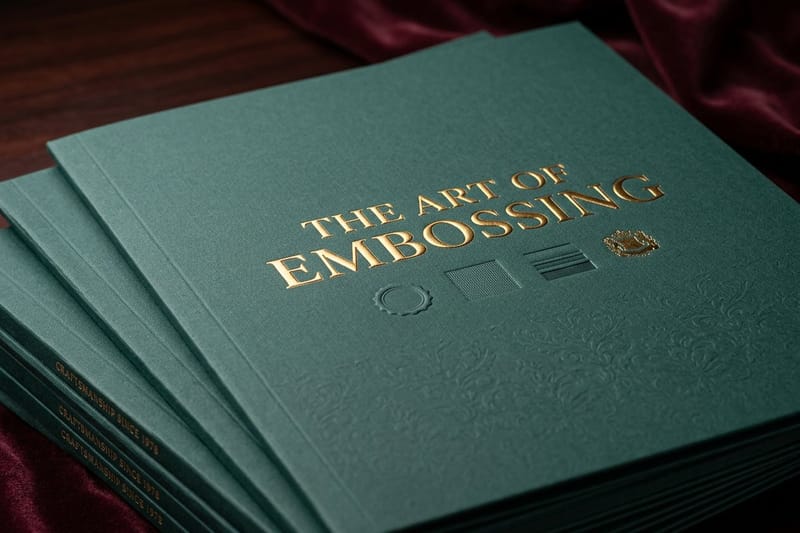
 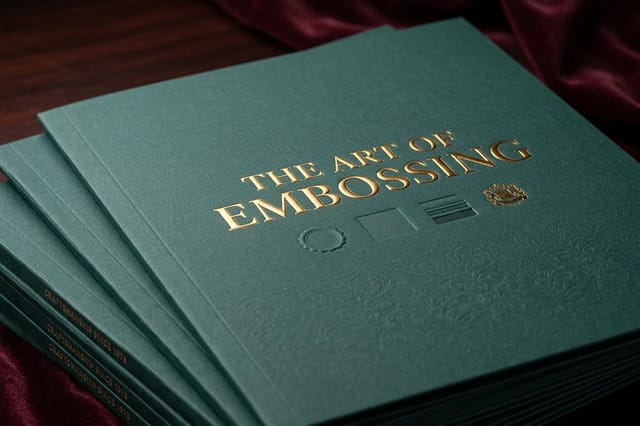 Embossed Presentation Folders 50 for $1037.97 A raised logo on the cover that guests notice with their hands before their eyes.
 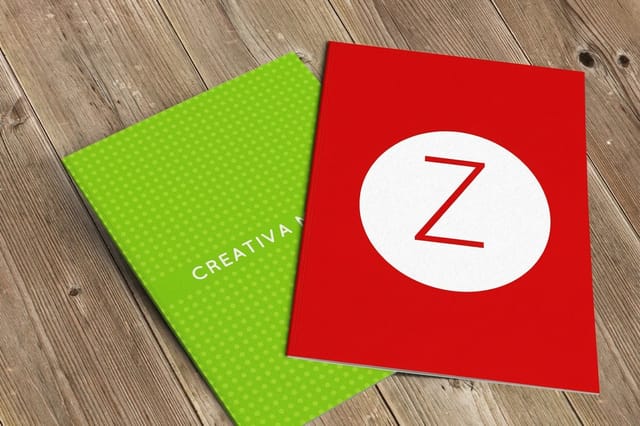 Foil Presentation Folders From $1037.97 Metallic stamping that stays legible in candlelight and low dining room lighting.
 Menu Layout and the Path a Guest Takes Across the Page
Guests scan a menu, they do not read it. They land somewhere near the middle or the top right, sweep the section headers, and settle on two or three candidates. Your layout either helps that sweep or fights it. Helping it means fewer sections, clearer breaks between them, and one obvious entry point per panel.
Keep sections to seven items or fewer wherever the kitchen allows. Long lists push guests toward the first and last dishes and leave the middle unread, which is why a twelve item entree section usually sells like a six item one. If the kitchen refuses to cut, split the list into two named sections instead of running one long column.
Give the page real margins. A menu with a generous outer margin reads as considered, and it also protects the type from thumb wear on the edges. Leave room between sections rather than boxing everything, and use one rule line or one background tint at most. Every extra device you add competes with the dish names for attention.
Layout rules that hold up in a real dining room
- One column per panel beats two narrow columns on anything smaller than a full page.
- Nine to eleven point body type is the practical floor for a room with low lighting.
- Descriptions under twenty words keep the eye moving instead of stalling mid page.
- No leader dots between dish and price, which turn the page into a spreadsheet.
- Feature one dish per section at most, with a box or a tint, never three.
If you are laying the file out yourself rather than briefing a designer, our walkthrough on building a custom restaurant menu in Canva covers the setup steps that keep a DIY file printable, including margins, bleed, and export settings.
Menu Psychology and the Way Prices Read on the Page
Pricing presentation is the part of menu design most owners underuse. The number itself matters less than how it sits next to the dish. When a price is aligned in a hard right column, guests compare prices to each other. When it sits directly after the description in the same type size, guests compare dishes to each other. The second reading is the one you want.
Drop the currency symbol if your room can carry it. Drop the trailing decimals when the prices are round. Keep the price in the same weight and size as the description rather than bolding it, because bold prices pull the eye straight into a cost comparison. None of this hides anything from the guest, it simply stops the page from ranking your food by number.
Anchoring works when it is honest. A genuinely premium item near the top of a section resets what the rest of the list feels like, and a chef tasting or a large format cut can do that job while also being something people order. Fake anchors that never leave the kitchen erode trust with the regulars who notice.
Language that sells without overselling
- Name the source. A farm, a region, or a producer does more than three adjectives.
- Name the method. Wood fired, cured in house, pressed to order, all give a guest a picture.
- Lead with the thing being eaten, not the garnish or the sauce.
- Cut house made unless it is genuinely unusual for your category.
- Write allergen and dietary marks as a clean key rather than scattering symbols mid sentence.
Paper Stocks, Weights, and Coatings That Survive Service
Menu stock is a durability decision before it is an aesthetic one. A dine in menu gets handled by dozens of people a day, meets water rings and oil, and lives in a warm room. Text weight paper is fine for an insert that gets reprinted monthly, but a menu you plan to keep for a season wants card stock in the fourteen to sixteen point range or heavier.
Coating decides how the piece ages. Gloss resists moisture best and shows fingerprints most. Matte reads calmer and photographs better, but it marks with grease over time. Soft touch feels expensive and belongs on covers rather than on pages guests set down next to a plate. Uncoated stock is beautiful and honest, and it is the shortest lived option in a busy room, so treat it as a monthly reprint.
Lamination is the practical answer for menus that stay in circulation for months. A gloss or matte laminate wipes clean between seatings and keeps corners from softening. It also adds stiffness, which means a laminated menu can use a lighter core stock than an unlaminated one and still stand up in the hand. If you are weighing a specialty printer against the usual online options, the tradeoffs are broken down in our custom restaurant menu printing comparison.
Matching stock to the job
- Weekly changing insert. Text weight stock, uncoated or matte, cheapest per reprint.
- Seasonal dine in menu. Fourteen to sixteen point card, matte or gloss coated.
- All day handled menu. Card stock plus lamination, so it wipes clean between seatings.
- Cover or wine list. Heavy stock with embossing, foil, or soft touch, kept for a year or more.
- Takeout menu. Lighter stock that folds flat and travels in a bag without cracking.
Quantity and price
Presentation folder pricing and specs
Real configurator numbers. The more you print in one run, the lower the cost per piece.
| Quantity | Price Per Unit | Total |
|---|---|---|
| 250 | $3.38 | $844.54 |
| 300 | $3.09 | $925.50 |
| 400 | $2.52 | $1,006.44 |
| 500 | $2.17 | $1,086.18 |
| 600 | $1.93 | $1,158.67 |
| 700 | $1.76 | $1,231.16 |
Covers and Folders That Keep a Menu Looking New
The cover is the part of a menu that a guest touches first and judges fastest. It is also the part that ages worst, because it takes the handling that the inside pages are protected from. Building the cover as a separate, heavier piece is what lets a restaurant reprint the food weekly without reprinting the brand every time.
A presentation folder is the least glamorous and most useful version of this. The outside carries the logo, the embossing, the foil, and the stock weight that signals the room. The inside pockets hold printed inserts that cost a fraction of the cover, so a new tasting menu, a wine addition, or a holiday prix fixe is a one sheet reprint instead of a full run. Caterers and private dining rooms use the same setup to hand a client a proposal and a menu in one piece.
Embossing works best on a simple mark. A logo with fine hairlines or small text loses definition when it is pushed into the stock, so give the die a shape with weight to it. Pair embossing with an uncoated or soft touch cover and the effect reads immediately in the hand, even before anyone opens the folder.
Premium finish
Embossed presentation folders
A raised mark on the cover that a guest feels before the menu is even opened.
Table Tents, Inserts, and the Rest of the Printed Table
Dress the table
Foil covers for wine and specials
Metallic stamping holds its shine under candlelight, so a wine list or specials cover reads clearly at the table.
The menu rarely works alone. A table tent sells the cocktail special without adding a line to the food menu. A dessert insert arrives after the plates clear, when guests are actually deciding. A wine list lives separately so a sommelier can hand it to one person at the table. Each piece takes pressure off the main menu and lets it stay short.
Table tents earn their place when they carry one message. One drink, one dessert flight, one loyalty signup, with a short line and a clear price. Two messages on a table tent means neither gets read. Print them in small runs and rotate them, because a tent that sits on the table for four months becomes invisible to regulars.
Inserts are where the economics get good. Print the cover once, print inserts as often as the kitchen changes, and keep the design system identical across both so the pieces never look mismatched. If you want a hands on version of this for a small room or a pop up, our custom menu cards tutorial walks through building the insert set yourself.
- Table tent. One offer, one price, rotated every few weeks to stay visible.
- Dessert and digestif insert. Handed out after plates clear, when the decision happens.
- Wine and cocktail list. A separate piece so the food menu stays short.
- Daily specials sheet. Printed in house or in small runs, slipped into the cover pocket.
- Catering and private dining kit. A folder with menus, pricing, and a contact sheet inside.
Comparing Menu Formats Before You Commit to a Run
Before you order, run the numbers on a full year rather than a single print run. At our configurator prices, 50 menus cost $57.11, 100 cost $82.38 and 1,000 cost $180.13, so one large run you keep all year costs far less per menu than forty small reprints. A heavy cover with quarterly inserts often beats both once you count the design hours you stop spending. The right format is the one with the lowest annual cost for how often your kitchen actually changes.
Then check the operational fit. Who wipes the menus down, and how often. Where do they live between services. Does the host stand have room for a taller piece. A menu that wins on paper and loses on the pass will get quietly replaced by a laminated printout within a month, which is the most expensive outcome of all.
Order a small quantity first when you can. Put the real piece on a real table under the real lights, read it at the distance a guest reads it, and watch a server hand it over. Problems with type size, glare, and page count all show up in five minutes of that test and never show up on a screen.
Compare finishes
Popular presentation folders, side by side
Stock, finish, size, quantity, turnaround, and price lined up in one table.
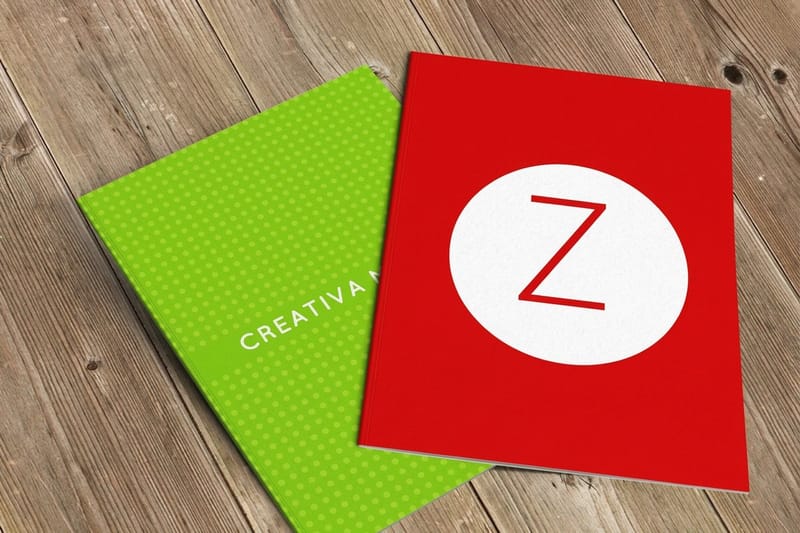
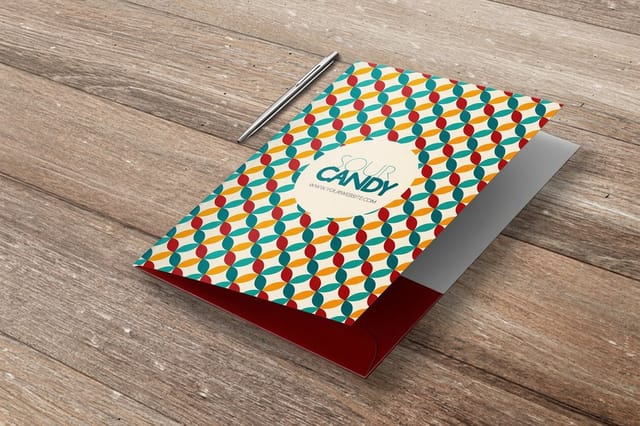 Pocket Folders | 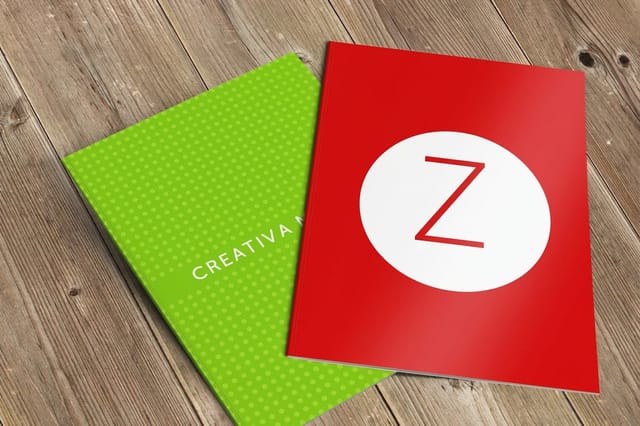 Silk Laminated Presentation Folders | 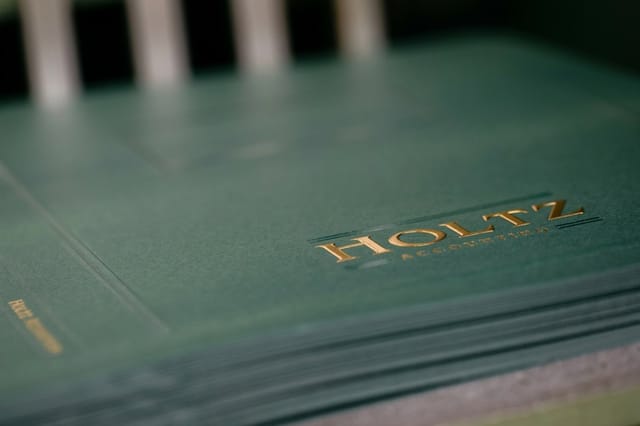 Raised Foil Pocket Folders | 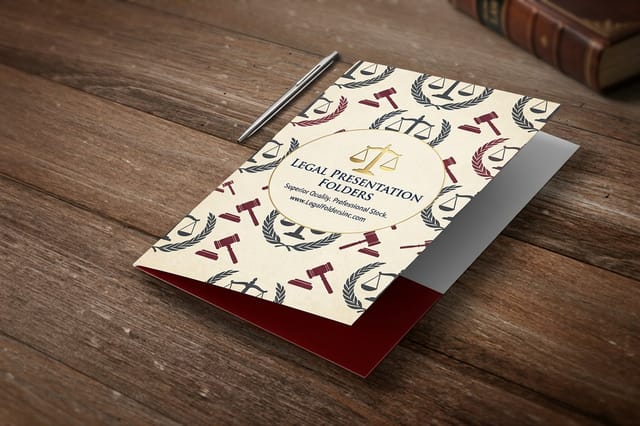 Legal Presentation Folders | |
|---|---|---|---|---|
| Min price | $844.54 | $3,030.26 | $1,037.97 | $844.54 |
| Paper / stock | 14pt Gloss Cover | 16 Point Silk Laminated | 16 Point Silk Matte Laminated | 14pt Gloss Cover |
| Finish | Standard Finish | - | - | Standard Finish |
| Size | 9" x 12" | 9" x 12" | 9" x 12" | 9" x 12" |
| Default qty | 250 | 250 | 50 | 250 |
| Turnaround | 7 business days | 5 business days | 10 business days | 7 business days |
| Rating | ||||
| View & customize | View & customize | View & customize | View & customize |
Files, Proofs, and Getting Menus Printed on Time
The file stage is where most menu delays happen, and almost all of them are avoidable. Build the document at final trim size, add an eighth of an inch of bleed on every side, and keep type at least a quarter inch inside the trim so a normal cutting tolerance never clips a dish name. Export as a press ready PDF with fonts embedded rather than sending a native design file.
Work in CMYK from the start. A rich brand red picked on screen in RGB will print duller than expected, and finding that out on the proof costs you a day. Place photos at 300 dpi at the size they appear, not the size they were shot, and keep any solid black behind text as a rich black build so it does not look gray against the coating.
Start from a print ready layout in our design templates library, drop your finished copy in, and the trim, bleed, and safe area are already correct. Free proofs come with every order, so you see exactly what will print before the run goes ahead, and same day printing is there for the week a price changes or a dish comes off the list and the reprint cannot wait.
The pre press checklist for a menu file
- Trim, bleed, safe area. Final size, one eighth inch bleed, type a quarter inch inside the trim.
- Color mode. CMYK throughout, with brand colors converted deliberately rather than automatically.
- Image resolution. 300 dpi at placed size, no upscaled phone photos on a full panel.
- Fonts. Embedded or outlined, with no missing weights in the export.
- Final proofread. Prices checked against the POS by someone who did not write the menu.
Start fast
Menu templates and print ready blanks
Free layouts plus exact size blanks so trim, bleed, and safe area are correct before you start.
Wally maps your menu from concept to press
Decide the format first, then the stock, then the file
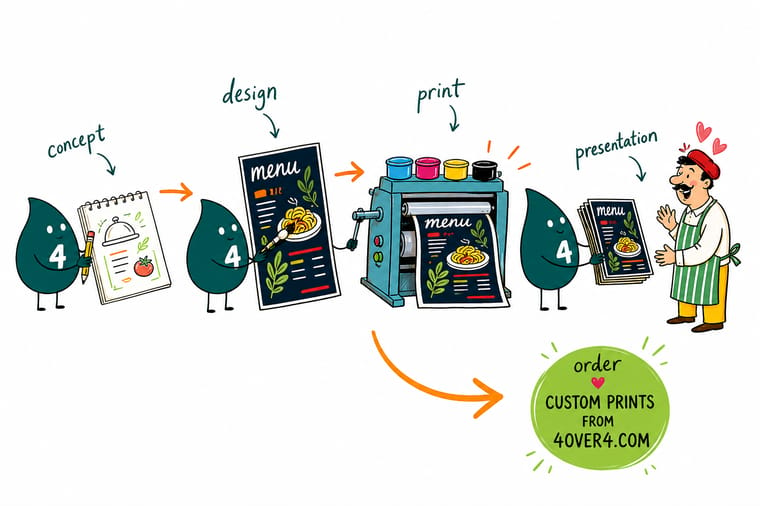
Start with two questions: how often does the list change, and how long must the printed piece survive. Weekly changes point to cheap inserts inside a durable branded cover. A twice a year menu points to coated card stock or lamination. Once the format is settled, keep sections short, let prices sit quietly beside the descriptions, and build the file at trim size with bleed. Then proof it on a real table before the full run prints.
Design your menu covers →What to Settle Before the Menu Goes to Press
By the numbers
A menu run at 4OVER4.COM, in numbers
- 7 Menu sizes, from 4.25 x 11 to 11 x 25.5 inches
- $57.11 For 50 menus, and $155.97 for 500
- 10B+ Cards printed company wide, since 1999
- 150,000+ Businesses served company wide, across every industry
- Free Proofs on every order, before the run prints
- Same day Printing available, when a menu change cannot wait
Guides
Step by step menu guides
The practical walkthroughs behind each decision on this page.
 Guide Common Restaurant Menu Sizes Standard dine in and takeout dimensions and when to use each.
  Guide Build a Menu in Canva Set up a DIY menu file that actually prints correctly.
  Guide Custom Menu Cards, Step by Step A hands on insert set for small rooms and pop ups. Guide Restaurant Branding Guide Settle the identity before the menu carries it into the room.
 Explore more
More print thinking for restaurants
Related pages across 4OVER4.COM, one card for every kind of page we publish.
 Collection Restaurant Printing Menus, folders, table tents, and everything else on the table. Article Restaurant Branding Guide The identity decisions that come before the menu design.
  Case study A Rebrand Told Through Menus How printed menus carried a new identity into the dining room. Guide Restaurant Menu Sizes Dine in and takeout dimensions that fit a real table. Guide Menu Design in Canva Margins, bleed, and export settings for a printable file. Guide DIY Custom Menu Cards Build an insert set for a small room or a pop up. Alternative Custom Menu Printing Compared Where a specialty printer beats the usual online options. Company How Printing Works Here Proofing, production, and turnaround from file to delivery.
  Case study A Boutique Print Story Design to delivery on a detail heavy print project. Product Education Presentation Folders Pocket folders that hold reprintable menu inserts. Product Embossed Presentation Folders A raised logo cover for wine lists and prix fixe menus. Product Foil Presentation Folders Metallic stamping that reads under low dining room light.
 Ready to put your menu on paper guests want to hold?
Pick the format, choose a stock that survives your busiest night, and upload the file. Free proofs come with every order and same day printing is there when the kitchen changes something today.
Restaurant Menu Design Questions
What makes a strong restaurant menu concept?
A menu concept is the decision about how often the list changes and how long the printed piece has to last, made before anyone opens a design file. A kitchen that rewrites the menu weekly needs a cheap single sheet. A room that turns tables twice a night needs a durable cover that still looks new in month six. Once you answer those two questions, the format, the stock, and the budget mostly settle themselves. If the menu is part of a wider identity refresh, work through the restaurant branding guide first so the menu carries a finished look rather than inventing one.
How do menu layout and psychology change what guests order?
Guests scan rather than read, so layout controls what they see at all. Keeping sections to seven items or fewer stops the middle of a list from going unread. Setting the price in the same size and weight as the description, directly after it instead of in a hard right column, moves the comparison from price against price to dish against dish. Featuring one item per section with a box or a tint gives the eye a landing point, while featuring three cancels the effect entirely. None of this manipulates anyone, it simply stops the page from ranking your food by cost.
What paper stock and finish should a restaurant menu use?
Match the stock to how the menu is handled. Inserts you reprint weekly can run on text weight paper. A seasonal dine in menu wants fourteen to sixteen point card stock with a matte or gloss coating. Anything handled all day should be laminated so it wipes clean between seatings and keeps its corners. Covers and wine lists carry heavier stock with embossing, foil, or a soft touch finish because they stay in service for a year or more. Uncoated stock looks beautiful and wears fastest, so treat it as a piece you reprint often rather than a long term menu.
How do I choose the right menu format for my restaurant?
Run the cost across a full year rather than a single order. A cheap sheet reprinted forty times costs more than a laminated menu printed twice, and a branded cover with quarterly inserts often beats both because the expensive part gets printed once. Our guide to cheap printing services covers the other places to save. Then check the operational fit: who cleans the menus, where they live between services, and whether the host stand has room for the size you picked. Order a small quantity, put it on a real table under your own lighting, and watch a server hand it over before the full run prints. See common menu sizes for the dimensions worth testing.
What does restaurant menu printing cost and how are prices set?
Price is driven by quantity, size, page count, stock weight, coating or lamination, and any specialty finish like embossing or foil, and it drops steeply as quantity rises because setup is spread across more pieces. At 4OVER4.COM, Education Presentation Folders start at $844.54, while Embossed Presentation Folders and Foil Presentation Folders both start at $1037.97, and live configurator pricing updates as you change quantity and options. Free proofs are included on every order and same day printing is available when a change cannot wait, with the full production flow explained in how it works.
