
Door Hanger Design That Gets Picked Up and Acted On


Nadia is our customer education voice, built from the knowledge of our production team, with over 20 years in printing.
A door hanger gets about two seconds on a knob before someone decides to read it or bin it. This guide walks the whole build, from trim size and the hook cutout to headline hierarchy, diecut shapes, stock, file setup and what a run actually costs.
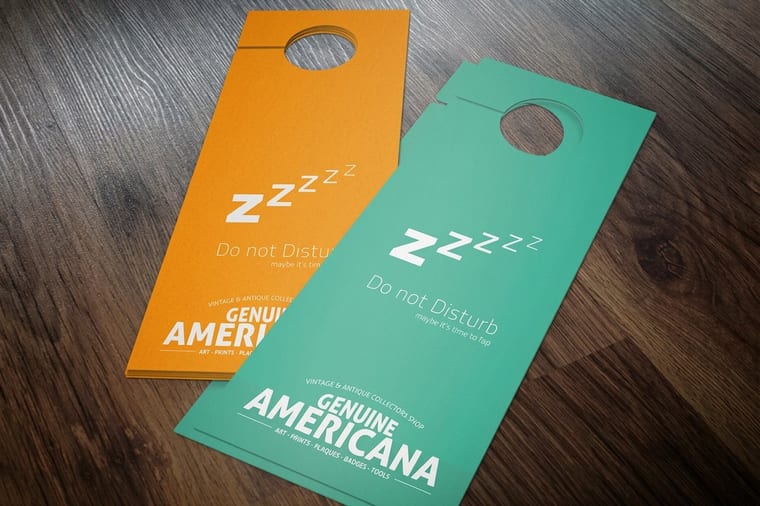
Door hanger design is the process of laying out a hanging card around its hook cutout so one offer reads instantly at arm's length. Start from the trim, most often 4.25 by 11 inches. Draw the hole, roughly 1.75 inches across, and its slit first, then keep type half an inch clear of both. Put one headline and one offer on the front, proof and details on the back, and a single response path in large type. Finish with 14pt or 16pt stock, a coating on both sides, and a print ready CMYK PDF with 0.125 inches of bleed.
Start here
From trim size to the hook cutout
A door hanger is a single message printed on a tall card with a hole in the top, and the hole is the first thing you design around. Pick the trim, reserve the cutout zone, then build a front panel that delivers one headline and one offer at arm's length, a back panel that carries proof and detail, and a response path large enough to read without stepping closer. Choose the stock and coating for the weather the route will meet, pick a diecut shape that still hangs safely, and export a CMYK PDF with bleed and safety margins from a real template.
Why door hanger design decides whether your offer survives the walk to the door
A door hanger is the only piece of print that arrives without a mailbox, an envelope or a scroll. It is placed by hand, at chest height, on the one object every household touches on the way in. That is a rare amount of attention for a printed card, and it is also the reason a weak layout fails so publicly. The card either reads in the two seconds before the key turns, or it goes straight into the recycling. On a 4.25 by 11 inch hanger on 14pt gloss, that means the headline sitting just under the hook, set large enough to read at arm's length.
That two second window is the whole design brief. It is why door hanger design is less about decoration and more about ruthless ordering: what gets seen first, what gets seen second, and what can wait for the back panel. If you want the numbers behind the format before you invest a route in it, the door hanger advertising effectiveness data is a useful starting point, and the roundup of real estate door hanger ideas for agents shows how a single neighborhood angle can carry an entire campaign.
What door hanger design actually covers

Door hanger design is the full set of decisions that turn an offer into a printable card with a hole in it. Trim size and orientation. The position and diameter of the hook cutout. The front headline, the supporting image and the offer. The back panel, where proof, service lists, hours and legal notes live. The call to action and how someone responds to it. The diecut shape. And the technical file: bleed, safety margin, resolution, color mode and fonts.
Those decisions are not independent. Choosing a 3.5 by 8.5 inch trim shrinks the space under the cutout and forces a shorter headline. Choosing a tear-off coupon takes a strip out of the bottom and moves your phone number up. Choosing a heavy synthetic stock for a summer route changes how the coating behaves and how sharp the die can cut. Design the piece as one system and the file comes together in an afternoon.
Two references save the most rework: the exact door hanger dimensions and a free door hanger template with the die line already drawn. Start on the template and you never guess where the hole lands.
Step 1: pick the size and orientation before you draw anything
Size sets everything downstream, so decide it first. The standard 4.25 by 11 inch portrait hanger is the default for a reason: it is tall enough to be read from the sidewalk, narrow enough to hang flat, and it fits comfortably in a canvasser's hand and bag. It also leaves roughly nine inches of usable panel once the cutout area is reserved, which is enough for a headline, an image, an offer and a call to action without crowding.
Go smaller, to 3.5 by 8.5 inches, when the route is long and you are carrying thousands of pieces or when the offer is a single line. Go taller, to 4.25 by 14 inches, when you need a coupon strip or a service menu on the front. Landscape hangers exist but they swing on the knob and are harder to read at a glance, so they are best reserved for novelty pieces.
Before you build the artboard, run the numbers against the door hanger size guide. The trim you pick determines the die, and the die determines how much of your design actually survives to the printed edge.
Step 2: design around the hook cutout, not into it

The hook is the one feature that separates this format from a flyer, and it is where most first drafts break. A typical cutout is a hole of about 1.75 inches centered near the top, with a slit running to the top edge so the card slides over a knob. Everything inside that circle is gone. Everything within about half an inch of it is at risk once you account for cutting tolerance.
Draw the hole and the slit as the very first objects on your artboard, lock the layer, and treat the ring around them as a no-build zone. Logos do not go there. Faces do not go there. Body copy definitely does not go there. What can go there is flat background color, a texture, or the quiet part of a photograph where losing a circle costs you nothing.
Some of the best hangers make the hole part of the idea: a wreath around it, a steering wheel, a clock face, a keyhole. That works when the shape is decorative and non-essential. It fails the moment the meaning of the design depends on pixels that the die removes.
Step 3: give the front panel exactly one job

Under the cutout you have three zones, and they should read in order: who this is for, what the offer is, and who is making it. A homeowner scanning the card should get the first two in one glance. That means one dominant headline set large enough to read at arm's length, one supporting image or offer block, and a logo that is present without competing.
Write the headline as a benefit tied to the street the card is on. "Your neighbor on Oak just saved on a new roof" beats "Quality roofing since 1998" every time, because the first sentence is about the reader and the second is about you. Keep it under about eight words. If the headline needs a second sentence to make sense, it is not a headline yet.
Set your type generously. On a 4.25 inch wide panel, a headline that looks large on screen often prints small in the hand, so proof at 100 percent, print a page on your office printer, and hold it at arm's length before you approve anything.
Step 4: put the proof and the details on the back

The back panel is where a good hanger earns the call. Anyone who flips the card has already decided the offer might apply to them, so this is the place for the service list, the license number, the hours, the coverage area, a short testimonial, a QR code, and the fine print on the promotion. Give each of those a clear block with a small heading instead of running them together as a paragraph.
Printing both sides is nearly always worth it. The cost difference between one sided and two sided on the same run is small compared with the extra room it buys, and a blank back reads as a piece nobody thought about. Repeat the phone number on both sides, because the card gets set down face down as often as face up.
One practical detail: if you plan to write anything by hand, such as an appointment time or a technician name, choose an uncoated or matte finish. Gloss UV looks superb and takes ink from a pen very badly.
Step 5: make the response impossible to miss

A door hanger has no reply envelope and no click. The only way to measure it is to build the response path into the artwork. Give one primary action and make it physically the second largest thing on the card: a phone number, a short URL, or a QR code with a line of text telling people what happens when they scan it. "Scan for your free estimate" outperforms a bare code every time.
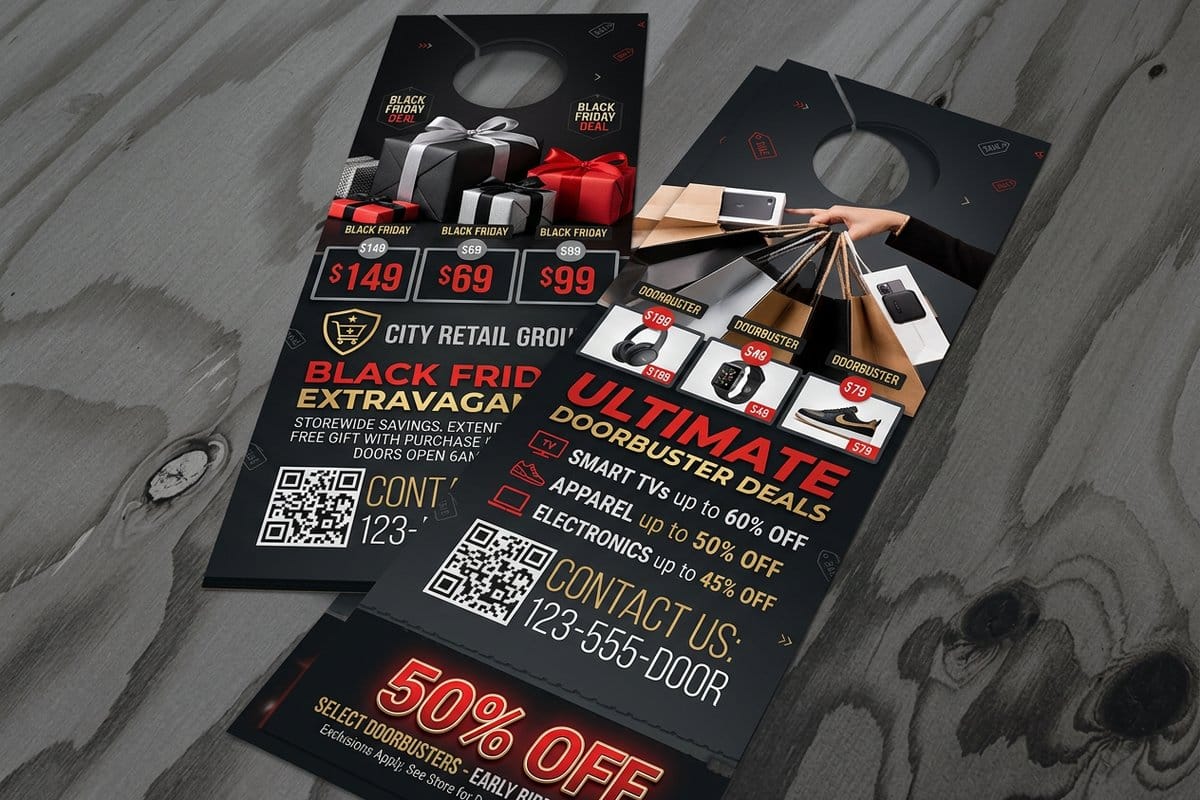
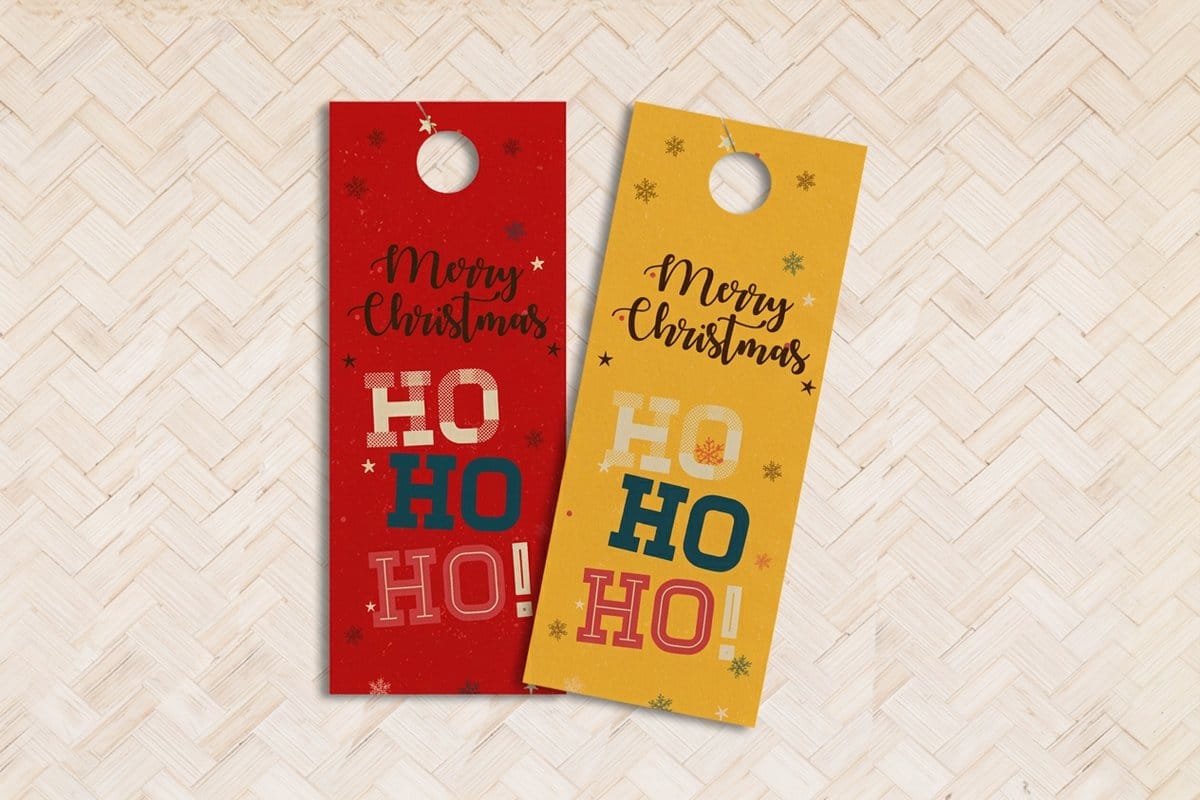
Add a reason to act now. A dated offer, a limited number of appointments in the neighborhood, or a coupon that expires in three weeks turns a nice card into a scheduled job. If you are printing a seasonal campaign, the dates do that work for you, which is why Black Friday door hangers and Christmas door hangers convert so well: the deadline is already in the reader's head. The Black Friday door hangers web story taps through the build options.
Track it. A campaign specific phone extension, a unique URL, or a code the caller mentions costs nothing to add and tells you whether the route was worth walking twice.
Step 6: choose a diecut shape that fits a real door

Diecut is the lever most people forget. Beyond the standard rounded rectangle you can print a tag shape, an arched top, a rounded bottom, a tear-off coupon panel, or a custom silhouette that traces a product: a house, a truck, a pizza slice, a pine tree. On a door lined with plain rectangles, an unusual outline is what makes someone pick the card up instead of sliding it off.
Two rules keep custom shapes from backfiring. Keep the cutout end intact so the card still hangs securely on a lever handle as well as a round knob, and keep any narrow neck in the die at least a quarter inch wide so it does not tear in a mailbag or a gust. Tear-off strips need a perforation, not a die cut, and the perforated edge should sit at least an eighth of an inch away from any text.
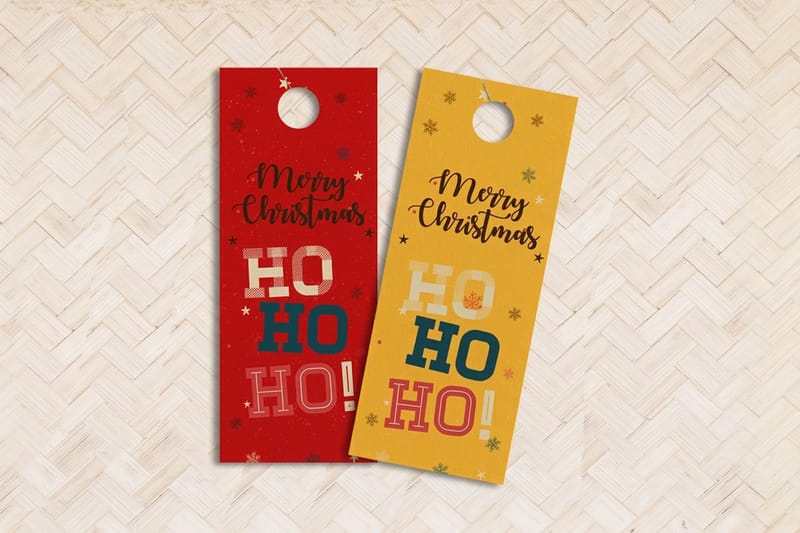
Seasonal silhouettes are a fast way to test the idea without commissioning a die from scratch. The Christmas Truck door hanger is a good example of a shape that carries the message on its own outline.
Step 7: choose stock, coating and ink for outdoor life

Your hanger will sit on a door for hours or days, in wind, sprinkler spray and direct sun. Thin stock curls, soaks and slides off. Start at 14pt card for a short local route, move to 16pt for anything premium or anything left through a weekend, and use a synthetic or plastic stock when the route runs through a rainy season or a coastal summer.
Coat both sides. Gloss UV gives the deepest color and sheds moisture best, which matters more than the shine. Matte finish reads as more upscale and photographs better, and it is the right pick when the design leans on large fields of dark color that would otherwise show every fingerprint. Silk sits between the two and is the safe default when you cannot decide.
Colors shift between screen and press, so build in CMYK, avoid rich blacks under small text, and keep any critical brand color on a swatch you can point to. If you want to feel the difference before committing a full run, request free paper samples and hold the stocks under a real porch light.
Prepare the file, then price the run

A print ready door hanger file is not complicated, it is just specific. Build at final trim size with 0.125 inches of bleed on all four sides, keep all live text and logos at least 0.125 to 0.25 inches inside the trim, place images at 300 dpi at final size, set the document to CMYK, outline or embed your fonts, and remove the die line from the artwork layer before you export. Export a single flattened PDF with both sides as separate pages, front first.
Then price it. Cost moves with quantity first, then size, stock, sides, coating and any custom die, and the jump from 500 to 2,500 pieces almost always lowers your cost per door dramatically. The Christmas Truck door hanger starts at $252.51, the Christmas door hanger also starts at $252.51, and the Black Friday door hanger starts at $290.41. The Christmas Truck door hanger video shows the finished piece up close. If you would rather not build the file yourself, our free online designer and design help handles the die line for you, and the free template guide covers the do it yourself route.
Wally explains the hook rule
Design the hole first, and the rest of the card falls into place
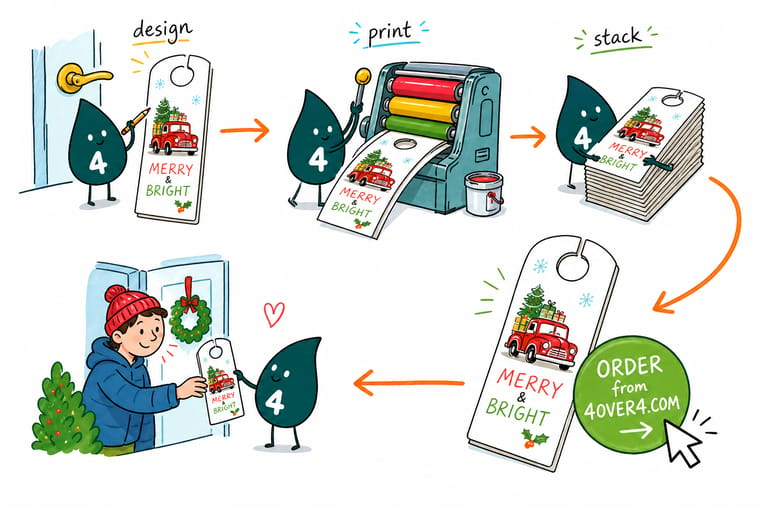
Wally has watched more door hangers die on the die line than anywhere else. His rule is simple: place the hole and the slit before a single word goes down, ring them with half an inch of empty space, and treat that ring as untouchable. Then give the front one headline, one offer and one way to reply. Everything else belongs on the back.
Design and print door hangers →
Infographic
Door hanger anatomy and the five rules that matter
One frame with the cutout geometry on the left and the layout rules on the right. Save it, send it to your designer, or keep it open while you build the file.
The zones move with the trim you choose, but the order never changes: cutout, headline, image, offer, action. Build in that sequence and the layout stops fighting the die.
Specs and pricing
Door hanger specs and live pricing
Once the design is settled, the specs decide the invoice. Change quantity, stock, sides, coating and turnaround below and watch the price move in real time before you order.

| Quantity | Price Per Unit | Total |
|---|---|---|
| 250 | $1.01 | $252.51 |
| 500 | 54.1¢ | $270.63 |
| 1,000 | 28.9¢ | $288.76 |
| 2,500 | 19.3¢ | $482.08 |
| 5,000 | 15.4¢ | $772.05 |
| 10,000 | 10.9¢ | $1,086.18 |
| 15,000 | 9.34¢ | $1,400.32 |
| 20,000 | 8.57¢ | $1,714.46 |
Print it
Door hangers ready to configure and order
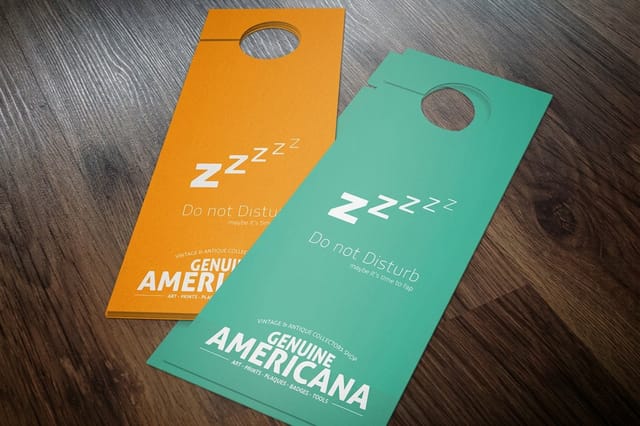
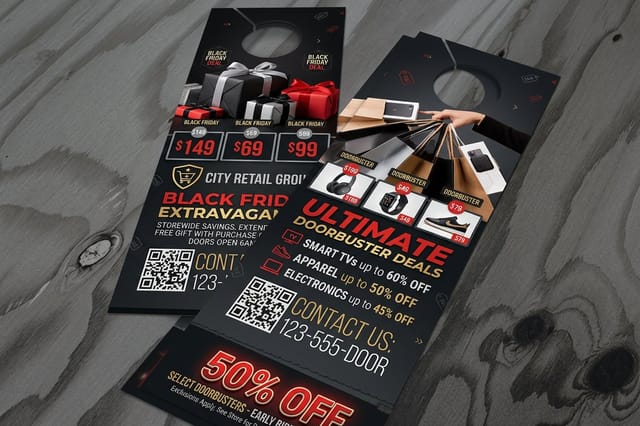
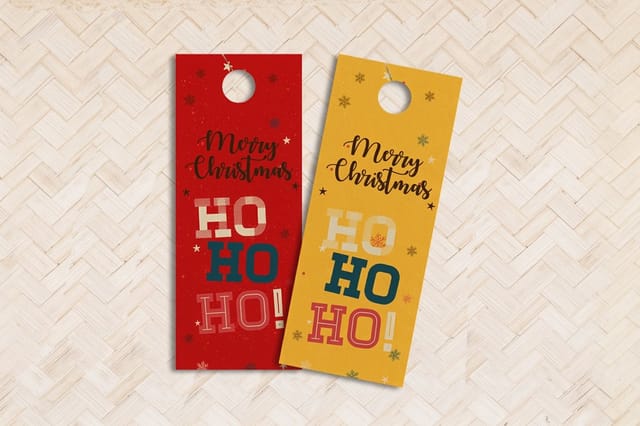
See it in use
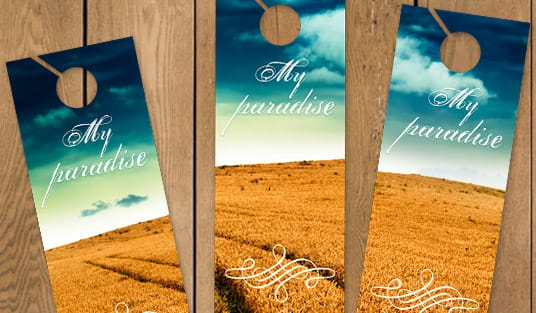
Hangers we cut and scored for routes


Explore more
Where to go next
By the numbers
Sixty paper types a door hanger can print on
Common Questions
Common questions about door hanger design
What is door hanger design?
Door hanger design is the process of laying out a printed card that hangs from a door knob, with the hook cutout treated as part of the composition rather than an afterthought. It covers trim size and orientation, the position of the hole and slit, the front headline and offer, the supporting detail on the back, the call to action, the diecut shape, and the file setup that lets a press cut and fold the piece cleanly.
What has to sit above the hook cutout?
Start from the route, not the artwork. Decide who walks it, what single offer they are carrying, and what you want a resident to do within a day of finding the card. That answer sets the headline, the size and the shape. A service business canvassing a subdivision wants a bold offer and a phone number. A seasonal retail push wants dates and a code. A real estate agent wants a recent local result and a face, which is where the ideas roundup for agents is useful.
What size should a door hanger be?
The workhorse trim is 4.25 by 11 inches, tall enough to read from the driveway and narrow enough to sit flat against a door. Compact runs use 3.5 by 8.5 inches, and premium campaigns go to 4.25 by 14 inches for extra offer room. Orientation is almost always portrait because the hook sits at the top. Check the size guide before you commit, since the die changes the usable area.
Where does the hook cutout go and how big is it?
The hole is centered near the top of the panel and is commonly about 1.75 inches across, with a narrow slit running from the hole to the top edge so the card slides over the knob. Leave at least half an inch of clear space around the whole cutout. Nothing you need to read, and no part of a face or logo, should sit inside that ring.
What does door hanger printing cost and how are prices set?
Price is driven by quantity, trim size, stock weight, one sided or two sided printing, coating, and any custom die. Quantity moves the number most, because setup is spread across the run. On this site the calculator shows live pricing as you change each option, and the Christmas Truck door hanger starts at $252.51 for its base configuration.
What sizes, stocks, and finishes are available for door hangers?
Standard runs print on 14pt or 16pt card, with heavier and synthetic options for weather exposure. Finishes include gloss UV for saturated color and shine, matte for a softer look that takes a pen, and uncoated when someone has to write on the piece. Diecut options run from a plain rounded rectangle to a tag shape or a tear-off coupon panel. Order free samples if you want to feel the stock first.
How long does door hanger printing take to print and ship?
Turnaround is chosen with the rest of the specs, and the calculator shows the production window and the shipping estimate before you check out. Files that pass preflight on the first try move fastest, so build to the template, keep the bleed at 0.125 inches, flatten transparency, and export a print ready PDF in CMYK at 300 dpi.
Get Started
250 Christmas door hangers cost $252.51, or $1.01 each
Bring your artwork to 4OVER4.COM and configure trim, stock, coating, diecut and quantity in minutes, with live pricing and a real person on the file if the die line needs a second look.
Legal Disclaimer
Gold Standard guarantees apply to all standard orders placed through 4over4.com. Price match requires verifiable proof of a competitor's published price for an equivalent product with matching specifications and turnaround time. Satisfaction guarantee covers manufacturing defects and print quality issues. Contact support with order number and documentation.
