
Free Sticker Templates With Sizes Shapes and Bleed Setup


A sticker template locks your size, shape and edges before you design, so nothing gets clipped and the cut matches your art. The cut line is a separate vector path, not a drawn outline.
A sticker template is a ready file set to the finished size and shape, with bleed, cut line, and safe zone already marked. Match the trim to your sticker, run art 0.125 in past the cut, keep text 0.0625 in inside the safe zone, set color to CMYK and images to 300 DPI, then export a flattened PDF. Or use a free template or the online designer and skip the setup.

Start here
Art on one layer, cut path on another
A sticker template is a file built at the finished size and shape, with the bleed, cut line, and safe zone already in place. Run backgrounds 0.125 in past the cut, keep text 0.0625 in inside the safe zone, set color to CMYK and images to 300 DPI, then export a flattened, press-ready PDF with the cut path. Do that and your printed sticker from 4OVER4.COM matches the screen, edge to edge.
Download free sticker templates for every size and shape
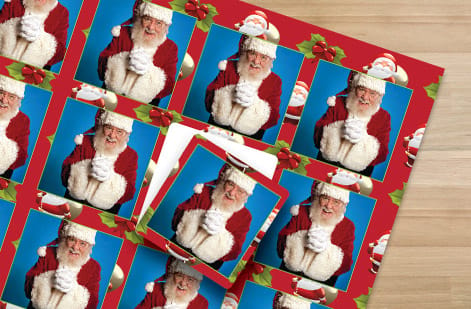
The templates are free, and each one comes as an AI, PSD or PDF, so it opens straight into Illustrator, Photoshop or Acrobat with the three lines already drawn: the cut line at the finished size, 0.125 in of bleed outside it, and a safe zone 0.0625 in inside. Pick the line below that matches your finished sticker, place your art in CMYK at 300 DPI at final size, and export.
- Circle 2 in: build the file 2.25 in across with the bleed included, and keep text and logo inside 1.875 in. Jar lids, product seals, and small logo dots. Circle sticker specs and live pricing
- Circle 3 in: build the file 3.25 in across with the bleed included, and keep text and logo inside 2.875 in. The size most people mean by a laptop or water-bottle sticker. Circle sticker specs and live pricing
- Square 2 in: build the file 2.25 x 2.25 in with the bleed included, and keep text and logo inside 1.875 in. QR codes, price marks, and box seals. Square and die-cut specs
- Square 3 in: build the file 3.25 x 3.25 in with the bleed included, and keep text and logo inside 2.875 in. Logo squares, handouts, and swag packs. Square and die-cut specs
- Rectangle 2 x 3 in: build the file 2.25 x 3.25 in with the bleed included, and keep text and logo inside 1.875 x 2.875 in. Labels, packaging panels, ingredient and address stickers. Rectangle and die-cut specs
- Die-cut, any outline you draw: build the file your artwork plus 0.125 in of bleed all the way around, and keep text 0.0625 in inside the cut line. The exact silhouette of a logo, a mascot, or a single word. Custom-shaped sticker specs
All of them sit together on our free design templates page. If your shape is not on that list, start from the die-cut template: its cut line can follow any outline you draw, which is why it is the safest one to grab when you are still deciding. The measurements do not change with the stock either, so the same file prints on paper for indoor use, on white or clear vinyl for water and sunlight, or on holographic and metallic stock, in gloss, matte or laminate.
Design a sticker free in the browser

If you would rather not open a design app at all, the online designer builds the same print-ready file in the browser, free, in three steps.
- Pick the shape and finished size first. Circle 2 in or 3 in, square 2 in or 3 in, rectangle 2 x 3 in, or a die-cut outline that follows your art. The canvas opens at that size with the 0.125 in bleed and the 0.0625 in safe zone already in place, so the setup is handled for you instead of measured by you.
- Drop in your logo and your words. Upload artwork at 300 DPI at final size, pull backgrounds all the way out to the bleed so no white sliver shows after the cut, and hold every letter and logo edge 0.0625 in inside the cut line. Color is set to CMYK, the process ink stickers actually print with, so what you approve on screen is what the press lays down.
- Export, then let the file check catch anything. The file leaves with the bleed and die line intact, our free file check reviews it before the order runs, and the configurator prices it live while you set quantity, size, material and finish, so you can watch what a larger run or a vinyl upgrade does to the number before you commit.
Working from a file instead? Download a template above, or open the cut you want on die-cut stickers, circle stickers or custom-shaped stickers.
Why a sticker template saves your design

A sticker looks simple, yet two things go wrong more than anything else: artwork gets clipped at the edge, or the cut shape does not match the design. Both trace back to the file, not the press. A template fixes them before you draw a thing.
A sticker template is a ready file set to the finished size and shape, with the bleed, cut line, and safe zone already marked. You drop your art in and every element knows its place. Backgrounds run to the bleed, the die line defines the outline, and your logo and text sit safely inside the trim, so the printed sticker matches the screen.
This guide walks the whole setup in order: sizes and shapes, the three lines that protect the edge, color and resolution, then the fastest routes if you would rather not build a file at all. If you want to skip straight to printing, our free design templates and online designer handle the template for you.
What is a sticker template?
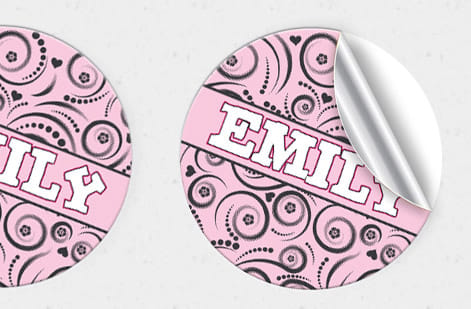
Think of a template as the sticker's blueprint. It defines three things at once: the finished dimensions, the outline the blade will follow, and the safe area for anything you cannot afford to lose. Set those correctly and the rest of the design is free to be creative.
Every sticker template comes down to the same short checklist, whether it is a round logo sticker or a long bumper strip. Match the trim size to the finished sticker. Add 0.125 in of bleed on every side. Draw the cut line as its own path. Keep text inside the safe zone. Set the color to CMYK and place images at 300 DPI. Export a flattened PDF. Get those right and the file prints predictably.
The most flexible starting point is a die-cut sticker template, because the cut line can be any outline you draw, from a plain circle to the exact silhouette of your mark. When you want a set standard shape instead, circle stickers and custom-shaped stickers come with the geometry already handled.
Standard sticker sizes and shapes
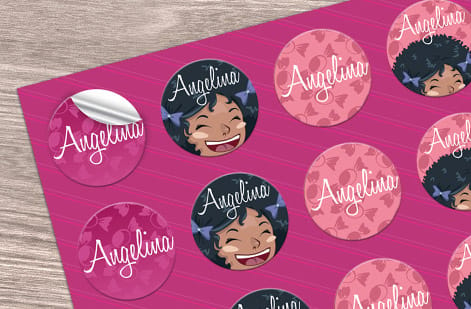
Size and shape follow use. Laptop and water-bottle stickers commonly land around a 2 to 3 in circle or a die-cut logo shape. Product and packaging stickers tend to be rectangles or rounded squares sized to the label area. Bumper stickers run long and narrow so they read from a distance. Sheet and roll formats gather many small stickers together for giveaways and packaging lines.
Shape is where die cutting earns its keep. A standard circle or square is quick and clean, while a custom die-cut follows your artwork exactly, so a mascot, a badge, or a wordmark becomes the sticker itself. The cut line in your template is what makes this possible: it is a separate path that tells the cutter precisely where to travel.
Browse the full range on the stickers category to see live sizes and pricing, then match a template to the finished dimension you need. If your artwork is an unusual outline, start from a custom-shaped sticker so the die can trace it.
Setting up bleed, cut, and the safe zone
Three lines do all the protecting, and a template marks each one. The cut line, or die line, is the exact outline where the blade shapes the sticker. The bleed is 0.125 in of artwork past that cut on every side, so any color or photo that reaches the edge keeps going a little further. The safe zone is 0.0625 in inside the cut, and it is where all your text and logos must stay.
Why the extra art past the edge? Because cutting is not perfect to the thousandth of an inch. A slight shift with no bleed leaves a thin white sliver along one side. Run the background past the cut and that shift simply eats into the bleed instead, so the sticker still looks full to the edge.
The same three lines govern more advanced work too. For a deep dive on the edge geometry, our guide on bleed and trim shows exactly how to set these in your design software, and the printing terms page defines each one in plain language.
Color, resolution, and exporting the file
With the template geometry set, two settings keep the print sharp and true. First, work in CMYK, since stickers print with process inks and a screen built in RGB can shift once it hits paper or vinyl. Convert any web or camera art before you export and re-check bright blues and greens, the colors that drift most.
Second, place every image at 300 DPI at its final size. A logo that looks crisp small on screen can go soft the moment it is scaled up to fill a sticker, so view it at 100 percent zoom and never enlarge a small file to fit a bigger space. Keep logos and line art as vectors where you can, because they stay razor sharp at any size.
Then flatten the artwork and export a press-ready PDF with the cut path included. That single self-contained file is the most predictable thing to send. If you are weighing formats, our guide on choosing the right file type for printing lays out when each one fits.
Free templates, the online designer, or ready shapes
You do not have to build a file from scratch. There are three fast routes, and each removes a step. Free design templates give you a ready layout at the correct size with the bleed and safe zone already in place, so you fill in text and a logo and you are done. The online designer goes further and handles the setup live in your browser.
The third route skips the file entirely: order a standard shape like a circle or a custom-shaped sticker and the geometry is already correct for you. For anything that follows your exact artwork outline, a die-cut sticker is the most flexible pick.
However you get there, the finish line is the same. Use the live specs and pricing panel below to choose your size, material, and finish, then upload your template file or design in the browser. Order free paper samples first if you want to feel the stock and finish in hand before the run.
Wally lines up your sticker before the blade does
A template just means nothing is left to guess
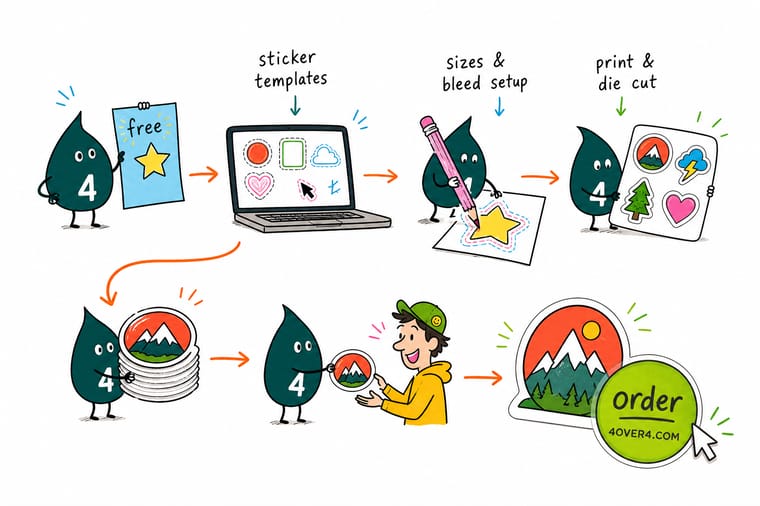
Wally treats every sticker like a fit check: size and shape set first, art running past the cut, text tucked inside the safe zone, and the die line drawn as its own path. Clear those and the printed sticker matches your screen, edge to edge. Prefer to skip the file? Wally points you to a free template or the online designer, and 4OVER4 prints it exactly as you drew it.
Order custom stickers →Quick reference
The sticker file setup, at a glance
Every print-ready sticker file comes down to the same handful of settings. Match these in your template and your artwork is ready for the press.
| Setting | Get it to | Why it matters |
|---|---|---|
| Color mode | CMYK | Stickers print with process inks, so convert from RGB before export to avoid color shifts. |
| Resolution | 300 DPI at final size | Keeps logos and small text razor sharp once the sticker is cut to size. |
| Bleed | 0.125 in past the die line | Art runs past the cut so a slight blade shift never leaves a white edge. |
| Safe zone | 0.0625 in inside the cut | Keeps text and logos clear of the blade on curved and die-cut shapes. |
| Cut line | Its own spot path | A separate die line tells the cutter the exact outline, from a circle to your logo silhouette. |
| File format | Flattened PDF | A single press-ready PDF with the cut path is the most predictable file to send. |
Step by step
Build a print-ready sticker in 6 steps
- Pick your size and shape first Decide the finished dimensions and whether the sticker is a circle, square, rounded rectangle, or a custom die-cut outline before you open a template.
- Open a template at that trim size Grab a free sticker template or start a document at the final size with 0.125 in of bleed on every side and the safe zone pulled in.
- Add the cut line as its own path Draw the die line on a separate layer so the cutter knows exactly where to shape the sticker, especially for anything beyond a plain rectangle.
- Design in CMYK and place art at 300 DPI Set the color mode to CMYK, run backgrounds to the bleed, and keep logos and text inside the safe zone at full resolution.
- Proof at 100 percent Zoom in to check that nothing important sits near the cut and every image holds up sharp at the real size.
- Export a flattened PDF and upload Save a press-ready PDF with the cut path included, then upload it in the configurator or run it through our free file check.
Specs and pricing
Die-cut sticker specs and live pricing
Once your template is ready, size, material and finish are what is left. Die-cut stickers run 25 for $93.37, which is $3.73 each.
| Quantity | Price Per Unit | Total |
|---|---|---|
| 25 | $3.73 | $93.37 |
| 50 | $1.91 | $95.56 |
| 100 | 100.0¢ | $99.95 |
| 200 | 56.3¢ | $112.59 |
| 300 | 41.4¢ | $124.13 |
| 400 | 33.9¢ | $135.65 |
| 500 | 29.2¢ | $146.10 |
| 600 | 26.4¢ | $158.17 |
Print it
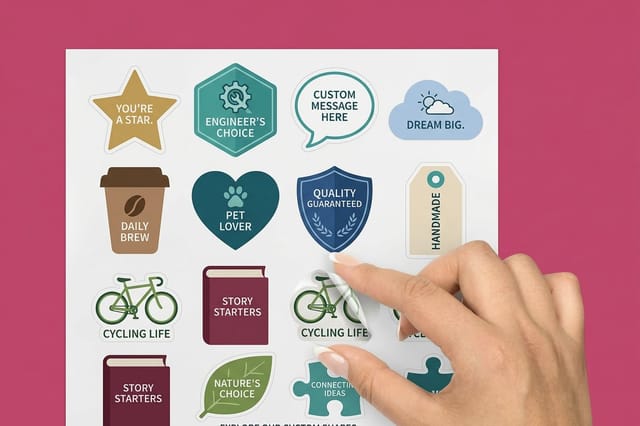
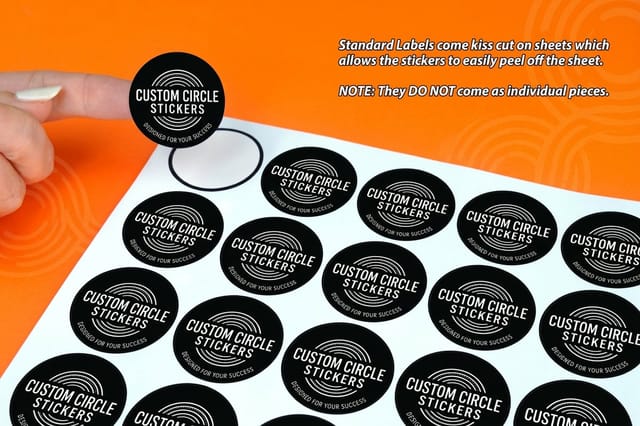
Order your custom stickers at 4OVER4
See it in use
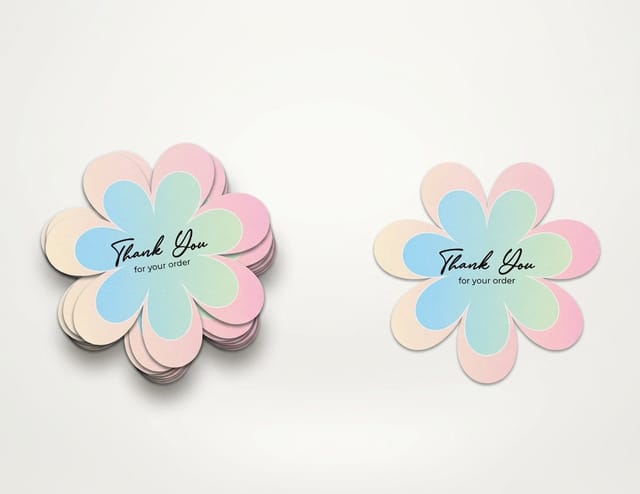
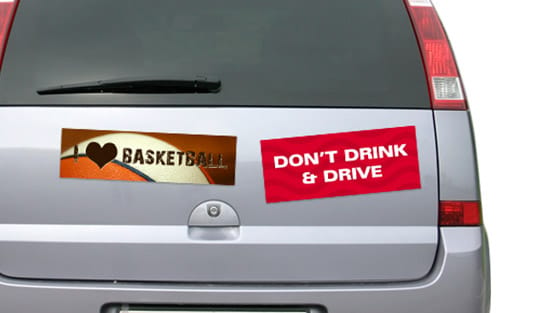
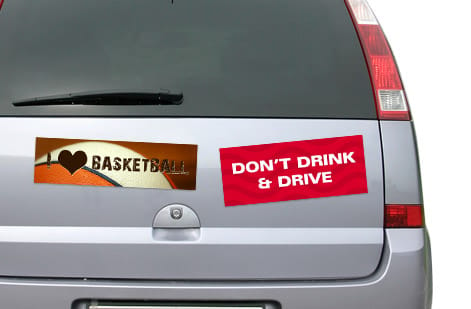
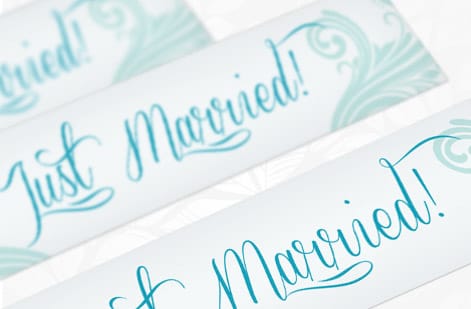
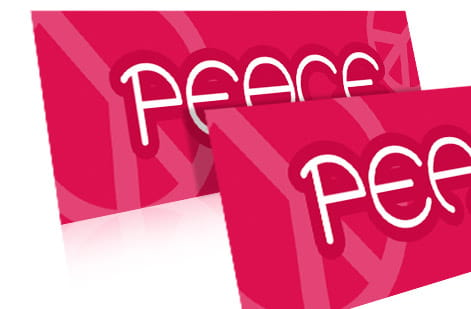
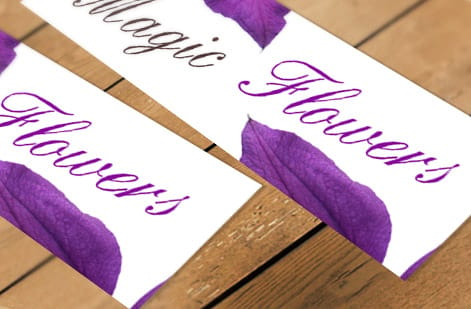
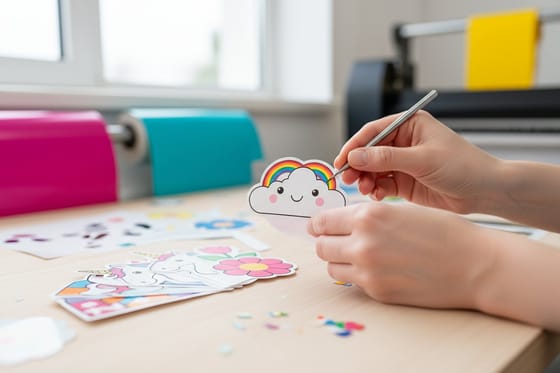
Die cut stickers customers cut from their own art

Explore more
Where to go next


By the numbers
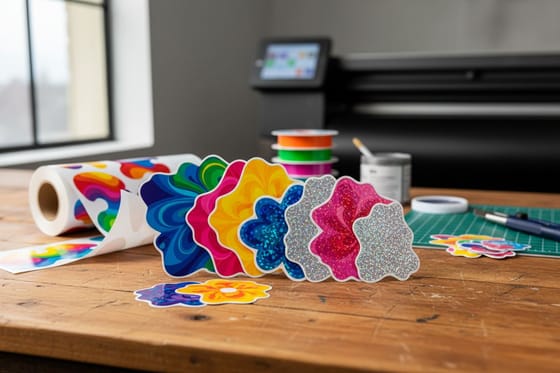
Paper and vinyl stocks a sticker order can choose
Common Questions
Common questions about sticker templates
Where can I design a sticker for free?
Two free routes, and both end with a print-ready file. Download a template above, circle 2 in or 3 in, square 2 in or 3 in, rectangle 2 x 3 in, or a die-cut outline, in AI, PSD or PDF, then place your art in Illustrator, Photoshop or Acrobat with the bleed, cut line, and safe zone already drawn for you. Or stay in the browser and use the online designer: pick the shape and finished size, upload a logo at 300 DPI at final size, type your text, and the canvas holds art out to the 0.125 in bleed and copy 0.0625 in inside the cut. Either way the design work costs nothing, color is set to CMYK for the press, and our free file check reviews the artwork before your order prints.
What is a sticker template?
A sticker template is a ready-made file set up at the exact finished size and shape of your sticker, with the bleed, cut line, and safe zone already marked. Instead of guessing where the blade will fall, you drop your artwork onto the template and everything lines up: backgrounds extend to the bleed, the die line defines the outline, and your logo and text stay inside the safe zone. It removes the two most common sticker mistakes, art cut off at the edge and a shape that does not match the design, before your file ever reaches the press.
Circle, square or cut to my own outline?
Start with how and where the sticker will be used, because that sets the size and shape. A laptop or water-bottle sticker is often a 3 in circle or die-cut logo shape, product and packaging stickers tend to be rectangles or rounded squares, and bumper stickers run long and narrow. Pick a template that matches that finished dimension, then choose the cut style: a standard shape like a circle or square, or a custom die-cut that follows your artwork exactly. If you are unsure, a die-cut template gives you the most freedom because the cut line can be any outline you draw.
What do custom stickers cost and how are prices set?
Preparing the file from a template costs nothing, and running your artwork through our free file check before ordering is included. Printed sticker price then scales with a few levers: quantity, where a larger run drops the unit price sharply, plus size, material, and finish such as gloss, matte, or a laminate for outdoor durability. You set each option in the configurator and the price updates live as you go, so you can see exactly what a bigger run or a premium vinyl does to the number before you commit.
What sizes, stocks and finishes are available for stickers?
Stickers come in standard circles and squares from roughly 2 in up, rectangles, rounded shapes, and fully custom die-cut outlines that follow your art. Materials range from paper for indoor and short-term use to durable vinyl that resists water and sunlight, with clear, white, and specialty stocks like holographic and metallic. Finishes include high-shine gloss that makes colors pop, matte for a soft no-glare look, and laminate that adds scratch and weather resistance. The live specs on each sticker product page show the exact options and how they change the price.
How long do custom stickers take to print and ship?
Turnaround depends on the material, finish, and quantity you choose, and the configurator shows the production time for your exact combination before you order. Because 4OVER4 prints and ships from New York, many sticker orders move quickly, and rush options are available on qualifying products. The clearest way to see your timeline is to build the order in the configurator, where the estimated production and shipping window appears alongside the live price.
Do I need bleed on a die-cut sticker?
Yes. Even though a die-cut sticker follows a custom outline, the blade can still shift by a hair, so any color or artwork that reaches the edge should extend 0.125 in past the cut line. Without that bleed, a small shift can leave a thin unprinted sliver around the sticker. Pair the bleed with a 0.0625 in safe zone on the inside, keep text and logos within it, and your die-cut sticker cuts clean every time.
Get Started
Order 25 circle stickers at $0.96 each
Bring your template file to 4OVER4.COM and print on the size, material, and finish your project calls for. Circle stickers run 25 for $23.88, which is $0.96 each.
Legal Disclaimer
Gold Standard guarantees apply to all standard orders placed through 4over4.com. Price match requires verifiable proof of a competitor's published price for an equivalent product with matching specifications and turnaround time. Satisfaction guarantee covers manufacturing defects and print quality issues. Contact support with order number and documentation. On-time delivery rate based on tracked orders 1999 to 2026. Individual results may vary based on shipping carrier performance.
