
The Complete Guide to Custom Packaging and Labeling


The box protects, the sleeve brands, and the label informs. Designed together on matched color and stock, they read as one product. Building the system from the ground up starts with the product itself.
Packaging and labeling work as one system: the box protects the product, a sleeve or wrap carries the brand, and labels inform. Start from the product to choose the box, size labels to their surface, hold one brand look across every piece, and prep each file to its own rules, then order the system together.
Start here
Three pieces, one product experience
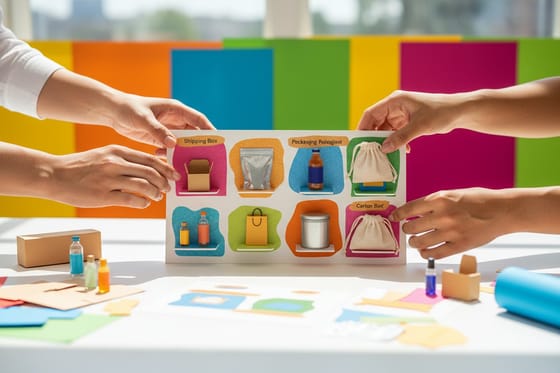
Packaging and labeling are one system: structure, brand, and information designed together. Measure the product to choose the box, plan the label set for each surface, hold one logo and color across every piece, and prepare each file to its own rules. Order the box, sleeve, and labels together so color and stock stay matched. The map below shows the three layers working as one.
Packaging and labeling are one system, not two purchases
The best packages do not feel like a box with a sticker slapped on. They feel like one designed object, because the structure, the branding, and the information were planned together. That is the whole idea behind treating packaging and labeling as a single system: the box protects the product, a sleeve or wrap carries the brand, and the labels tell the buyer what they are holding.
When those three layers share one color palette, one logo, and one voice, the unboxing reads as intentional and the product looks more valuable. When they are bought piecemeal, the mismatch shows. This guide builds the system from the ground up, from choosing the box to sizing the labels, and links every step to the real packaging and label products you can order to match.
We will move in the order you would actually work: measure the product, choose the structure, select the labels, lock one brand look, and prepare each file. By the end you will have a complete packaging and labeling plan and know exactly which products bring it to life.
Start from the product, then choose the box
Every packaging decision starts with the item itself. Its size, weight, and fragility decide the structure, so measure first and choose second. Get this right and the box protects the product while keeping shipping cost and material waste low.
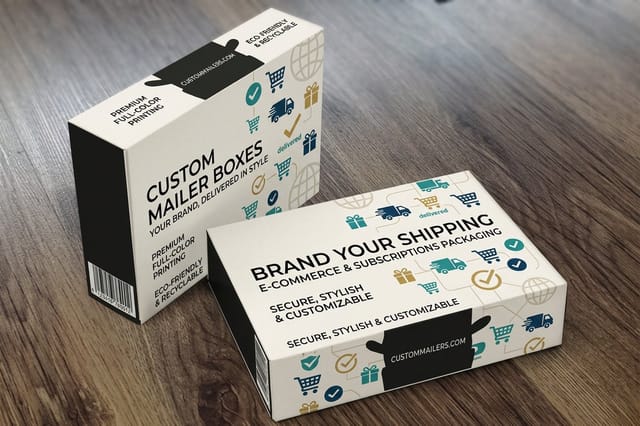
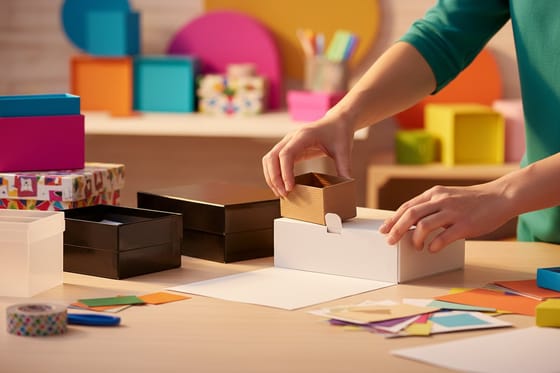
For products that ship to a customer, a mailer box does the shipping work: a self-locking corrugated box that needs no tape or void fill and delivers a clean unboxing, which is why it suits ecommerce and subscription brands. For products that sell on a shelf, a folding carton in printed cardstock is lighter and reads as retail. When a fully custom box is more than you need, a sleeve wraps and brands a plain box or bundles a set at lower cost.
Material is the next call. Corrugated protects heavier or shipped items, kraft signals a natural or eco story, and coated cardstock gives a bright retail finish. Our guides on types of packaging and box materials compare each option so you can match structure to how the product travels and sells.
Labels carry the information, the brand, and the barcode
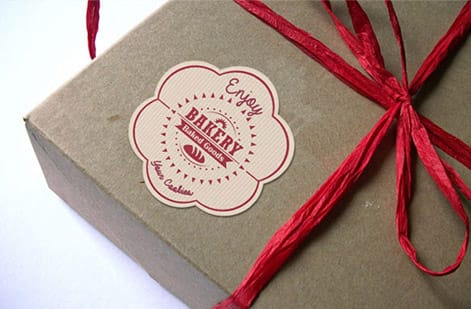
If the box is the body, the labels are the voice. A finished product usually needs more than one: a front brand label that catches the eye, a back label with information or ingredients, sometimes a seal, and a shipping label for transit. Each has its own size, material, and placement rules, so plan the set rather than a single sticker.
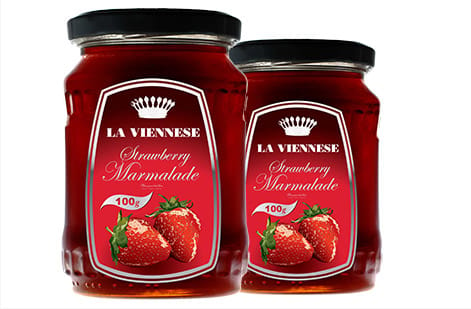
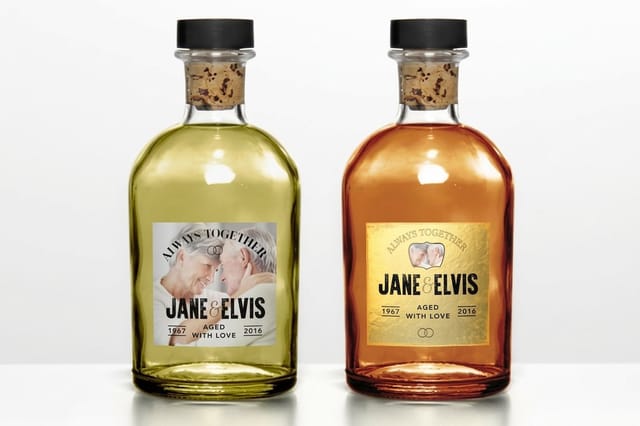
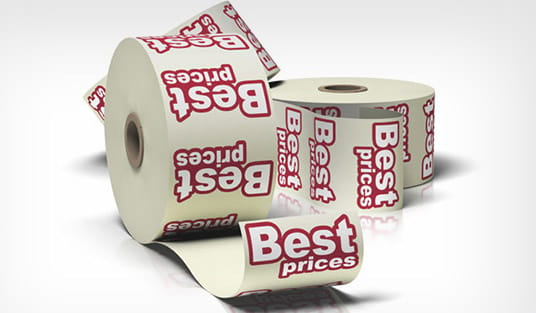
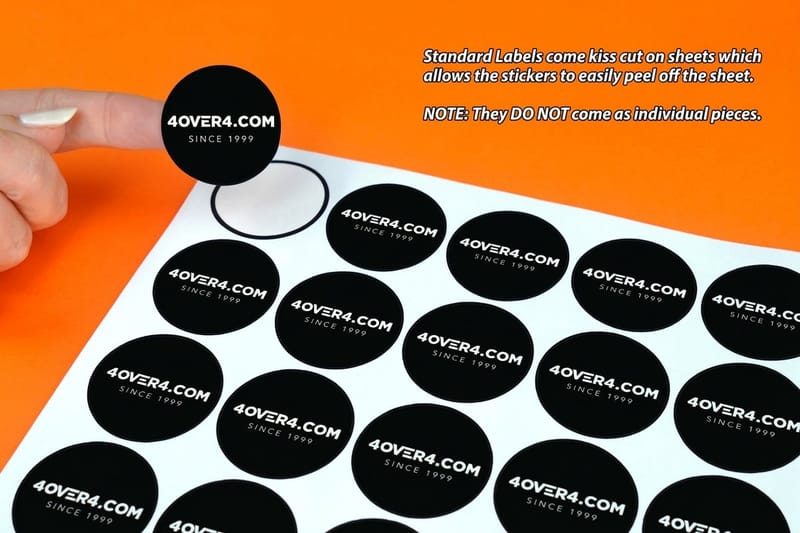
Size every label to the surface it lives on, leaving room for a barcode and any required copy, and account for the curve of a bottle or jar. Match the material to the conditions: standard paper for dry retail goods, clear or waterproof stock for bottles and cosmetics, and a durable adhesive for shipping labels that face moisture and abrasion. High-volume lines favor roll labels while smaller runs suit sheets.
Regulated products add their own layer. Food, beverage, and health items carry required panels, so build those into the label plan early. Our guides on choosing the correct label size, roll versus sheet labels, and FDA food labeling cover the details for each case.
One brand look across box, sleeve, and label
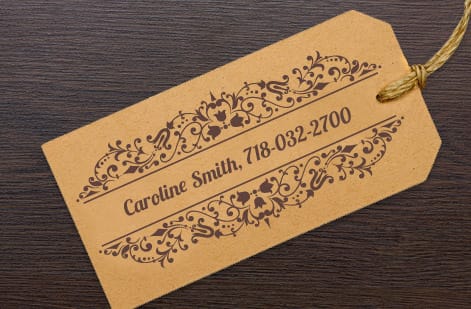
The moment that separates a considered package from a cobbled-together one is consistency. The same logo, the same color values, and the same typography on the box, the sleeve, and every label make the whole thing feel like a single product rather than parts from different shelves.
Because each piece can print on a different stock, from coated cardstock to clear film, colors can drift between materials. Pull your key brand colors from a printed reference rather than a screen, and where exact color matters, confirm it against a proof on the actual stock. Carry the same finish language too, so a soft matte box pairs with matte labels rather than a glossy mismatch.
Design the pieces at the same time, not one at a time. Working across the whole system at once is the surest way to catch a color that will not translate or a logo that shrinks too small on a label. Hang tags, seals, and inserts belong in the same pass, so the entire package speaks with one voice from the outside in.
Prep each piece as its own print-ready file
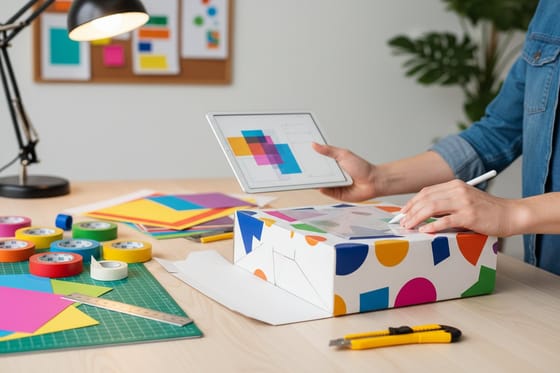
A packaging system prints clean only when each piece is set up on its own terms. Boxes and cartons print to a dieline, a template that maps every fold, glue tab, and cut, so your artwork has to align to that template with bleed carried across the folds. A background that stops at a fold line will show a gap once the box is assembled.
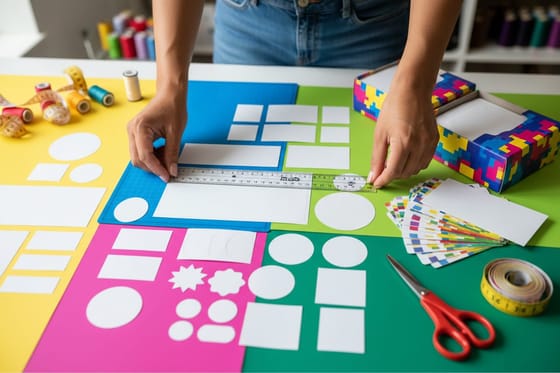
Sleeves are laid out in panels sized to wrap the box exactly, with the brand mark positioned to land on the front face after wrapping. Labels follow standard print rules: build at the final size, add 0.125 inch of bleed on every edge, and keep text and barcodes inside a safe margin clear of the cut. Export each as a flattened, press-ready PDF.
Our guide on preparing files for packaging products walks the dieline workflow in detail, and every order runs through a free file check before it prints. Prepare the box, sleeve, and labels as one order and the color and stock stay matched across the whole system.
Wally builds the whole package, not just a box
Structure, brand, and information designed as one
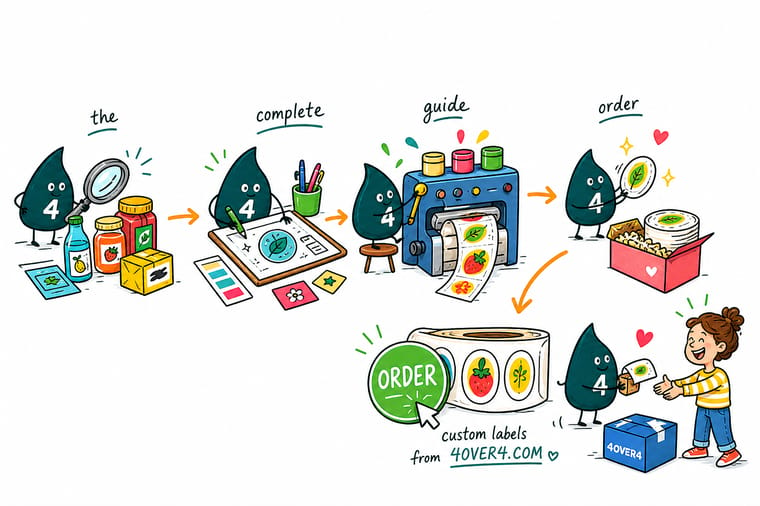
Wally starts with the product in hand, picks the box that protects it, wraps it in a sleeve that carries the brand, and sizes each label to its surface. One logo, one color, one finish across all of it, then each file prepped to its own rules and ordered together so nothing arrives mismatched. That is how a package looks designed instead of assembled.
Design your packaging and labels →Quick reference
The packaging and labeling system, at a glance
Every complete package is built from the same building blocks. Match these to your product and the whole system prints and ships clean.
| Piece | Go with | Why it matters |
|---|---|---|
| Mailer box | Corrugated, self-locking | Ships products safely with no tape or void fill, ideal for ecommerce and subscription boxes. |
| Folding carton | Cardstock, tuck-flap | Lightweight retail box for shelf products, printed full color inside and out. |
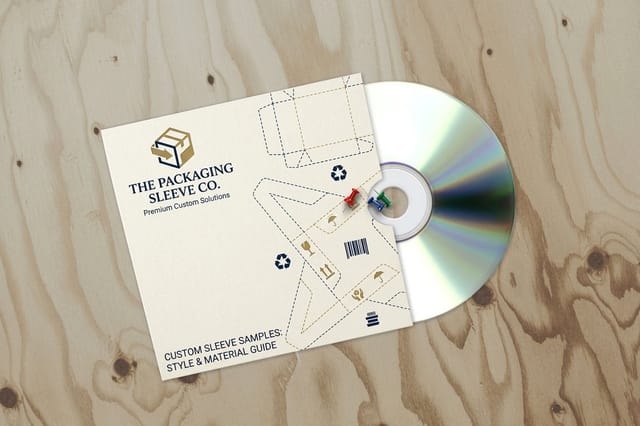
| Sleeve | Wrap-around band | Brands a plain box or bundles a set without a full custom box, at lower cost. |
| Product label | Sized to the surface | Front, back, and seal labels matched to the container and its curve or texture. |
| Shipping label | Durable adhesive | Holds a clear address and barcode through handling, moisture, and abrasion. |
| File setup | Dieline plus 0.125 in bleed | Boxes print to a fold dieline, labels to a cut line with bleed and safe area. |
Step by step
Build your packaging and labeling in 7 steps
- Measure the product first Note the dimensions, weight, and shape of what you are packaging. Everything else, box style, label size, and material, follows from the item itself.
- Choose the box structure Pick a mailer box for shipping and unboxing, a folding carton for retail shelves, or a sleeve to brand a plain box at lower cost. Match the structure to how the product travels and sells.
- Select the label set Decide which labels the product needs: a front brand label, a back information or ingredient label, a seal, and a shipping label. Size each to the surface it lives on.
- Lock one brand look Apply the same logo, color palette, and typography across box, sleeve, and label so the whole package reads as one designed system.
- Choose materials for the conditions Pick label stock and adhesive for the surface and environment, such as clear or waterproof labels for bottles and durable adhesive for shipping.
- Set up each file correctly Build boxes to their fold dieline, wrap sleeves in measured panels, and give labels 0.125 inch of bleed with text inside a safe margin.
- Order the system together Print the box, sleeve, and labels as one order so color and stock match, then run everything through the free file check before production.
Specs and pricing
Custom label specs and live pricing
Once the system is planned, the label decisions come down to size, material, and finish. Here are the live specs and price-per-unit for custom labels at 4OVER4.COM, straight from the configurator.

| Quantity | Price Per Unit | Total |
|---|---|---|
| 1 | $25.00 | $25.00 |
Order it
Print your packaging system at 4OVER4
See it in use
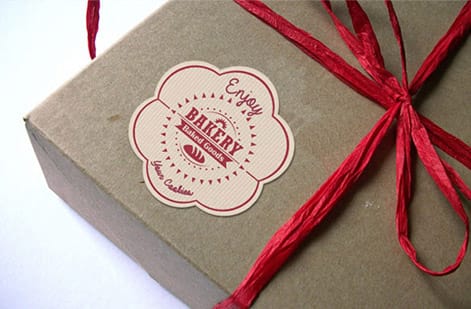
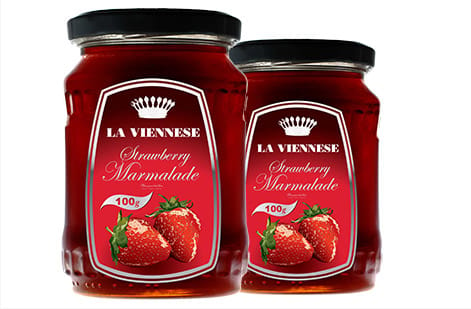
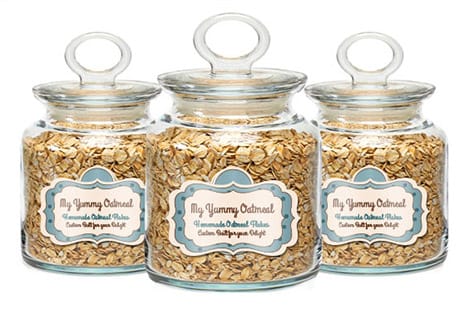
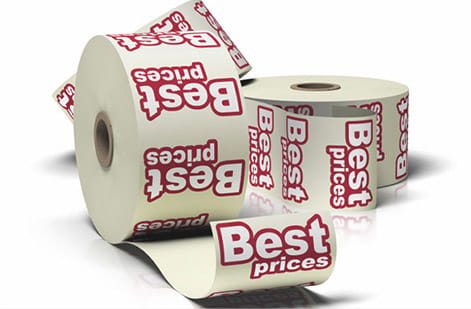
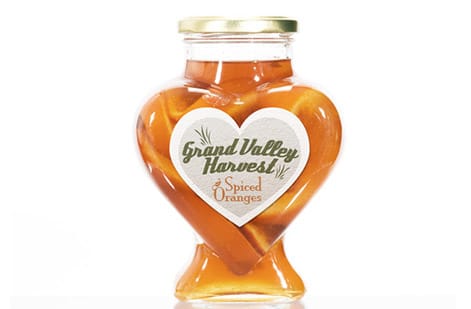
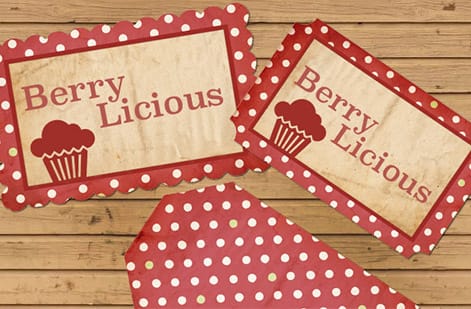
Packaging and labels we printed together

Explore more
Where to go next
By the numbers
Sixty stocks and materials across pack and label
Common Questions
Common questions about packaging and labeling
What is the difference between packaging and labeling?
Packaging is the physical structure that holds and protects a product, such as a mailer box, folding carton, or sleeve. Labeling is the printed information applied to that structure or directly to the product, including brand labels, ingredient and nutrition panels, barcodes, and shipping labels. They are two halves of one system: packaging keeps the product safe and shapes the first impression, while labeling communicates what it is, who made it, and how to handle it. Designed together, they form a single, coherent product experience.
What holds my product, a mailer box or a sleeve?
Start from the product itself. Its size, weight, and fragility decide the structure. Mailer boxes are self-locking corrugated boxes built for shipping and a clean unboxing, so they suit ecommerce and subscription products. Folding cartons are lighter cardstock boxes for retail shelves. A sleeve wraps and brands a plain box or bundles a set at lower cost than a fully custom box. Consider how the product travels and where it sells, then match the structure, material, and finish to those conditions. Our guides on packaging types and box materials go deeper on each option.
What label sizes and materials should I use?
Match the label to the surface and the conditions it faces. Size the label to the panel it sits on, leaving room for a barcode and required information, and account for any curve on a bottle or jar. For material, choose standard paper for dry retail products, clear or waterproof stock for bottles and cosmetics, and a durable adhesive for shipping labels that must survive handling and moisture. Roll labels suit high-volume application lines while sheet labels suit smaller runs. Our guide on choosing the correct label size walks through the measurements step by step.
How do I keep the box and labels looking like one brand?
Use a single set of brand assets everywhere. That means the same logo, the same color values, and the same typography on the box, the sleeve, and every label. Because a box, a sleeve, and a label can print on different stocks, pull your key brand colors from a printed reference rather than a screen so they stay consistent across materials. Designing the pieces at the same time, rather than one at a time, is the surest way to make the finished package feel considered instead of assembled from mismatched parts.
What does packaging and labeling cost, and how is it priced?
Price scales with the same levers across the system: structure and size, material and stock, finish, and quantity. Larger runs lower the unit price on both boxes and labels, which is why ordering the full quantity together is more economical than small repeat orders. Boxes cost more than labels per piece because of the material and construction, while sleeves are a lower-cost way to brand a plain box. You set each option in the configurator and the total updates live, so you can see exactly how a heavier stock, a special finish, or a bigger run changes the number before you commit.
How do I set up files for packaging and labels?
Each piece has its own setup. Boxes and cartons print to a dieline, a template that shows every fold, glue tab, and cut, so your artwork must align to that template with bleed across the folds. Sleeves are laid out in panels sized to wrap the box. Labels follow standard print rules: build at the final size, add 0.125 inch of bleed on every edge, and keep text and barcodes inside a safe margin away from the cut. Export flattened, press-ready PDFs, and use our free file check to confirm each piece is production ready before it prints.
Get Started
100 packaging sleeves cost $438.25, or $4.38 each
Design the box, the sleeve, and the labels as one system, on matched color and stock, and watch every price update live in the configurator.
Legal Disclaimer
Gold Standard guarantees apply to all standard orders placed through 4over4.com. Price match requires verifiable proof of a competitor's published price for an equivalent product with matching specifications and turnaround time. Satisfaction guarantee covers manufacturing defects and print quality issues. Contact support with order number and documentation. On-time delivery rate based on tracked orders 1999 to 2026. Individual results may vary based on shipping carrier performance.
