
How to Install Aluminum Floor Graphics That Last


Installing aluminum floor graphics is a clean, position and squeegee job. A floor that is not fully dry is the one thing that guarantees a failed bond.
To install aluminum floor graphics, clean and dry the floor, dry-position the graphic, then apply and squeegee from the center out. Prep is the biggest factor: a clean, dry, smooth surface makes the adhesive bond and stay. Push air outward with overlapping strokes, then let it cure before heavy traffic. The anti-slip laminate keeps it safe underfoot for months.
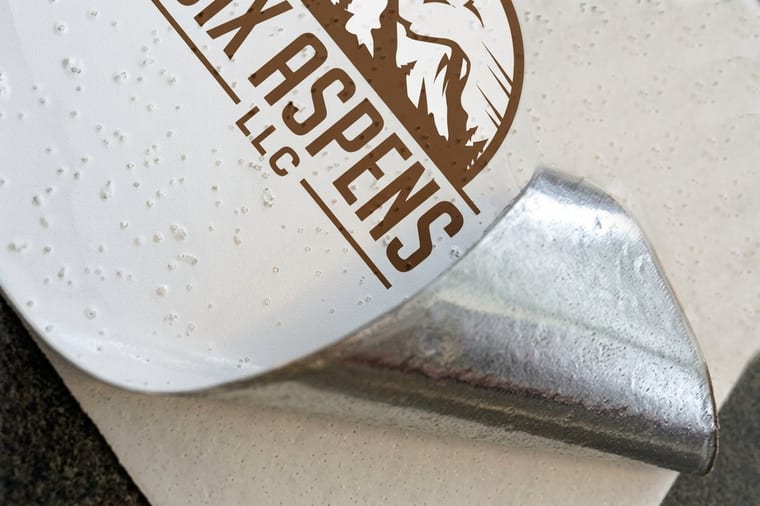
Start here
A dry floor and a firm squeegee
Aluminum floor graphics install with a clean, position, and squeegee routine. Clean and fully dry the floor, bring the graphic to room temperature, dry-position and mark it, then apply one edge and roll it down while removing the liner. Squeegee from the center outward to drive out air, and let it cure before heavy traffic. The anti-slip laminate keeps it safe. The diagram below maps the install and its layers.
What aluminum floor graphics are
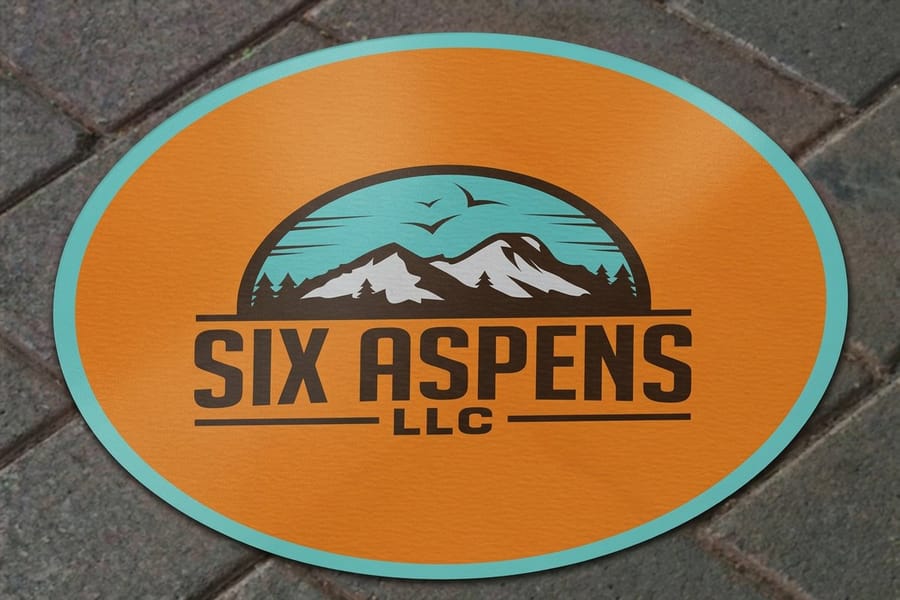
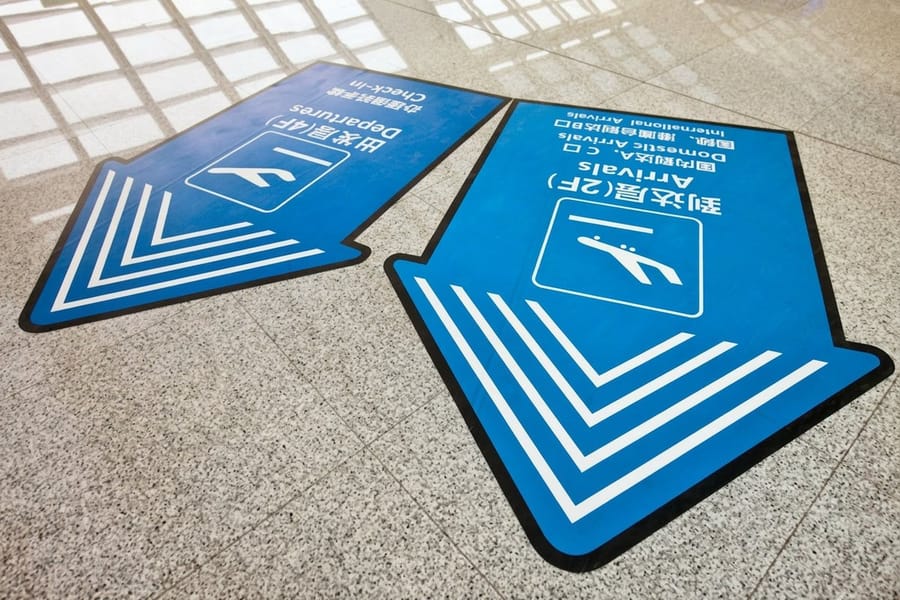
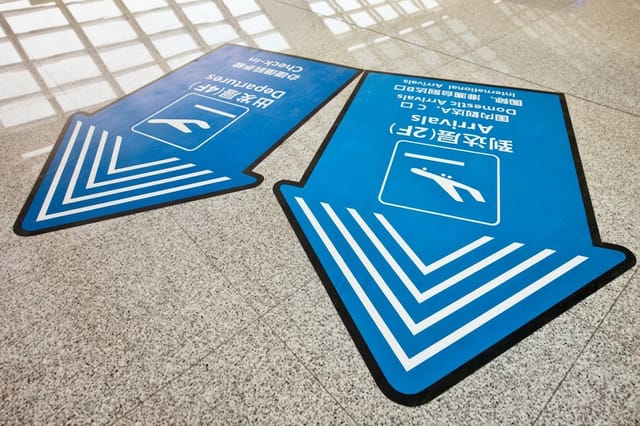
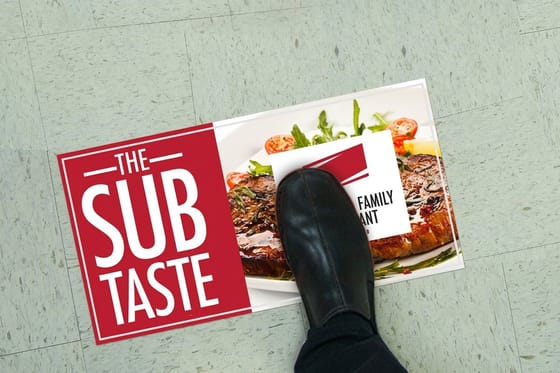
Aluminum floor graphics are rigid, printed floor panels built to turn the ground into usable signage. They carry wayfinding arrows, promotions, social-distancing markers, brand logos, and safety messages, and they are engineered specifically for walkable surfaces with a textured anti-slip laminate on top of the print.
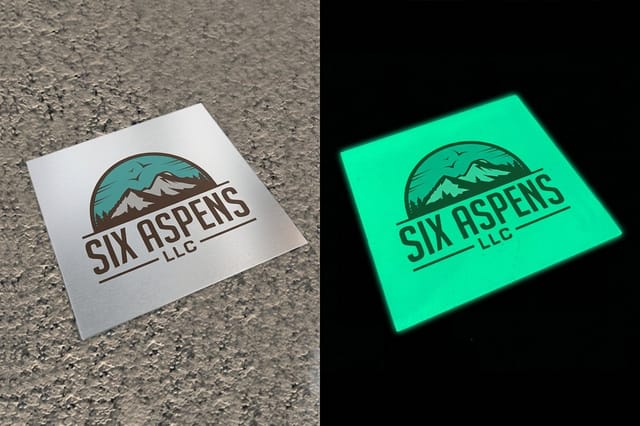
The "aluminum" part refers to a rigid, durable construction that lies flat and resists curling, while the protective overlaminate shields the graphic from foot traffic, scuffing, and cleaning. A close cousin, the aluminum glow floor graphic, adds a photoluminescent layer that charges under light and glows in the dark for exit paths and safety markings.
Because they install onto the floor rather than a wall, placement and surface prep matter more than with other signage. This guide walks the full install so your aluminum floor graphics go down flat, bubble-free, and safe underfoot. For flexible options, our standard floor graphics and vinyl floor graphics cover the same job on smooth surfaces.
Surface prep: the step that decides everything
If there is one thing that determines whether a floor graphic lasts its full life or lifts at the corners in a week, it is surface preparation. The adhesive can only grip what it touches, so the floor has to be genuinely clean, dry, and smooth before anything comes off the liner.
Start by sweeping or vacuuming to remove grit, then wipe the area with a degreasing cleaner to lift oils, polish, and residue that block adhesion. Let it dry completely, because even a thin film of moisture undermines the bond. Aim for a room-temperature floor as well; a very cold or hot surface weakens the initial grip, so let both the floor and the graphic normalize before you begin.
Floor graphics adhere best to smooth, sealed surfaces like sealed concrete, tile, and vinyl. Rough or porous floors cut the contact area and invite bubbles, so if you are unsure, test a small piece first. Careful prep here saves every problem downstream.
Positioning and applying the graphic
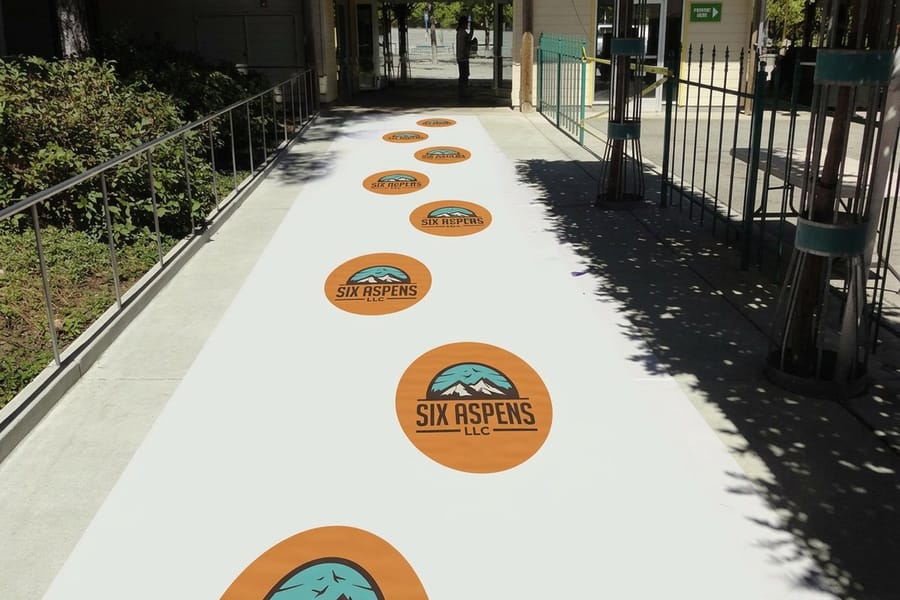
With the floor prepped, the install is about placing once and pushing out air. Begin by dry-positioning the graphic with the liner still on: set it exactly where you want it, check it against your reference points, and lightly mark the corners so you can drop it back in the same spot.
Peel back only part of the backing to expose some adhesive, line that edge up to your marks, and press it down. Then slowly remove the rest of the liner while smoothing the graphic onto the floor, so the adhesive meets the surface progressively rather than all at once. This control is what prevents wrinkles and misalignment.
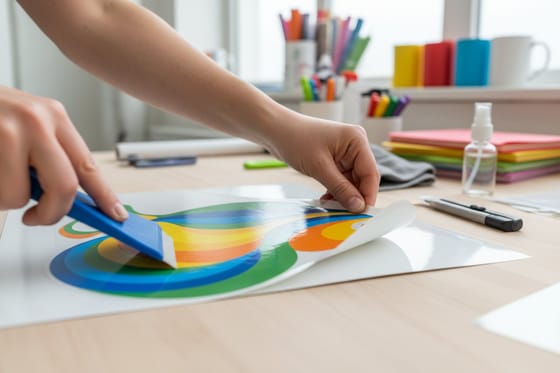
Finish by squeegeeing from the center outward with firm, overlapping strokes, driving any trapped air to the edges so the graphic lies perfectly flat. The same center-out technique applies to any adhesive graphic, as our guide on applying a vinyl decal shows in detail. Then let the adhesive cure before heavy traffic and hold off wet-mopping for the first day.
Slip resistance, durability, and how long they last
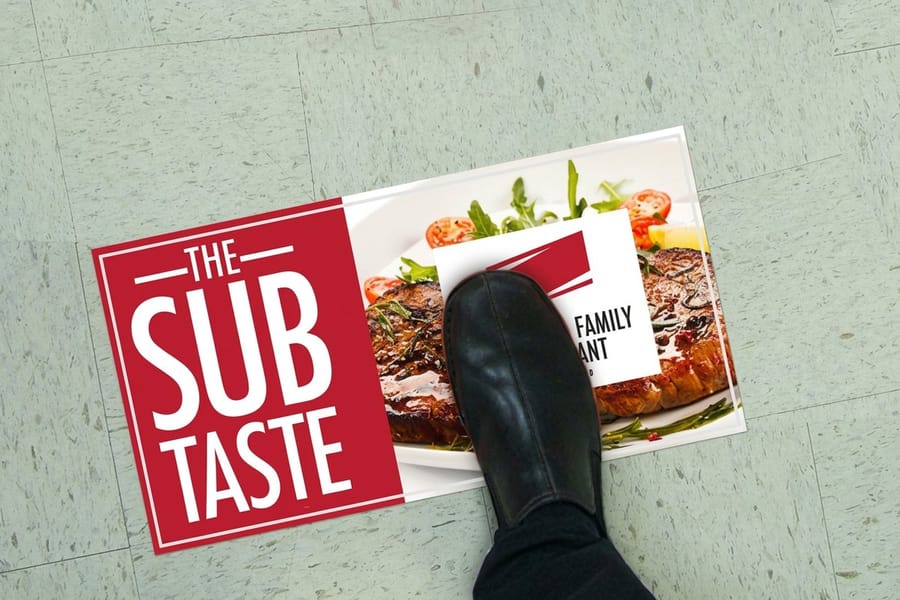
Floor graphics live a hard life underfoot, so two properties matter most: grip and longevity. The anti-slip laminate on a proper floor graphic is textured and rated for foot traffic, keeping the surface safe even when busy, while also shielding the print from scuffing and cleaning chemicals. Always confirm a graphic is specified for floor use so it carries this finish.
For durability, a well-installed indoor floor graphic with a protective overlaminate typically holds up for many months of traffic and cleaning. The biggest variables are traffic intensity, cleaning abrasiveness, and, above all, how well the floor was prepped before install. High-traffic entrances wear faster than quiet corners, so plan placement and refresh cycles accordingly.
When you need the graphic to stay visible in low light, the glow version adds a charge-and-glow layer for exit routes and safety markings. For related wall and door signage, our aluminum signs share the same rigid, durable build.
What aluminum floor graphics cost and how to order
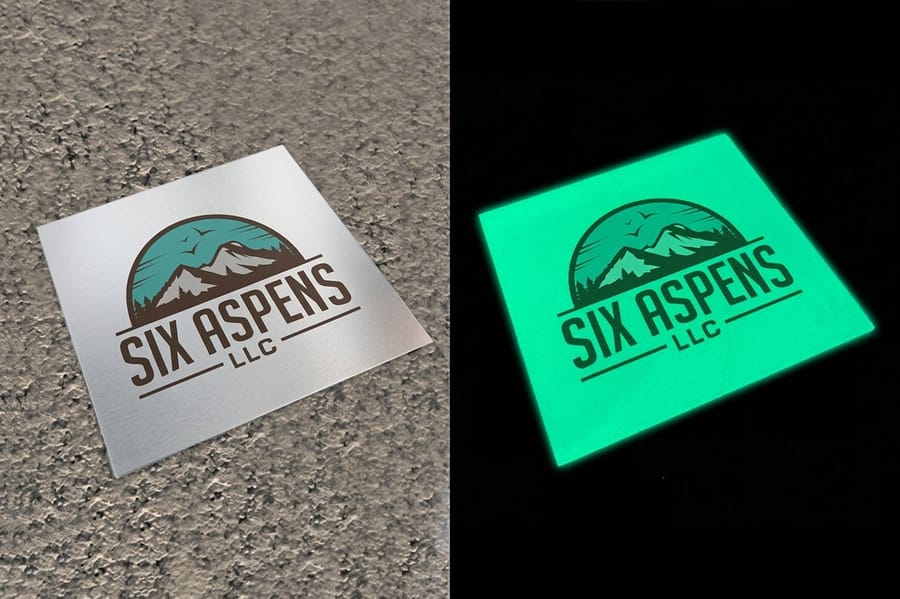
Aluminum floor graphic pricing scales with the size of the graphic, the finish, and how many you order, and the glow version costs more than the standard one because of the photoluminescent layer. Ordering a set for multiple entrances or locations lowers the unit price, since the setup spreads across the run.
You set the size and options in the configurator and the total updates live, so you can weigh a larger format or the glow upgrade against your budget before you commit. When a rollout is time-sensitive, rush delivery keeps the schedule intact, and our online designer and templates help you build the artwork to the correct floor-graphic dimensions.
Use the live specs and pricing below to lock the size, finish, and quantity for your floor graphics, then prep the floor and install them the right way.
Wally gets it down flat the first time
Clean floor, place once, squeegee center-out
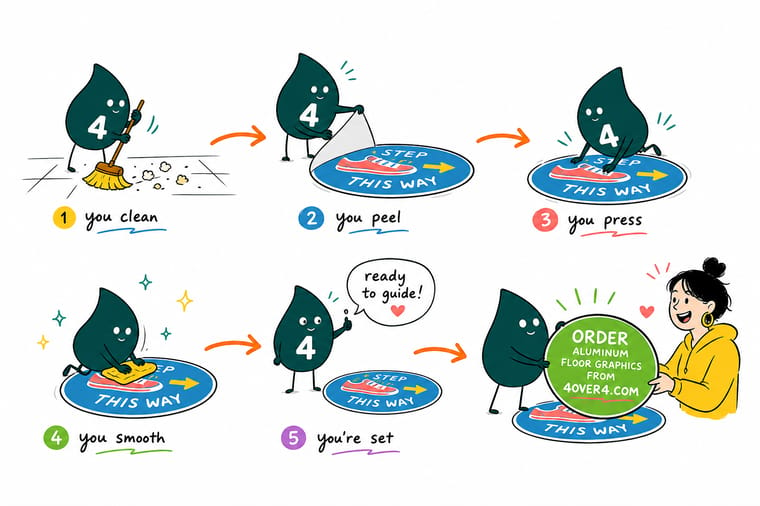
Wally never skips the prep: sweep, degrease, and dry the floor so the adhesive actually grips. Then dry-position, set one edge, roll it down, and push the air out from the middle with firm strokes. The anti-slip laminate keeps it safe underfoot, and 4OVER4 prints it rigid and durable to last through months of traffic.
Order aluminum floor graphics →Quick reference
Floor graphic install checklist at a glance
A lasting floor graphic comes down to the same handful of conditions. Hit these and the graphic goes down flat and stays put.
| Factor | Get it to | Why it matters |
|---|---|---|
| Surface | Clean, dry, smooth | Dust, grease, or moisture stops the adhesive from bonding properly. |
| Temperature | Room temperature floor | A very cold or hot surface weakens the initial bond, so let it normalize. |
| Placement | Dry-position first | Check alignment before peeling the liner so you place it once, cleanly. |
| Application | Squeegee center-out | Push air outward with overlapping strokes to avoid trapped bubbles. |
| Finish | Anti-slip laminate | A textured overlaminate keeps the graphic safe under foot traffic. |
| Cure time | Let it set before heavy traffic | Give the adhesive time to reach full grip before the space gets busy. |
| Best use | Smooth indoor floors | Sealed concrete, tile, and vinyl hold a floor graphic best. |
Step by step
Install aluminum floor graphics in 7 steps
- Clean the floor thoroughly Sweep or vacuum, then wipe the area with a degreasing cleaner to lift oils and residue. Let it dry completely, since any moisture or dust weakens the bond.
- Let the graphic and floor normalize Bring the graphic to room temperature and make sure the floor is not too cold or hot. A normalized surface gives the adhesive its strongest initial grip.
- Dry-position and mark Lay the graphic in place with the liner still on, check the alignment against your reference points, and mark the corners lightly so you can drop it back exactly.
- Peel back part of the liner Fold back a portion of the backing to expose some adhesive, keeping the rest covered so you can control the placement as you go.
- Set one edge, then roll it down Line up the exposed edge to your marks, press it down, then slowly peel the remaining liner while smoothing the graphic onto the floor.
- Squeegee from the center outward Using firm, overlapping strokes, push from the middle toward the edges to drive out any air so the graphic lies flat with no bubbles.
- Let it cure before traffic Give the adhesive time to reach full grip before the space gets busy, and avoid wet-mopping the graphic for the first day so the bond can set.
Specs and pricing
Aluminum floor graphic specs and live pricing
Once your artwork is ready, size, finish and quantity are what is left. Aluminum floor graphics ship in 4 business days.
| Quantity | Price Per Unit | Total |
|---|---|---|
| 1 | $29.00 | $29.00 |
Order it
Order floor graphics that last at 4OVER4
Explore more
Where to go next
By the numbers
Where floor graphics sit in the sign catalog
Common Questions
Common questions about aluminum floor graphics
How do you install aluminum floor graphics?
Installation is a clean-position-apply process. First clean the floor thoroughly with a degreasing cleaner and let it dry completely, because the adhesive only bonds well to a clean, dry surface. Bring the graphic to room temperature, then dry-position it with the liner still on and mark the corners so you can place it exactly. Peel back part of the backing, line up one edge to your marks, and slowly roll the graphic down while removing the rest of the liner. Finish by squeegeeing from the center outward with firm, overlapping strokes to push out any air, then let it cure before heavy traffic.
Are aluminum floor graphics slip-resistant?
Yes. Floor graphics built for walkable surfaces use a textured anti-slip overlaminate rated for foot traffic, so they stay safe underfoot even in busy areas. That protective laminate does double duty: it gives the surface its grip and it shields the printed graphic from scuffing and cleaning. When you order, confirm the graphic is specified for floor use so it carries the correct slip-resistant finish, and keep the surface clean in service, since dirt and spills reduce traction on any floor, printed or not.
How long do aluminum floor graphics last?
For indoor use, a well-installed floor graphic with a protective overlaminate typically holds up for many months of foot traffic, cleaning, and scuffing. Actual life depends on how heavy the traffic is, how abrasive the cleaning routine is, and how well the surface was prepared before install, which is the single biggest factor. Graphics in high-traffic entrances wear faster than those in quieter zones. Because they are designed as a temporary-to-medium-term promotional and wayfinding tool, they are meant to be refreshed as campaigns change.
What surfaces can you apply floor graphics to?
Floor graphics adhere best to smooth, sealed indoor surfaces such as sealed concrete, tile, vinyl, and smooth wood. Rough, porous, or textured floors reduce the contact area for the adhesive and make bubbles and lifting more likely, so they are not ideal. The surface must also be clean and dry, free of dust, grease, and moisture, before you apply. If you are unsure whether a floor will hold a graphic, test a small piece in an inconspicuous spot first, or ask about the recommended surfaces for the specific product.
What is the difference between aluminum and glow floor graphics?
Standard aluminum floor graphics are rigid, durable printed panels for everyday indoor wayfinding, promotions, and safety messaging on the floor. Aluminum glow floor graphics add a photoluminescent element that charges under light and glows in the dark, which makes them valuable for exit paths, safety markings, and any area that needs to stay visible if the lights go out. Both install the same way onto a clean, dry floor, so the choice is whether you need the low-light visibility of the glow version.
How much do aluminum floor graphics cost?
Aluminum floor graphic pricing scales with the size of the graphic, the finish, and how many you order, and the glow version costs more than the standard one because of the photoluminescent layer. Larger runs of the same graphic lower the unit price, so ordering a set for multiple locations is more efficient than one at a time. You set the size and options in the configurator and the price updates live, so you can weigh a larger format or the glow upgrade against your budget before you commit.
Get Started
Order aluminum glow floor graphics for exit paths
Bring your design to 4OVER4.COM and print aluminum floor graphics in the size and finish your space calls for. Floor decals ship in 3 business days, aluminum versions in 4.
Legal Disclaimer
Gold Standard guarantees apply to all standard orders placed through 4over4.com. Price match requires verifiable proof of a competitor's published price for an equivalent product with matching specifications and turnaround time. Satisfaction guarantee covers manufacturing defects and print quality issues. Contact support with order number and documentation. On-time delivery rate based on tracked orders 1999 to 2026. Individual results may vary based on shipping carrier performance.
