
How Do You Make Hang Tags for Clothing?


A clothing hang tag is a tiny piece of branding that does a lot: it carries your logo, price, size, and care details, and it shapes the first impression at the rack. Here is how to design one, what to put on it, how to size it, and how to attach it.
To make hang tags for clothing, design a small branded tag that carries your logo, the garment price, size, and essential care or fabric details, then print it on a sturdy cover stock and attach it with string, a plastic fastener, or a safety pin. Standard sizes run about 2 by 3.5 inches, the front leads with your brand, and the back holds the practical information. A drilled hole and the right finish turn a plain label into part of the product experience.

Start here
What a clothing hang tag needs to do
A clothing hang tag is a small printed tag attached to a garment that carries branding and the practical details a shopper needs to buy. It works on two levels at once: it reinforces your brand at the point of sale and it answers the shopper's questions about price, size, fit, and care. The sections below cover what to include, how to size and shape the tag, which stock and finish to choose, how to attach it, and how to design and order your own.
Watch it printed
See hang tags for clothing on the press, in 130 seconds
What information to put on a clothing hang tag
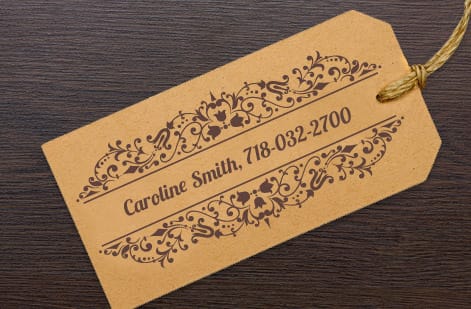
Split the job across two sides. The front is for brand: your logo, your name, and maybe a short tagline or a strong graphic that makes the tag recognizably yours. The back is for the practical details a shopper looks for before buying, which is where you place the price, the size, and the essentials like fabric content, country of origin, and basic care guidance.
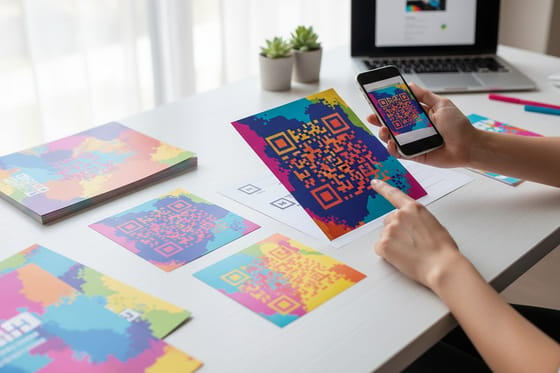
Keep it focused. A hang tag is small, so decide what the shopper truly needs at the rack and cut the rest. Price and size are non-negotiable, care and fabric build trust, and a QR code can carry anything extra, such as styling ideas, your full care instructions, or a link to your store, without crowding the tag. Our guide on using QR codes on print shows how to make that link earn its place.
If you sell across many styles, design a template where the brand side stays fixed and only the back details change per garment, so every product stays on-brand while the specifics update quickly.
How to attach a hang tag to a garment
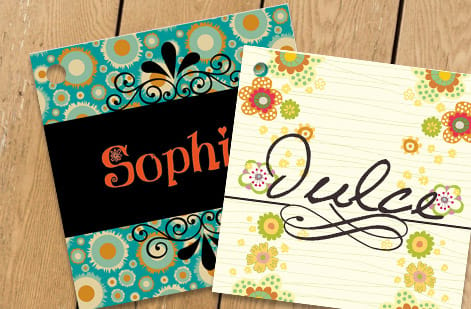
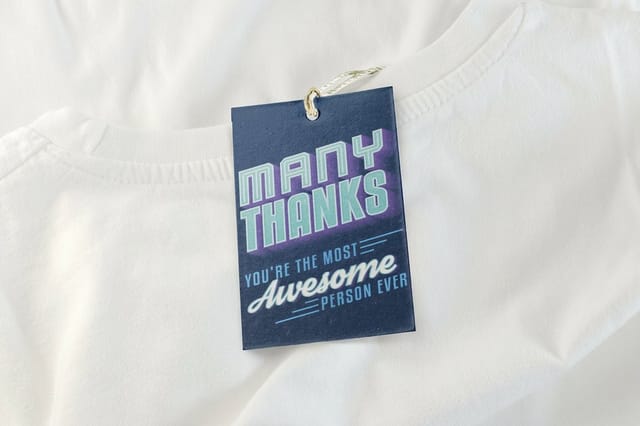
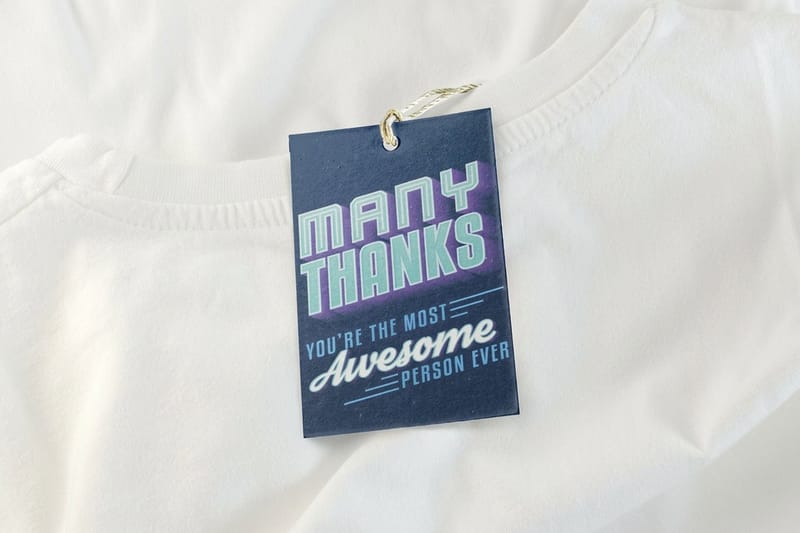
Three attachments cover almost every garment: a string, a plastic fastener, or a safety pin. String is the classic apparel look, a cotton or waxed cord threaded through the hole and knotted, or a pre-tied loop with a bead lock you pull tight around a button, a belt loop, or a zipper pull. It is the gentlest of the three because it never pierces the cloth, so it is the one to reach for on knitwear, silk, and anything loosely woven where a puncture would show.
A plastic fastener, the barbed paddle fired from a tagging gun, is the fastest way to tag a large run: aim it through a seam allowance or through the care label rather than through the face of the fabric, since the barb leaves a small hole behind. It suits denim, canvas, sturdy wovens, and outerwear, and it holds the tag flat against the garment instead of letting it swing. A safety pin sits between the two, no tool needed and nothing permanent left behind, which makes it the practical pick for market stalls, samples, and pieces you re-tag between shows.
Whichever you choose, the hole decides whether the tag survives the rack. Punch it about 1/8 inch across and keep at least 1/4 inch of stock between the hole and the trimmed edge, centered in the clear zone you left at the top. Heavier stock, a rounded corner beside the hole, and a metal eyelet all add life to tags that get handled all day, and on a die-cut tag the hole belongs in the strongest part of the silhouette, never in a thin point. Our custom shaped hang tags hold the hole position through the cut, so every tag in the run hangs the same way.
Sizing and shaping the tag to the garment
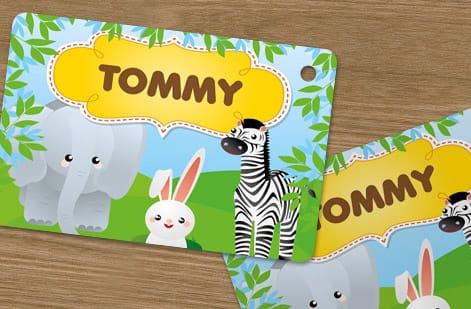
Size follows the garment and the story you want to tell. A tag around 2 by 3.5 inches, close to a business card, suits most apparel and gives you room for brand on one side and details on the other. Go smaller for delicate or minimalist items where a large tag would feel heavy, and larger when you want space for a brand story, a lookbook image, or a folded booklet-style tag.
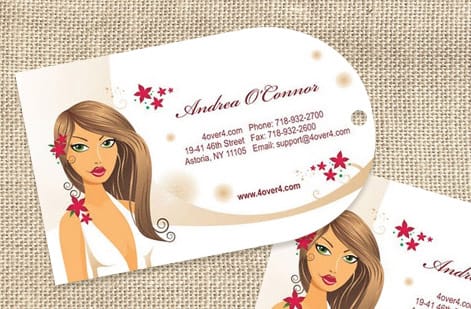
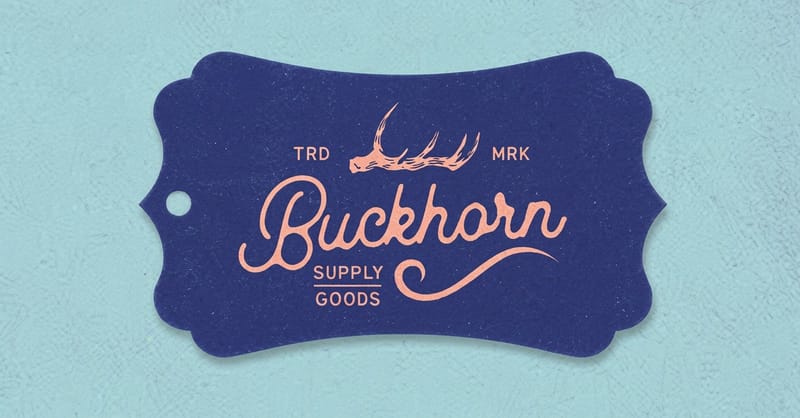
Shape is a branding lever too. A standard rectangle is clean and economical, rounded corners feel softer and more modern, and a fully custom die-cut shape, like a tag cut to your logo silhouette, makes the product instantly recognizable. Our custom shaped hang tags handle that, and our online design tool and ready-made templates give you a proportioned starting point so your art fits the tag cleanly.
Whatever the size, leave a clear zone at the top for the hole and keep important text and logos inside a safe margin so nothing gets clipped when the tag is trimmed.
Choosing stock, finish, and premium touches
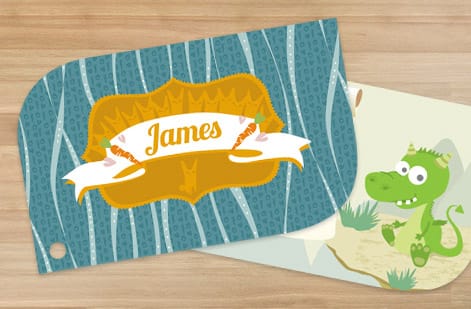
A hang tag is small, so the stock and finish carry a lot of the quality signal. Use a heavier cover stock so the tag feels substantial rather than flimsy, because a thin tag quietly tells the shopper the product is cheap. A sturdy tag that holds its shape through handling reinforces the value of the garment it hangs on.
Finishes let a tiny tag punch above its weight. A soft touch coating gives a velvety, premium hand-feel, gloss makes colors and photos pop, and foil, embossing, or edge painting add a tactile luxury cue that shoppers associate with higher-end brands. Explore the range on our premium prestige hangtags and the full hang tags collection to match the finish to your brand's price point.
Choose finishes that fit the story. A minimalist label might use a clean uncoated stock, while a luxury line leans into foil and soft touch. The tag should feel like a smaller version of the product's promise.
How to attach a hang tag to clothing
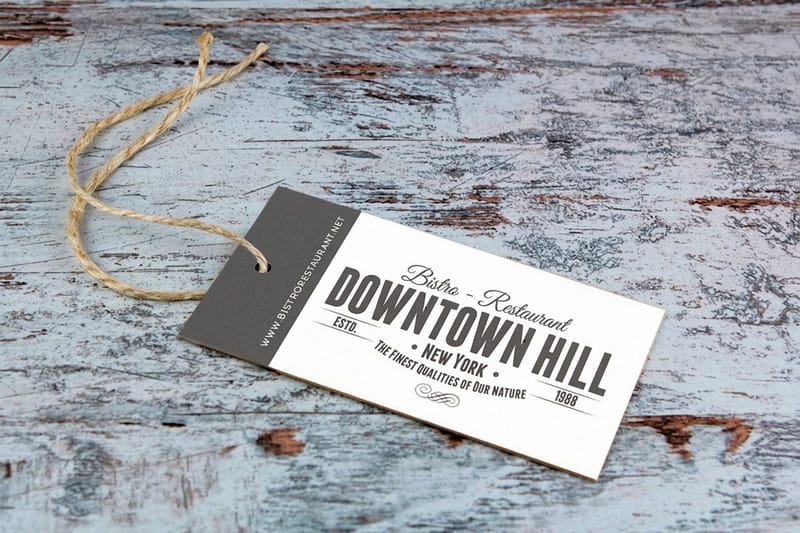
Attachment starts with a hole. Most tags get a small drilled hole near the top, and the placement matters, so keep it inside the design and away from any text. From there you have a few clean options. String or twine threaded through the hole and looped to the garment tag or a buttonhole gives a classic, crafted look and suits boutique and handmade brands.
A plastic fastener, the tiny barbed loop shot through the fabric with a tagging gun, is the fast, standard choice for higher-volume retail because it attaches in seconds and holds securely. A safety pin or a ribbon adds a boutique or gift feel for special items. Pick the method that matches your volume and your brand: crafted and slow, or quick and scalable.
Order a drilled hole with your tags so they arrive ready to string, rather than punching holes by hand across hundreds of pieces.
What clothing hang tags cost and how prices are set
Hang tags are one of the most affordable pieces of branding you can buy, and the price scales the familiar way. Quantity is the biggest lever, since setup is a fixed cost that spreads thinner across a larger run, so ordering tags for a whole product line at once is far cheaper per tag than small batches per style.
Size, stock, and finish move the price from there. A standard rectangular tag on cover stock is the economical baseline, while custom shapes, foil, soft touch, or edge painting add cost for a more premium result. You set every option in the live configurator and the total updates as you go, so you can weigh a richer finish against the run size before committing. Because a tag hangs on every unit you sell, a small per-tag upgrade often pays for itself in perceived value.
Order a proof or samples first so you can feel the stock and finish in hand, especially if you are choosing a premium touch that is hard to judge on screen.
Designing and ordering your clothing hang tags

Bring it together with a clean, branded layout. Set the tag up at its final size with bleed on every edge and your text inside a safe margin, lead the front with your logo, and organize the back so price and size are easy to find with care and fabric details below. Keep type large enough to read on a small tag and leave the top clear for the hole.
When your file is ready, upload it to the hang tags for clothing page, choose your size, stock, finish, and drilling, and set the quantity for your line. If you want to learn why these small tags matter so much for apparel brands, our guides on what hang tags are and why hang tags still matter give the full picture.
Wally hangs your brand on every garment
Brand on the front, the details on the back
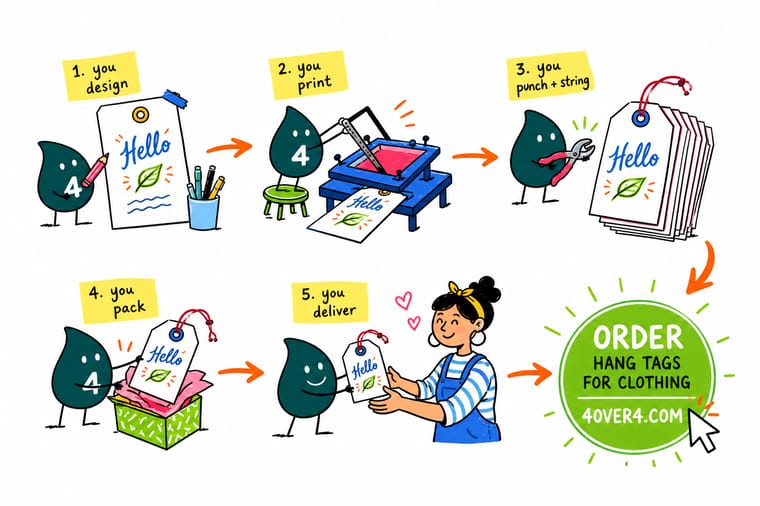
Wally treats a clothing hang tag as branding you can hold: logo and name on the front, price, size, care, and fabric on the back, all on a stock heavy enough to feel like quality. He plans the hole into the design, picks an attachment that fits your volume, and adds a finish like soft touch or foil so a tiny tag feels premium. Set it up at final size with bleed, and 4OVER4 prints and drills it ready to string.
Order your clothing hang tags →Quick reference
Clothing hang tag setup at a glance
Get these fundamentals right and your tag looks like part of the product, not an add-on.
| Setting | What to pick | Why it matters |
|---|---|---|
| Front | Logo, brand name, tagline | The front is brand real estate and often the first branded thing a shopper touches. |
| Back | Price, size, care, fabric | Shoppers look to the back for the practical details that drive a purchase. |
| Size | About 2 x 3.5 in for most apparel | Fits the garment and gives room for brand on one side and details on the other. |
| Stock | Heavier cover stock | A substantial tag signals quality; a flimsy one undercuts the garment. |
| Finish | Soft touch, foil, or gloss to fit the brand | A finish makes a tiny tag feel premium and match your price point. |
| Hole and attachment | Drilled hole plus string, fastener, or pin | Plan the hole into the design and pick attachment by volume and brand feel. |
Step by step
How to make hang tags for clothing in 7 steps
- Set the size and shape Choose a size that fits your garment, around 2 by 3.5 inches for most apparel, and decide on a rectangle, rounded corners, or a custom die-cut shape.
- Design the brand front Lead with your logo and name and a clean graphic so the front is instantly recognizable as your label.
- Lay out the detail back Place price and size where they are easy to find, with care, fabric, and origin details below, and add a QR code for anything extra.
- Pick stock and finish Choose a heavier cover stock and a finish such as soft touch or foil that matches your brand's price point.
- Plan the hole and attachment Add a drilled hole clear of your text and decide between string, a plastic fastener, or a pin based on your volume.
- Prepare a print-ready file Set the tag at final size with bleed and a safe margin, keep text large, and export a press-ready file.
- Upload, set quantity, and order Send your file to the hang tags for clothing page, choose drilling and quantity for your line, and place the order.
Specs and pricing
Clothing hang tag specs and live pricing
Set your size, stock, finish, and quantity below to see live per-tag pricing and full specs for hang tags for clothing, straight from the configurator.

| Quantity | Price Per Unit | Total |
|---|---|---|
| 50 | 50.5¢ | $25.27 |
| 100 | 28.6¢ | $28.56 |
| 200 | 15.9¢ | $31.86 |
| 300 | 12.4¢ | $37.35 |
| 400 | 10.2¢ | $40.64 |
| 500 | 8.79¢ | $43.94 |
| 600 | 8.24¢ | $49.43 |
| 700 | 7.53¢ | $52.73 |
Order it
Order hang tags for your apparel

Explore more
Where to go next


By the numbers
Tag stock picked from sixty options
Common Questions
Common questions about clothing hang tags
Is there a free hang tag maker I can use online?
Yes. The online design tool at 4OVER4.COM opens a hang tag canvas at the trim size with bleed and safe margin already marked, and the ready-made templates give you a proportioned starting point for the front and the back. Drop in your logo, set the price and size lines on the back, leave the top clear for the hole, and send the file straight to the hang tags for clothing configurator without paying for design software.
Can hang tags be printed on both sides?
Yes, and for clothing they should be. The front carries the logo, brand name, and a short tagline, and the back carries the price, size, fabric content, country of origin, and care guidance. Set the file up as two pages at the same trim size, keep both sides inside the safe margin, and choose two-sided printing in the configurator when you order.
How do you make hang tags for clothing?
Design a small branded tag, print it on a sturdy cover stock, and attach it to the garment. Put your logo and brand name on the front and the price, size, care, and fabric details on the back. A size around 2 by 3.5 inches suits most apparel. Add a drilled hole near the top, choose a finish that matches your brand, and attach the tag with string, a plastic fastener, or a pin. Set the file up at final size with bleed, then upload it and order the quantity your line needs.
What information should a clothing hang tag include?
Lead the front with your logo, brand name, and maybe a short tagline or graphic. Put the practical details on the back: the price, the size, and essentials like fabric content, country of origin, and basic care guidance. Keep it focused, since the tag is small, and use a QR code to carry anything extra such as full care instructions, styling ideas, or a link to your store, so you inform the shopper without crowding the tag.
What size should clothing hang tags be?
A tag around 2 by 3.5 inches, close to a business card, works for most apparel and leaves room for brand on one side and details on the other. Go smaller for delicate or minimalist items where a large tag would feel heavy, and larger when you want space for a brand story, a lookbook image, or a folded booklet-style tag. Whatever the size, leave the top clear for the hole and keep text inside a safe margin.
How do you attach a hang tag to clothing?
Start with a drilled hole near the top, then choose an attachment. String or twine looped to the garment tag or a buttonhole gives a crafted, boutique look. A plastic fastener shot through the fabric with a tagging gun is the fast, secure standard for higher-volume retail. A safety pin or ribbon adds a special, gift-like feel. Order the tags with the hole already drilled so they arrive ready to string rather than punching holes by hand.
What does it cost to print clothing hang tags and how are prices set?
Hang tags are among the most affordable branding you can buy, and price scales mostly with quantity, since setup is a fixed cost that spreads across more pieces. Ordering tags for a whole product line at once is far cheaper per tag than small per-style batches. Size, stock, and finish move the price from there, with custom shapes, foil, and soft touch adding cost for a more premium result. You set the options in the live configurator and the total updates as you adjust.
What sizes, stocks, and finishes are available for clothing hang tags?
Hang tags come in standard sizes near 2 by 3.5 inches plus smaller and larger options and fully custom die-cut shapes. Stock runs from clean uncoated to heavier premium cover weights, and finishes include gloss for vivid color, soft touch for a velvety feel, and foil, embossing, or edge painting for a luxury cue. You choose the exact combination on the product page, and ordering a proof first lets you feel a premium finish in hand before a full run.
Get Started
Ready to hang your brand on every garment?
Bring your logo and product details to 4OVER4, choose your size, stock, finish, and drilling, and watch the price update live as you set the quantity for your line.
Legal Disclaimer
Gold Standard guarantees apply to all standard orders placed through 4over4.com. Price match requires verifiable proof of a competitor's published price for an equivalent product with matching specifications and turnaround time. Satisfaction guarantee covers manufacturing defects and print quality issues. Contact support with order number and documentation. On-time delivery rate based on tracked orders 1999 to 2026. Individual results may vary based on shipping carrier performance.
