
How to Add Bleed and Crop Marks in Photoshop


Photoshop does not add bleed for you. Build the canvas a little larger than your final size, run your art off the edge, and add crop marks on export, and your edge-to-edge print comes back with no thin white slivers.
To add bleed in Photoshop, build the canvas 0.25 inch larger than the final trim size so there is 0.125 inch of extra art on every side, then extend your background all the way to that edge. Add crop marks when you export by choosing PDF/X-1a and turning on trim marks, so the press knows exactly where to cut. Do both and any slight shift in the blade never leaves an unprinted edge.
Start here
Why Photoshop files need bleed added by hand
Photoshop is a pixel editor, not a layout program, so it has no automatic bleed setting the way page-layout tools do. That means you add the bleed yourself by sizing the canvas larger than the final piece and running your artwork off the edge. Get the math right once, export with crop marks, and your file prints edge to edge with no white slivers. The standard bleed is 0.125 inch on every side, which means a quarter inch on each dimension.
What bleed is and why every edge-to-edge file needs it

Printing does not happen on a sheet cut to your exact card size. Pieces print on larger sheets and get trimmed down, and the cutting blade can shift by a fraction from one pass to the next. Bleed is the extra artwork that extends past the trim line to absorb that movement. Without it, a slight drift in the cut leaves a thin strip of unprinted white along the edge.
Any design where color, a photo, or a background touches the edge needs bleed, which covers most flyers, postcards, and full-color business cards. If your design has a genuine white border on all sides you can sometimes skip full bleed, but adding it anyway is the safer habit. The deeper mechanics live in our guide on bleed and trim explained.
The standard bleed size is 0.125 inch per side

For nearly every commercial print job, the standard bleed is 0.125 inch, or one eighth of an inch, on each side. In practice that means your Photoshop canvas needs to be 0.25 inch wider and 0.25 inch taller than the final trim size, because you are adding an eighth of an inch to the left and right, and another eighth to the top and bottom.
So a 3.5 by 2 inch business card is built on a 3.75 by 2.25 inch canvas, and a 4 by 6 inch postcard becomes a 4.25 by 6.25 inch file. Pair that outer bleed with a 0.125 inch safe margin pulled the other way, and you have the three lines every print file lives by. Our business cards and most products list their exact trim size on the product page so you can do this math with confidence.
Create the document at final size first

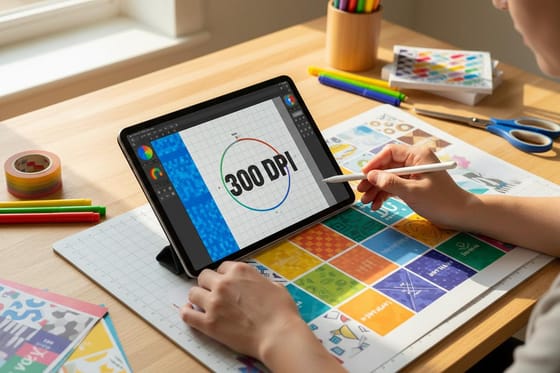
Always build at the real finished size before you add anything for bleed. Open a new Photoshop document set to the exact trim dimensions, 300 DPI, and CMYK color. Working at true size means your type sizes, image resolution, and spacing are all correct for print, rather than something you have to rescale later and risk softening.
Setting CMYK from the start also lets you preview how the ink will actually look, since screens show more vivid color than process ink can reproduce. If you built in RGB, convert now and re-check bright blues and greens. For the resolution side of this step, our guide on Photoshop resolution for printing covers why 300 DPI at final size is the number to hit.
Add the bleed by enlarging the canvas

With the layout built at trim size, open Image then Canvas Size. Switch the units to inches, tick the Relative checkbox, and enter 0.25 in both the width and height fields. Because Relative adds the amount evenly around the existing canvas, this places exactly 0.125 inch of new space on all four sides, which is your bleed area.
Now extend every element that touches an edge out into that new space. A background photo should fill to the outer edge, a color block should run past the old boundary, and a pattern should continue without a seam. Drop guides at the original trim line so you always know where the blade will land, and keep your important content pulled in from it.
Add crop marks on export, not by hand
Crop marks are the short lines at each corner that tell the press exactly where to cut. In Photoshop you do not draw them yourself. Instead you add them at export: choose File then Save As, pick Photoshop PDF, and select the PDF/X-1a preset, which is built for commercial printing. In the Marks and Bleeds section, turn on Trim Marks and Photoshop places clean crop marks outside your bleed automatically.
That single export handles several things at once: it flattens the file, embeds the color profile, keeps your images at full resolution, and adds the marks the press needs. For the full walkthrough of saving a press-ready file, pair this with our guide on saving a Photoshop file as a print-ready PDF.
Export, proof, and upload to 4OVER4
Before you upload, run a quick pre-flight. Confirm the color is CMYK, the images hold up at 100 percent zoom, the bleed reaches all four edges, text sits inside the safe margin, and the export is a flattened PDF with trim marks. Open the finished PDF and check that the crop marks sit just outside the artwork and that nothing important crowds the trim line.
Then upload the file in the product configurator. When you order with 4OVER4, your artwork also runs through a free file check, so a second set of eyes catches a missing bleed or a stray element before the press does. If you would rather skip the manual setup entirely, our online design tool builds bleed and safe margins in for you from the start.
Wally grows the canvas before the blade cuts
Bleed out, crop marks on, no white slivers
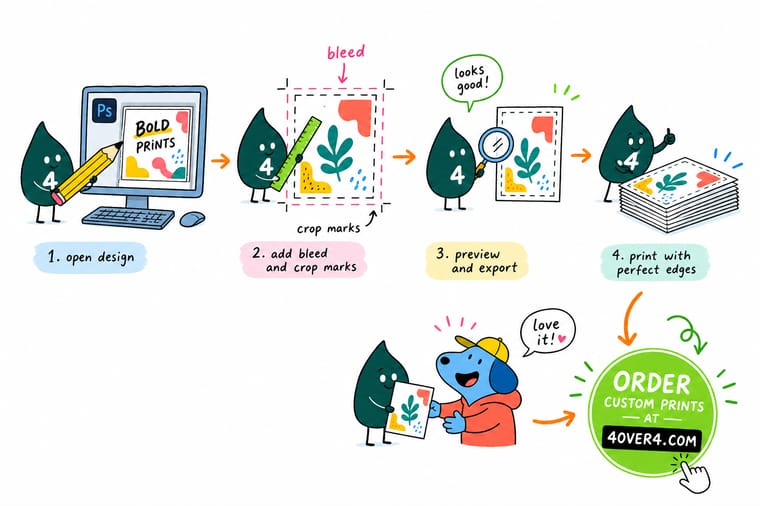
Wally builds at the real trim size, then enlarges the canvas by a quarter inch so there is an eighth of an inch of bleed on every side. Backgrounds run to the outer edge, text stays inside the safe margin, and one PDF/X-1a export drops the crop marks in place. Upload that and 4OVER4 prints your file edge to edge, clean every time.
Print your business cards →Quick reference
Bleed and crop mark settings in Photoshop
These are the numbers to hit for a standard commercial print job. Match them and your Photoshop file exports clean, with bleed and crop marks the press can use directly.
| Setting | Value | Why it matters |
|---|---|---|
| Bleed | 0.125 in each side | Art runs past the trim so a cut shift never leaves a white edge. |
| Canvas size | Trim size plus 0.25 in each way | Adds the 0.125 in bleed evenly to all four sides. |
| Color mode | CMYK | Presses print in process ink, so build in CMYK to preview true color. |
| Resolution | 300 DPI at final size | Keeps photos and logos sharp instead of soft or pixelated. |
| Safe margin | 0.125 in inside the trim | Keeps text and logos clear of the blade. |
| Export | PDF/X-1a with trim marks on | Places crop marks and flattens the file for press. |
Step by step
Add bleed and crop marks in Photoshop, step by step
- Create the document at final trim size Start a new file at the exact finished size, for a 3.5 by 2 inch card, set 3.5 by 2 inches at 300 DPI in CMYK.
- Turn on rulers and set units to inches Press the ruler shortcut and set the units to inches so every measurement below lines up with the print math.
- Enlarge the canvas to add bleed Open Canvas Size, tick the relative box, and add 0.25 inch to both width and height so 0.125 inch of bleed sits on every side.
- Add guides at the trim line Place guides 0.125 inch in from each edge to mark the trim, then another 0.125 inch in again for the safe margin.
- Run backgrounds out to the bleed edge Extend any photo, color, or pattern that touches an edge all the way to the outer canvas, never stopping at the trim guide.
- Pull text inside the safe margin Keep all copy, logos, and anything you cannot lose inside the inner guide, well clear of where the blade lands.
- Export a PDF with crop marks Save as Photoshop PDF, choose the PDF/X-1a preset, and under Marks turn on trim marks so crop marks are added automatically.
Specs and pricing
Business card specs and live pricing
Once your file has bleed and crop marks, size, stock and finish are what is left. Standard business cards run 100 for $17.57, which is $0.18 each.
| Quantity | Price Per Unit | Total |
|---|---|---|
| 100 | 17.6¢ | $17.57 |
| 200 | 11.5¢ | $23.07 |
| 300 | 9.15¢ | $27.46 |
| 400 | 7.96¢ | $31.86 |
| 500 | 7.25¢ | $36.26 |
| 600 | 6.77¢ | $40.64 |
| 700 | 6.43¢ | $45.04 |
| 800 | 6.18¢ | $49.43 |
Print it
Print your edge-to-edge files at 4OVER4
See it in use
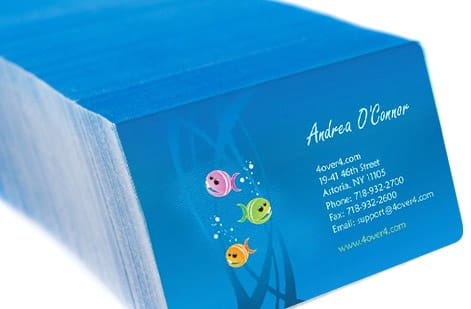
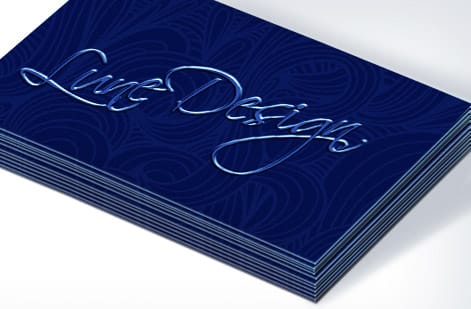
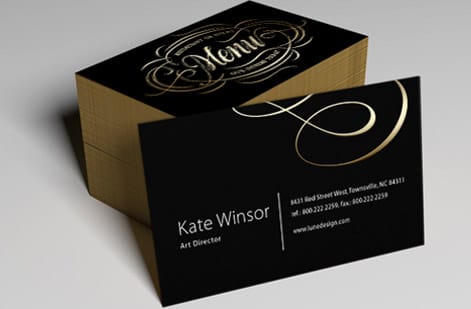
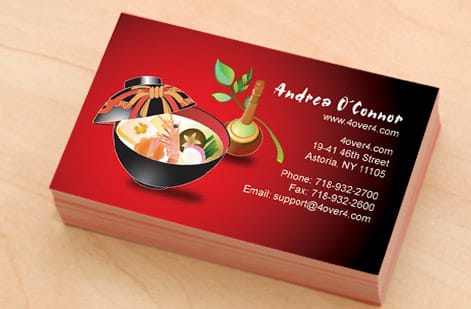
Edge to edge work printed from customer files




Explore more
Where to go next


By the numbers
Stocks that take a full bleed, and the delivery record
Common Questions
Common questions about bleed and crop marks
How do I add 0.125 inch bleed in Photoshop?
Build your document at the exact final trim size first, in CMYK at 300 DPI. Then open Image, Canvas Size, switch units to inches, tick the Relative box, and add 0.25 to both the width and height. Relative spreads that amount evenly, so you get 0.125 inch of bleed on all four sides. Finally, extend every background, photo, or color that touches an edge out to the new outer edge so nothing stops at the trim line.
What is the standard bleed size for printing?
The commercial standard is 0.125 inch, one eighth of an inch, of bleed on each side. That translates to a canvas 0.25 inch larger than the trim size in both directions. Pair it with a 0.125 inch safe margin pulled inward from the trim, where all text and logos must stay. Most 4OVER4 products list their exact trim size on the product page, so you can add the bleed with confidence for any size.
How do I add crop marks in Photoshop?
You add crop marks at export rather than drawing them. Choose File, Save As, and pick Photoshop PDF, then select the PDF/X-1a preset. In the Marks and Bleeds panel, turn on Trim Marks and Photoshop places crop marks just outside your bleed automatically. That same export flattens the file, embeds the color profile, and keeps images at full resolution, so the PDF is ready for press in one step.
Do I need bleed if my design has a white border?
If the border is genuinely white and part of the design, you can build to the trim without full-bleed art, but adding bleed anyway is safer and keeps the border even. The moment any color, photo, or background touches an edge, bleed becomes mandatory, because without it a small cutting shift can leave a thin unprinted sliver. When in doubt, add the 0.125 inch bleed and keep your key content inside the safe margin.
What file format should I upload after adding bleed?
Upload a flattened PDF exported with the PDF/X-1a preset, bleed included and trim marks on. A press-ready PDF is self-contained, so your images and color profile travel inside it and nothing has to be relinked on our end. When you order, the file also passes through a free file check that flags a missing bleed or low-resolution image before it reaches the press.
Get Started
Order 50 postcards at $0.33 each
Set your bleed and crop marks in Photoshop, then bring the press-ready PDF to 4OVER4.COM and print it on the size, stock, and finish your project calls for. Postcards run 50 for $16.48 and flyers 50 for $39.54.
Legal Disclaimer
Gold Standard guarantees apply to all standard orders placed through 4over4.com. Price match requires verifiable proof of a competitor's published price for an equivalent product with matching specifications and turnaround time. Satisfaction guarantee covers manufacturing defects and print quality issues. Contact support with order number and documentation. On-time delivery rate based on tracked orders 1999 to 2026. Individual results may vary based on shipping carrier performance.
