
How to Export a Print-Ready PDF From Illustrator or InDesign


Both Adobe apps export a press-ready PDF the same way once you know the settings. Cleanup comes before export, because a stray hidden object still lands on the plate.
To export a print-ready PDF, clean the artboard, embed fonts, and design in CMYK, then choose the PDF/X-1a preset. In the export dialog, turn on trim marks and set 0.125 inch bleed on all sides. Illustrator uses Save As and InDesign uses Export, but the preset and settings are the same. Then upload the PDF to any 4OVER4 product.
Start here
Same settings, two applications
Clean the file, lock fonts and links, design in CMYK, then export with the PDF/X-1a preset, trim marks, and 0.125 inch bleed. Illustrator does it through Save As and InDesign through Export, but the preset and the settings are identical. The export-settings blueprint below shows every value to match in the dialog.
Clean up the artboard before you export

A clean file exports cleanly. Before you touch the export dialog, delete hidden layers, non-printing objects, stray guides, and anything sitting on the pasteboard that you do not want printed. Confirm your artwork sits on the artboard at the exact trim size of the product, not floating a few pixels off, because the export uses the artboard or page as its reference.
This step matters more in Illustrator, where stray points and clipped objects hide easily, but it applies to InDesign too. A tidy document means the PDF you get is the design you see, with no surprise objects reappearing on press. It also makes the later checks faster, since there is less to inspect.
A business card, a flyer and a multi-panel brochure all take the same cleanup discipline. With the artboard sorted, the next thing the press cares about is your fonts and your linked images.
Check fonts and links

The single most common reason a file fails is a font that did not travel or an image that was low-resolution or unlinked. Handle both before export. For fonts, either outline your type, which converts letters to vector shapes, or rely on the export preset to embed them; PDF/X-1a embeds fonts by default, so embedding is usually the cleaner choice because your text stays editable in the source.
For images, open the Links panel and confirm every placed image is linked, present, and at roughly 300 DPI at the size it appears on the page. An image that looks fine on screen can still be too low-resolution once scaled, so check the effective resolution, not just the preview. Relink or replace anything flagged before you go further.
Once fonts are locked and links are clean, the file is portable. For a deeper look at why full-resolution art matters, our guide on creating print-ready files covers resolution in detail. Next comes the geometry: bleed and crop marks.
Set bleed and crop marks
Bleed and crop marks live in the same export panel in both apps, and they solve the same problem: the blade can drift a hair when the sheet is cut. Set the bleed to 0.125 inches on all four sides so any art that reaches an edge keeps going past the trim, and turn on trim or crop marks so the press knows exactly where the final cut lands.
The cleanest workflow is to build the bleed into the document from the start, then simply check Use Document Bleed Settings on export. Keep the extra marks, color bars, registration targets, and page information, turned off unless a printer specifically requests them, since they only add clutter to a standard job.
This is also the moment to confirm your text is inside the safe margin, 0.125 inches in from the trim, so nothing important sits close enough to the blade to get clipped. Our dedicated guide on bleed and trim walks through setting these lines in detail. With the geometry set, the last technical decision is color.
CMYK and color settings

Presses print with cyan, magenta, yellow, and black ink, so your file needs to be in CMYK, not the RGB that screens use. Set the document to CMYK while you design so the preview reflects ink, and set the export to convert color to a CMYK destination as a safety net. Exporting RGB and hoping for the best is exactly where bright blues drift purple and vivid greens lose punch.
If your art came from a camera or the web, convert it and then re-check the colors that shift most. For large solid blacks, use a rich black build rather than plain 100 percent K so the ink lays down deep and even. If a precise brand color is critical, note the spot reference and confirm it against a printed sample rather than trusting a monitor.
With color handled in the document, PDF/X-1a will enforce CMYK on the way out, which is one more reason it is the preset to reach for. Now the two app-specific exports.
Export from Illustrator
In Illustrator, go to File and then Save As, and choose Adobe PDF as the format. In the dialog, pick the PDF/X-1a:2001 preset from the top menu. Open the Marks and Bleeds panel, turn on trim marks, and either set 0.125 inches of bleed on all sides or check Use Document Bleed Settings if you built the file with bleed.
Confirm the Output section converts color to CMYK, then save. Illustrator flattens transparency and embeds fonts as part of the X-1a preset, so you rarely need to touch those manually. The one habit worth keeping is to open the finished PDF afterward and zoom to 100 percent to confirm the bleed is present and the art is sharp.
That exported file is now portable and press-ready. Whether it is a business card or a poster, it will print the same on our system as it looks on yours. InDesign follows nearly identical steps.
Export from InDesign

In InDesign, use File and then Export, and choose Adobe PDF (Print). Select the PDF/X-1a:2001 preset. In the Marks and Bleeds section, enable crop marks and set the bleed to 0.125 inches on all sides, or check Use Document Bleed Settings if the document already carries bleed. Under Output, set the color conversion to a CMYK destination.
Export, then open the PDF and proof it at 100 percent. Like Illustrator, InDesign embeds fonts and flattens transparency automatically with this preset, so a clean source document produces a clean PDF. Because InDesign is built for multi-page and folded work, this is also where you confirm panel widths and reading order on brochures and booklets before export.
The result is the same regardless of app: a single, self-contained PDF that any product on our site can accept. If you are weighing which format to send for an unusual job, our guide on choosing the right file type lays out the options. The final step is uploading.
Upload to 4OVER4 and print

With a PDF/X-1a file in hand, open the product you want, set the size, stock, and finish, and upload the PDF in the configurator. Every file we receive runs through a free print check, which catches a missing bleed or a low-resolution image before the press does, so you get a second set of eyes at no cost.
If you would rather skip the export entirely, our free online design tool builds a print-ready file in the browser with the bleed and safe margins already in place. Either path ends the same way: a file that prints predictably. Start with a business card, a brochure, or any product and upload your PDF.
Use the live specs and pricing panel below to pick your size and stock, then upload your exported PDF and order. The settings table above is a quick reference you can keep beside the export dialog.
Wally exports it right the first time
One preset, one bleed setting, one clean PDF
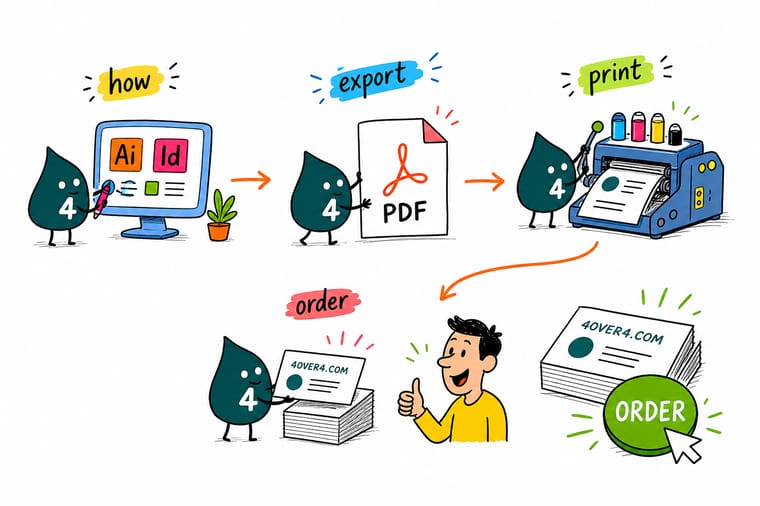
Wally keeps the export boring on purpose: clean the artboard, embed the fonts, switch to CMYK, then choose PDF/X-1a with trim marks and a 0.125 inch bleed. Illustrator calls it Save As and InDesign calls it Export, but the file that comes out is the same, self-contained and press-ready. Upload it and 4OVER4 prints it exactly as drawn.
Upload your PDF and print →Export settings
The export dialog, at a glance
Match these six settings in Illustrator or InDesign and the PDF you get is one we can print without edits. Keep this beside your export dialog.
| Setting | Get it to | Why it matters |
|---|---|---|
| Preset | PDF/X-1a:2001 | The commercial-print standard that flattens transparency, forces CMYK, and strips anything a press cannot use. |
| Bleed | 0.125 in all sides | Runs background art past the trim so a slight cutting shift never leaves a white sliver. |
| Marks | Trim marks on | Tells the press exactly where the final cut lands. Keep other marks off unless requested. |
| Color | Convert to CMYK | Matches screen preview to process ink and avoids the color shift of an RGB export. |
| Fonts | Embed all | Packs every typeface inside the PDF so nothing gets substituted on our system. |
| Images | 300 DPI, flattened | Full-resolution linked images, flattened on export, keep photos and logos crisp. |
Step by step
Export a print-ready PDF in 6 steps
- Clean up the artboard Delete hidden layers, non-printing objects, and stray guides, and make sure your art sits on the artboard at the correct trim size.
- Check fonts and links Outline or plan to embed every font, and confirm all placed images are linked and at 300 DPI at their final size. Fix any missing links before export.
- Set bleed and safe margin Confirm 0.125 in of bleed on all sides and keep text inside the safe margin so nothing important is trimmed.
- Convert color to CMYK Set the document to CMYK and re-check bright blues, greens, and oranges that shift most in conversion.
- Choose PDF/X-1a on export In Save As or Export, pick the PDF/X-1a preset, turn on trim marks, add the 0.125 in bleed, and embed fonts.
- Proof and upload to 4OVER4 Open the exported PDF, zoom to 100 percent to check sharpness and bleed, then upload it to your product and let the free file check confirm it.
Specs and pricing
Business card specs and live pricing
Once your PDF is exported, size, stock and finish are what is left. Business cards run 100 for $17.57, which is $0.18 each.
| Quantity | Price Per Unit | Total |
|---|---|---|
| 100 | 17.6¢ | $17.57 |
| 200 | 11.5¢ | $23.07 |
| 300 | 9.15¢ | $27.46 |
| 400 | 7.96¢ | $31.86 |
| 500 | 7.25¢ | $36.26 |
| 600 | 6.77¢ | $40.64 |
| 700 | 6.43¢ | $45.04 |
| 800 | 6.18¢ | $49.43 |
Print it
Upload your PDF to 4OVER4
See it in use
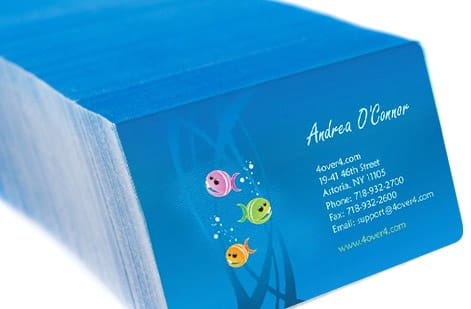
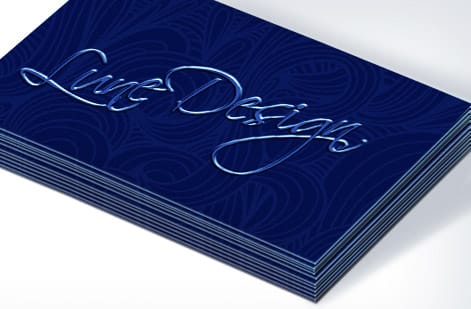
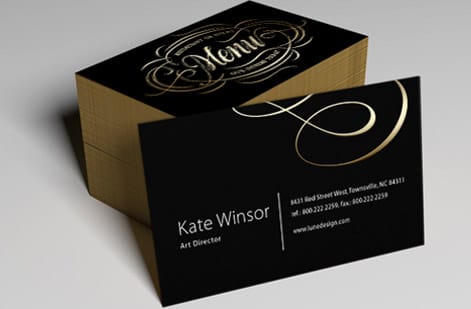
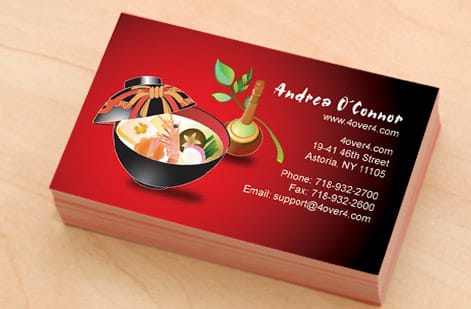
PDFs that needed no prepress call




Explore more
Where to go next


By the numbers
The press your exported PDF arrives at
Common Questions
Common questions about exporting print PDFs
How do I export a print-ready PDF from Illustrator?
In Illustrator, finish by cleaning the artboard, outlining or embedding fonts, and confirming images are linked at 300 DPI. Then go to File and Save As, choose Adobe PDF, and pick the PDF/X-1a:2001 preset. In the Marks and Bleeds panel, turn on trim marks and set 0.125 inches of bleed on all four sides, or use the document bleed if you set it. Make sure output color converts to CMYK. Save, then open the PDF and check it at 100 percent zoom before uploading.
How do I export a print-ready PDF from InDesign?
In InDesign, use File and then Export and choose Adobe PDF (Print). Select the PDF/X-1a:2001 preset. Under Marks and Bleeds, enable crop marks and set the bleed to 0.125 inches on all sides, or check Use Document Bleed Settings if you built the document with bleed. Under Output, set color conversion to a CMYK destination. Export, then open and proof the file at 100 percent. InDesign embeds fonts and flattens automatically with this preset.
What is PDF/X-1a and why use it?
PDF/X-1a is an ISO standard flavor of PDF built specifically for commercial printing. It flattens transparency, forces all color to CMYK or spot, requires fonts to be embedded, and removes elements a press cannot use, like RGB profiles and interactive features. Choosing it in Illustrator or InDesign removes most of the ways a file can go wrong before it leaves your computer, which is why it is the preset we recommend for almost every print job.
How do I add bleed and crop marks when exporting?
Both apps handle bleed and marks in the same export panel. Set the bleed to 0.125 inches on all four sides, which extends any edge-to-edge art past the trim line, and turn on trim or crop marks so the press knows where to cut. The cleanest approach is to build the bleed into the document from the start, then check Use Document Bleed Settings on export. Avoid turning on extra marks like color bars unless a printer specifically asks for them.
Which PDF preset does a commercial press want?
Start from the product trim size, build the document with 0.125 inch bleed and safe margin, and design in CMYK. For the export itself, PDF/X-1a with trim marks, document bleed, embedded fonts, and 300 DPI flattened images covers almost every standard job. Folded and multi-panel pieces need their panels measured, and special finishes like foil need a separate spot layer. When in doubt, follow the product-specific setup notes and use the live specs on the product page so your file matches what the press expects.
What does it cost to print my exported PDF and how are prices set?
Exporting the PDF costs nothing beyond your design time, and running it through our free file check before you order is included. Printing price then scales with quantity, size, paper stock, and finish, with more pieces lowering the unit price. You set each option in the configurator and the price updates live, so you can see exactly how a heavier stock or a larger run changes the number before you upload your file and order.
Get Started
Order 50 brochures at $1.14 each from your PDF
Export a PDF/X-1a file from Illustrator or InDesign and upload it to any product at 4OVER4.COM. Pick your size, stock, and finish and watch the price update live.
Legal Disclaimer
Gold Standard guarantees apply to all standard orders placed through 4over4.com. Price match requires verifiable proof of a competitor's published price for an equivalent product with matching specifications and turnaround time. Satisfaction guarantee covers manufacturing defects and print quality issues. Contact support with order number and documentation. On-time delivery rate based on tracked orders 1999 to 2026. Individual results may vary based on shipping carrier performance.
