Quick Tips for Making Custom Envelopes
Learning how to make envelopes doesn't require fancy equipment or years of design experience. You need the right paper, accurate measurements, clean folds, and a solid adhesive. Whether you're crafting envelopes by hand for a wedding or designing print-ready files for a business mailing, the process follows the same core steps. 4OVER4.COM has helped 150,000+ businesses get their print projects right - including envelopes for every occasion. With 1,000+ products in the catalog, there's an envelope style for every need.
Why Custom Envelopes Still Matter in a Digital World
Custom envelopes set the tone before anyone reads a word inside. They're the first thing a recipient touches, and that physical impression sticks. A plain white envelope gets tossed. A branded, well-made envelope gets opened.
Whether you're sending invoices, invitations, donation requests, or thank-you cards, the envelope is your opening act. 4OVER4.COM offers 1,000+ products to match any mailing project, and our Design Templates make the design process painless. If you're looking for inspiration from real customers, check out the Showcase gallery. And if you get stuck at any point, the Help Center has answers.
Ink Color
Proof Options
Below you'll find a breakdown of envelope types, sizes, and printing options - from DIY paper folding to professional-grade Custom Envelopes ready to mail. Here's a look at some of the most popular envelope products available right now.
Step-by-Step: How to Make Envelopes from Scratch
Making envelopes at home is straightforward once you understand the anatomy. Every envelope has four parts: a front panel, a back panel, two side flaps, and a top flap. The size of each piece depends on what you're mailing. Let's walk through the process for both handmade and print-ready envelopes.
Gather Your Materials
For a basic handmade envelope, you need a sheet of paper (at least 8.5" x 11"), a ruler, a pencil, scissors, and glue or double-sided tape. Card stock between 60lb and 80lb text weight works well - it's sturdy enough to hold its shape but light enough to fold cleanly. Decorative scrapbook paper, kraft paper, and even wallpaper samples can work for special occasions.
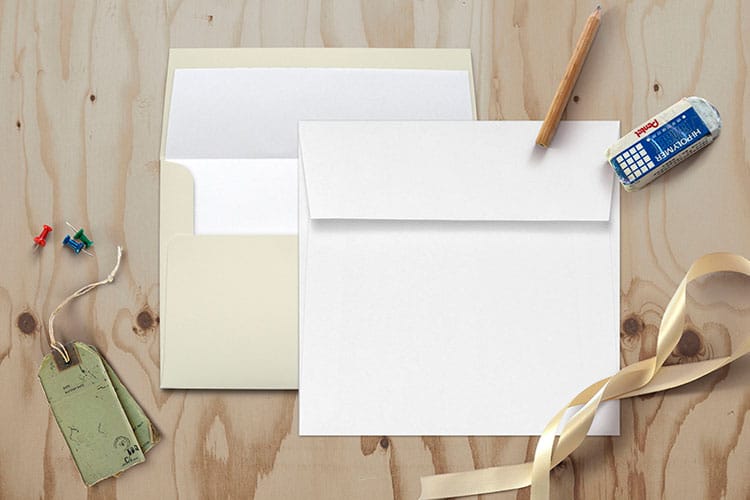
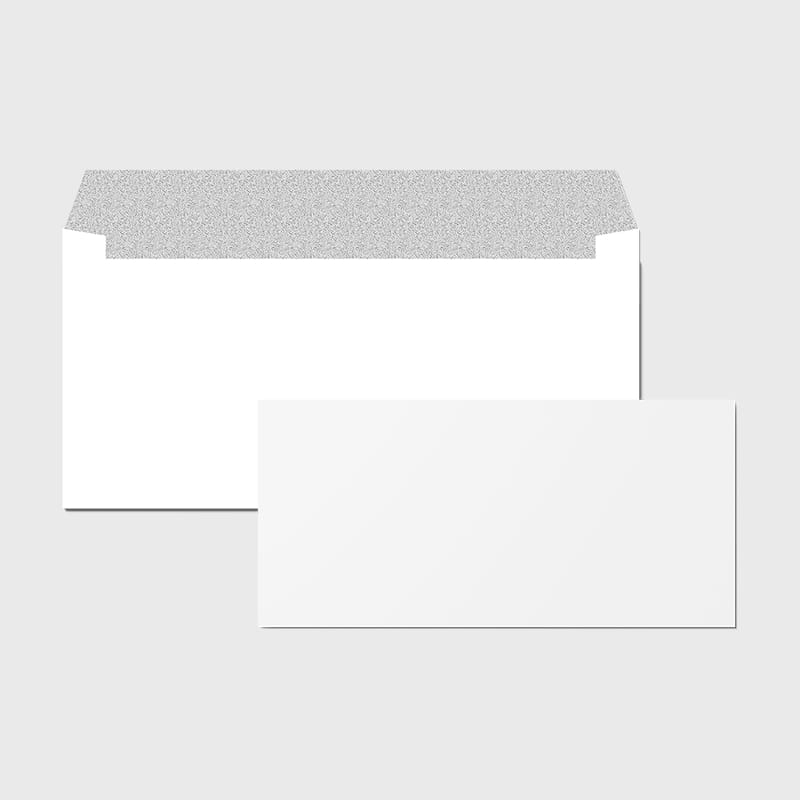
If you want professional results without the DIY hassle, 4OVER4.COM offers Blank Envelopes in multiple sizes and paper stocks. These arrive ready to customize with stamps, stickers, or your own printer. For a deeper look at other hands-on print projects, our Faq Hub covers everything from folding to finishing.
Measure and Cut Your Template
Start with the item you're enclosing. Measure its width and height. Add 1/4 inch to each dimension for breathing room. Now sketch your envelope template on the back of your paper.
For a standard A2 envelope (4.375" x 5.75"), your flat template should be roughly 9" x 12" before folding. The front panel matches your final envelope size. Side flaps should be about 1/2 inch wide. The bottom flap extends 2-3 inches below the front panel. The top flap extends 2-3 inches above.
Cut along your pencil lines with sharp scissors or a craft knife and ruler for cleaner edges. If you're making multiple envelopes, cut one perfect template from cardboard first, then trace it onto each sheet.
"I made 80 envelopes for my sister's baby shower using kraft paper and a cardboard template. Took about two hours once I had the system down. The personal touch made every guest comment on them."
- Rachel K., Event Planner
Score, Fold, and Seal
Scoring is the secret to clean folds. Use an empty ballpoint pen or a bone folder along a ruler to create fold lines. Press firmly enough to indent the paper but not cut through it. This step makes the difference between a crisp, professional-looking envelope and a sloppy one.
Fold the side flaps inward first. Then fold the bottom flap up and glue it to the side flaps. Let it dry completely before adding contents. The top flap stays open until you're ready to seal. Double-sided tape gives the cleanest closure. Glue sticks work too but can wrinkle thinner papers.
If you're interested in other paper-folding techniques, our guide on How To Fold A Brochure covers similar principles with different applications.
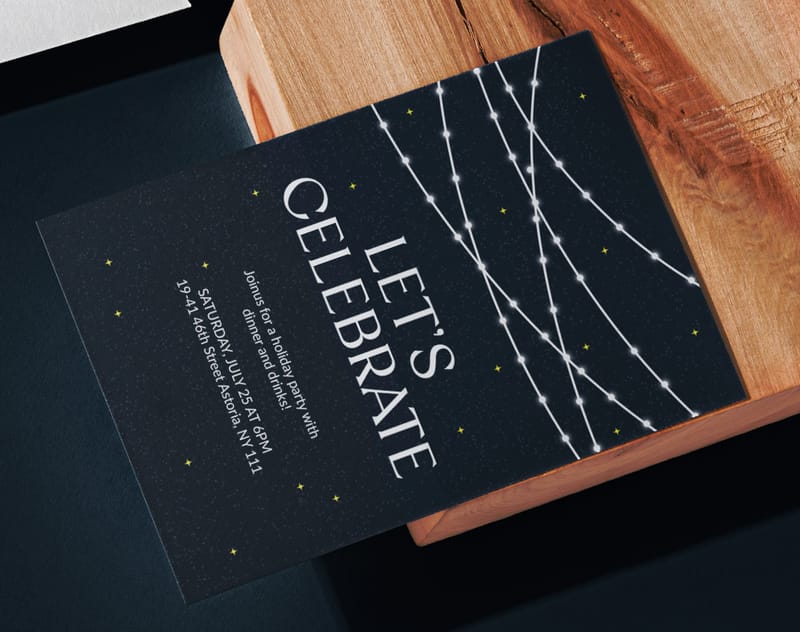
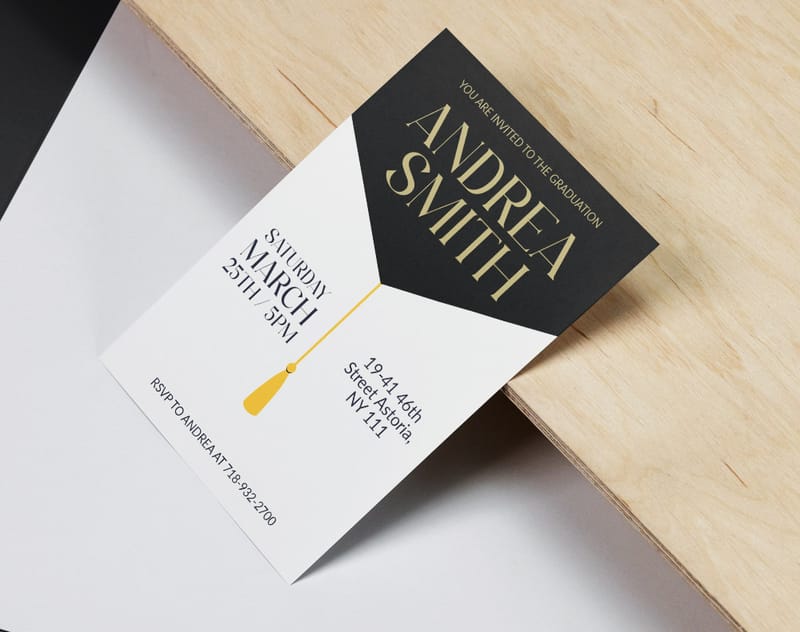
Standard Envelope Sizes and When to Use Each
Picking the right size matters for both aesthetics and postage costs. Here are the most common sizes:
- A2 (4.375" x 5.75") - RSVP cards, thank-you notes, small invitations
- A6 (4.75" x 6.5") - Greeting cards, photo cards, 4x6 prints
- A7 (5.25" x 7.25") - Wedding invitations, formal announcements
- #10 (4.125" x 9.5") - Business letters, invoices, checks
- 6x9 (6" x 9") - Booklets, catalogs, thick mailings
Anything under 6.125" x 11.5" and at least 3.5" x 5" qualifies for standard USPS letter rates. Go bigger and you're paying flat or package rates. Keep that in mind when designing how to make envelopes for bulk mailings.
Designing Print-Ready Envelope Files
If you're ordering Custom Envelopes from a printer like 4OVER4.COM, your file needs to meet specific requirements. Work in CMYK color mode (not RGB). Set your resolution to 300 DPI minimum. Include 1/8 inch bleed on all sides - that's the area beyond the trim line where ink extends to prevent white edges.
Keep text and logos at least 1/4 inch from the trim edge. For #10 business envelopes, the return address typically sits in the upper left corner. Leave the lower right area clear for the mailing address and any postal barcodes.
Need help with other print file setups? Our guide on How To Make Flyers walks through similar design principles. And if you're working with rubber stamps for return addresses, check out How To Clean Rubber Stamps to keep your tools in shape.
Paper Choices That Change Everything
The paper you choose affects how your envelope looks, feels, and performs in the mail. Here's what to consider:
- Standard white wove - Clean, professional, affordable. Perfect for everyday business mail.
- Kraft paper - Rustic, eco-friendly feel. Great for artisan brands and casual invitations.
- Linen textured - Adds a tactile, premium quality. Popular for wedding stationery.
- Cotton paper - Soft, thick, and luxurious. The gold standard for formal correspondence.
- Recycled stock - Shows environmental commitment without sacrificing quality.
4OVER4.COM stocks 60+ paper types across its product line, so you're not limited to basic options. Want to feel the difference before committing? Order Free Samples and compare textures in your hands.
"We switched from plain white to a textured linen envelope for our quarterly client updates. Open rates went up and we started getting compliments on our mail. The paper made all the difference."
- David L., Financial Advisor
Adding Finishing Touches
A great envelope doesn't stop at paper and ink. Finishing details turn a good envelope into a memorable one.
Foil stamping adds metallic shine to logos or monograms. Embossing creates a raised texture you can feel with your fingertips. Custom liners add a pop of color or pattern when the flap opens. Wax seals bring old-world charm to formal invitations.
For branded business envelopes, a simple one-color logo on a quality stock often makes the strongest impression. Don't overcomplicate it. Clean design on good paper beats a busy design on cheap stock every time.
Looking for more creative project ideas? The Custom Magnets Faq guide covers another hands-on customization project. And browse the Showcase to see how other customers have designed their print materials.
Envelope Templates and Design Resources
Starting from a blank canvas can be intimidating. Templates speed up the process whether you're folding paper at home or building a digital file. For DIY envelopes, printable templates with fold lines and cut marks save time and reduce waste. For professional printing, pre-built design templates ensure your artwork meets production specs.
Blank Templates

Here are some design resources and templates to get you started on your next envelope project.
Envelope Mistakes That Waste Paper and Money
Even simple projects go sideways when you skip the basics. Here are the most common errors people make when learning how to make envelopes - and how to avoid them.
- Skipping the score lines. Folding without scoring creates uneven, bumpy edges. Always score first with a bone folder or empty pen.
- Wrong paper weight. Too thin and the envelope tears in transit. Too thick and it won't fold cleanly or fit through postal machines. Stick to 60lb-80lb text weight for handmade versions.
- Ignoring bleed in print files. No bleed means white edges after trimming. Always add 1/8 inch bleed to every side of your design.
- Sizing too tight. If your card barely fits, it'll get damaged going in and coming out. Add at least 1/4 inch to each dimension.
- Using weak adhesive. Glue that doesn't hold means envelopes that open in the mail. Double-sided tape or strong glue sticks are your best bet.
4OVER4.COM eliminates most of these headaches with 150,000+ businesses trusting our production quality. Professional printing means precise cuts, proper adhesive, and consistent results every time.
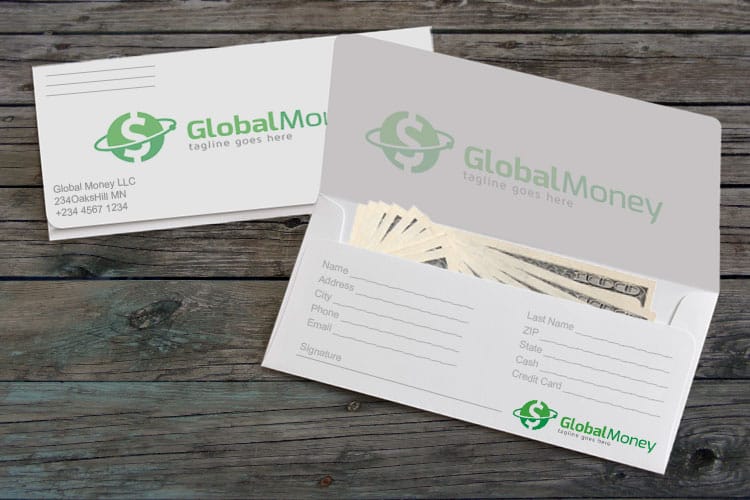
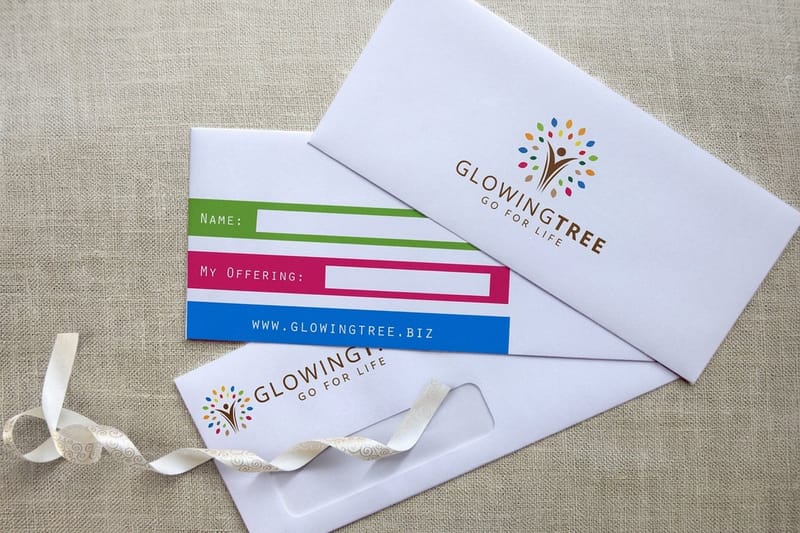
4OVER4.COM Envelope Products Worth Considering
If DIY isn't your thing - or you need hundreds of envelopes with consistent quality - 4OVER4.COM has you covered. From Blank Envelopes to Donation Envelopes and Invitation Envelopes, there's a product for every mailing scenario. With 10,000+ reviews and a 4.8/5 star rating, customers trust 4OVER4.COM for projects big and small.
For something completely different, consider pairing your envelopes with 30Mil Clear Plastic Cards as inserts for a high-impact mailing that recipients won't forget.
Proof Options
Here's a closer look at available envelope products, pricing, specifications, and what real customers have to say.
Free Design Templates
Your Envelope Questions, Answered
What's the best paper for making envelopes at home?
For handmade envelopes, 60lb to 80lb text weight paper works best. It's sturdy enough to protect contents but folds without cracking. Kraft paper, scrapbook paper, and linen-textured sheets all produce great results. Avoid anything thicker than 80lb cover stock - it won't fold cleanly without professional scoring equipment.
Can I print on envelopes with a home printer?
Yes. Most inkjet and laser printers handle standard #10 and A7 envelopes. Use your printer's envelope feed tray, print a test on plain paper first, and make sure your design stays within the printable area. For large quantities or full-bleed printing, professional printing from 4OVER4.COM gives cleaner, more consistent results.
How do I make sure my envelopes are USPS compatible?
USPS letter-rate envelopes must be between 3.5" x 5" (minimum) and 6.125" x 11.5" (maximum), with a thickness under 1/4 inch. They also need to be rectangular with an aspect ratio between 1.3 and 2.5. Keep the lower-right quadrant clear for addresses and barcodes when you design your layout.
What adhesive works best for sealing handmade envelopes?
Double-sided tape gives the cleanest, strongest seal. It doesn't wrinkle paper like liquid glue, and it holds up during mailing. Glue sticks work for lighter-weight envelopes. For formal invitations, wax seals add a decorative touch while keeping the flap closed.
How many envelopes can I make from one sheet of paper?
From a standard 8.5" x 11" sheet, you can make one A2 or A6 envelope. Larger formats like 12" x 12" scrapbook paper yield one A7 envelope with minimal waste. For #10 business envelopes, you'll need at least an 11" x 17" sheet to get the right proportions.
Is it cheaper to make envelopes or buy them pre-made?
For small batches under 25 pieces, handmade envelopes can be cost-effective - especially if you already have decorative paper. For anything over 50 envelopes, ordering from 4OVER4.COM saves time and delivers more consistent quality. Professional printing also opens up options like full-color printing, foil stamping, and custom sizes that are hard to replicate at home.
