Quick Takeaways for Making Flyers That Actually Work
Learning how to make flyers starts with a clear message, strong visuals, and the right paper stock. Don't overthink it. 4OVER4.COM has printed over 10 billion cards and marketing materials for more than 150,000+ businesses, so we know what separates a flyer that gets read from one that hits the trash. Here's what matters most: one clear call to action, readable fonts, high-resolution images, and professional printing that matches your design effort.
Your Flyer Is a First Impression - Make It Count
A flyer does one job. It grabs attention and drives action. Whether you're promoting an event, launching a product, or announcing a sale, knowing how to make flyers that connect with your audience is a skill worth building. The good news? You don't need a design degree.
| Quantity | Price Per Unit |
|---|---|
| 50 | $1.14 |
| 800 | $0.21 |
| 7,000 | $0.06 |
| 25,000 | $0.04 |
Ink Color
Finish
Folding
Scoring
Perforation
Proof Options
4OVER4.COM makes the printing side easy. You handle the creative, and we handle the rest. This guide walks you through every step, from choosing your layout and writing copy that converts, to picking the right paper and finish for your project. If you're exploring other printed marketing materials, check out our guide on Custom Magnets Faq or learn How To Make Envelopes for direct mail campaigns.
Ink Color
Finish
Die Cutting
Proof Options
Below, you'll find the flyer formats 4OVER4.COM offers, from standard Business Flyers to Circle Flyers and Club Flyers. Each one serves a different purpose, and we'll help you figure out which fits your goals.
Ink Color
Finish
Scoring
Rounded Corners
Total Sets
Proof Options
Step-by-Step: Building a Flyer From Scratch
Step 1 - Define Your Goal Before You Open Any Design Tool
Every great flyer starts with one question: what do you want the reader to do? Buy something? Show up somewhere? Call a number? Visit a website? Pin down a single objective. Flyers that try to say everything end up saying nothing.
Write your call to action first. "Join us Saturday at 7pm." "Get 20% off this week only." "Scan for a free consultation." That sentence drives every design decision that follows. Font size, image choice, layout hierarchy - all of it flows from your CTA.
If you're working on a larger campaign that includes folded pieces, our guide on How To Fold A Brochure covers layout techniques that also apply to flyer design.
Step 2 - Choose Your Flyer Size and Format
Standard flyer sizes include 4.25" x 5.5" (quarter page), 5.5" x 8.5" (half page), and 8.5" x 11" (full page). Smaller flyers work well for handouts at events and countertop displays. Full-page flyers give you room for detailed information, menus, or event schedules.
Don't overlook non-standard shapes. Circle Flyers stand out in a stack of rectangles. Club Flyers (typically 4" x 6" or similar) are compact enough to hand out at venues and thick enough to feel big. The format you pick should match where and how you're distributing.
Step 3 - Write Copy That People Actually Read
Here's the truth about flyer copy: nobody reads all of it. They scan. So structure your text for scanners.
Headline: Big, bold, impossible to miss. Five to eight words max. This is your hook.
Subheadline: One sentence that adds context. "Annual charity run benefiting local schools" tells the reader why they should care.
Body text: Keep it short. Bullet points beat paragraphs on a flyer. Include only what the reader needs to take action - date, time, location, price, contact info.
Call to action: Make it visually distinct. Different color, larger font, or inside a button-shaped box. The CTA should be the second thing someone sees after the headline.
For more printing and design tips across product types, browse our Faq Hub for dozens of how-to guides.
Step 4 - Design Layout and Visual Hierarchy
Visual hierarchy means controlling what the reader sees first, second, and third. Your layout should guide the eye naturally from headline to image to CTA.
Use the Z-pattern. Readers' eyes move from top-left to top-right, then diagonally to bottom-left, and across to bottom-right. Place your headline at the top, supporting image in the middle, and CTA at the bottom right.
White space isn't wasted space. It's breathing room. Cramming every square inch with text and images makes your flyer feel chaotic. Give your key elements room to stand out.
Stick to two fonts maximum. One for headlines (something bold and attention-grabbing) and one for body text (clean and readable). Mixing three or four fonts looks amateur fast.
Color matters too. Use your brand colors if you have them. If not, pick two or three colors that create contrast. Dark text on light backgrounds reads best. If you're using a photo background, add a semi-transparent overlay behind your text so it stays legible.
Step 5 - Select Images That Support Your Message
Low-resolution images are the fastest way to make a professional design look cheap. Every image on your flyer should be at least 300 DPI (dots per inch) at the final print size. That's the standard for sharp, crisp printing.
Use one hero image, not five small ones. A single powerful photo creates more impact than a collage. If you're promoting food, show the food. Promoting an event, show the venue or past attendees having a great time. Real photos outperform stock images almost every time.
4OVER4.COM prints in full CMYK color, so your images will look vivid and saturated on paper. Just make sure your files are in CMYK mode before uploading - RGB files can shift colors during conversion.
"We designed Circle Flyers for our restaurant's grand opening and handed them out at the farmers market. The shape alone got people to stop and look. We had a packed house opening night."
- Marcus L., ★★★★★
Step 6 - Pick the Right Paper Stock and Finish
This is where your flyer goes from "something I made on my computer" to "something that feels professional in my hand." Paper stock and finish change the entire experience.
Thicker stocks (like 14pt or 16pt cardstock) feel sturdy and premium. They're harder to crumple and more likely to get pinned on a bulletin board or kept on a desk. Thinner stocks work fine for mass distribution where cost per piece matters more.
Gloss finish makes colors pop and photos look sharp. It catches light and feels slick. Great for event flyers, product promotions, and anything image-heavy.
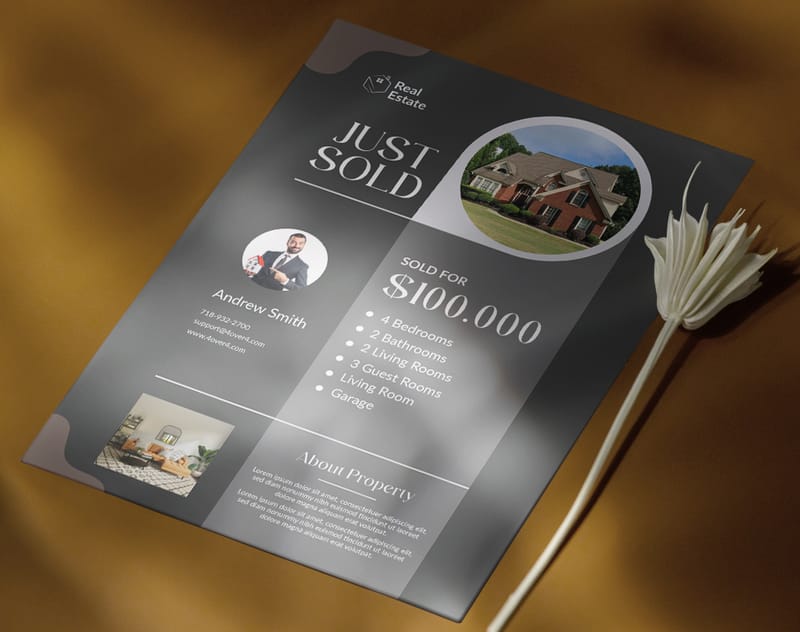
Matte finish has a smooth, non-reflective surface. It's easier to read under bright lights and feels more sophisticated. Works well for professional services, real estate, and educational content.
Uncoated stock has a natural, textured feel. It's writable (people can jot notes on it) and gives an organic, approachable vibe. Perfect for community events, nonprofits, and artisan businesses.
If you're creating multi-page content alongside your flyers, Custom Booklets and Custom Brochures give you more room to tell your story.
Step 7 - Set Up Your File for Print
Getting your design file print-ready avoids delays and reprints. Here's your checklist:
- Bleed area: Extend your background and images 0.125" beyond the trim line on all sides. This prevents white edges after cutting.
- Safe zone: Keep all important text and logos at least 0.125" inside the trim line. Anything too close to the edge risks getting cut off.
- Resolution: 300 DPI minimum for all images and graphics.
- Color mode: CMYK, not RGB. CMYK is the standard for commercial printing.
- File format: PDF is preferred. It preserves fonts, colors, and layout exactly as you designed them.
If you're not sure about file setup, 4OVER4.COM offers free file review before printing. Upload your design and the team checks it for common issues before your order goes to press.
Blank Templates
Step 8 - Proof, Print, and Distribute
Always request a digital proof. Review it carefully. Check for typos, color accuracy, and alignment. It's much cheaper to fix a mistake on screen than after 1,000 copies are printed.
Once approved, 4OVER4.COM handles the rest. Your flyers ship with care, and most orders arrive on time thanks to a track record of reliable delivery.
For distribution, think about where your audience actually is. Coffee shops, community boards, event venues, trade show tables, door-to-door drops, and direct mail all work depending on your goal. Match the distribution method to the audience and the message. And if you're maintaining other tools like stamps for your business, our guide on How To Clean Rubber Stamps keeps your full print toolkit in shape.
Below you'll find real customer flyer designs for inspiration, plus ready-to-use templates that speed up the design process.
Flyer Mistakes That Kill Your Response Rate
Even well-intentioned designs fall flat when these common errors creep in. Here's what to avoid when you make flyers for any campaign.
- Too many messages on one flyer. Pick one goal. One CTA. One reason to act. Splitting attention splits results.
- Tiny or hard-to-read fonts. Body text below 10pt is a struggle for most readers. Headlines should be visible from arm's length.
- No clear call to action. If someone reads your flyer and doesn't know what to do next, you've wasted paper and money.
- Low-resolution images. Anything below 300 DPI will look blurry and pixelated in print. Always check before uploading.
- Ignoring bleed and safe zones. This leads to white borders or chopped-off text. 4OVER4.COM's templates include bleed guides to prevent this.
- Choosing the wrong paper for the job. A thin, flimsy stock for a luxury brand event sends the wrong signal. Match your paper to your message.
Avoiding these pitfalls puts you ahead of most DIY flyer designers. Pair smart design with professional printing from 4OVER4.COM, and your flyers will do their job.
Best Flyer Products for Your Next Campaign
Once you know how to make flyers, choosing the right product is the final step. 4OVER4.COM offers several flyer formats to match different use cases and budgets. If sustainability matters to your brand, explore our Green Printing options for eco-conscious paper choices.
New to 4OVER4.COM? Try our Free Business Cards to experience the print quality firsthand before ordering flyers. It's the easiest way to see what Free Business Cards quality feels like in your hands.
Here's a look at available flyer products, pricing, specs, and what real customers have to say.
Ink Color
Finish
Folding
Scoring
Perforation
Proof Options
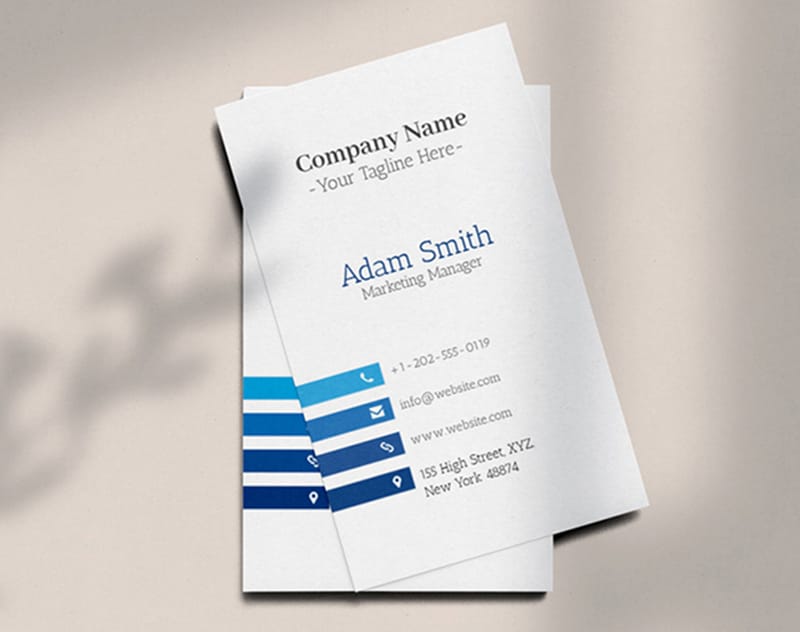
"I ordered Business Flyers on 14pt gloss for our yoga studio's summer schedule. The colors were vivid and the paper felt sturdy enough to pin up anywhere. We've reordered three times now."
Free Design Templates
- Priya K., ★★★★★

Common Questions About Making and Printing Flyers
What's the best size for a flyer?
It depends on your distribution method. For handouts and countertop displays, 4.25" x 5.5" or 5.5" x 8.5" works well. For bulletin boards, mailings, or detailed content like menus, go with the standard 8.5" x 11". Club Flyers at roughly 4" x 6" are ideal for events and venues where compact size matters.
Do I need design software to make flyers?
Not necessarily. 4OVER4.COM offers ready-to-customize templates that let you build a professional flyer without Adobe Illustrator or Photoshop. Free tools like Canva also work for basic designs. Just export your final file as a 300 DPI PDF in CMYK color mode before uploading.
What paper stock should I choose for flyers?
For most promotions, 14pt gloss cardstock gives you a sturdy feel with vivid colors. Matte works better for text-heavy flyers or professional services. Uncoated stock suits community events and brands that want a natural, organic look. Match the paper to your brand's personality.
How do I make sure my flyer prints correctly?
Set up your file with 0.125" bleed on all sides, keep text inside the safe zone, use 300 DPI images, and save as a CMYK PDF. 4OVER4.COM provides free file review to catch issues before printing. Visit our Help Center for detailed file setup guides.
Can I order a small quantity of flyers?
Yes. 4OVER4.COM supports short runs so you can test a design or print just enough for a small event. You don't need to commit to thousands of copies. Order what you need, see how they perform, and reorder when you're ready.
How long does flyer printing take?
Standard turnaround varies by product and quantity. 4OVER4.COM offers multiple shipping speeds at checkout. Most flyer orders are produced and shipped quickly, and the majority of orders arrive on schedule.
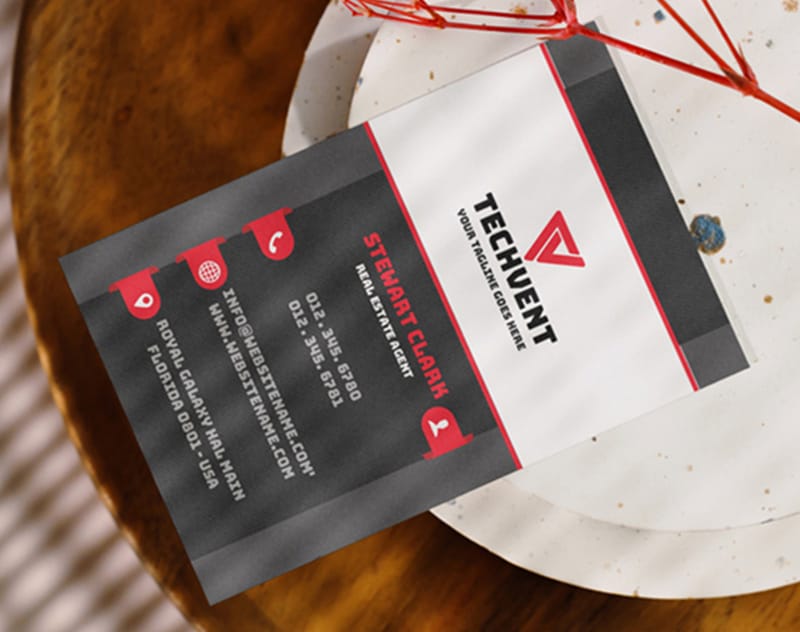
"I needed Club Flyers for a weekend pop-up shop and wasn't sure about the timeline. They arrived two days early. The matte finish looked exactly like I wanted - clean and professional without the glare."
- Devon R., ★★★★☆