
How to Print Custom Sweatshirts That Survive the Wash


Jordan is our labels, packaging and sustainability voice, built from the knowledge of our production team, with over 20 years in printing.
Pick the decoration method your fleece can actually take, place the print where it reads, and order a size run you will finish. A printer sizes up a sweatshirt job in that order.
Custom sweatshirts are printed four ways: screen printing for runs above roughly 24 pieces, direct to garment for small cotton-rich runs, direct to film transfers for blended fleece, and embroidery when the piece has to read as workwear. Place the chest print 2.5 to 3 inches below the collar seam, keep it near 12 inches wide, and remember a hoodie gives about 9 inches of clear height against 14 on a crewneck. Cost turns on setup per color, not on the garment. For uniform programs, our guide to printed workwear covers the rest of the kit.
Quick answer
Match the method to the fleece, then measure from the collar seam
The fabric picks the method. Cotton-rich fleece takes direct to garment and screen printing well. A 50/50 or poly-heavy fleece pushes you toward a transfer or a low-cure ink, because polyester dye migrates under cure heat and stains a light print from underneath. Quantity picks the economics: screen printing carries setup per color per location and gets cheaper the longer the run, while transfers and DTG stay flat and win at small numbers. Placement is fixed geometry, and the diagram below shows what a hood and a pouch take away from you.
The Four Ways to Decorate a Sweatshirt, and What Fleece Does to Each
Every sweatshirt you have ever owned was decorated one of four ways. The garment is what separates them, because fleece behaves nothing like the smooth jersey knit of a tee.
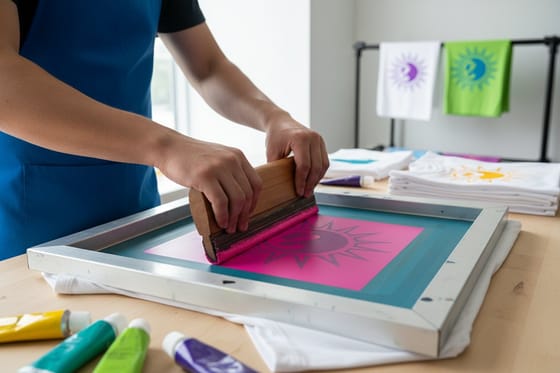
Screen printing pushes plastisol through a mesh stencil, one screen per color. On fleece the nap stands up and drinks the first pass, so a printer lays a white underbase, flashes it, then prints the color on top. That extra pass is why a screen printed hoodie costs more per piece than a screen printed tee at the same quantity, and why the print sits slightly higher off the fabric.
Direct to garment jets water-based ink into the fibers, so it needs cotton to bond to. It handles gradients and photographs that would need six screens, and it has no setup cost, which makes it the small-run option. On a poly-heavy fleece it will look washed out because there is little cotton for the ink to enter.
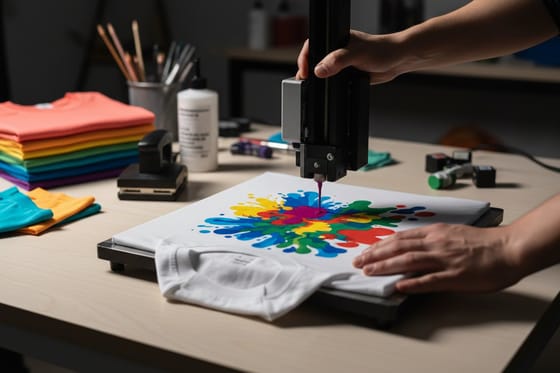
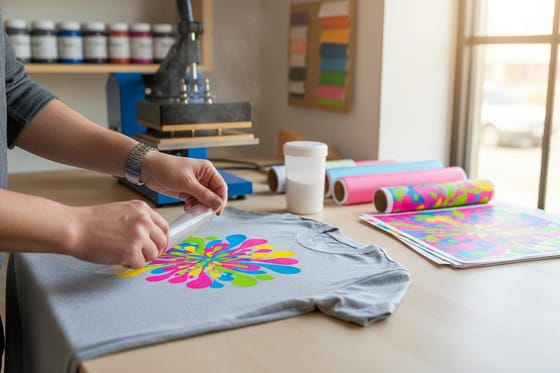
Direct to film transfer prints the art onto a film, dusts it with adhesive powder, and heat presses it onto the garment. It does not care what the fabric is made of, which is exactly why it has taken over blended fleece work. The trade-off is feel: the print sits on the surface as a thin flexible layer rather than in the cloth.
Embroidery stitches the design with thread. It survives everything, it reads as uniform rather than merch, and it will not reproduce fine detail or a gradient at any price. Below about 1.5 inches, small lettering turns into a smudge of thread.
| Method | How it behaves on fleece | Where it pays off | The limit |
|---|---|---|---|
| Screen printing | Needs a white underbase so the nap does not swallow the color. | 24 pieces and up, one to three spot colors. | Setup per color per location; poor at photographic art. |
| Direct to garment | Soaks into cotton fibers, soft hand, dull on poly blends. | Runs of 1 to 24 with full-color artwork. | Wants cotton-rich fleece; unit cost stays flat as quantity grows. |
| DTF transfer | Bonds on the surface, indifferent to the blend. | Small runs on 50/50 and poly fleece. | Slight plastic feel; edges can lift if pressed short. |
| Embroidery | Stitches through the fleece, needs backing to stop puckering. | Left chest logos, staff and workwear. | No gradients, no fine text under 1.5 inches, higher stitch cost. |
Two of those decisions deserve their own reading before you commit a budget: how screen printing works explains where the setup cost actually goes, and DTF transfers explained covers the method that handles blended fleece without an underbase. If the piece is going to a client-facing team, weigh it against thread in DTG versus embroidery first.
To print on a sweatshirt, set these before you ask for a quote: vector art, or a raster at 300 ppi at print size; a chest print 2.5 to 3 inches below the collar seam and about 12 inches wide; a design height near 9 inches on a hoodie or 14 on a crewneck; and the method by count, screens from 24 pieces, direct to garment for 1 to 24 in full color, DTF on blended fleece, embroidery for a left chest logo with no lettering under 1.5 inches. On our own t-shirts the print area is 8.5 by 11 inches and production is 5 business days.
Placement and Print Size on Crew Necks and Hoodies
Placement is where most custom sweatshirt orders go wrong, and it costs nothing to get right. Measure down from the collar seam, never from the shoulder. Between 2.5 and 3 inches of drop is the working range for adult sizes, and about 2 inches for youth.
A standard adult platen gives you roughly 12 inches of print width. A crewneck offers about 14 inches of clear height under that collar drop. A hoodie does not: the hood seam eats the top, the kangaroo pouch cuts in at the bottom, and the usable window shrinks to something closer to 9 inches. When artwork designed for a crewneck goes onto a hoodie, scale it, do not slide it down. A design pushed lower disappears into the pouch and cracks along the seam where the fabric folds.
Three more placement rules that save reprints. Keep any print at least an inch clear of a side seam, because the press cannot lay flat over a raised seam and the ink there cures unevenly. Watch the drawstring eyelets on hoodies, since a centered logo often collides with them. And remember that a print is normally centered on the garment width, which means the same artwork sits at the same absolute size on a small and a 3XL unless you order a separate size run, so on a small it looks large and on a 3XL it looks lost.
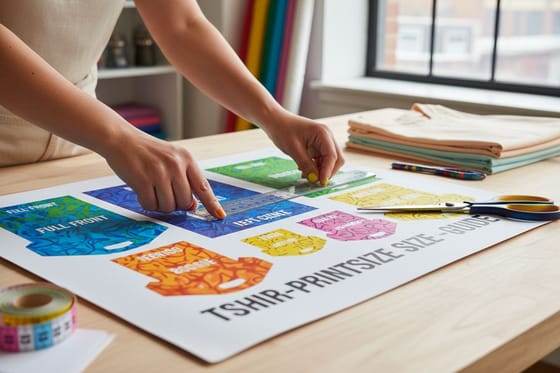
For back prints, drop 4 to 5 inches from the collar seam and treat the shoulder blades as the visual center. Sleeve prints stay narrow, typically under 3.5 inches wide, or they wrap into the seam. The print size guide lists the front, back and pocket dimensions we use, and neckline types explains how a v-neck or scoop shifts that collar-seam reference point.
Minimums, Size Runs and What Bulk Actually Buys You
There is no single minimum, because the minimum is a function of the method. Screen printing charges setup per color per location, so the screens are paid for whether you order 12 pieces or 500. That fixed cost is why the same artwork can be expensive at 12 and cheap at 100. Our guide to custom hoodies works through the same thresholds for team orders. Transfers and direct to garment have almost no setup, which is what makes a run of six team hoodies possible at all.
Compare total cost, not unit cost. Twelve screen printed pieces with a two-color front and a one-color sleeve carry three screens, and at that quantity the setup is often larger than the printing. Ask for both quotes before you decide.
The other bulk mistake is the size curve. Splitting an order evenly across six sizes feels fair and empties the wrong shelves. Most staff and event orders lean on the middle of the range, so weight the run toward medium, large and extra large and keep the extremes light. If you genuinely do not know the sizes, collect them before you order rather than guessing and reordering, because a second run means paying the setup twice.
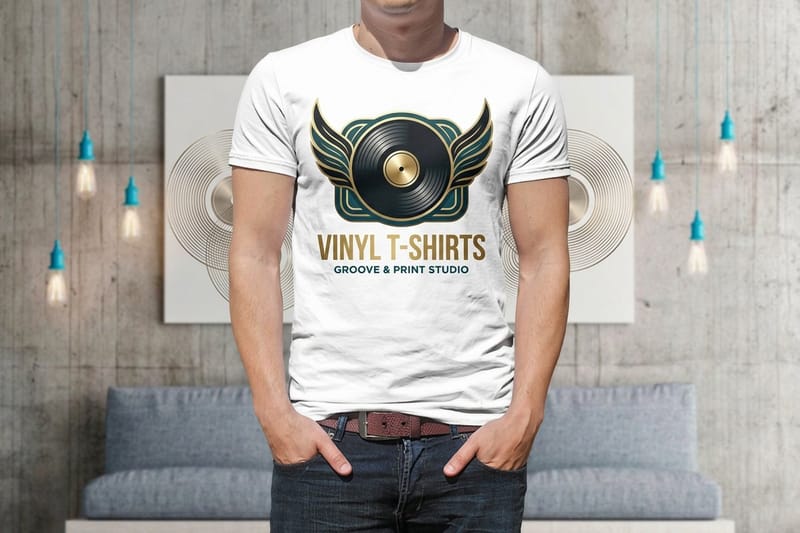
Our apparel program starts with t-shirts at $21.96, with premium t-shirts and vinyl t-shirts priced from the same point and quoted live per quantity in the configurator. Most branded apparel drops are not one garment: pairing the shirts with ready-made cotton totes from $5.00 puts something in every hand at an event without doubling the budget, and the cotton totes video shows the bag. The full range sits on the t-shirt printing category, and the giveaway side lives in the promotional products collection.
Artwork Setup, Dye Migration and the Proof You Should Insist On
Supply vector art wherever you can, at full print size, with fonts converted to outlines and spot colors named. Raster art needs to be 300 dpi at the size it will print, not at the size it happens to be. A logo pulled off a website is 72 dpi and will look ragged the moment it is enlarged to 10 inches across a chest.
Then decide the ink colors against the garment, not against your screen. On a heather or a dark fleece, thin strokes under about 1 point disappear into the texture, and a knockout of white through a colored shape needs more separation than it does on paper. Fleece has a physical surface; it forgives less detail than a smooth tee.
Dye migration is worth understanding before you sign off on a dark blended sweatshirt with a light print. Polyester dye gasses out under cure heat and stains the ink from underneath, so a white print on a red poly-blend fleece can turn pink days after delivery rather than on the press. The answers are a low-cure ink, a poly-blocking underbase, or a transfer built for polyester. Ask which one is being used. A printer who has no answer has not thought about the run.
Finally, ask for a proof, and read it for placement height and print width as well as for color. Our guide to proofing explains what a proof does and does not commit a printer to. If this is your first apparel order end to end, how to make custom t-shirts walks the same path from blank selection to delivery, and the steps carry over to fleece with the fabric caveats on this page.
Wally explains sweatshirt printing
Three inches under the collar seam, and mind the pouch
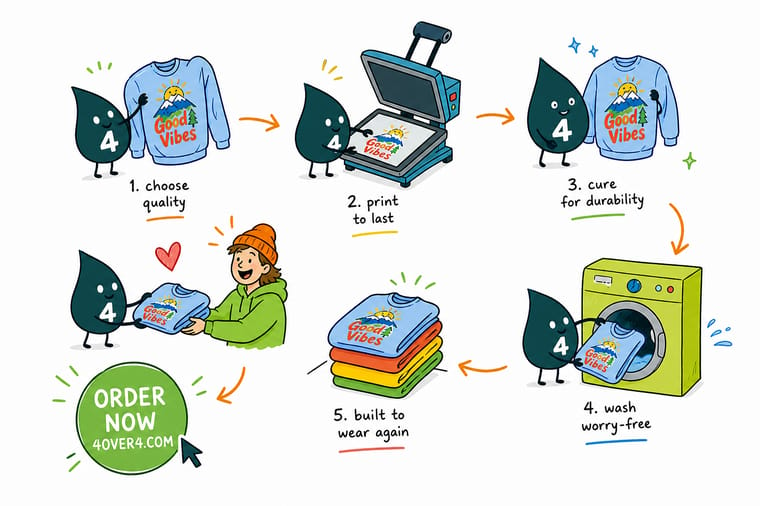
Wally lays the sweatshirt flat and measures down from the collar seam, not the shoulder, because that is the line your eye actually reads. Three inches of drop, about twelve inches wide, and the print sits where it should. On a hoodie he shrinks the artwork instead of dropping it, since the hood seam and the kangaroo pouch leave only around nine inches of clear front. Then he checks the blend: cotton takes ink into the fibers, polyester needs a transfer or a low-cure ink or the white goes pink a week later.
Price custom t-shirts and apparel →
Specs and pricing
Apparel options, sizes, and starting prices
Configure the garment, the print method and the quantity, with starting prices straight from the 4OVER4.COM configurator. Standard, premium and vinyl t-shirts all start at $21.96 for one shirt, in white or black and sizes S to XXL, with full color inside an 8.5 by 11 inch print area on the front, the back or both.


Print it
Order branded apparel your team will keep wearing
T-shirt printing from $21.96 for the whole crew, premium t-shirts on a heavier body for staff, and vinyl t-shirts for names and small runs, each from a single shirt up to 250.

Explore more
Where to go next
Six guides cover screen printing, direct to garment, DTF transfers, DTG against embroidery, print sizes and necklines. The last card opens t-shirt printing.

By the numbers
The printer behind a sweatshirt run
Common Questions
Your custom sweatshirt questions, answered
What is the best way to print custom sweatshirts?
For runs above about 24 pieces in one or two ink colors, screen printing gives the lowest unit cost and the toughest print, as long as the printer lays a white underbase so the fleece nap does not absorb the color. For small runs or full-color artwork, a direct to film transfer is usually the better answer on fleece, because it bonds on top of the fibers and does not depend on the garment being cotton. Direct to garment suits cotton-rich fleece and photographic art in small quantities. Embroidery is the choice when the piece has to read as workwear rather than merch.
Can you print on a hoodie the same way as a crewneck?
The method is the same, the geometry is not. A hoodie loses room at the top to the hood seam and at the bottom to the kangaroo pouch, so the clear front is closer to 9 inches tall against roughly 14 on a crewneck. Designs also have to clear the drawstring eyelets, and anything printed across the pouch seam will crack there first because the seam flexes every time the garment is worn. If the artwork was designed for a crewneck, scale it down for the hoodie rather than sliding it lower.
How high should the design sit on the chest?
Measure down from the collar seam, not from the shoulder. Between 2.5 and 3 inches of drop suits most adult sweatshirts and puts the top of the artwork just under the collar band where the eye expects it. Youth sizes drop about 2 inches. Go lower than 4 and the print starts reading as a belly print in photos, especially on a sweatshirt where the fabric hangs heavier than a tee.
Why does white ink turn pink on a red sweatshirt?
That is dye migration, and it comes from polyester rather than from the ink. Under the heat used to cure plastisol, disperse dye in a poly or poly-blend fleece gasses out of the fabric and stains the ink sitting on top of it. It can appear days after delivery, not on the press. The fixes are a low-cure ink, a poly-blocking underbase, or a transfer designed for polyester. If you are ordering dark blended fleece with a light print, ask what the printer is doing about migration before the run starts.
How much does it cost to screen print a hoodie?
Screen printing a hoodie costs the screens plus the printing, and the screens are a fixed charge per color per location. Twelve hoodies with a two-color front and a one-color sleeve carry three screens, and at that quantity the setup is often larger than the printing. Past about 24 pieces the setup spreads thin, and a hoodie still costs more per piece than a tee because fleece needs a white underbase.
What is the average cost to have a shirt screen printed?
The per-shirt price depends on the run, because the screens cost the same for 12 shirts as for 500. A one or two color design gets cheap past about 24 pieces and keeps falling toward 100. For a handful of full color shirts, our t-shirts are priced per shirt from $21.96 for a single piece, in white or black, with 5 business days of production.
What is a realistic minimum for a custom sweatshirt order?
Screen printing carries setup per color per location, so the price only starts making sense somewhere around 24 pieces and keeps falling from there. Transfers and direct to garment have almost no setup, which is why a run of 6 for a team is normally printed that way even though the unit cost is higher. Decide by total cost, not unit cost: 12 screen printed pieces can cost more than 12 transfers once the screens are paid for.
How do I keep the print from cracking after a few washes?
Most cracking comes from an undercured print or from a heavy ink layer laid on a fabric that stretches. Ask for a wash test on the first article if the order matters. On the customer side, wash cold, turn the garment inside out, skip the fabric softener, and either hang dry or tumble on low. Fleece takes heat badly at both ends: the dryer that shrinks the body of the sweatshirt is also what lifts the edges of the print.
Get Started
Order the size run you will finish, from $21.96 a piece
Pick the garment, send the artwork, and we quote the run live by quantity so you can see exactly where bulk pricing starts working in your favor.
Legal Disclaimer
Gold Standard guarantees apply to all standard orders placed through 4over4.com. Price match requires verifiable proof of a competitor's published price for an equivalent product with matching specifications and turnaround time. Satisfaction guarantee covers manufacturing defects and print quality issues. Contact support with order number and documentation.
