
How to Seal Water Bottle Stickers So They Last


Splashes, condensation, hand oils, and the dishwasher all conspire to peel a sticker off a bottle. Here is how to make one stay put for years, from choosing the right material to sealing the edges so water cannot creep in.
To seal a sticker on a water bottle, clean the surface with rubbing alcohol, apply a waterproof vinyl sticker from the center out and press the edges down firmly, then let it bond for 24 to 48 hours. Coat it with a dishwasher-safe sealant or clear laminate that overlaps slightly onto the bare bottle, let that cure, and hand-wash the bottle afterward. The material you start with matters most: waterproof vinyl does half the work before you seal anything.
Start here
Sealing a bottle sticker in one paragraph
Degrease the bottle with 70 percent rubbing alcohol, press a waterproof vinyl sticker down from the center out, seal two to three millimeters past every edge, then cure it a full 24 hours before the first wash. That is the entire job: about ten minutes of hands-on work, and the rest is waiting. Give the adhesive 24 to 48 hours to reach full strength before you seal, because sealing over a sticker that has not bonded yet just locks the weakness in. The seal keeps water from lifting the corners, and a full cure before the first wash locks everything in. Use a brush-on sealer or a clear self-adhesive laminate for a bottle you refill daily, and keep the overlap onto the bare metal or plastic tight and even so the seal follows the curve instead of standing proud of it. Start with the right material and hand-wash afterward, and a sticker will ride your bottle for years instead of days. The five-step infographic further down sums up the whole method at a glance.
Watch it printed
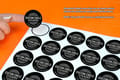
See circle stickers on the press, in 129 seconds
Why stickers peel off a water bottle (and how to stop it)
A water bottle is one of the harshest places you can ask a sticker to live. It gets splashed, wiped down, thrown in a bag, sweated on by condensation, and sometimes run through a dishwasher. The sticker that looked perfect on day one starts lifting at a corner by week two, and once an edge catches, the rest peels fast.
Almost all of that comes down to three things: the wrong sticker material, a surface that was not clean when the sticker went on, and no protective seal over the top. Get all three right and a sticker can ride a bottle for years. Miss any one of them and you are on borrowed time.
This guide covers the whole job start to finish: picking a sticker that can take the abuse, prepping the bottle, applying it without bubbles, sealing it so water cannot creep under the edges, and keeping it looking sharp afterward. If you are printing your own, begin with a durable material from our custom stickers range so the design is working with you, not against you.
Start with a sticker that is built to survive

Sealing helps, but it cannot rescue the wrong material. Paper stickers wick up moisture, swell, and lift no matter how carefully you coat them. For anything that touches water you want a waterproof vinyl sticker with a permanent adhesive and a laminate or UV coating already on top.
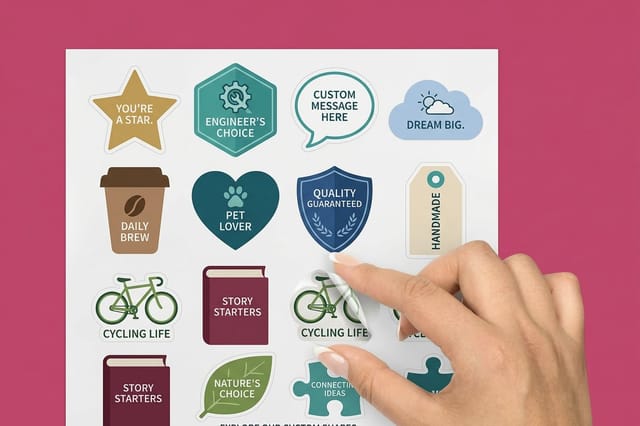
Our circle stickers, die-cut shaped stickers, and clear stickers are printed on durable waterproof vinyl that shrugs off splashes and sunlight, so half the sealing battle is won before you ever apply them. Circle stickers start at $23.88, and the per-sticker cost drops as the quantity climbs. If you are not sure which material suits your bottle, our guide on choosing the right sticker material lays out the options, and vinyl versus paper stickers explains why the choice matters most when things get wet.
Two services make the design side painless. Order a set of free samples to feel the vinyl and test how it holds up on your own bottle before you commit to a full run, and lay out your artwork in our online designer or start from a ready-made design template. If you are labeling reusable or promotional bottles at scale rather than decorating a personal one, our water bottle labels are built for exactly that.
Skip the sealing: order waterproof vinyl stickers
The quickest way to seal a sticker is to buy one that arrives sealed. A circle sticker printed on waterproof vinyl comes off our press with the laminate or UV coating already over the ink, so there is no brushing, no aerosol, and no 24 to 72 hour cure before the bottle sees water. Clean the bottle, press from the center out, run your thumb around the edge, and the job is done in ten minutes instead of two days.
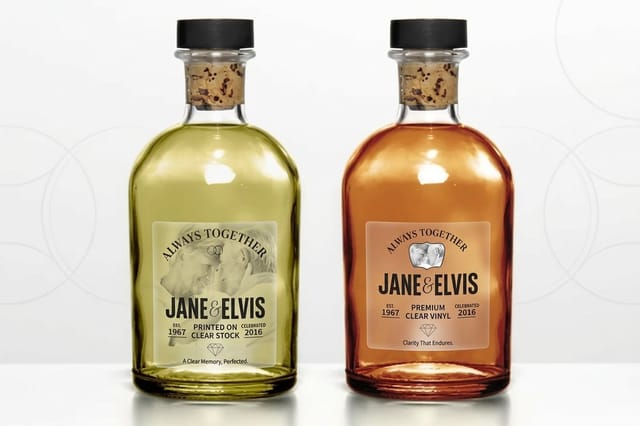
Circle stickers start at $23.88, and because the per-sticker cost drops as the quantity climbs, a run for a team, a gym, or a whole classroom of bottles works out cheaper per piece than a handful. Want the shape to follow the artwork instead of a circle? Die-cut shaped stickers are cut to your outline, which leaves fewer square corners for a backpack strap to catch. Want the bottle color to show through? Clear stickers print on transparent waterproof vinyl. All three take the same permanent adhesive, so the only decision left is size, and a smaller sticker always sits flatter on a tapered or narrow bottle than one large piece.
Before you commit to a run, order free samples and stick one on your own bottle for a week of real washing. Set the artwork up in our online designer or start from a design template, and if you are branding bottles to sell or hand out rather than decorating your own, our water bottle labels are the right product. Ready to print? Order waterproof vinyl stickers and let the laminate do the sealing for you.
Materials and tools needed for sealing stickers

Sealing a sticker is roughly a ten-minute job, and you almost certainly own most of the kit already. Here is everything worth having on hand:
- Your printed sticker, ideally waterproof vinyl with the design already laminated.
- Isopropyl (rubbing) alcohol at 70 percent or higher, to strip grease and residue off the bottle.
- A lint-free or microfiber cloth for cleaning and drying the surface.
- A squeegee, old gift card, or credit card wrapped in soft fabric, to press out air bubbles as you apply.
- One clear sealant: a brush-on dishwasher-safe sealer, an aerosol clear acrylic, or a self-adhesive clear laminate sheet. Pick one, not all three.
- Optional, a hair dryer on low heat, to help a stubborn sticker conform to a tight curve.
If your sticker already arrived laminated from the printer, you can often skip the extra sealant and go straight to a careful application. That is the quiet advantage of ordering professionally printed stickers over cutting your own at home.
Step-by-step: sealing stickers on a metal water bottle
Metal bottles, whether stainless steel or aluminum, take a sticker beautifully once the surface is clean. Work through these steps in order and do not rush the waiting:
Apply and press before you seal anything
- Clean the surface. Wipe the spot with rubbing alcohol and let it dry fully. This removes the oils and residue that quietly block adhesion.
- Plan the placement. Dry-fit the sticker without peeling the backing. Choose the flattest area you can, since a smaller sticker sits flatter on a tapered or narrow bottle than one large piece.
- Apply from the center out. Peel the backing, set the middle down first, then smooth outward with your cloth-wrapped card so no air is trapped underneath.
- Press the edges. Go once more around the whole perimeter with firm pressure. The edges are exactly where water will try to lift the sticker later, so they need the tightest bond.
- Let it settle. Wait 24 to 48 hours before sealing so the adhesive reaches full strength. Sealing over a fresh, not-yet-bonded sticker traps the weakness in place.
- Seal the top. Apply a thin even coat of your chosen sealant, or lay a clear laminate, so it overlaps two to three millimeters onto the bare metal past every edge. That overlap is what locks water out.
- Cure it. Let the sealant cure per its instructions, often 24 to 72 hours, before the bottle sees any water.
Step six is where people choose differently, so here are the five sealing methods that actually work on a curved metal bottle, and what each one costs you in time or looks.
Method 1: self-adhesive laminating sheets
A clear self-adhesive vinyl sheet is the fastest seal there is: no drying, no cure, the bottle can go back in a bag the same afternoon. Cut the sheet so it clears the sticker by the same two to three millimeters on every side, peel a corner of the backing, lay the leading edge down first, then squeegee across with the cloth-wrapped card while you pull the backing away underneath. Round off the corners of the sheet with scissors before you apply it, because square corners are the first thing a backpack strap catches. The trade-off is that you can see the outline of the laminate on the bottle, and on a strongly tapered bottle a large sheet will wrinkle, so keep the sheet only slightly bigger than the sticker.
Method 2: brush-on clear sealant
A brush-on dishwasher-safe sealer or aerosol clear acrylic is the best all-round choice for a bottle you refill every day. Work in thin even coats rather than one heavy one, let each coat dry before the next, and carry every coat two to three millimeters onto the bare metal past the edge so the print is sealed in, not just covered. Two or three thin coats give a tougher shell than one thick coat and dry with far fewer brush marks. Then leave it alone for the full cure, often 24 to 72 hours. Even after curing, hand-wash: brush-on sealers survive splashes and sun, not dishwasher jets.
Method 3: clear epoxy resin
Two-part clear epoxy is the heavyweight. Mixed and spread over the sticker it self-levels into a thick glossy shell that shrugs off scuffs and water better than any brushed coating. It also asks the most of you: mix by the maker's ratio, keep the bottle level or turn it slowly while it sets so the resin does not run to one side, and expect the long end of that 24 to 72 hour cure window. The trade-offs are real. The coating sits noticeably proud of the bottle, it is effectively permanent, and a thick resin layer is the one most likely to go amber if the bottle lives in constant sun. Use it on a bottle you will keep, not on artwork you may want to swap next season.
Method 4: thermal laminating pouch, sized to the sticker
A thermal pouch seals the print before the sticker ever meets the bottle, and size is the whole trick. Run the sticker through the laminator inside the pouch, then trim the laminate back to a narrow border of two to three millimeters all the way around, corners rounded. A narrow border curves with the bottle and stays down. A wide leftover border cannot follow the curve, so it tents at the sides and peels within a week. Because a pouch has no adhesive of its own, this method suits a sticker you will then mount with its own adhesive backing exposed, or a laminated piece applied with a clear adhesive sheet underneath.
Method 5: edge-only sealing
If the sticker is already printed on laminated waterproof vinyl, it does not need a coating over the face at all. Run a thin bead of clear sealant around the perimeter only, feathering it two to three millimeters onto the bare metal, and leave the printed face untouched. Matte stays matte, holographic keeps its shift, and there is no yellowing layer over the artwork. What you give up is scuff protection on the face, so this is the method for a desk or gym bottle rather than one that rattles around a toolbox.
Insulated, powder-coated, and previously stickered bottles
Insulated and powder-coated metal bottles behave the same way, just take extra care not to scratch the coating during cleaning. For removing an old sticker before you start fresh, our guide on removing stickers cleanly uses the same gentle approach.
How do I seal stickers on plastic water bottles?
Plastic behaves differently from metal. It flexes with every squeeze, it often carries a slick surface finish, and some plastics resist adhesive straight out of the mold. The core method is the same, clean, apply, seal, but a few adjustments make it stick.
Clean the plastic with rubbing alcohol as usual. On very glossy or soft bottles, scuff the exact spot lightly with fine sandpaper first to give the adhesive something to grip. When it comes to sealing, skip strong solvent-based products, which can cloud or craze certain plastics, and reach for a clear laminate or a water-based sealer instead. Always test the sealer on the base of the bottle before you commit.
Keep stickers away from the mouth and any spot your lips touch, and remember that not every plastic bottle is dishwasher-friendly to begin with. For squeezable sport bottles that flex a lot, a flexible die-cut vinyl handles the movement far better than a rigid sheet. Our explainer on what die-cut stickers are shows why that shape holds up.
How to make stickers stay on and stop them peeling
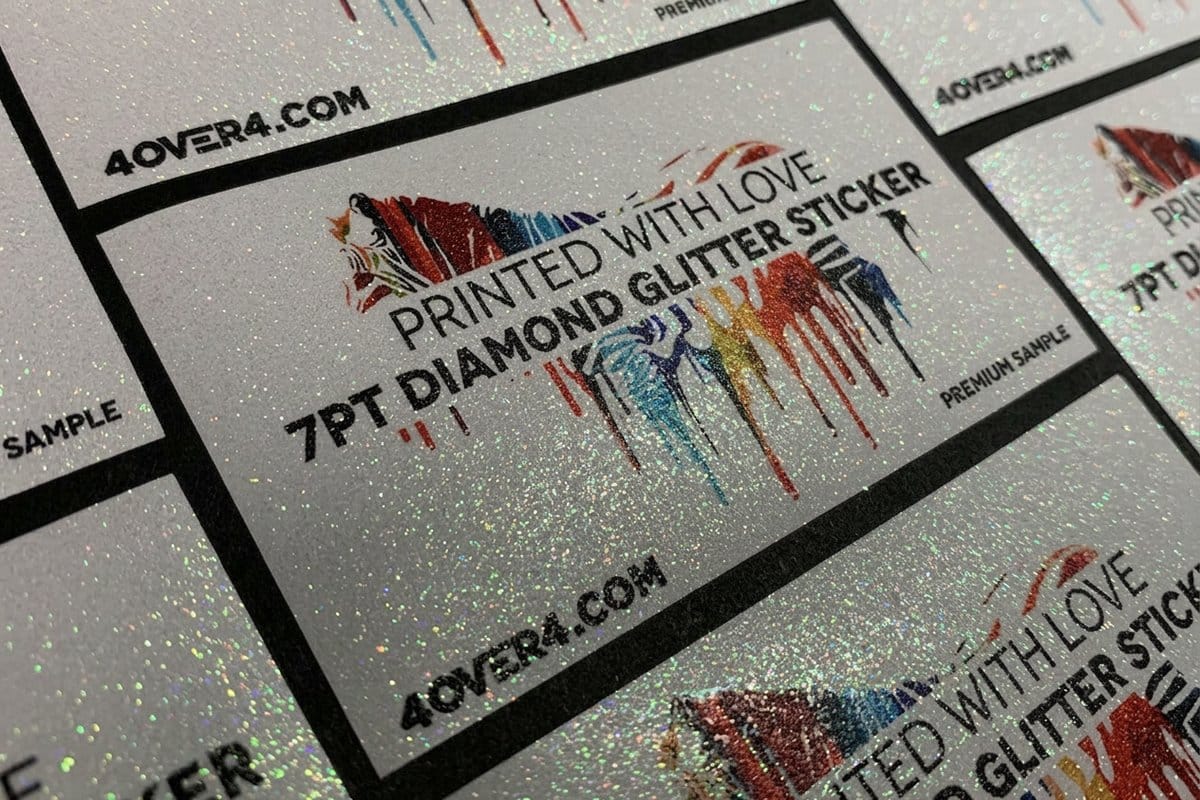
Once the sticker is on and sealed, a handful of habits decide whether it lasts months or years. All of them protect the same weak point: the edges.
- Hand-wash instead of using the dishwasher. High heat and pressurized jets are the number one cause of premature peeling.
- Keep stickers below the grip zone. The band where your hand and your bag constantly rub is where edges catch and lift first.
- Reseal the edges if one starts to lift. Catch it early with a dab of sealant and you stop the whole sticker from unraveling.
- Let new stickers cure before the first wash. A full day of patience up front prevents most peeling down the line.
- Avoid long stretches in direct sun unless your sticker is UV coated, since sunlight fades ink and can dry out cheaper adhesives.
If you want the sticker to apply flat and stay put from the start, technique matters as much as care. The article on applying vinyl without wrinkles covers the smoothing method that keeps edges tight.
Tips on maintaining your stickers
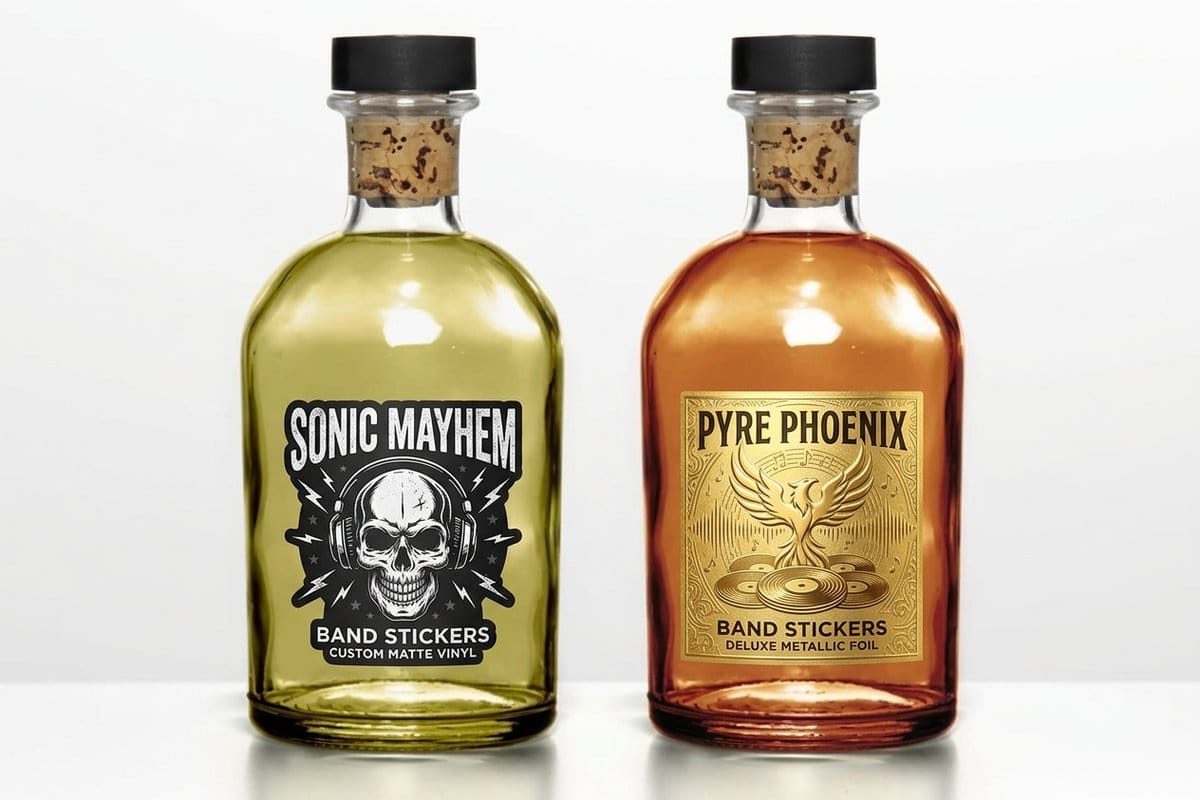
A sealed sticker is not entirely set-and-forget, but keeping it looking new takes almost no effort. Wash the bottle by hand with mild soap and a soft cloth, and steer clear of abrasive scrubbers or scouring pads that can scratch the seal and dull the print underneath.
Every so often, run a fingernail lightly around the edges. If you feel one starting to lift, a quick touch-up coat of sealant re-locks it before water gets in. If you wash the bottle daily, resealing the whole sticker roughly once a year keeps the top coat fresh and glossy.
For finishes that hold their shine the longest, coated stickers do the heavy lifting for you. Our stickers versus labels versus decals comparison helps you match finish to use, and the piece on how holographic stickers are made explains why some coatings resist wear far better than others.
What durable water-bottle stickers cost, and how to order
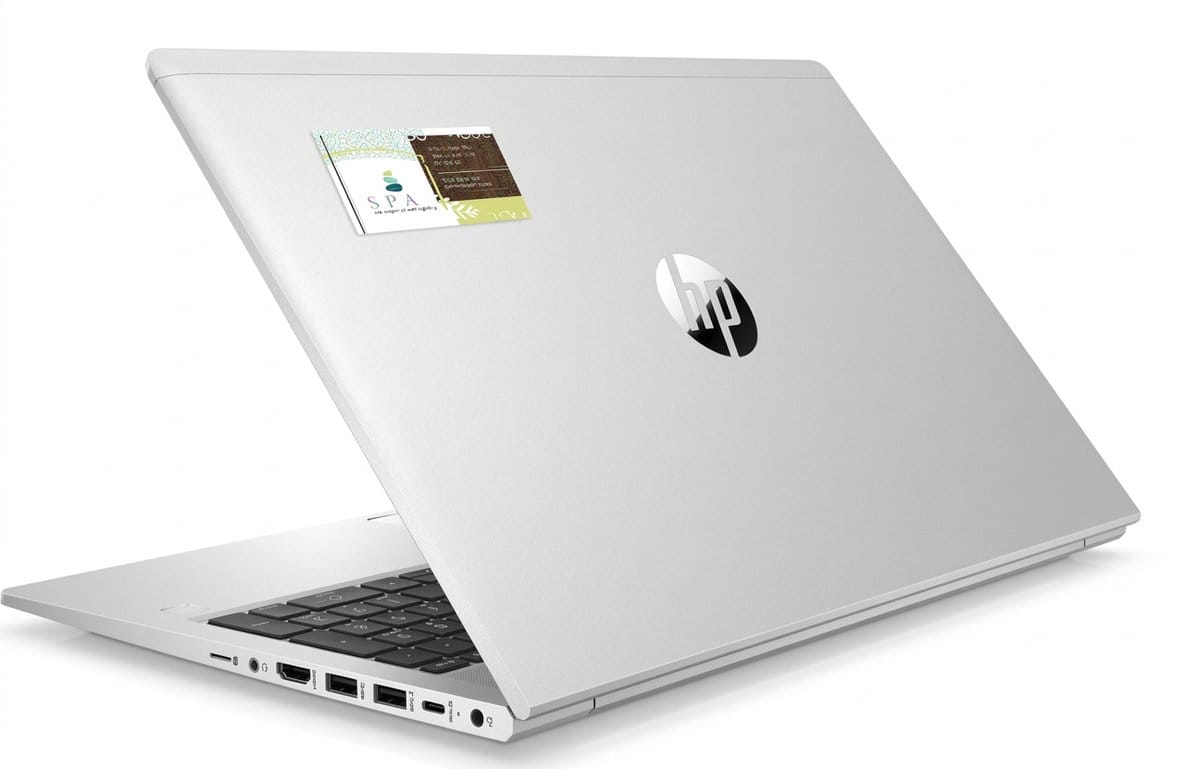
The best way to make sealing easy is to order stickers that barely need it. When the design is printed on waterproof vinyl with a coating already applied, application and edge-pressing do most of the work on their own.
Pricing is easy to reason about. It scales with a few simple levers: quantity (more stickers lower the unit price), size, shape, and finish. Circle stickers start at $23.88, and options like die-cut shapes, clear stock, or holographic film adjust the total. You watch the number change live in the configurator as you set each option, so there are no surprises. For a fuller breakdown, our custom sticker pricing guide walks through every lever.
To see exact specs and live per-unit pricing, use the panel below, or compare formats first with roll versus sheet versus die-cut stickers. When you are ready, configure your run on the custom stickers page and we print it on durable vinyl built for the bottle.
Wally explains how to make it stick
The edges are everything
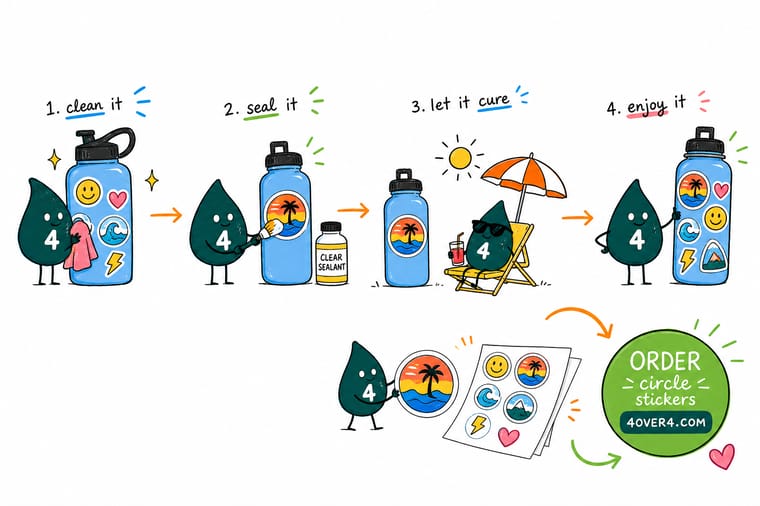
Wally's rule is simple: water never attacks the middle of a sticker, it goes after the edges. Clean the bottle, press the sticker down from the center out, and seal a hair past every edge so there is nothing for water to lift. Give it a day to cure before the first wash and it will ride your bottle for years. Print it on waterproof vinyl and most of the work is already done.
Print durable stickers →Infographic
Seal a bottle sticker in 5 steps
One frame, five moves. Save it and use it as a checklist the next time you put a sticker on a metal or plastic bottle.
Waterproof vinyl does the heavy lifting. Clean and press for a tight bond, seal past the edges to keep water out, then cure before the first wash so nothing lifts.
Specs and pricing
Circle sticker specs and live pricing
When the design is ready, the printing decisions come down to size, shape, and finish. Here are the live specs and price-per-unit for circle stickers at 4OVER4.COM, straight from the configurator.
| Quantity | Price Per Unit | Total |
|---|---|---|
| 25 | 95.5¢ | $23.88 |
| 50 | 72.9¢ | $36.44 |
| 100 | 42.7¢ | $42.72 |
| 150 | 32.7¢ | $49.01 |
| 200 | 27.6¢ | $55.29 |
| 250 | 24.6¢ | $61.57 |
| 300 | 22.0¢ | $65.97 |
| 400 | 17.6¢ | $70.36 |
Print it
Waterproof stickers made for a bottle
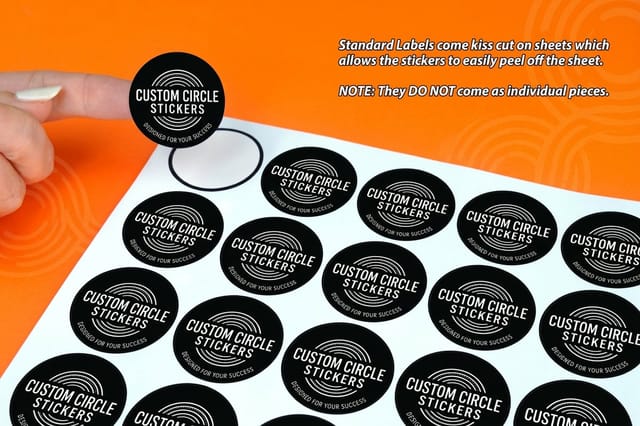
See it in use
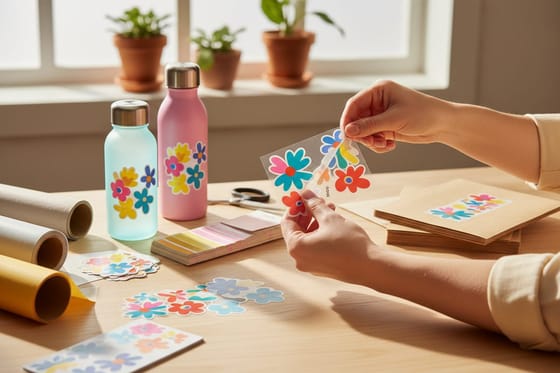
Circle stickers customers ordered for bottles and laptops

Explore more
Where to go next


By the numbers
A thousand products and 24 hour options for sticker orders
Common Questions
Common questions about sealing stickers on a water bottle
Can I put Mod Podge over stickers on a water bottle?
You can, with the right version and enough patience. The standard formula is water resistant rather than waterproof and can turn tacky in a humid bag, so use the dishwasher safe version, build it in two or three thin coats, and carry each coat two to three millimeters onto the bare bottle past every edge. Then leave it alone for the full cure the label asks for, which on the dishwasher safe formula is weeks rather than days before the bottle meets a machine.
What can I put over stickers to protect them?
Four coatings work on a bottle and they trade time against looks. A clear self adhesive laminate sheet seals instantly and leaves a visible outline. A brush on dishwasher safe sealer or an aerosol clear acrylic gives the best everyday result and needs a full cure. Two part epoxy is the toughest and the most likely to go amber in sun. And if the sticker is already printed on laminated waterproof vinyl, a thin bead of sealant around the edge alone is all it needs, with nothing over the artwork to cloud it.
What materials and tools do I need to seal stickers on a water bottle?
You need very little. Have your printed sticker, isopropyl (rubbing) alcohol at 70 percent or higher, a lint-free or microfiber cloth, and something flat like an old gift card wrapped in soft fabric to press out air bubbles. Then choose one sealant: a brush-on dishwasher-safe sealer, an aerosol clear acrylic, or a self-adhesive clear laminate sheet. If your sticker was printed on laminated waterproof vinyl to begin with, you can often skip the extra sealant entirely.
How do I seal stickers on a metal water bottle so they stay put?
Wipe the metal with rubbing alcohol and let it dry fully. Peel the sticker and lay it down from the center outward, smoothing as you go so no air is trapped, then press firmly all the way around the edges. Wait 24 to 48 hours for the adhesive to bond, apply a thin even coat of sealant that overlaps two to three millimeters onto the bare metal past every edge, and let the sealant cure before the bottle gets wet.
Will a brush-on sealant yellow over time?
Some of them will. Thin coats of a clear acrylic or a dishwasher-safe sealer labeled non-yellowing hold their color the longest, while thick two-part epoxy is the layer most likely to go amber, and constant direct sun speeds that up on any coating. Two or three thin coats age better than one heavy coat, so build the seal up rather than flooding it. If the bottle lives on a sunny desk or in a car and color matters, seal the edges only and leave the printed face bare, or use a self-adhesive clear laminate sheet. Better still, start with a waterproof vinyl sticker that already carries a laminate or UV coating, because then there is no extra resin layer over the artwork to yellow at all.
How long do sealed stickers last on a bottle?
On a waterproof vinyl sticker that was applied to an alcohol-cleaned surface, pressed from the center out, sealed two to three millimeters past every edge and left to cure, expect years of daily use rather than days, as long as you hand-wash the bottle. The same sticker put through the dishwasher is measured in weeks, because the heat softens the adhesive and the high-pressure jets get under any edge that is not sealed. A paper sticker is the short answer either way: it wicks up moisture and lifts no matter how carefully you coat it. Sun exposure and constant abrasion in a bag are the other two clocks running, so a bottle that lives on a desk will outlast one that rides in a backpack.
How do I keep stickers from peeling off my water bottle?
Peeling almost always starts at a lifted edge, so the fixes all protect the edges. Use a waterproof material, clean the surface before applying, seal past the edges, and give the sticker a full day to cure before its first wash. After that, hand-wash the bottle instead of running it through a dishwasher, keep the sticker below the grip zone where hands and bags rub, and avoid long stretches in direct sun unless the sticker is UV coated.
Can I put stickers on a plastic water bottle and seal them?
Yes, but plastic needs a lighter touch than metal. Plastic flexes and often has a slick finish, so clean it with alcohol and, on very glossy bottles, scuff the spot gently with fine sandpaper for extra grip. Avoid strong solvent-based sealers, which can cloud or craze some plastics, and lean toward a clear laminate or a water-based sealer instead. Test any sealer on the base of the bottle first, and keep stickers well away from the mouth.
Are sealed stickers dishwasher safe?
A sticker on waterproof vinyl with a fully cured dishwasher-safe seal can survive occasional top-rack cycles, but heat and pressure shorten its life no matter what. For anything you want to keep looking sharp, hand-washing is always the safer choice. Never put a freshly applied or freshly sealed sticker in the dishwasher, give it the full cure time first.
How do I choose the right sticker for a water bottle?
Look for permanent-adhesive waterproof vinyl with a laminate or UV coating, in a size that fits the flattest part of the bottle so it does not fight the curve. Smaller die-cut shapes sit flatter on tapered or narrow bottles than one large rectangle. Order a set of free samples to feel the vinyl and test it on your own bottle before committing to a full run.
What do custom stickers cost and how is the price set?
Sticker pricing scales with quantity, size, shape, and finish. More stickers lower the per-unit price, and options like die-cut shapes, holographic film, or clear stock adjust the total. At 4OVER4.COM circle stickers start at $23.88 and the configurator updates the price live as you change each option, so you can see exactly what a run costs before you order.
Get Started
Ready to print stickers built for the bottle?
Bring your design to 4OVER4.COM and print it on durable waterproof vinyl in the size, shape, and finish you want. Adjust every option and watch your price update live.
Legal Disclaimer
Gold Standard guarantees apply to all standard orders placed through 4over4.com. Price match requires verifiable proof of a competitor's published price for an equivalent product with matching specifications and turnaround time. Satisfaction guarantee covers manufacturing defects and print quality issues. Contact support with order number and documentation. On-time delivery rate based on tracked orders 1999 to 2026. Individual results may vary based on shipping carrier performance.
