
How To Design Custom Stickers Step By Step


A great sticker starts as a simple idea and ends as a clean, print-ready file. The path runs from concept to shape, artwork, bleed and proof, so your custom stickers print crisp and cut clean. Stickers are the one-piece, peel-and-stick job: laptops, water bottles, packaging seals, event handouts, product labels. If the piece has to sit on vehicle glass or a storefront window and gets weeded and laid down with transfer tape, you are looking to design custom decals instead, which is a separate job with its own material and application rules.
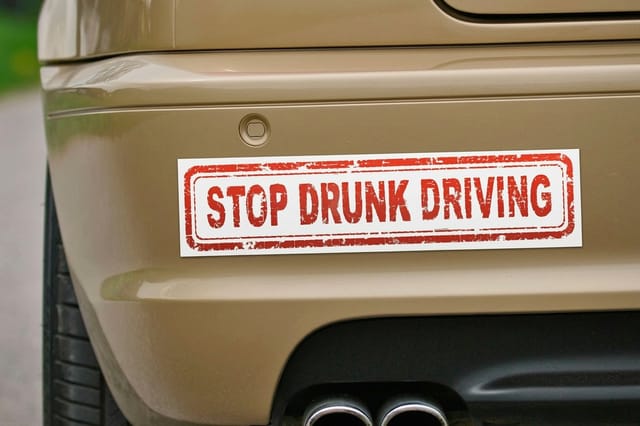
Designing a custom sticker means taking an idea to a print-ready file with the right shape, resolution, bleed, and cut line. Plan a bold, simple concept, choose a shape and size, build the artwork at 300 DPI with a set bleed and a clean cut line, pick a material and finish, proof the file, and order. Work at the final size from the first click, because a sticker is read small and fast: keep type heavy, keep the logo vector, and run the background past the cut so no white sliver shows if the blade drifts. Match the stock to where the sticker lives, white vinyl for solid color on die-cut stickers, clear stickers when you want the surface underneath to show through the unprinted areas, and bumper stickers when it goes outdoors on a car and has to take sun and a car wash. Decals are the other path, cut through the vinyl and carried on transfer tape, so keep that artwork in its own file. Our online designer bakes most of these rules in so the file comes out print-ready.

Plan a bold idea and choose the shape
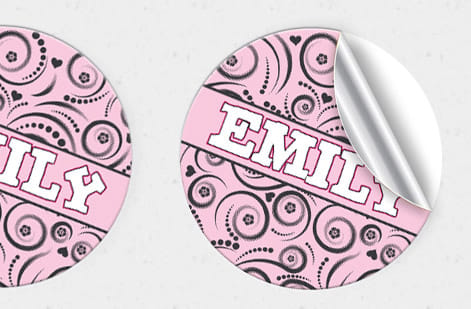
Every good sticker starts as one clear idea. Because a sticker is usually seen small and in passing, on a laptop, a water bottle, a bumper, it has a second or less to land, so a single bold concept beats a detailed scene every time. Sketch the idea down to its simplest form, lean on strong shapes and a tight color palette, and cut anything that does not earn its place. If you can describe the sticker in one short sentence, it will read at a glance.
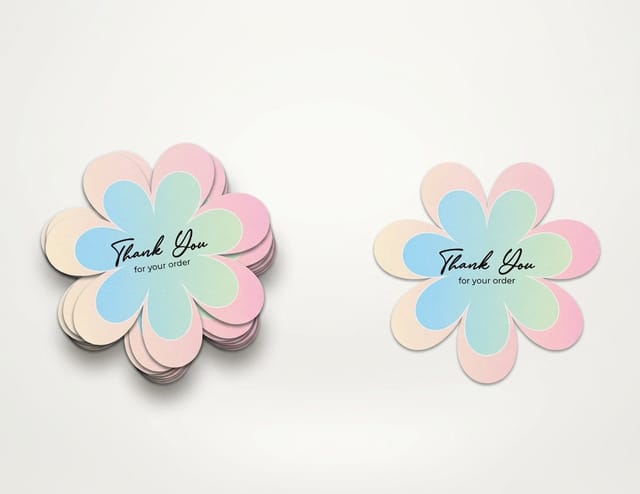
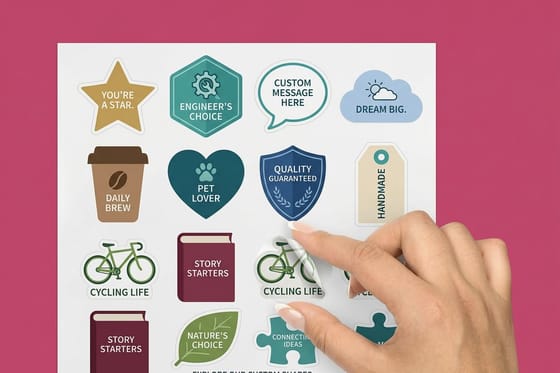
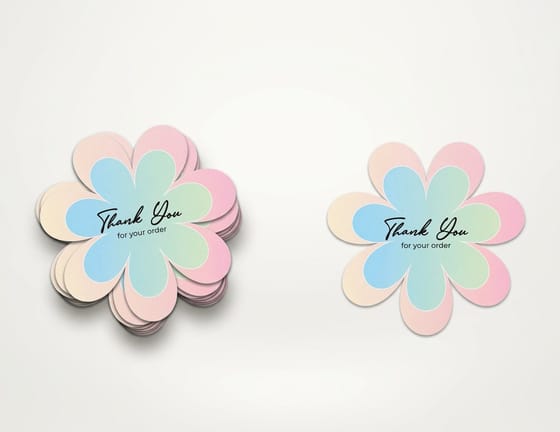
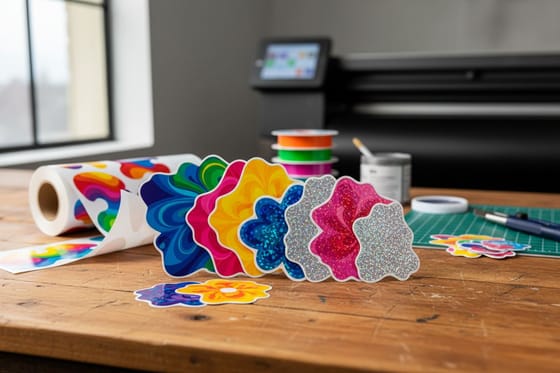
Shape and size are part of the idea, not an afterthought. A die-cut that follows the outline of your art makes the sticker feel finished and intentional, while a plain rectangle can flatten a strong concept. Decide the shape and the final print size early, because they frame the whole composition and change how you lay out the art. Our die-cut stickers cut to any outline, and the die-cut collection shows what custom shapes can do.
Set up artwork, resolution, and bleed
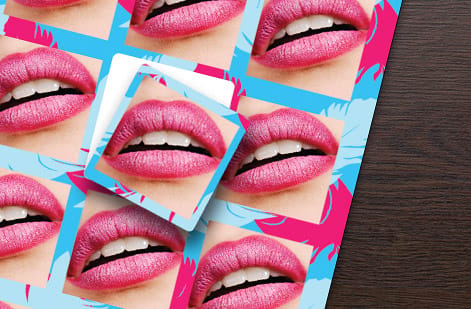
This is where a design becomes a file that prints cleanly. Build your artwork at 300 DPI at the exact size the sticker will print, since scaling a small image up later only softens it. Keep logos, icons, and any hard-edged shapes as vectors so they stay razor sharp at any size, and reserve raster images for photographic elements that are already high resolution.
Then add the two technical pieces that make a sticker cut clean. A bleed of color extends your artwork past the cut line so a slight shift in the blade never leaves a thin white edge. A clean cut line, drawn as a tidy vector path that follows your shape, tells the machine exactly where to trim. Get these right and the finished sticker matches your screen exactly. If file setup is new to you, the die-cut sticker guide covers the mechanics in more depth.
Pick the material and finish
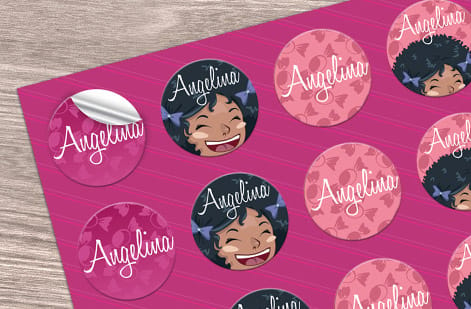
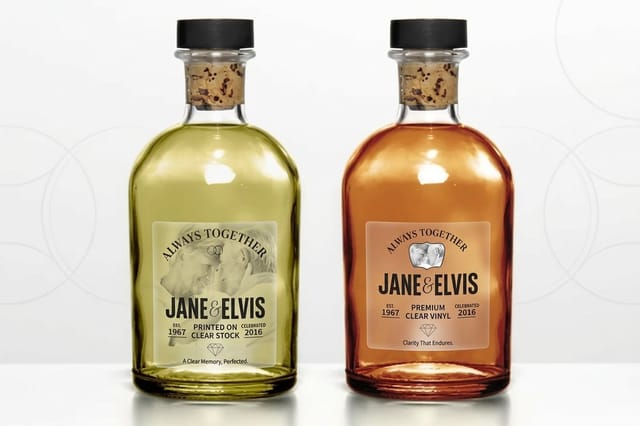
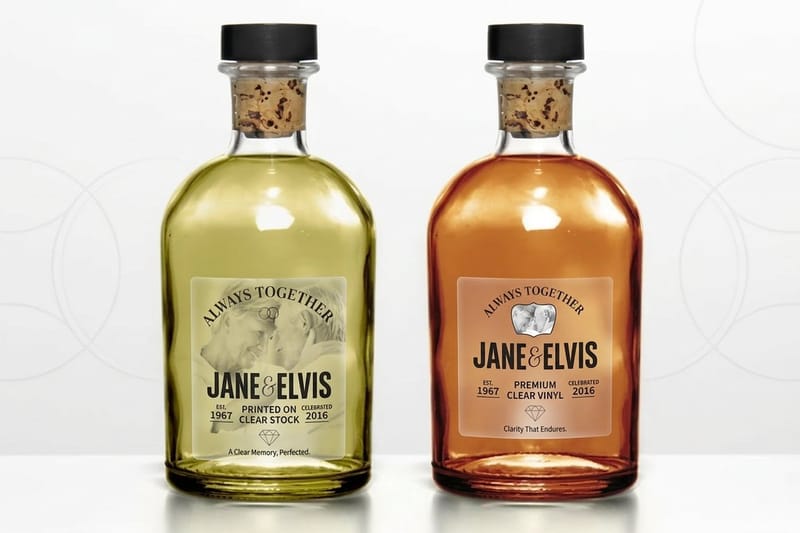
Where the sticker lives decides what it is made of. Durable vinyl handles anything that faces weather, water or heavy handling, from a bumper to a water bottle, because it resists fading and peeling. Clear film gives a printed-on-glass look that suits windows and packaging where you want the surface to show through. Paper stock is a cost-effective choice for indoor use, event labels, and packaging seals that will not take abuse.
Finish is the final tuning. A gloss finish makes colors pop and adds a wipeable surface, while a matte finish reads as understated and premium and cuts glare. Consider a laminate on top for extra scratch and UV resistance on outdoor stickers. When you are unsure how a material or finish will look and feel, order free samples so you can handle real stock before committing a full run, especially for anything that has to survive outdoors. Our clear stickers and bumper stickers are built for those specific jobs.
Proof, then order with the designer
One careful pass before you export saves a reprint. Zoom to 100 percent and check that every image holds up sharp, confirm the bleed runs past the cut on all sides, and make sure the cut line follows your shape cleanly with no stray points. Read any text at full size, since a typo on a sticker gets multiplied across the whole run. When you order with us, the file also passes through a free file check as a second set of eyes.
If building a file from scratch feels like a lot, our online design tool does the technical heavy lifting for you, setting the bleed and the cut line automatically so what you design exports print-ready. You can also start from a layout in our design templates. When the art is proofed, use the live specs and pricing panel below to set your size, material, finish, and quantity, and place the order.
Wally turns an idea into a clean cut
One bold concept, a real cut line, print-ready
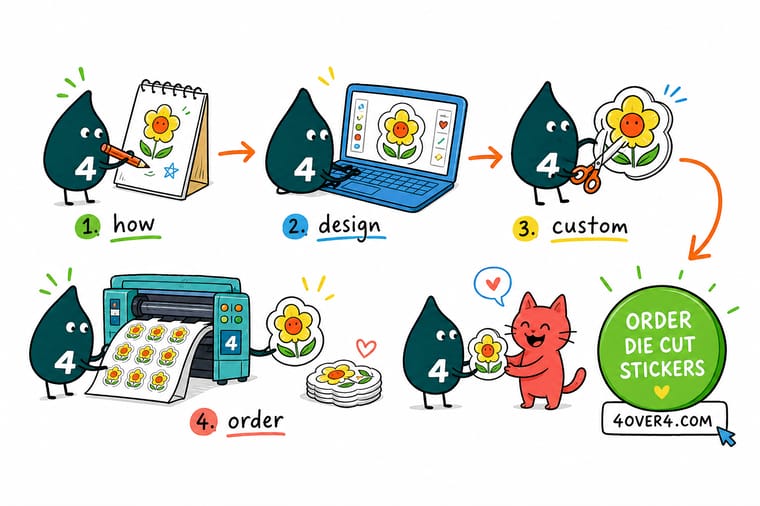
Wally keeps the idea simple so it reads small and fast, picks a die-cut shape that follows the art, and builds the file at 300 DPI with a bleed and a clean cut line so the blade never clips a thing. Vinyl for outdoors, clear for glass, paper for indoors. Proof it at full size, or let the online designer set the bleed for you, and 4OVER4 prints it exactly as drawn.
Design your custom stickers →Quick reference
The key details, at a glance
| Detail | What to know | Why it matters |
|---|---|---|
| Concept | One bold, simple idea | Stickers are seen small, so a single clear idea reads best. |
| Shape | Die-cut to the art | A custom cut makes the sticker feel finished and intentional. |
| Size | Set final print size | Design at the size it prints so resolution stays true. |
| Resolution | 300 DPI at final size | Full detail keeps art crisp, with logos kept as vectors. |
| Bleed | 0.125 in past cut | Art past the cut line means no white edge if the cut shifts. |
| Cut line | Clean vector path | A tidy cut line tells the blade exactly where to trim. |
| Material | Vinyl, paper, or clear | Pick a stock and finish for where the sticker will live. |
Step by step
How to do it in 7 steps
- Plan your sticker ideaSketch one bold, simple concept that reads at a glance, since a sticker is usually seen small and fast.
- Choose shape and sizeDecide the die-cut shape and the final print size early, because they frame the whole composition.
- Set up artwork and bleedBuild the art at 300 DPI at final size, keep logos as vectors, and add a bleed of color past the cut line.
- Draw a clean cut lineAdd a tidy vector cut path that follows your shape so the blade knows exactly where to trim.
- Pick material and finishChoose vinyl, paper, or clear stock and a matte or gloss finish based on where the sticker will be used.
- Proof your fileZoom to 100 percent, check the resolution and bleed, and confirm the cut line before you export.
- Order your custom stickersExport a print-ready file or use the online designer, run the free file check, and place the order.
Specs and pricing
Live specs and pricing
Once your design is ready, size, stock and finish are what is left. Die-cut stickers run 25 for $93.37, which is $3.73 each.
| Quantity | Price Per Unit | Total |
|---|---|---|
| 25 | $3.73 | $93.37 |
| 50 | $1.91 | $95.56 |
| 100 | 100.0¢ | $99.95 |
| 200 | 56.3¢ | $112.59 |
| 300 | 41.4¢ | $124.13 |
| 400 | 33.9¢ | $135.65 |
| 500 | 29.2¢ | $146.10 |
| 600 | 26.4¢ | $158.17 |
Order it
Bring your project to 4OVER4
Explore more
Where to go next


By the numbers
Where your finished sticker file goes to print
Common Questions
Common questions
What is a sticker designer?
A sticker designer is the tool and the process for turning an idea into a print-ready sticker file. That means setting a bold concept, choosing a die-cut shape and size, building the artwork at 300 DPI with a bleed and a clean cut line, and picking a material and finish. Our online design tool acts as a sticker designer that bakes the bleed and cut-line rules in for you, so the file exports ready to print without a separate prepress step.
Where will this sticker actually live?
Start with one bold, simple idea, because a sticker is seen small and fast and a busy design gets lost. Pick a die-cut shape that follows your art so the sticker feels finished, size it for where it will live, and choose a material to match, vinyl for durability outdoors, clear for a printed-on-glass look, or paper for indoor use. Then handle the technical layer, 300 DPI resolution, a set bleed, and a clean cut line, so the finished sticker prints and cuts exactly as drawn.
What do custom stickers cost and how are prices set?
Price scales with size, material, finish, and quantity. A larger sticker or a premium vinyl or clear stock costs more per unit, while a larger run lowers the unit price sharply, which is why stickers are often ordered in volume. You set the options in the 4OVER4 configurator and the total updates live, so you can compare a material or a size against another before committing. Designing your own file or using the online designer adds no cost.
What sizes, materials, and finishes are available for custom stickers?
Stickers come in a wide range of sizes and die-cut shapes, on materials that include durable vinyl, clear film, and paper, with matte, gloss, and specialty finishes. The right combination depends on where the sticker will live, since an outdoor or bumper sticker needs weatherproof vinyl while an indoor label can use paper. Order free samples to feel the materials and see the finishes before committing to a full run.
How long do custom stickers take to print and ship?
Turnaround depends on the size, material, finish, and quantity, and the product page shows the current production time for your configuration. Standard materials and shapes print quickly, and you can add expedited shipping to hit a deadline. Proof your file at full size first, checking resolution, bleed, and the cut line, since a reprint to fix a soft image or a clipped edge is the most common cause of delay.
Get Started
Order 25 clear stickers, printed in 3 business days
Set your size, stock and quantity below, then place your order with 4OVER4.COM.
Legal Disclaimer
Gold Standard guarantees apply to all standard orders placed through 4over4.com. Price match requires verifiable proof of a competitor's published price for an equivalent product with matching specifications and turnaround time. Satisfaction guarantee covers manufacturing defects and print quality issues. Contact support with order number and documentation. On-time delivery rate based on tracked orders 1999 to 2026. Individual results may vary based on shipping carrier performance.
