
Make Your Own Greeting Card That People Actually Keep


Sofia is our design and templates voice, built from the knowledge of our production team, with over 20 years in printing.
Pick the fold, set the size, build artwork that survives the trim, choose paper that feels like the occasion, and add a finish worth touching. This is the full path from idea to a printed card you can mail this week, with real prices and no guesswork.
To make your own greeting card, choose a format first (flat, side fold, or top fold), then set the finished size against an envelope that fits it. Build artwork at trim size with an eighth inch of bleed on every edge, keep type inside the safe area, and work in CMYK at 300 dpi. Select an uncoated stock if people will handwrite inside, or a coated cover if the front carries a photo. Add foil or soft touch lamination for a keepsake feel, proof the fold direction, then print the run you actually need.

Print your own greeting cards
Two folded sizes, one envelope each, and a run as small as 50
To print your own greeting cards at 4OVER4.COM, choose 8.5 x 5.5 inches folding to 4.25 x 5.5, or 10 x 7 inches folding to 5 x 7. The cards print on cover stocks from 14pt gloss to 18pt uncoated, cream, white linen, soft touch or metallic pearl, arrive scored and folded or flat, can ship with matching white wove A2 envelopes, and start at 50 for $56.02 in 5 business days.
To create your own greeting card file, pick the fold and the size, write the inside message, then build the artwork with bleed past the trim, a safe margin inside it, CMYK color and 300 dpi images. Lay it out in the free online designer or upload your own PDF, and take the free online proof to check the fold direction before the run.
Start here
From a blank panel to a printed card
A greeting card you make yourself is a format decision, a size decision, a paper decision, and a file built to respect all three. Choose flat or folded, match the trim size to a real envelope, draft the inside message before you finalize the layout, and set the artwork up with bleed, safe margins, CMYK color, and 300 dpi images. Pick uncoated stock for handwriting or coated for photos, add foil or soft touch if the occasion earns it, then proof the fold direction and print only the quantity you need.
Why a card you made yourself outlasts one you bought
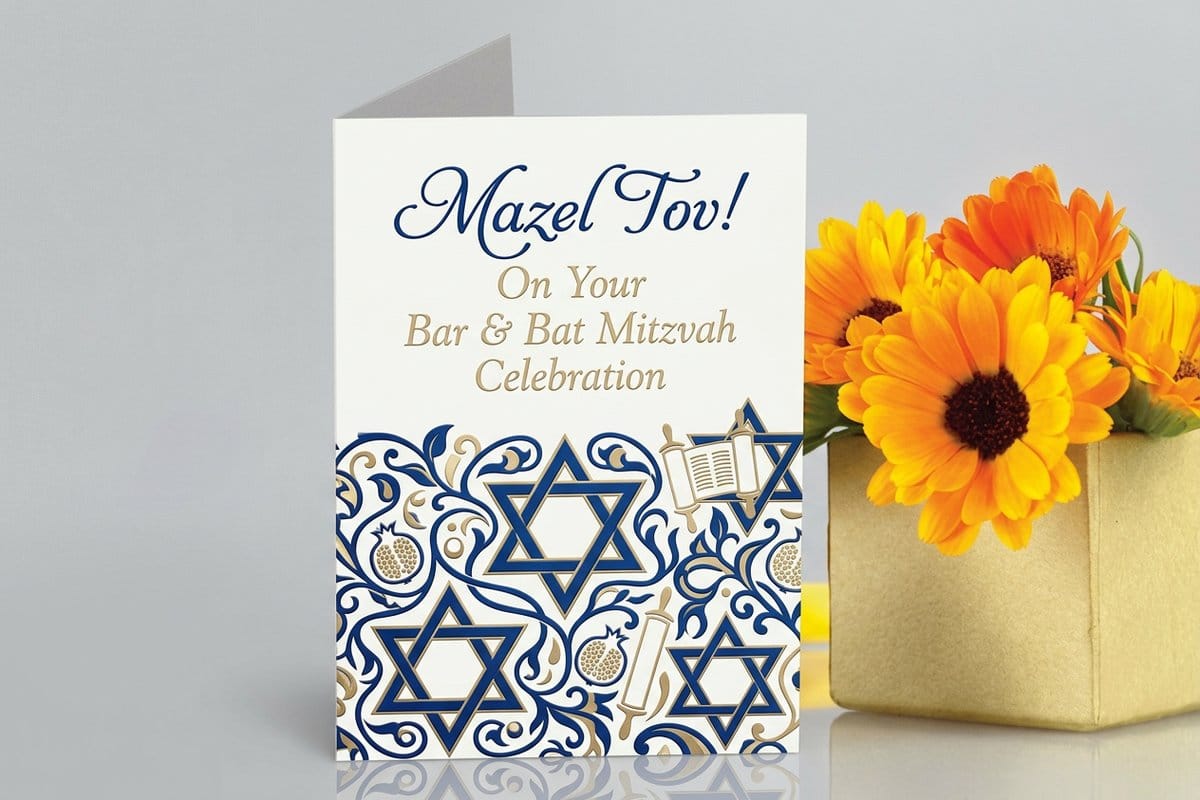
Everyone recognizes a rack card. The typeface is safe, the sentiment is written for nobody in particular, and the recipient reads it once. A card you designed does something different, because the photo is one both of you remember, the wording sounds like your voice, and the paper feels deliberate in the hand before a single word is read, whether that is 18pt Premium White Linen or 16pt Uncoated with Soft Touch.
That difference matters commercially too. Studios, salons, real estate teams, and clinics send holiday cards because a printed piece survives on a desk for weeks, while an emailed greeting survives for four seconds. Real estate teams often send the card alongside their yard signs, and the Real Estate H-Frame video shows that sign stand. When you print the card yourself, you also control the run size, so a list of eighty people does not force you into a thousand piece minimum. This guide walks the whole path, and the infographic below compresses it into one frame you can keep open while you work.
What making your own greeting card actually involves

Making your own greeting card is four decisions and one file. You choose a format, meaning flat or folded and which way it opens. You choose a size, which sets the envelope you will mail it in. You choose a stock and a finish, which decide how the card feels. Then you build artwork that fits the trim, the fold, and the safe area without fighting them.
The part people underestimate is the fold. A folded card is not one design, it is four panels that all have to make sense in sequence: front cover, inside left, inside right, and back. When the file is laid out flat, the back panel and the front cover sit side by side, and the inside spread sits on the second page. Get that mapping wrong and your greeting prints upside down on the back, which is a mistake that only shows up after the score line goes in. The free online card maker lets you lay out all four panels in the browser before anything is printed.
If you would rather not build the geometry from scratch, our greeting card templates guide gives you files with the trim, score, and safe zones already drawn, and the broader walkthrough in how to make greeting cards covers the production side in more depth.
The seven steps from blank page to printed card

Working in order saves rework. Each step below locks a decision that the next step depends on, which is why designers who jump straight to picking a photo usually end up rebuilding the file twice.
- 1. Pick the fold. Flat, side fold, or top fold. This sets your panel count and your file page count.
- 2. Set the size. Choose the finished trim size, then confirm an envelope exists for it before you design a single element.
- 3. Build the artwork. Create the document at trim size with bleed added on every edge and a safe margin drawn inside.
- 4. Write the inside. Draft the message before you finalize the layout, because a four line note and a fourteen line note need different inside spreads.
- 5. Choose the stock. Uncoated for handwriting warmth, coated for photo punch, heavier cover for a card that stands up on its own.
- 6. Add the finish. Foil, soft touch lamination, spot gloss, or rounded corners, chosen to support the occasion rather than decorate it.
- 7. Proof and print. Read the proof out loud, check the fold direction, then release the job.
Step four is the one people skip. Writing the message first tells you how much room the inside needs, and that constraint quietly improves the cover design too.
How the fold changes your layout

A side fold card opens like a book, hinged on the left. It is the classic greeting card shape and it suits portrait photography, formal invitations, and longer messages, because the inside spread reads as one wide surface. A top fold card hinges along the top edge and opens upward, which flatters landscape photos and short greetings, and it stands nicely as a tent on a desk.
A flat card has no fold at all. You get two surfaces, front and back, which forces brevity and cuts cost. Flat cards mail faster, cost less per piece, and photograph beautifully when the front is a single strong image with the message on the reverse. For high volume holiday lists, flat is often the smarter call.
Whichever you pick, remember that the fold consumes design space. Keep important elements at least a quarter inch away from the score line so nothing important sits in the crease, and never run small text across a fold. Backing pieces such as the Backing Cards follow the same discipline even when they never fold, because trim tolerance still applies.
Greeting card sizes and the envelope rule
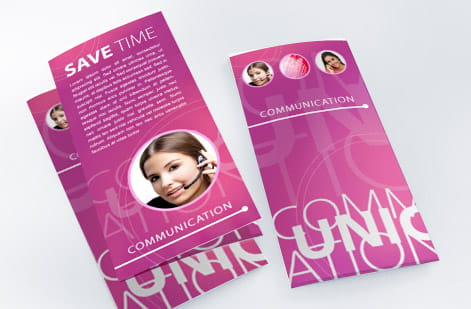
Size is not a free choice, because the card has to fit an envelope that the postal service will carry at a sane rate. The reliable approach is to select the envelope first, then set the card an eighth of an inch smaller on each dimension so it slides in without buckling the corners.
Popular finished sizes include 4 by 6 for photo greetings, 5 by 7 for the classic occasion card, and larger folded formats for invitations and announcements. A folded 5 by 7 starts as a 10 by 7 flat sheet before scoring, so build your file at the flat dimension and mark the fold line rather than designing two separate documents.
Square cards look wonderful and cost more to mail, because square envelopes are nonmachinable in the postal stream. That surcharge is usually worth it for a wedding or a milestone, and rarely worth it for a four hundred piece corporate holiday run.
Choosing paper stock that matches the moment

Paper is the first thing the recipient experiences, before the photo and long before the words. A thin sheet reads disposable no matter how good the design is. Cover weight stock has enough rigidity to stand on a shelf, and that single property is why a good card survives the season instead of being cleared off the counter.
Uncoated cover gives you a soft, slightly textured surface that takes pen ink cleanly, which is the right answer whenever people will handwrite inside. Coated cover, gloss or matte, holds photographic detail and saturated color much better, which matters if the front is a family portrait or a product image. Matte coated is a comfortable middle ground, since it keeps color strength while staying easy to read under a lamp.
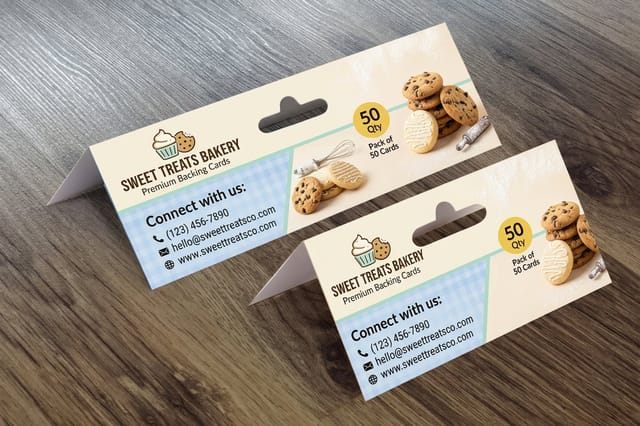
Rigid stocks serve a different job. The Backing Cards, starting at $218.30, is built to support and present another piece rather than carry a message, and it is a useful partner when you package a card with a keepsake or a gift item. If you are unsure how a weight will feel, order free paper samples before you commit the run.
Premium finishes that turn a print into a keepsake
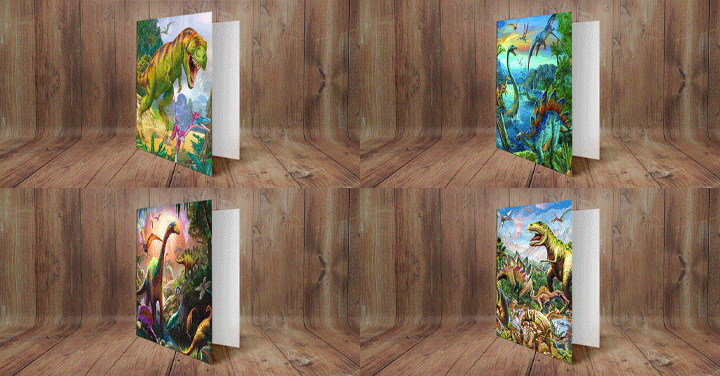
Finishes are where a personalized card earns its price. Foil stamping presses metallic leaf into the sheet, so a name, a date, or a monogram catches light from across a room. It photographs well, it feels expensive under the thumb, and it works hardest when you use it on one small element rather than across the whole cover.
Soft touch lamination changes the tactile signature entirely, giving the surface a suede like drag that makes people hold the card longer. Spot gloss does the opposite by adding shine to selected shapes over a matte field, which is a quiet way to make snowflakes, script lettering, or a logo separate from the background without adding a second ink.
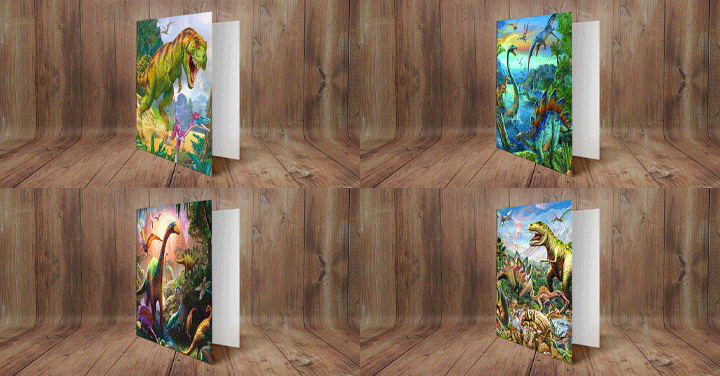
For a card nobody puts down, 3D Lenticular Greeting Cards, starting at $631.57, print behind a lens that shifts the image as the card tilts, so a photo gains depth or flips between two frames. It is a specialty run with a real minimum and a longer schedule, and it is the right tool for a milestone announcement or a marketing piece that has to survive a mailroom.
Writing an inside message that sounds like you
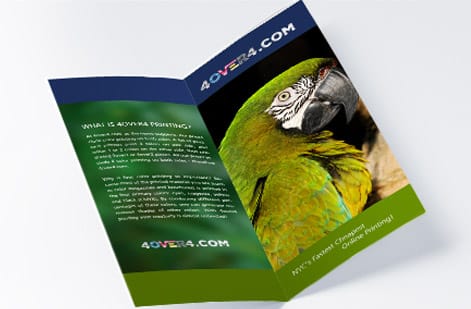
The strongest greeting card writing is specific and short. Name the shared detail, say the thing plainly, then stop. A line such as, thank you for the Tuesday phone call that got me through a difficult month, does more work than three sentences of generic warmth, because it proves you were paying attention.
Structure the inside as three moves. Open with the occasion in one line, add the specific memory or observation in the middle, and close with the forward looking wish. Sign it in ink if the stock allows, even on a printed run, because a handwritten signature on a professionally printed card is the combination people remember.
If you are writing for a business list, resist the sales sentence. A holiday card that pivots into a promotion converts worse than one that simply thanks the client, and it costs you the goodwill you paid to print. If you want copy that carries a brand voice without pitching, the thinking in memorable slogan writing and making a slogan carry transfers directly.
Setting up artwork that prints exactly as you designed it
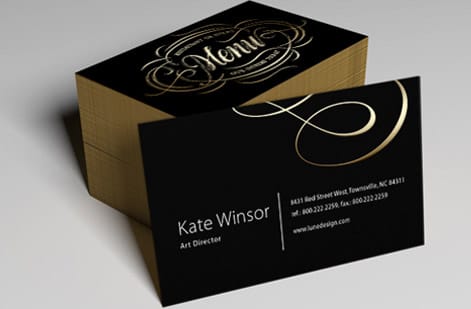
Four file rules prevent almost every reprint. Build the document at final trim size and extend any background image or color an eighth of an inch past every edge, so a slight shift on the cutter never leaves a white sliver. Keep text and logos at least an eighth of an inch inside the trim, further on folded pieces. Work in CMYK, because bright screen blues and neon greens will not survive a conversion you did not supervise. Place images at 300 dpi at final size, not at 72 dpi scaled up.
Export a single PDF with fonts embedded or converted to outlines, pages in reading order, and no crop marks unless the product asks for them. For a folded card, that usually means page one holds the outside, with the back panel on the left and the cover on the right, and page two holds the inside spread.
Then look at the proof properly. Check the fold direction, read the date and the spelling of every name out loud, and confirm the photo is not stretched. Playful custom pieces such as scratch off print and cut cards add another layer to verify, since the covered area has to align with the text underneath it.
What a custom greeting card run costs and how to order it

Cost follows six variables: quantity, finished size, stock weight, printed sides, folding, and finish. Quantity moves the needle hardest, because the setup work is spread across the run. That is why a hundred cards can cost only modestly more than fifty, and why it usually pays to add the extra dozen you will need for people you forgot.
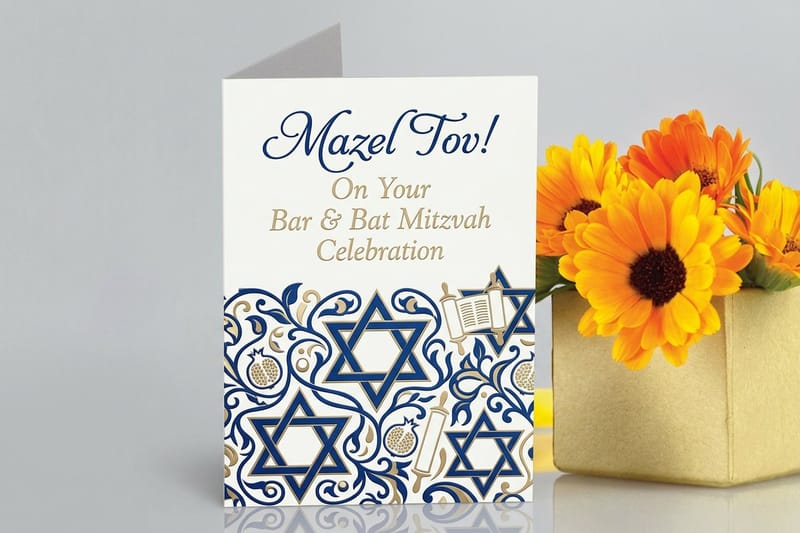
For a real anchor, Bar and Bat Mitzvah Greeting Cards start at $56.02, which puts a premium milestone card within reach of a family sized run rather than a corporate budget. Configure your size, stock, and quantity on the product page to see live pricing before you commit, and order free paper samples first if the stock choice is close. When the schedule is tight, book production time before your artwork is final, since the file can follow the order but the calendar cannot. The Bar Bat Mitzvah Greeting Cards story and the Bar Bat Mitzvah Invitations video show the milestone set, Bar Bat Mitzvah Stickers seal the envelopes, and the whole range of bar and bat mitzvah invitations sits in one collection.
Wally explains the fold
Design the panels, not just the front
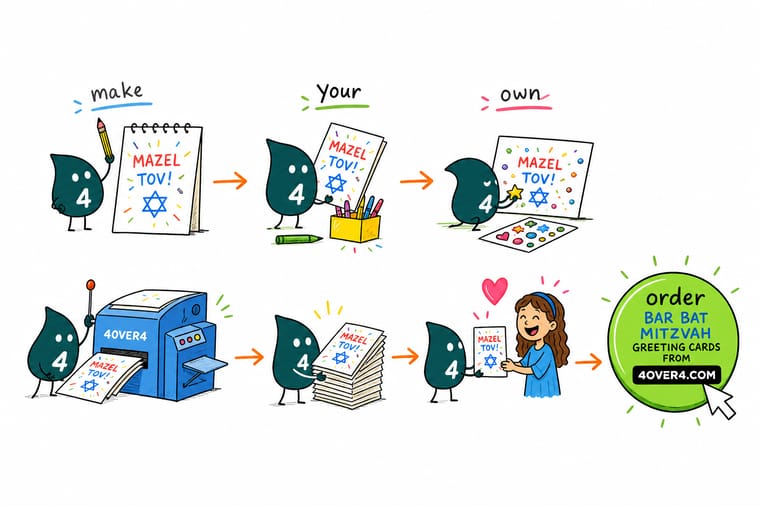
Wally has watched more cards get reprinted over fold direction than over typos. His rule is simple. Sketch the four panels on a scrap sheet, fold it by hand, and write which artwork belongs on each face before opening a design file. Two minutes of paper folding saves a full run, and it tells you instantly how much room the inside message really has.
Design and print greeting cards →
Infographic
Your own greeting card in 7 steps
One frame, seven decisions, in the order that keeps you from rebuilding the file: fold, size, artwork, message, stock, finish and proof. Save it, print it, or keep it open in a second window while you lay out the panels of your card.
The seven steps run in order for a reason. Each one sets a constraint the next step depends on, so a fold chosen late or a size chosen after the artwork almost always sends you back to the beginning of the file.
Specs and pricing
Greeting card specs and live pricing
When the design is settled, the numbers decide the rest. Check the available sizes, stocks, and printed sides, then watch the per piece price fall as the quantity climbs.
| Quantity | Price Per Unit | Total |
|---|---|---|
| 50 | $1.12 | $56.02 |
| 100 | 78.0¢ | $77.99 |
| 200 | 50.0¢ | $99.95 |
| 300 | 40.6¢ | $121.92 |
| 400 | 36.0¢ | $143.89 |
| 500 | 33.2¢ | $165.86 |
| 600 | 31.9¢ | $191.12 |
| 700 | 30.9¢ | $216.38 |
Print it
Card products to build your design on

See it in use
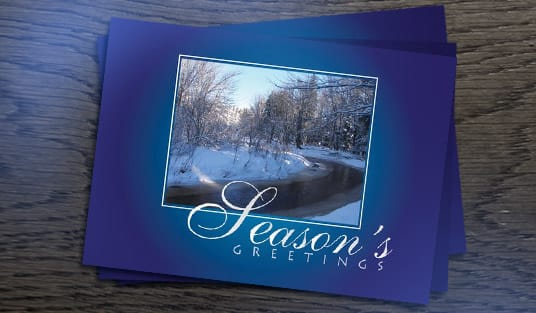
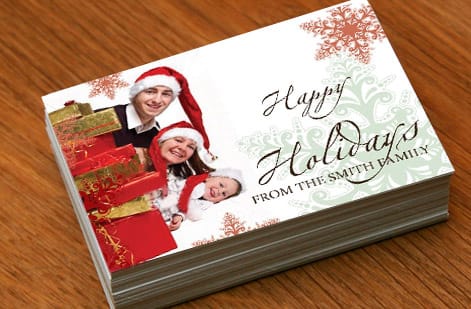
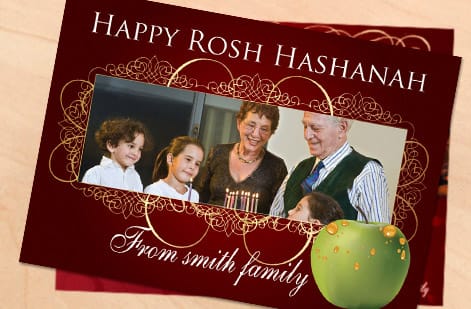
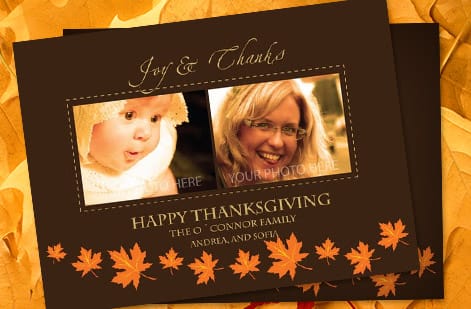
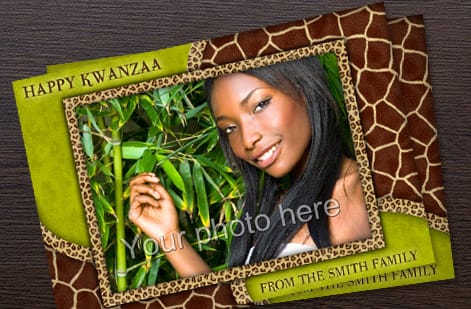
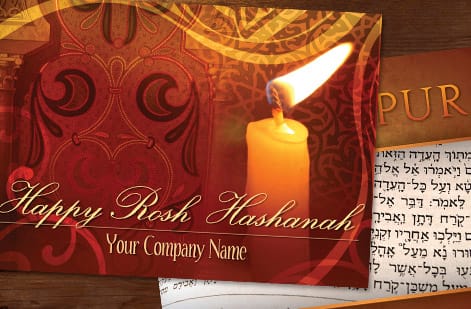
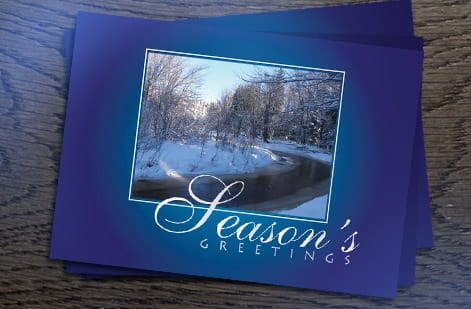
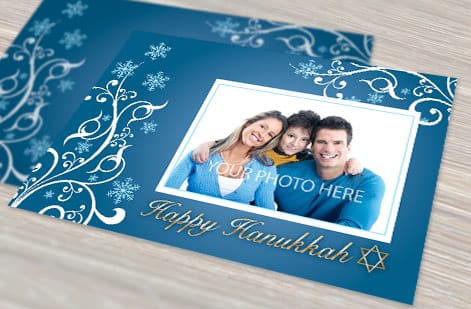
Real card designs, printed in house
Explore more
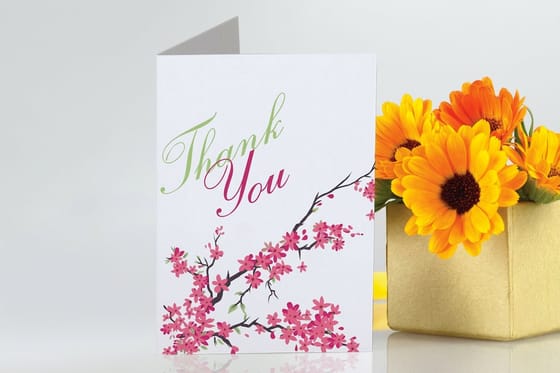
Where to go next


By the numbers
Greeting cards, backing cards and lenticular cards
Common Questions
Common questions about making your own greeting card
What does it mean to make your own greeting card?
Making your own greeting card means you control the format, the artwork, the message, and the paper instead of choosing from a rack. You decide whether the card folds, how big it prints, what stock it lands on, and what goes inside. The file you build gets printed, scored, folded, and trimmed to your specification, so the finished card carries your photo, your handwriting style, and your wording rather than a stock sentiment.
Should the card be flat or folded?
Start with the message length and the photo. A single photo with a short line works beautifully as a flat card. A longer note, an invitation with event details, or a card meant to stand on a mantel wants a fold so you get four panels to work with. Formal occasions such as weddings, anniversaries, and religious milestones usually call for a heavier cover stock and a fold. Quick holiday greetings for a long mailing list often work better flat because they cost less and mail faster.
What does a personalized greeting card cost and how is the price set?
Price is driven by quantity, size, stock weight, number of printed sides, folding, and any finish you add. Bar and Bat Mitzvah Greeting Cards start at $56.02, the Backing Card starts at $218.30, and 3D Lenticular Greeting Cards start at $631.57 because the lenticular lens is a specialty material. Per piece cost drops quickly as quantity climbs, so doubling a run rarely doubles the invoice.
What sizes, stocks, and finishes can I use for a greeting card?
Common greeting card sizes run from 4 by 6 and 5 by 7 flat cards up to folded formats that open to a full sheet. Stock choices span uncoated cover for a natural writing surface, gloss and matte coated cover for photo work, and premium options with soft touch lamination. Finishes include foil stamping, spot gloss, rounded corners, and scoring for a clean fold. Ask for free samples if you want to feel the weight before you order.
How long does it take to print and ship a custom greeting card?
Standard turnaround for most card products is a few business days in production once your files pass preflight, plus transit time to your address. Specialty finishes such as foil or lenticular add production days because they run through an extra pass. If you are printing for a dated event, work backward from the mail date and add a buffer for a physical proof so a last minute correction does not cost you the deadline.
Can I write inside the card by hand after printing?
Yes, and it is worth planning for. If you want to handwrite the note, choose an uncoated stock inside because ink from a gel pen or fountain pen sits down properly instead of smearing on a glossy surface. Leave the inside right panel mostly blank, and keep any printed elements light so handwriting stays readable across them.
Do I need special artwork files, or can I use a template?
A print ready PDF at 300 dpi in CMYK with bleed is the safe answer. If you are not building files from scratch, a template gives you the trim, fold, and safe area already drawn, so you drop your photo and text into marked zones. Either way, check that fonts are outlined or embedded and that any dark background extends past the trim line.
Get Started
Order 50 greeting cards from $56.02 in your own design
Bring your artwork to 4OVER4.COM and pick the size, stock, and finish that fit the occasion. Short runs welcome, premium finishes available, and free paper samples if you want to feel the sheet first.
Legal Disclaimer
Gold Standard guarantees apply to all standard orders placed through 4over4.com. Price match requires verifiable proof of a competitor's published price for an equivalent product with matching specifications and turnaround time. Satisfaction guarantee covers manufacturing defects and print quality issues. Contact support with order number and documentation.
