
The Beginner's Guide to Editing and Printing Photos


Take a photo from your camera roll to the wall. Edit for the print, get the resolution and color right, export clean, and print it on canvas, a poster, or cards that look exactly the way you meant.
To print a photo well, edit for paper not screen: crop, balance exposure, correct color, and export at full resolution. Prints read darker than a glowing screen, so brighten gently, keep about 300 DPI at final size, convert from RGB to CMYK, and export a flattened file. Then print on canvas, a poster, or cards.
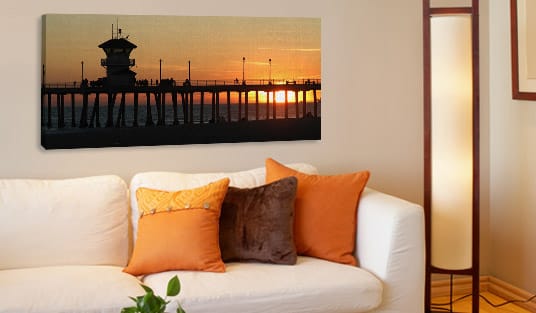
Start here
From camera roll to a print that matches
Editing for print means judging your photo as ink on paper, not light on a screen. Crop to the print shape, balance exposure a touch brighter than the monitor, retouch lightly, keep about 300 DPI at final size, convert from RGB to CMYK, and export a flattened file. Then print it on canvas, a poster, or cards. The workflow below maps every step at a glance.
Choosing your photo editing software
Editing photos for print starts with a tool that can adjust exposure, color, and cropping and export a full-resolution file. The good news for beginners is that the principles matter far more than the software, so you can start with what you already have and get excellent results.
Adobe Lightroom is the friendliest professional starting point: it handles exposure, color, and cropping cleanly and lets you edit many photos consistently. Photoshop adds detailed retouching and precise control over the final export, which is useful once you are comfortable. If you would rather not pay, several capable free apps cover cropping, exposure, and color correction well enough to prepare a photo for a beautiful canvas print or poster.
Whatever you pick, confirm it can do three things: set the crop and aspect ratio, adjust exposure and color, and export a flattened, full-resolution file at the size you plan to print. You can also prepare and size files right in our online design tool before you order, which skips the software question entirely.
Retouching basics: crop, exposure, and restraint
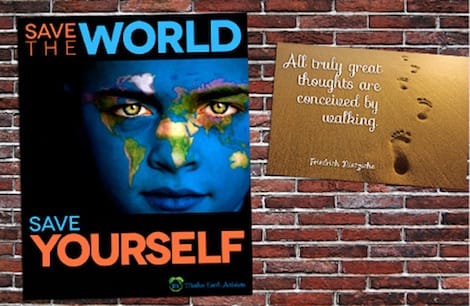
Good print editing is mostly a handful of light adjustments in the right order. Start by straightening horizons and cropping to the aspect ratio you plan to print, so the composition is locked before you fine-tune anything and nothing important gets trimmed when the print is sized. Cropping first also lets you strengthen the composition by removing dead space at the edges.
Next, balance exposure and contrast. Lift the shadows so detail survives, protect the highlights so bright areas do not blow out to featureless white, and add just enough contrast for the image to feel alive. Because a print reflects room light instead of glowing, it reads a touch darker than your screen, so brighten a little more than looks right on the monitor.
The golden rule is restraint. Remove small distractions, even out skin, and clean up blemishes, but keep every edit light. Heavy processing that looks striking on a small screen can look artificial blown up to a large canvas. A natural, gently edited photo is what makes a big print feel real rather than filtered.
Resolution and DPI for print
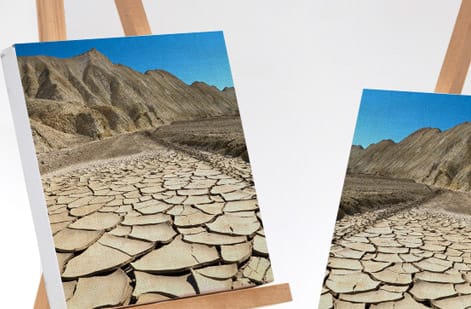
Resolution is the single fact that decides how large you can print. Presses reproduce detail at about 300 DPI, meaning 300 dots of ink per inch, and they need that resolution at the size the image actually prints. To find your maximum sharp size, divide each pixel dimension by 300: a 3000 by 2400 pixel photo prints cleanly at roughly 10 by 8 inches.
There is a helpful exception for big display pieces. A large canvas or poster is usually viewed from several feet away, and the eye is more forgiving at a distance, so you can print those larger than the strict 300 DPI math suggests and they still look great. For prints held close, like photo cards, stay near 300 DPI. The one rule that never bends: never upscale a small file to force a bigger print, because that only stretches the pixels you already have and produces a soft, mushy result.
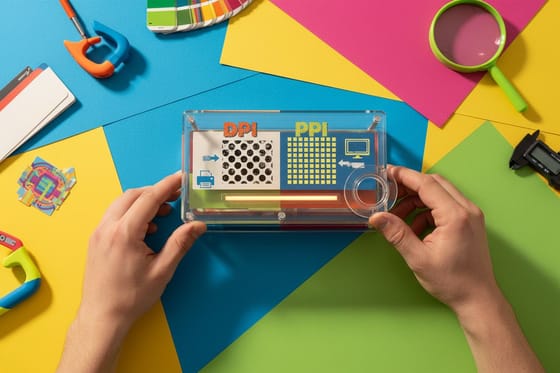
The reliable habit is to view your image at 100 percent zoom before you export. If it looks soft there, it will look soft on paper, and no setting adds detail that was never captured. If you want the deeper distinction between the two resolution terms you will see in software, our guide on DPI vs PPI clears it up.
Color, white balance, and CMYK

Color is where the biggest surprises happen between screen and print, and a little preparation removes them. First, fix the white balance so whites are neutral and the image is not tinted too warm or too cool. Then ease back extreme saturation, because the most vivid blues, greens, and oranges on a glowing screen sit outside what process inks can reproduce and will print duller if you do not tame them yourself.
The core shift is the color model. Screens create color with red, green, and blue light, while a press lays down cyan, magenta, yellow, and black ink, and the two do not cover the same range. Convert your edited photo to CMYK before you export so your preview reflects how the ink will actually look, then re-check skies, foliage, and skin tones, the areas most sensitive to the conversion.
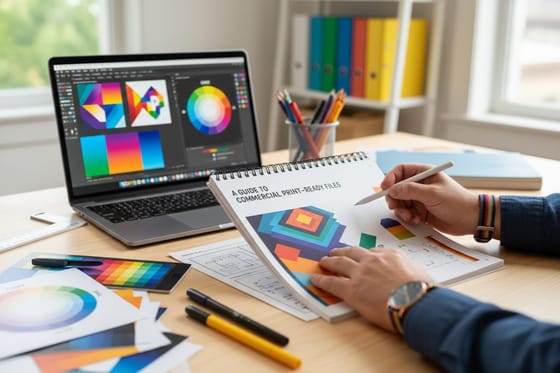
When exact color matters, order a proof or a small test print so you can judge the ink on the real stock before committing to a large piece. This whole color discipline is part of preparing any file for a commercial press, which our guide to print-ready files covers end to end for jobs beyond photos.
Print-ready export, then order your print
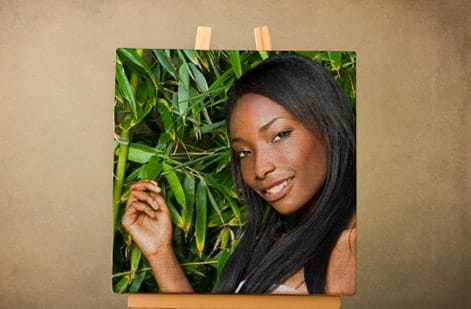
With the photo cropped, balanced, color-corrected, and converted, the last step is packaging it for print. Flatten your layers so nothing shifts, size the image to the exact product dimensions, and export a full-resolution file. That single flattened file is what the press prints, so nothing has to be rebuilt or interpreted on our end.
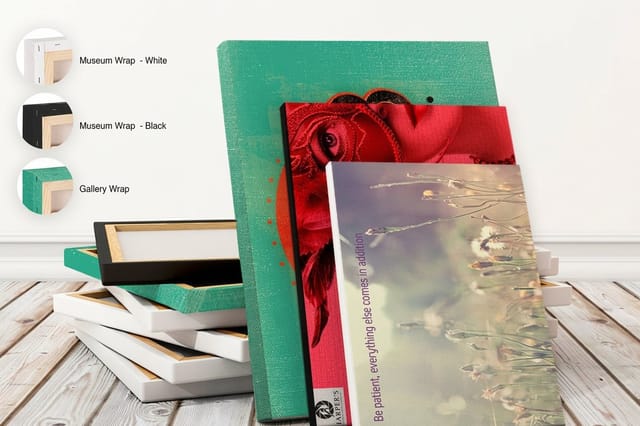
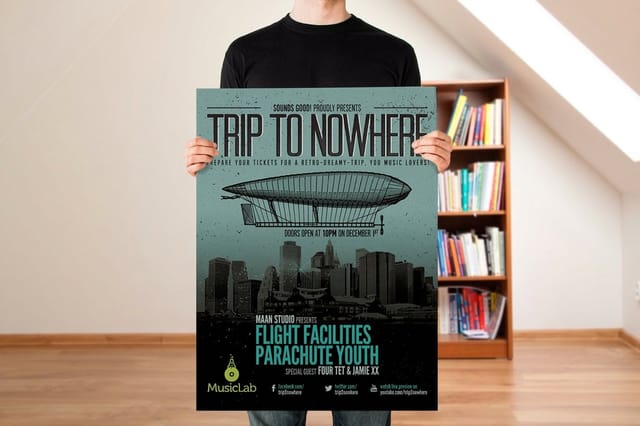
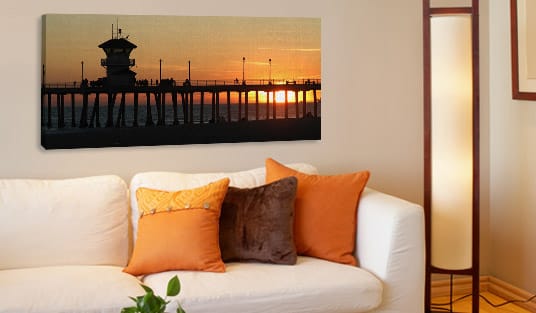
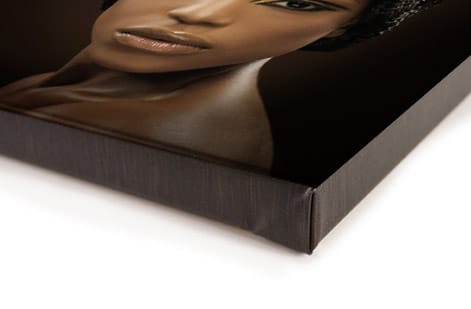
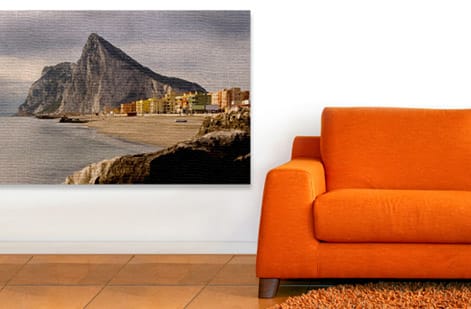
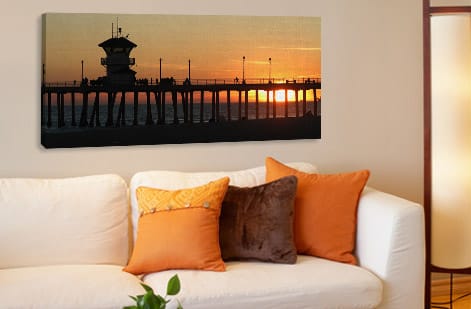
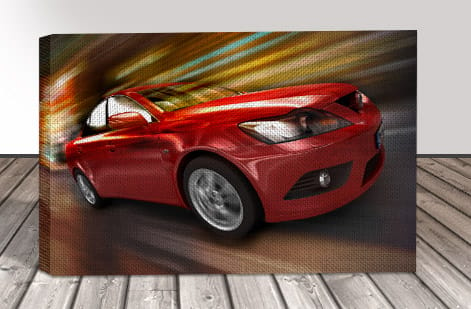
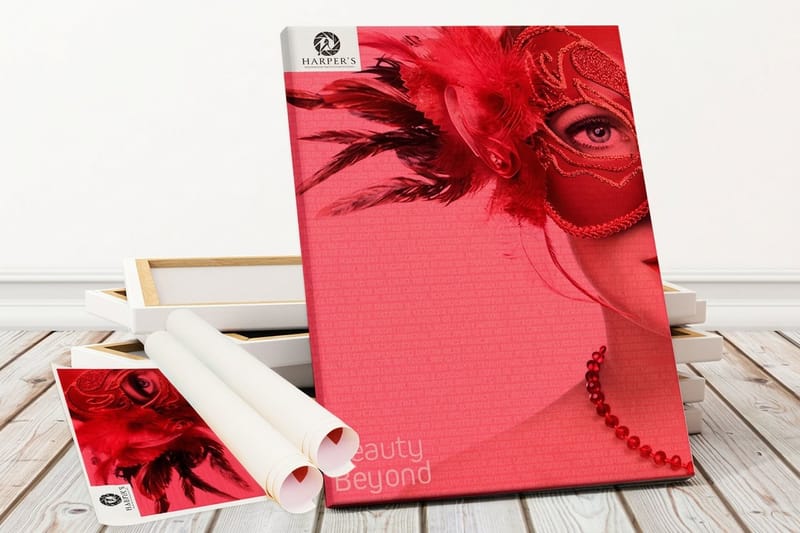
Then choose how to display it. Stretched canvas gives a photo a soft, painterly, gallery feel with no glass glare, ideal for portraits and landscapes. Premium canvas prints add richer texture and depth. Posters print large and flat for a crisp, graphic look and are the most economical big format. Photo cards suit albums and gifts. Each is a live option in the configurator, so you set the size and finish and the price updates as you go.
Use the specs and pricing panel below to see canvas sizes and live pricing, and browse the full range in our canvas and photography collections. Edit for the print, export clean, and your photo arrives on the wall exactly the way you meant it.
Wally edits for the paper, not the phone
A print reflects light, so it reads a little darker
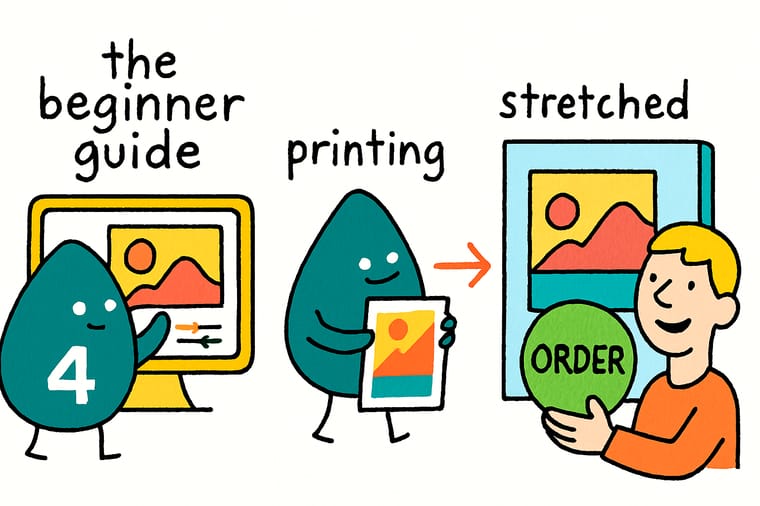
Wally has a rule for photos: what dazzles on a bright phone can print dark and flat. So edit for the paper. Crop to the shape you will print, brighten a touch more than looks right, keep the color natural, and hold about 300 DPI at final size. Convert to CMYK, export one clean flattened file, and Wally prints it on canvas or a poster the way you meant it to look.
Print your photos →Quick reference
The photo-to-print workflow, at a glance
Every print-ready photo goes through the same handful of adjustments. Match these and your image is ready for canvas, a poster, or cards.
| Step | Set it to | Why it matters |
|---|---|---|
| Editing software | Lightroom, Photoshop, or a free app | You need a tool that adjusts exposure, color, and cropping. Capable free options exist, so start with what you have. |
| Crop and straighten | To the print aspect ratio | Crop to the shape you will print, and straighten horizons first, so nothing important gets cut when the print is sized. |
| Exposure and contrast | Lift shadows, hold highlights | Prints read a little darker than a glowing screen, so brighten gently and keep detail in both the shadows and the highlights. |
| Color and white balance | Neutral, then convert to CMYK | Fix any color cast, ease extreme saturation, and convert from RGB so your preview reflects how the ink will print. |
| Resolution | 300 DPI at final print size | Full resolution at the printed dimensions keeps the photo sharp. This number sets the largest size you can print cleanly. |
| Export format | Flattened, high-quality file | Flatten your layers and export a full-resolution file sized to the product so nothing has to be rebuilt before printing. |
Step by step
Edit and print your photo in 6 steps
- Pick your editing software Choose a tool that adjusts exposure, color, and cropping. Lightroom and Photoshop are the standards, but capable free apps work fine to start. Use what you already have.
- Crop and straighten first Straighten horizons and crop to the aspect ratio you plan to print, so the composition is locked before you fine-tune anything else and nothing important gets trimmed.
- Balance exposure and contrast Lift the shadows and protect the highlights so detail survives. Because prints read a touch darker than a bright screen, brighten a little more than looks right on the monitor.
- Correct color and retouch lightly Neutralize any color cast, ease back extreme saturation, and remove small distractions. Keep retouching restrained so the photo stays natural at large size.
- Convert color and check resolution Convert from RGB to CMYK so your preview matches the print, then confirm the image holds about 300 DPI at the size you intend to print.
- Export and order your print Flatten the file, size it to the product, and export at full resolution, then print it on canvas, a poster, or cards and see your photo the way you edited it.
Specs and pricing
Canvas print specs and live pricing
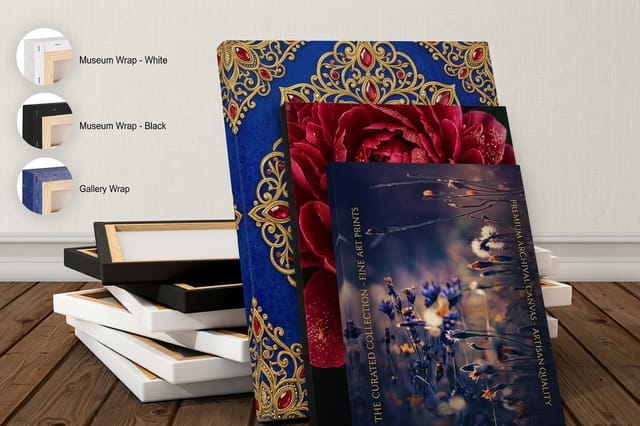
Once your photo is print-ready, size and finish are the choice left. Here are the live specs and price-per-unit for stretched canvas at 4OVER4.COM, straight from the configurator.
| Quantity | Price Per Unit | Total |
|---|---|---|
| 1 | $59.00 | $59.00 |
Print it
Turn your photos into prints at 4OVER4
See it in use
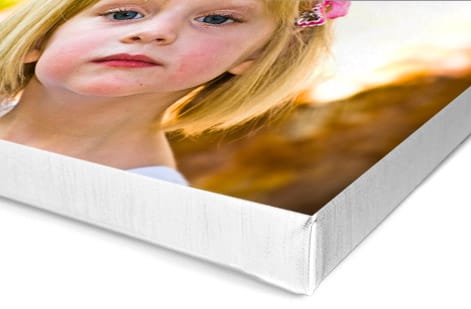
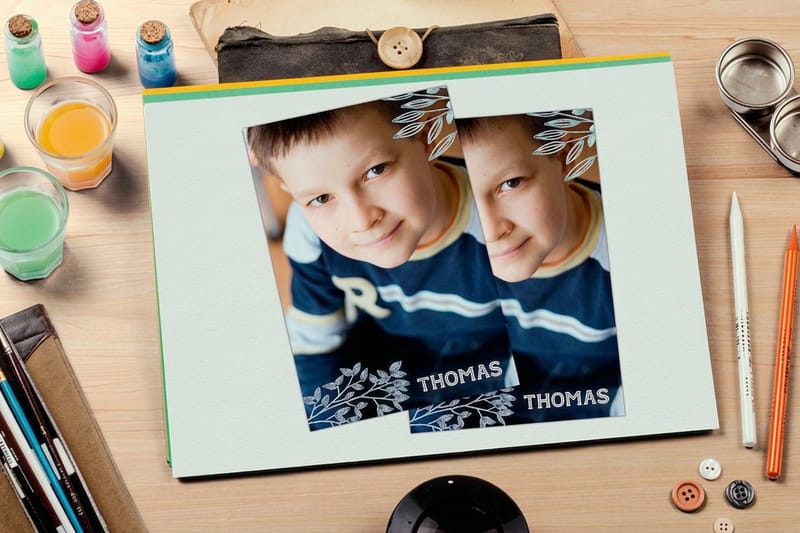
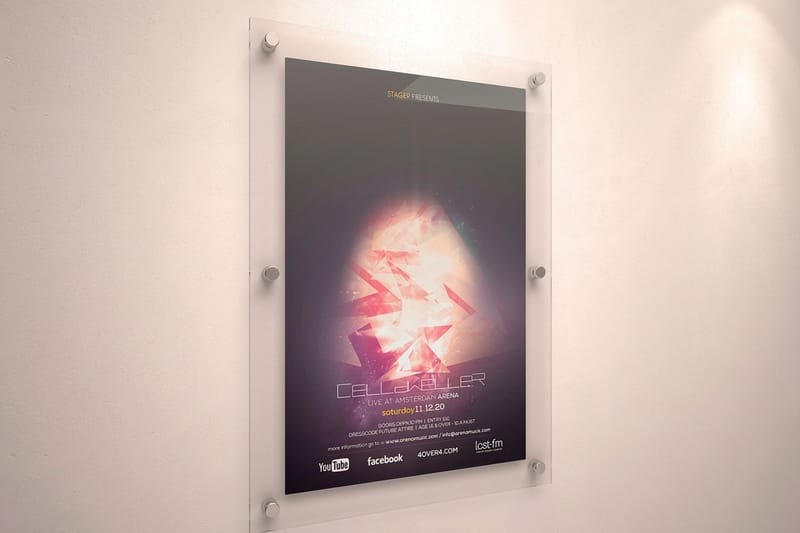
Real photo prints, made in-house
Explore more
Where to go next

By the numbers
Canvas, poster, and card output
Common Questions
Common questions about editing and printing photos
How do I edit a photo so it prints well?
Edit for the print rather than the screen. Start by cropping and straightening to the aspect ratio you will print, then balance exposure and contrast, remembering that prints read a little darker than a glowing screen, so brighten a touch more than looks right. Correct any color cast, ease back extreme saturation that a press cannot reproduce, and retouch lightly so the image stays natural. Convert the file from RGB to CMYK so your preview reflects the ink, confirm the resolution is high enough at your final size, and export a flattened, full-resolution file. Those steps take a good photo from screen-ready to print-ready.
What resolution do I need to print a photo?
For a sharp print you want about 300 DPI at the final print size, meaning 300 dots of ink per inch across the printed dimensions. To find your maximum size, divide each pixel dimension of your file by 300: a 3000 by 2400 pixel image prints cleanly at about 10 by 8 inches. You can print larger than that number suggests for pieces viewed from a distance, like a big canvas or poster, because the eye is farther away, but for close-viewed prints stick near 300 DPI. Never upscale a small file to force a bigger print, since that only stretches the pixels you already have.
Why do my prints look darker than my screen?
Because a screen creates an image with backlit, glowing light while a print reflects room light off paper, so the same file naturally looks a little darker and less punchy in print. The fix is to edit with this in mind: brighten your midtones and shadows slightly more than looks correct on the monitor, keep detail in the highlights, and avoid crushing the shadows to pure black. Calibrating your monitor helps, and ordering a proof or a small test print lets you confirm the brightness on the actual product before committing to a large canvas or poster.
Do I need to convert my photo to CMYK before printing?
For commercial printing, yes, converting to CMYK gives you the most predictable color, because screens display in RGB light while presses print with cyan, magenta, yellow, and black ink, and the two do not cover the same range. Convert before you export and then check the colors that shift most, especially vivid blues, greens, and oranges, and pull back any saturation the press cannot hold. This keeps skies, foliage, and skin tones printing the way you intended rather than surprising you on paper. When exact color matters, a proof lets you judge the ink on the real stock first.
What is the best way to print my photos?
It depends on how you want to display them. Stretched or framed canvas turns a photo into wall art with a soft, painterly surface and no glass glare, ideal for portraits and landscapes. Posters print large and flat for a crisp, graphic look and are the most economical big format. Photo cards and prints suit albums, gifts, and sharing. At 4OVER4.COM you can print your edited photo on canvas, posters, or cards, set the size and finish in the configurator, and watch the price update live, so you can match the format to the room and the budget.
What software should a beginner use to edit photos for print?
Start with whatever you already have access to, because the editing principles matter more than the tool. Adobe Lightroom is the friendliest professional choice for exposure, color, and batch edits, while Photoshop adds detailed retouching and precise export control. If you would rather not pay, capable free apps handle cropping, exposure, and color correction well enough to prepare a photo for print. Whatever you choose, make sure it lets you set the crop, adjust exposure and color, and export a full-resolution file at the size you plan to print. You can also prepare files in our online design tool before you order.
Get Started
Stretched canvas ships in 3 business days, 50 posters cost $108.75
Edit it for print, then order canvas, posters, or cards at 4OVER4.COM. Set the size and finish and watch your price update live as you build the print your photo deserves.
Legal Disclaimer
Gold Standard guarantees apply to all standard orders placed through 4over4.com. Price match requires verifiable proof of a competitor's published price for an equivalent product with matching specifications and turnaround time. Satisfaction guarantee covers manufacturing defects and print quality issues. Contact support with order number and documentation. On-time delivery rate based on tracked orders 1999 to 2026. Individual results may vary based on shipping carrier performance.
