
3 Foam Board Art Ideas for a Creative Weekend at Home


Tobias is our voice for cutting, binding and large format, built from the knowledge of our production team, with over 20 years in printing.
Foam Board Basics Before You Cut Anything
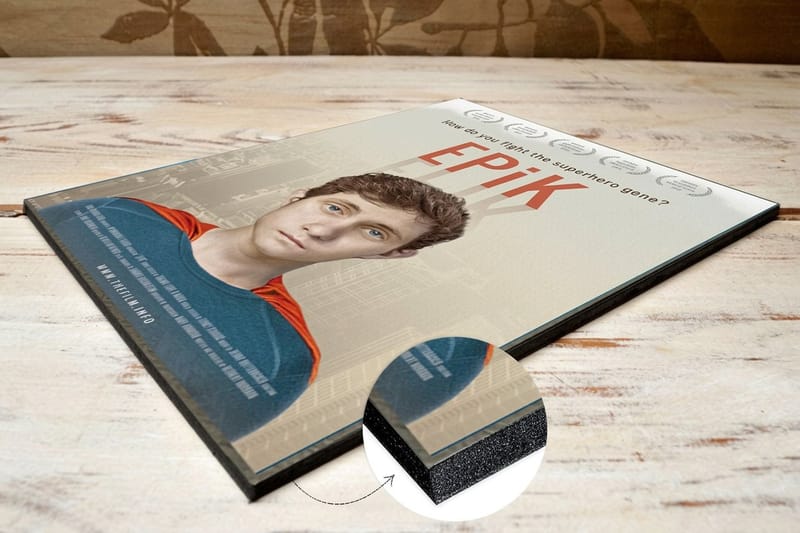
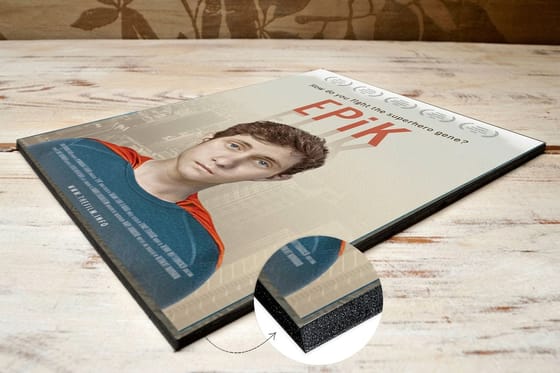
Foam board is the cheapest way to get a rigid, lightweight panel that behaves like a canvas and cuts like paper. The polystyrene center gives you thickness and a real shadow line on the wall, while the paper faces take paint, ink, glue and cut paper without buckling the way poster board does. That combination is why architecture students, prop builders and framers all keep a stack of it in the studio, and it is the same board 4OVER4.COM prints on: Foam Core Signs and Foam Core Posters carry your artwork on a 3/16" white or black core, from 16" x 20" up to 40" x 60" or any custom size.
The trade off is that foam board punishes impatience. A dull blade tears the paper skin, heat softens the core, and wet media soaks the face until it curls. Almost every failed project traces back to one of those three, so the projects below are built around cutting cold and clean, gluing without solvents, and letting each layer dry flat before the next one goes on.
If the piece you have in mind is really a printed image rather than a sculpture, skip the craft store version. Foam Core boards from 4OVER4.COM print your file directly onto the board face, so the artwork and the panel are one piece with no mounting bubbles, no spray adhesive haze and no lifting corners a year later. Boards start at $49.99, and the same file can be reprinted whenever a piece gets scuffed, which is worth knowing before you spend a Saturday mounting a print by hand.
Pick the thickness that fits the project
Thin board flexes and is easier to cut in curves, which suits layered paper work and small pieces. Thicker board stays flat across a wide span and gives you a deeper edge shadow, which is what you want for anything that hangs on its own.
Cut cold with a fresh blade
Change the blade more often than feels reasonable, hold the knife almost upright, and make three light passes instead of one heavy one. Score the top paper, then the foam, then the back paper, and the edge stays square.
Seal the faces before wet media
A thin coat of matte medium or gesso on both faces stops paint from soaking into the paper and pulling the board into a curve. Coat both sides even if you only plan to paint one, because the tension has to balance.
Decide how it hangs before you build
Foam board is too light for most hooks and too soft for screws. Plan for adhesive strips, a French cleat glued to a plywood spine, or a simple leaning shelf, and build the back to suit that choice from the start.
Start here
Printed foam core board
The same board these projects use, with your artwork printed straight onto the face.
Glue, Tape and Adhesive Rules That Save the Build
Adhesive is the single biggest variable in foam board work. Polystyrene reacts to solvents, so a strong spray or a solvent based contact cement can eat pits into the core and leave a dimpled surface that no amount of paint will hide. Hot glue causes the same damage from the other direction, softening the foam and sinking a visible trench under the bead.
Stick to water based tacky glue, PVA, foam safe spray, double sided tape or low temperature glue for anything structural. Our roundup of the 10 best glues for foam board walks through which one to reach for by joint type, and it is worth two minutes before you commit a whole panel to the wrong adhesive.
- Water based tacky glue. The default for paper, fabric and cardstock onto board. Slow enough to reposition, strong once cured.
- PVA wood glue. Best for board to board joints and internal ribs. Clamp lightly with painter tape while it sets.
- Foam safe spray adhesive. The only spray worth using for full coverage mounting. Check the can says it is safe for polystyrene.
- Double sided mounting tape. Instant hold for lightweight layers and for spacing one panel off another to build depth.
- Low temperature glue gun. Acceptable for small tabs and hidden joints. Never for a face you intend to paint or see.
Two habits keep glue from ruining the surface. Apply less than you think you need, because squeeze out is far harder to remove from a paper face than from wood. And weight the piece flat while it dries, using books on top of a sheet of wax paper, so the water in the adhesive cannot pull the panel into a slow curve overnight.
Print picks
Three boards worth building on
Live starting prices, ready to size and configure for your wall.
Project 1: A Layered Shadow Box Wall Piece
This is the project that convinces people foam board is a real material. You cut the same shape at three or four sizes, stack them with spacers between the layers, and the result reads as carved relief instead of flat craft work. Mountains, waves, a city skyline and botanical silhouettes all work because they already have natural front to back layers.
Draw the layers on paper first, largest at the back, each one a little smaller and simpler as it moves forward. Trace them onto the board, cut each layer with a fresh blade, then paint the faces and the exposed edges before assembly. Painting the edges first is the step people skip, and it is the difference between a finished piece and one that looks like cut craft foam.
- Cut the back panel square. Use a metal straight edge and a cutting mat, and keep the knife vertical for a clean edge shadow.
- Stack with spacers. Small offcuts of board glued between layers create the gap that makes the shadows read.
- Paint before you assemble. Faces and edges, both. Reaching into a finished stack with a brush never goes well.
- Light it from one side. A lamp or picture light at an angle doubles the depth the layers appear to have.
Once you have a layout you like, photograph it straight on. That flat image becomes the file for a printed board later, which is how a one off craft piece turns into something you can reproduce for a gallery wall, a market booth or a gift without cutting the whole stack again.
Project 2: Oversized Geometric Wall Art
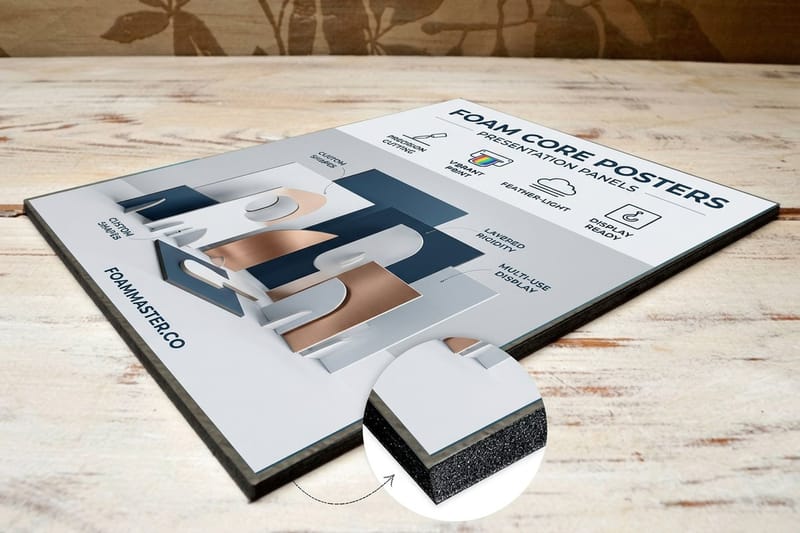
Big art is expensive, and foam board is the loophole. A large panel costs a fraction of a stretched canvas the same size, weighs almost nothing, and needs no frame. Geometric designs suit the material because straight cuts and taped edges are exactly what the board is good at.
Mask off a design with painter tape, roll two thin coats of acrylic in each field, then pull the tape while the last coat is still slightly damp for the crispest line. Metallic and matte in the same palette gives you a finish that looks deliberate rather than homemade, and it photographs far better than a single sheen.
- Work in thin coats. Two light passes dry flat. One heavy pass soaks the paper and warps the panel.
- Burnish the tape edge. Press the tape down with a fingernail or a card before painting so nothing bleeds under it.
- Mind the panel weight. Even a large board is light, so removable adhesive strips will hold it without a single hole in the wall.
- Repeat the shape. Three narrow boards in a row read as a considered set and are easier to hang level than one huge sheet.
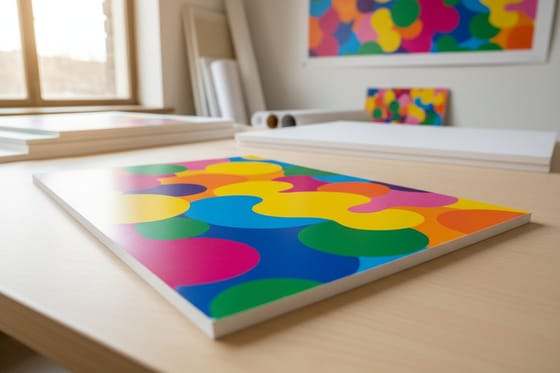
If you want the scale without the paint, a Foam Core Poster gets you there in one step. Your artwork prints directly onto rigid board starting at $49.99, so it hangs flat forever with no glass, no frame and no wave across the middle that mounted paper prints develop as humidity changes.
Project 3: A Rotating Kids Art Gallery
Children produce art faster than any wall can absorb it. A rotating gallery solves that: a set of matching boards mounted in a grid, each one with a shallow clip or a strip of low tack tape at the top, so a new drawing goes up in seconds and the old one comes down without a fight.
Cut the boards to one repeated size so the grid stays even, paint the borders a single color so the changing artwork is the only variable, and mount them with a level and a pencil line rather than by eye. The uniform border is what makes a wall of finger paintings look like a curated show instead of a fridge door.
- Pick one size and stick to it. Matching panels forgive wildly mismatched drawings underneath them.
- Leave an even gap. Two to three inches between boards keeps the grid readable from across the room.
- Use low tack attachment. Washi tape or small clips let art change weekly without damaging the board face.
- Label the year. A small printed strip along the bottom edge turns the wall into a record you will be glad to have later.
Quantity and price
Foam core pricing and specs
Real configurator numbers, so you can size a gallery grid before you build it.
| Quantity | Price Per Unit | Total |
|---|---|---|
| 1 | $49.99 | $49.99 |
When Printed Foam Core Beats a Hand Built Board
Hand building is the right call when the texture, the layers and the making are the point. Switch to a printed board the moment you need more than one of something, need it to look sharp from three feet away, or need it to survive being carried to an event and back. Printed Foam Core comes on a 3/16" white or black board at nine standard sizes from 16" x 20" to 40" x 60", or any custom size, on semi gloss, hi gloss or uncoated paper with an optional 3 mil gloss laminate, and it prints in 4 business days.
Printed foam core covers all three. Because the ink goes onto the board face rather than onto paper you then mount, there is no adhesive layer to bubble, no trapped dust, no lifted corner and no visible seam. Photographs, gradients and fine type all hold detail that hand painting on a paper face simply cannot match at that size.
- Event and party signage. Seating charts, welcome boards and menus that need to look printed, because they are.
- Photo walls and portrait sets. Skin tones and soft gradients survive far better on a printed board than under a hand mount.
- Market and booth display. Light enough to carry, rigid enough to stand on an easel all weekend without sagging.
- Repeatable pieces. Once the file exists, board two through ten are identical to board one.
Wall scale
Foam core posters
Poster sized artwork printed onto rigid board, so it hangs flat with no frame and no glass.
Turn a Board Into a Reusable Planning Wall
Not every board on the wall has to be finished art. A wipe clean panel earns its space every day: menu planning in the kitchen, sketching in the studio, homework in a kid bedroom, sprint notes above a desk. The rigid panel means you get a hard writing surface without the hollow drum sound of a cheap whiteboard.
A Dry Erase PVC Board starts at $33.99 and can print a permanent layout under the writable surface, so a weekly calendar grid, a habit tracker or a project template stays put while everything written on top wipes away. For inspiration on what people actually do with that surface, browse this dry erase board art collection before you settle on a plain grid.
Write on it
Dry erase PVC board
Print a permanent grid or template under a wipe clean surface, so the layout stays and the notes change.
Foam Board, Gator Board and PVC Compared
The three rigid boards most home projects end up choosing between behave very differently once they leave the table. Foam board is the lightest and cheapest and dents if you look at it wrong, and printed on a 3/16" core it starts at $49.99. Gator board has a harder wood fiber face that resists dents and warping. PVC is a solid plastic sheet, heavier than both, and the only one of the three that shrugs off moisture completely. Printed PVC signs start at $25.00 in sizes from 11" x 17" to 36" x 36", with grommets in the top corners or all four as an option.
Match the board to where the piece lives. Indoors, on a wall, handled rarely: foam board. Indoors but carried to events or leaned against things: gator board. Humid rooms, outdoor covered spaces, or anything that gets wiped down: PVC. Our explainer on gator board and foam board goes deeper into the core construction if you want the full comparison before ordering.
- Foam board. Lightest and easiest to cut by hand. Best for interior wall art and short term display.
- Gator board. Denser faces that resist dents and stay flat at larger sizes. Better for repeated transport.
- PVC. Solid, washable and moisture proof. The pick for kitchens, bathrooms and anything that needs wiping.
- All three. Print direct rather than mounting paper, and the finished piece lasts years longer.
Compare boards
Popular rigid boards, side by side
Stock, size, quantity, turnaround and price, lined up so the choice is obvious.
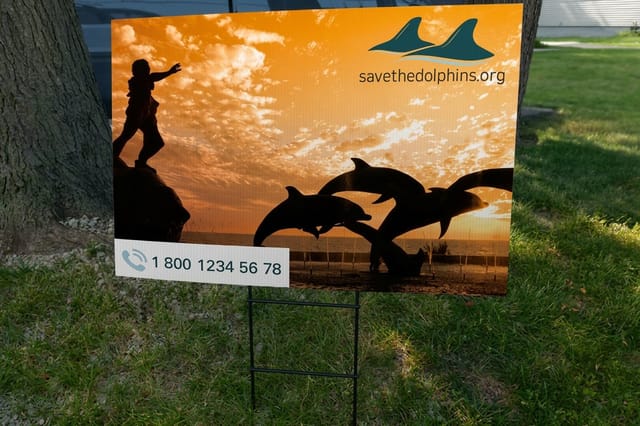 Coroplast | 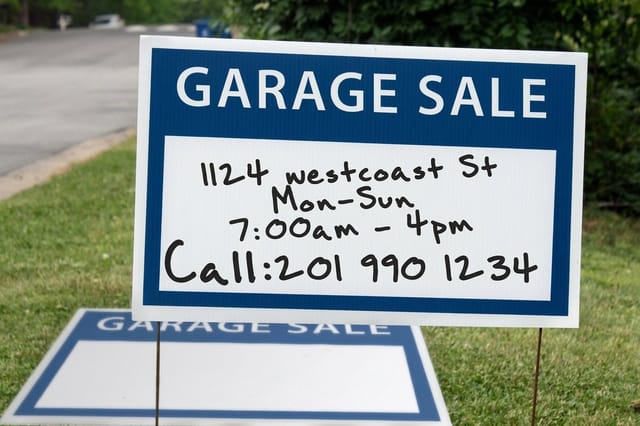 Dry Erase Coroplast | 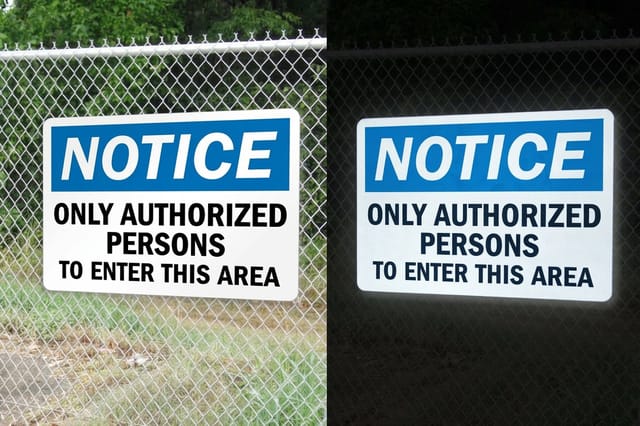 Reflective Coroplast |  Plastic Coroplast Signs | |
|---|---|---|---|---|
| Min price | $25.00 | $31.99 | $29.00 | $25.00 |
| Paper / stock | 4mm White Coroplast | 4mm White Coroplast | 4mm White Coroplast | 4mm White Coroplast |
| Finish | - | Dry Erase Lamination | Reflective Film | - |
| Size | 11" x 17" | Any Size | Any Size | 12" x 18" |
| Default qty | 1 | 1 | 1 | 1 |
| Turnaround | 3 business days | 4 business days | 4 business days | 5 business days |
| Rating | ||||
| View & customize | View & customize | View & customize | View & customize |
Sizing, Ordering and Hanging the Finished Boards
Measure the wall before you measure the art. Most rooms take a panel far larger than people expect, and an undersized board on a big wall reads as an afterthought no matter how good the work on it is. Tape a paper rectangle at the size you are considering and live with it for a day before committing.
For the standard board dimensions and shapes that print and ship without a custom quote, start with our foam board printing guide, then check which foam board sign size to use if the piece has a job to do at an event. If the board is going to carry a message rather than a picture, the rundown of foam board sign uses and printing covers what holds up in the real world. For a size off the standard list, see how to order custom size foam board printing.
Get the file right the first time
- Resolution. Supply artwork at full size and high resolution, because board prints are viewed close as often as far.
- Bleed. Extend the background past the trim edge so the cut never exposes a white sliver.
- Safe margin. Keep text and faces well inside the edge, especially on boards that will be handled.
- Color mode. Convert to print color before upload so what arrives matches the version you approved on screen.
Start fast
Board templates and print ready blanks
Free layouts plus exact size blanks so your artwork lands inside the trim on the first upload.
Wally walks you through the board
Cut it clean, glue it safe, then print it when it has to last
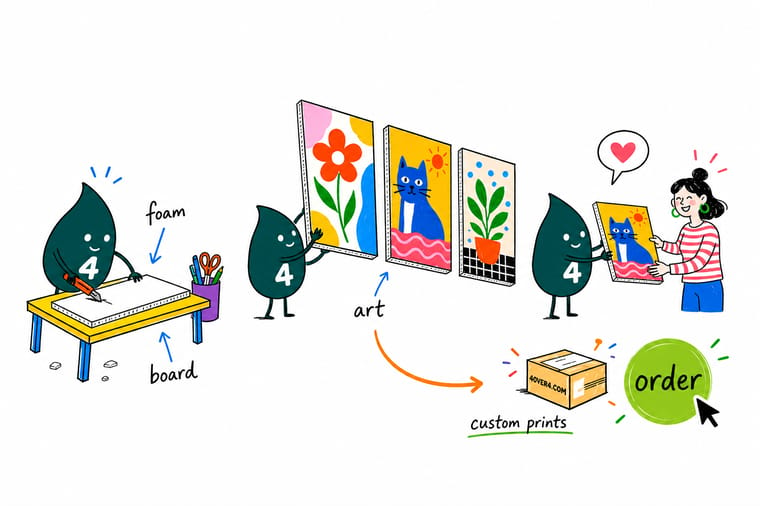
Foam board forgives almost nothing at the cutting stage and almost everything after it. Use a fresh blade and three light passes, keep solvent glues and hot glue away from the polystyrene core, and seal both faces before any wet media touches the panel. When a piece needs to repeat, travel or look printed rather than handmade, put the artwork straight onto foam core instead of mounting paper onto it.
Design your foam core boards →What to remember before the first cut
A weekend build needs a fresh blade, water based glue and both faces sealed before paint goes on. A piece that has to repeat, travel or hang for years is a print job instead: Foam Core from $49.99 on a 3/16" board, Foam Core Posters at the same price for large wall art, or Dry Erase PVC Board from $33.99 for a planning wall, each printed in 4 business days.
Read next
Foam board guides worth bookmarking
Standard foam board sizes and shapes, sign sizes for a table, an easel or a wall, sign uses, and gator board against foam board.
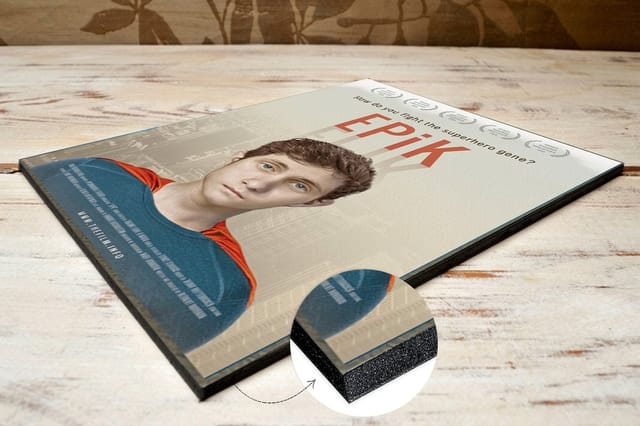 Guide Foam Board Printing Guide The popular sizes and shapes that print and ship fastest.
 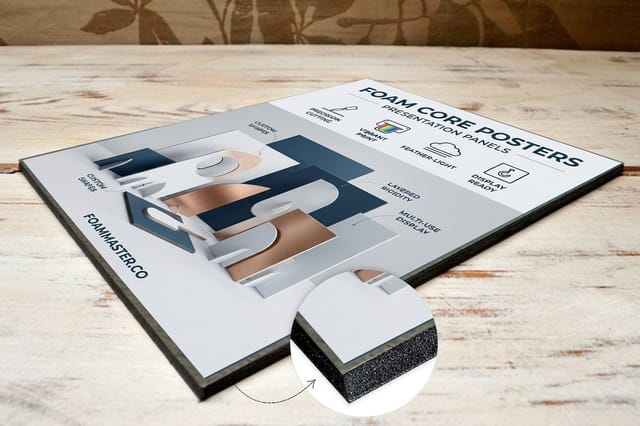 Guide Foam Board Sign Sizes Which size to choose for a table, an easel or a wall.
 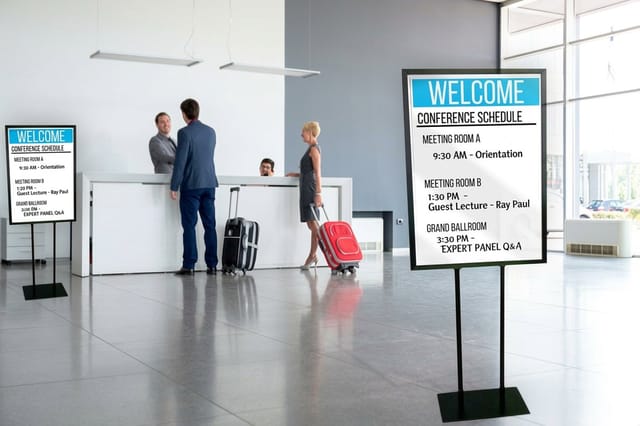 Guide Foam Board Signs Explained Uses, sizes and printing for boards that carry a message. Guide Gator Board and Foam Board How the two cores differ and when each one wins.
 Explore more
More ways to build with rigid board
Foam core and dry erase boards print in 4 business days, coroplast signs in 3.
Product Foam Core Printed rigid board, lightweight and ready to mount. Product Foam Core Posters Poster sized art printed on board so it hangs flat.  Product Dry Erase PVC Board A wipe clean panel for planning walls and sketching.
  Guide Foam Board Printing Guide Popular sizes and shapes, explained before you order.
 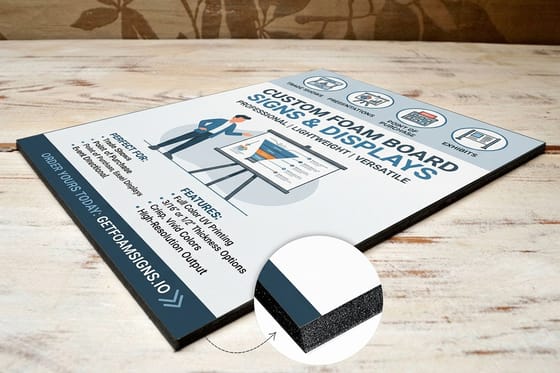 Guide Foam Board Sign Sizes Pick the right size for the room and the job. Guide Foam Board Signs Uses, sizes and printing for message carrying boards.
 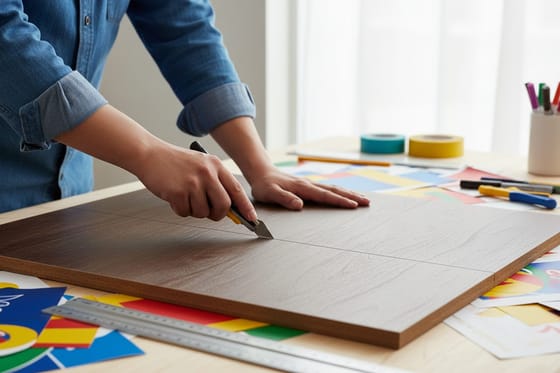 Guide Gator Board vs Foam Board Two cores compared for dents, warping and cost.
  Article 10 Best Glues for Foam Board The adhesives that hold without melting the core.
  Article Dry Erase Board Art What people actually draw on a wipe clean wall.
  Alternative 4OVER4 vs Vistaprint Foam Board How the two compare on foam core and poster boards.
  Alternative 4OVER4 vs MOO Prints A side by side look at print quality and range.
  Articles All Printing Articles Project ideas, materials and how to print them well.
 Ready to put your artwork on a board that stays flat?
Build the weekend version by hand, then print the one you want to keep. Foam core starts at $49.99 and arrives rigid, light and ready to hang.
Foam Board Art Questions Answered
What are foam board art projects?
They are craft and decor pieces built on a rigid polystyrene core board with paper faces, the same material used for presentation boards and signage. Because the board is stiff, light and easy to cut, it works as a canvas substitute for layered shadow art, painted geometric panels, gallery grids and prop building. The three projects on this page cover the most useful versions for a home wall, and each one scales up to a printed board when you want a permanent, repeatable result.
How do I choose the right foam board art project?
Start from where the finished piece will live and how long you need it to last. A layered shadow box suits a quiet wall where the light hits from one side. Painted geometric panels fill a large empty wall cheaply. A rotating gallery grid earns its place in a hallway or kid bedroom. If the piece will be carried, wiped or reproduced, print it on board instead of building it by hand.
What do foam board art projects cost and how are prices set?
A hand built project costs whatever the board, paint and glue cost, usually very little for a small piece. Printed boards are priced by size, board type and quantity, so the per board price drops as the run grows. At 4OVER4.COM, Foam Core and Foam Core Posters both start at $49.99 and Dry Erase PVC Board starts at $33.99. The live configurator on each product page shows the exact price once you set size and quantity.
What sizes, stocks and finishes are available for foam board art?
Boards run from small tabletop panels up to large wall sizes, in standard rectangles and in custom shapes cut to your outline. You can choose foam core for light indoor work, a denser board when dents and transport are a concern, or solid PVC when moisture and wiping are involved. Finishes cover matte and gloss surfaces, and dry erase boards add a writable top layer. See our foam board printing guide for the full size list. For a writable wall board, read how to choose a magnetic dry erase board that holds magnets and fits the wall.
How long does foam board printing take to print and ship?
Turnaround depends on the board, the size and the quantity, and it starts once your file passes prepress rather than at checkout. Rigid boards need cutting and handling time after printing, so they run a little longer than flat paper products. Each product page shows the available production speeds next to the price as you configure, so you can see the ship date before you order and pick a faster option if a project has a hard deadline.
