
Custom Size Printing for Any Dimension, Ticket Size, or Shape


Tobias is our voice for cutting, binding and large format, built from the knowledge of our production team, with over 20 years in printing.
Set the trim yourself instead of picking from a menu. This guide covers how nonstandard dimensions are produced, what the real press limits are, how ticket sizes and die cut shapes are specified, and what changes the price when your size is one of a kind.
Custom size printing lets you specify the exact finished trim of a printed piece instead of choosing a preset. You enter the width and height you need, the configurator confirms the dimension is inside the press range, and the sheet is imposed and cut to your measurement. Design at final size, add an eighth of an inch of bleed on every edge, keep content an eighth of an inch inside the trim, and supply a vector cut line if the piece is a shape rather than a rectangle.
Start here
Where the press limits actually sit
Custom size printing is ordering a printed piece at trim dimensions you choose rather than ones you select from a list. The artwork is imposed on a press sheet, printed, finished, and cut to your width and height, which is why the price follows finished area, stock, and quantity more than it follows novelty. Rectangles are cut on a blade, shapes are cut with a die or a digital cutter from a vector line in your file, and every product enforces its own minimum and maximum in the size fields before you pay.
Custom printing sizes
Custom sizes, product by product
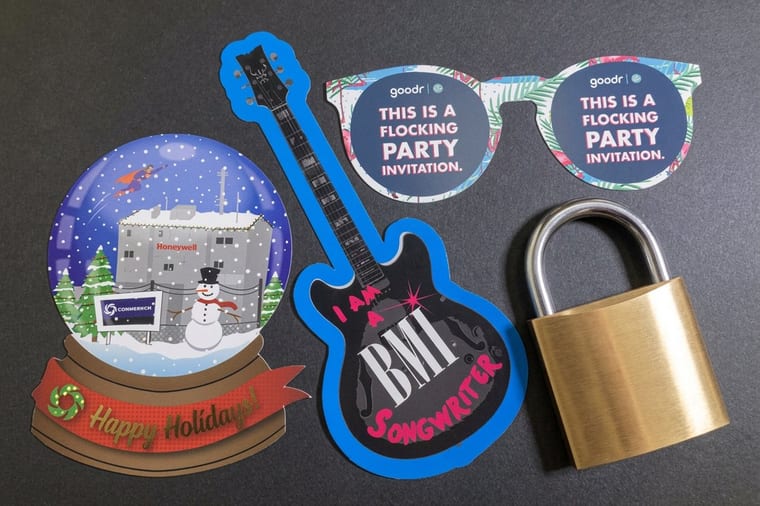
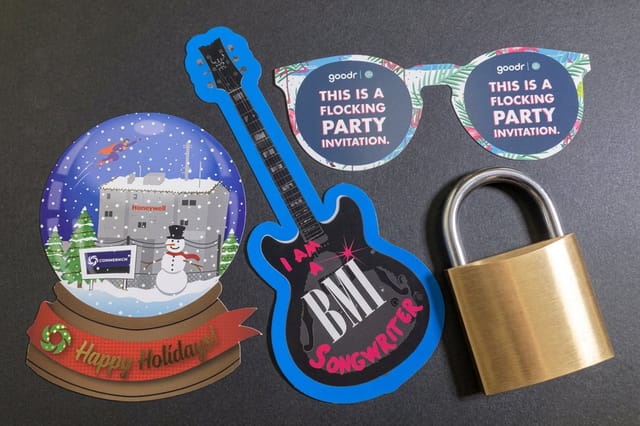
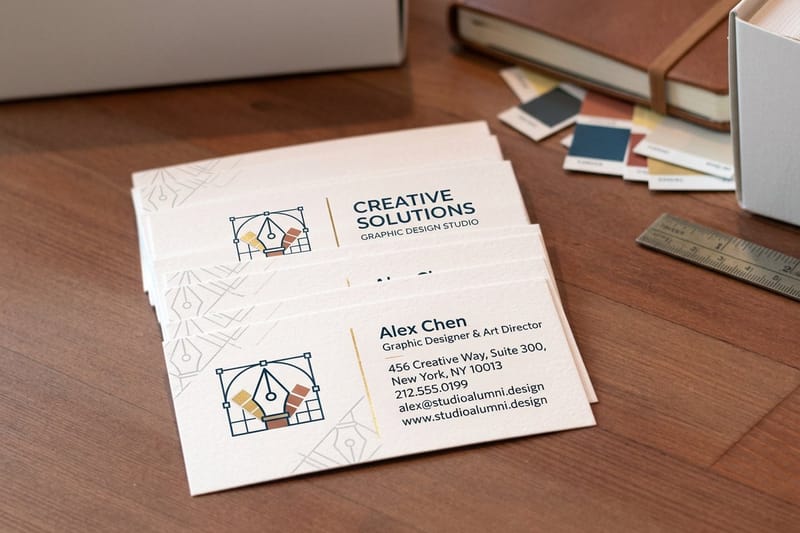
A custom printing size is any width and height you type in, inside the range each product's equipment accepts. In the configurator, business cards take 1.5 to 2.125 inches by 2 to 3.5, postcards 2.5 to 6 inches by 2.5 to 11, flyers 4 to 11 inches by 5.5 to 25.5, and posters 11 to 22 inches by 17 to 28. The any shape paper die cut takes an outline from 2 x 2 up to 11 x 11 inches, from 50 pieces for $87.00.
Business cards, postcards and flyers are ready in 3 business days, posters and die cuts in 5. Build the file at the exact trim with an eighth of an inch of bleed on every side, and keep type an eighth of an inch inside the trim.
Why a nonstandard size is usually a decision, not an accident

Most print gets ordered from a dropdown, and most of the time that is fine: a 4 x 6 postcard, a 2 x 3.5 business card, an 8.5 x 11 flyer. The trouble starts when the piece has to fit something the dropdown never heard of: a rack with narrow slots, an envelope you already bought by the thousand, a badge holder, a shelf edge, a scanner tray, or a wall panel that is not a tidy multiple of anything.
Custom size printing solves that by moving the decision from the menu to the measurement. You set the finished width and height, and the press imposes and trims to it. The result is a piece that fits the constraint on the first try instead of being taped, folded, or trimmed by hand after it arrives.
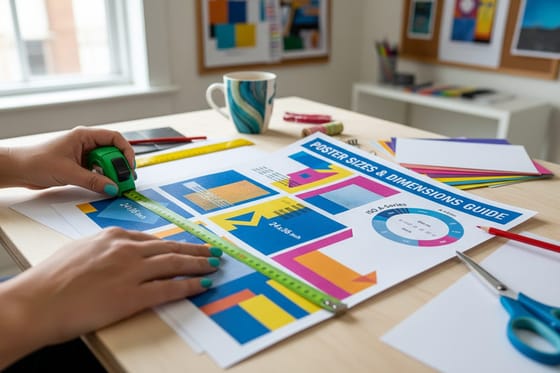
It also gives you a design lever. A tall narrow flyer, a square card, or a wide ticket reads as deliberate because nobody else on the table is that shape. If you are still deciding whether to break from a preset, our business card size guide and the poster sizes and dimensions guide show what the standards buy you before you leave them behind. For the square format, see square poster sizes.
What is custom size printing?

Custom size printing means you specify the finished trim dimensions of the piece rather than selecting a stock preset. Every printed item has a trim size, which is where the blade lands after the ink is dry. With a preset, that number is chosen for you. With a custom size, you type it in, and everything downstream, from imposition to packing, follows your measurement. A 5 x 5 inch postcard, a 4 x 9 inch flyer or a 3 x 3 inch die cut are all custom sizes the configurator prices on the spot.
Under the hood, nothing exotic happens. Your artwork is laid out on a large press sheet along with other copies of the same job, printed, coated, and then cut. A nonstandard trim simply changes how many pieces fit on the sheet and where the cuts fall. That is why price tracks the area of your piece more closely than it tracks the shape of it.
The same logic applies whether you order custom business cards at an unusual width, a set of event tickets with an extra wide stub, or a fully custom shape die cut piece. The difference between them is the cutting method, not the printing.
Ticket size, standard ticket size, and when to change it

The standard ticket size most people picture is 2 by 5.5 inches, the long rectangle used for raffles, admissions, and door prizes for decades. Two other common trims sit near it: a slimmer 1.75 by 5.5 inch ticket that saves stock on very large runs, and a squarer 2.75 by 5.5 inch ticket that leaves room for sponsor logos and terms on the back.
Those numbers exist because they work, not because they are required. Change them when the ticket has a job the standard cannot do. A perforated stub that has to hold a name, a table number, and a drink token needs more width. A ticket that doubles as a keepsake wants a heavier stock and a slightly larger face. A ticket that has to sit inside a lanyard sleeve should be measured against the sleeve, not against tradition.
Whatever number you land on, place the perforation deliberately. Decide how much of the ticket the guest keeps, keep barcodes and scannable codes at least a quarter inch away from the perf line, and never let critical text straddle it. Print one at final size and tear it before you approve the run.
How to choose the right custom size for your piece

Work from the hardest constraint backward. If the piece has to fit an envelope, a rack, a sleeve, or a frame, that container sets the ceiling. Measure it, then subtract roughly an eighth of an inch on the dimensions that slide, so the piece goes in cleanly after the paper picks up humidity. If the piece has to be mailed on its own, check the automation limits for the class you plan to use before you fall in love with a shape.
Next, test the size against reading distance. Something held in the hand can carry small type. Something read from three feet needs bigger headlines and fewer words. Something read across a room is mostly a headline and an image. Scale the content to the distance first, then let the trim follow the content, rather than shrinking a full page of copy onto a card and hoping.
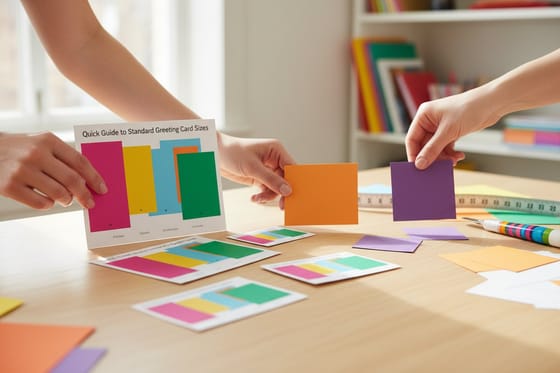
Finally, sanity check the proportion. Print your candidate size on plain paper, cut it out, and hold it. A ratio that looks elegant on screen can feel awkward in the hand, and a size that seemed generous can turn out too heavy to hand out by the hundred. The same distance and proportion tests appear in our greeting card size guide and RSVP card size guide when a suite has to stay visually consistent.
Real spec limits, and what happens when you exceed them

Any size does not mean literally any number. Each product runs on specific equipment, and that equipment has a smallest piece it can cut safely and a largest sheet it can hold. Small pieces are limited by handling, since a very narrow strip is hard to cut square and easy to damage in finishing. Large pieces are limited by sheet size, and past that point the product moves to a wide format press instead.
You do not have to memorize any of it. Enter your width and height in the size fields on the product page. If the dimension is inside the range, pricing updates and you continue. If it is outside, the configurator tells you which measurement failed rather than rejecting the whole order silently, so you adjust one number and move on. That single behavior saves more reprints than any rule of thumb.
Two extra checks are worth running before you upload. Confirm that thick stocks and heavy coatings are offered at the size you chose, because the heaviest boards are not available on every trim. And confirm that any folding or scoring you need is possible at that size, since a fold needs enough paper on each side of the score to sit flat.
Custom shapes, die cuts, and rounded corners
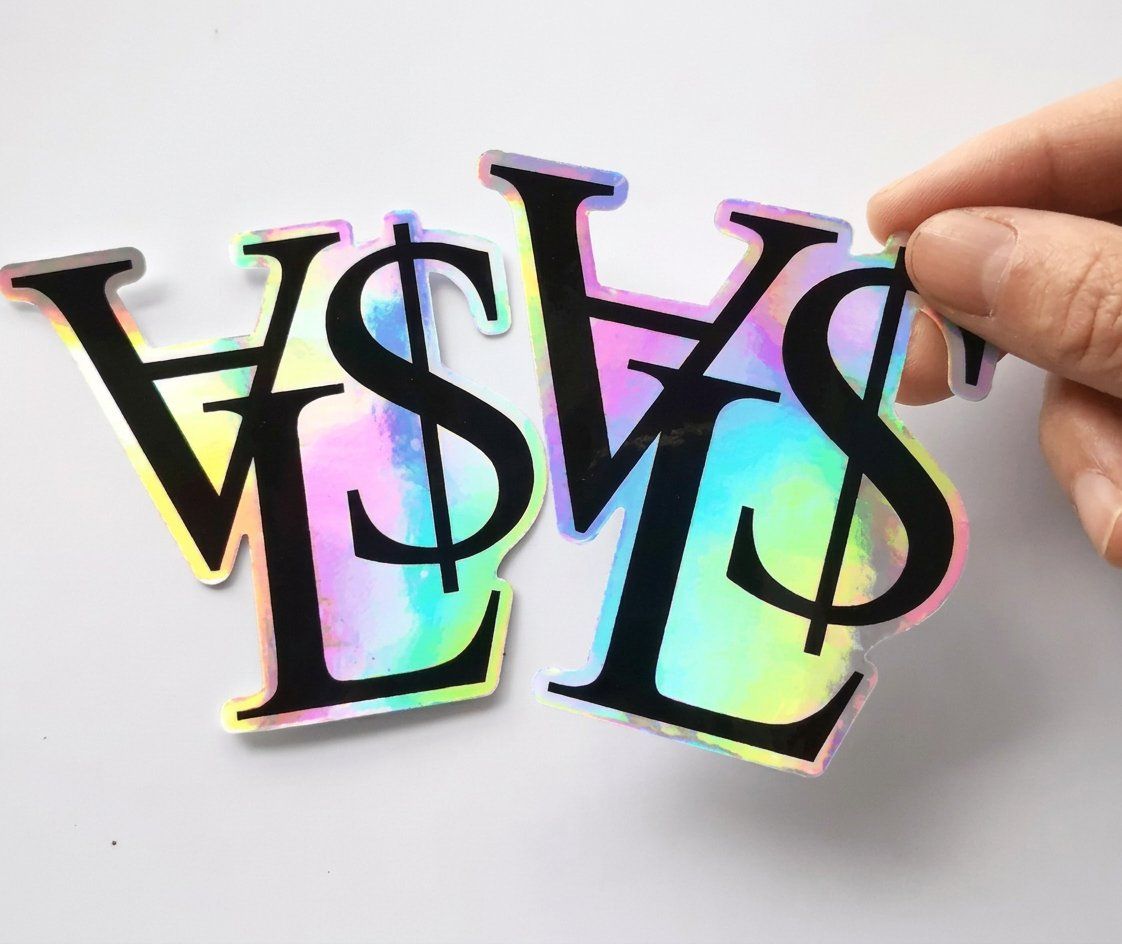
Once you leave the rectangle, the size question becomes a cutting question. A shape is produced either with a steel die built for your outline or with a digital cutter that follows a vector path. Either way, the shape lives in your file as a closed cut line, drawn at final size, on its own layer, with the background art extended past it so no white slivers appear along the edge.
Keep the outline forgiving. Give corners a small radius instead of a needle point, avoid thin necks that can tear during weeding or packing, and hold text and logos comfortably inside the cut path rather than hugging it. Symmetry helps too, because a shape that reads as intentional survives small cutting tolerance better than one built from freehand curves.
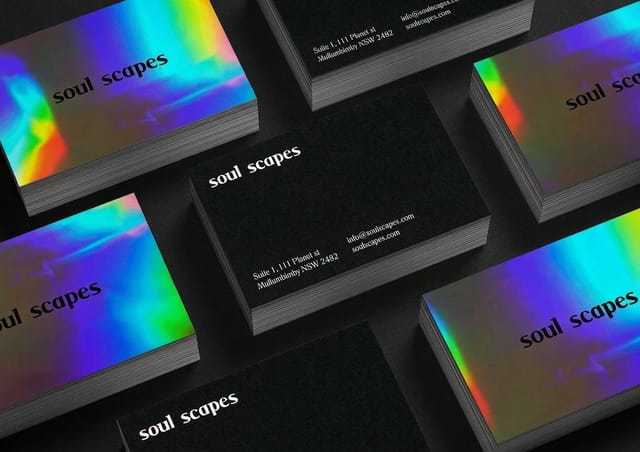
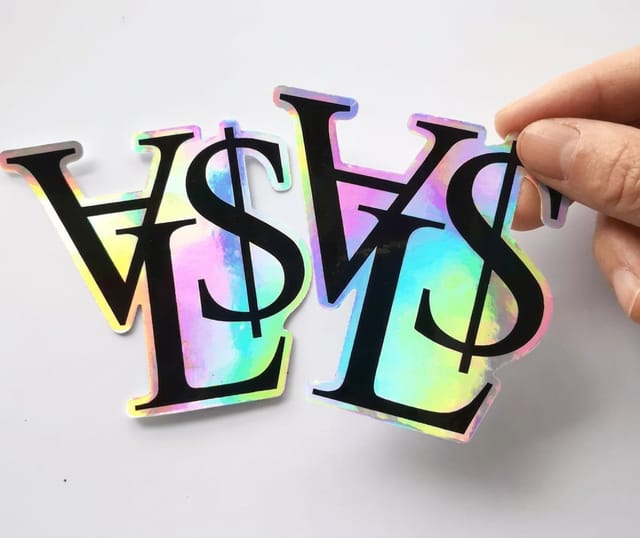
Shapes carry finishes differently. A holographic or foil face throws light across the whole outline, so a simple silhouette often looks richer than a complicated one. If you are cutting custom holographic stickers or a run of custom die cut paper pieces, start from the strongest single silhouette in your brand and let the material do the rest. Vehicle graphics follow the same discipline, sized to the panel, as our car decal size chart lays out.
Setting up a file for a nonstandard trim

Build the document at the exact finished size, not at a preset you plan to scale later. Scaling introduces rounding, and rounding is how a piece ends up an eighth of an inch off the envelope it was supposed to fit. Set the page to your trim, then add the two margins that matter.
Bleed is background art that runs an eighth of an inch past every edge, so the cut never exposes paper. Safe area is the opposite margin: keep text, logos, borders, and anything you would notice being clipped at least an eighth of an inch inside the trim. Borders are the classic trap, because a thin frame drawn right on the trim line will look uneven the moment the cut shifts a hair.
Then check the fundamentals. Raster images should be around 300 dpi at final size, color should be built in CMYK so what you approve is what the press can hit, fonts should be outlined or embedded, and the file should be exported as a print ready PDF with bleed included. If the piece has a fold, mark the score positions; if it has a shape, include the die line. Our custom bookplate sizing guide walks the same setup on a very small trim, where the margins are least forgiving.
Stocks, coatings, and finishes that suit odd sizes

Size and stock decide how a piece feels in the hand. A large flat piece on light stock will curl and bend, so oversized cards, tall door hangers, and rack pieces want heavier board. A very small piece can carry a thick stock easily and usually benefits from it, since the extra caliper is exactly what makes a small item feel considered rather than cheap.
Coating is the second lever. Gloss deepens photographs and resists fingerprints, matte calms a busy layout and keeps type crisp, and soft touch lamination adds a suede feel that people notice immediately on a card sized piece. Uncoated stock is the one to choose when anyone has to write on the piece, which matters for tickets, reply cards, and appointment reminders.
Specialty finishes reward simple shapes. Spot gloss, foil, and holographic faces catch light along edges and highlights, so give them room and keep the surrounding layout quiet. Ribbon and trim accessories follow the same rule of restraint, as our custom printed ribbon guide explains, and the paired thank you card size guide shows how a small trim and a rich stock work together.
What custom size printing costs and how the price is built
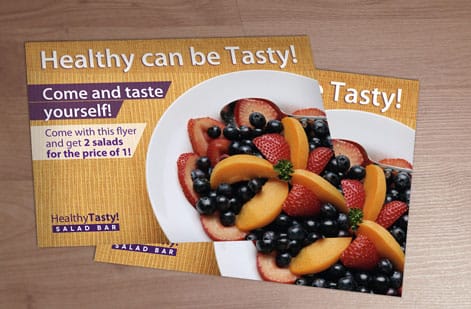
Four inputs move the number. Finished area determines how many pieces fit on a press sheet, so a slightly smaller trim can drop you into a better layout and a slightly larger one can push you out of it. Stock weight and material set the paper cost. Coatings, lamination, foil, and shape cutting each add a finishing pass. Quantity spreads the fixed setup across more pieces, which is why unit price falls quickly as the run grows.
Concrete starting points help. Custom die cut paper pieces start at $87.00, custom business cards start at $17.57, and custom holographic stickers start at $322.98. Those are entry configurations. Change the size, the stock, the finish, or the quantity and the live price table on the product page recalculates before you add anything to the cart.
One practical tip. Before you commit to an unusual trim, price two nearby sizes as well. Sometimes a quarter inch in either direction changes how the job imposes and shifts the total more than you would expect, and you get to keep the money without changing the design in any way anyone will notice.
Order custom size printing in six steps
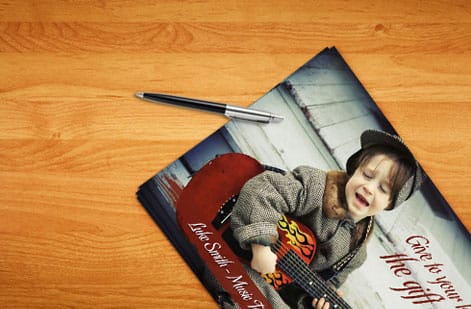
The whole process is short once the measurement is settled. Follow these steps in order and the file you upload will be the file that prints.
- Measure the constraint. Envelope, rack, sleeve, frame, or wall. Write down the width and height, then subtract clearance where the piece has to slide in.
- Pick the product. Choose the item whose material and finishing match the job, then open its size fields rather than its presets.
- Enter your dimensions. Type the width and height. If the configurator flags a measurement, adjust that one number and continue.
- Choose stock, coating, and quantity. Watch the price table update as you go, and compare two nearby sizes while you are there.
- Build the file at final size. Add an eighth of an inch bleed on every edge, keep content an eighth of an inch inside the trim, include the die line if the piece has a shape, and export a print ready PDF.
- Proof and order. Print a plain paper copy at 100 percent, cut it out, hold it, and only then upload and select your turnaround.
If the shape is unusual or the stock is new to you, request free paper samples before the run so you can feel the caliper and coating in hand.
Wally explains custom sizes
Measure the thing it has to fit, then print to that
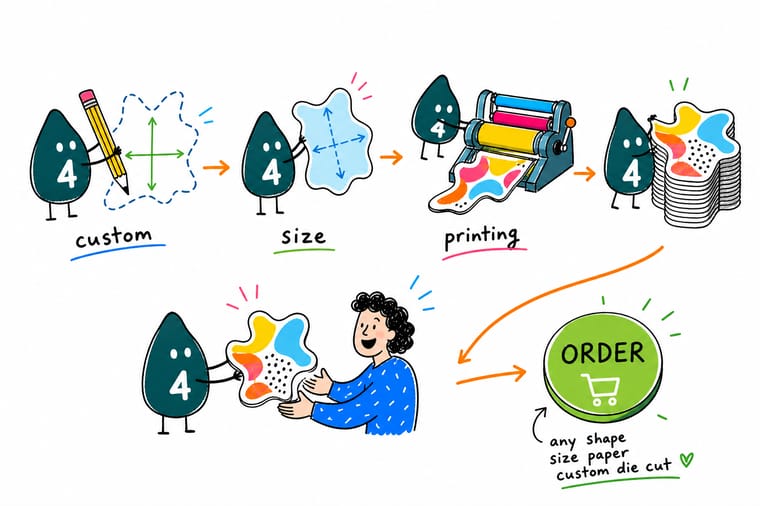
Wally starts every custom size job with a tape measure, not a template. He measures the envelope, the rack, or the sleeve, takes a little clearance off so the piece slides in without a fight, and prints that number at 100 percent on plain paper to hold before anything goes to press. Then he adds bleed, pulls the type back inside the trim, and orders with confidence.
Configure a custom size →%22%2F%3E%3Ccircle%20cx%3D%2240%22%20cy%3D%2249%22%20r%3D%2225%22%20fill%3D%22%232dd4bf%22%20opacity%3D%220.15%22%2F%3E%3Ccircle%20cx%3D%2278%22%20cy%3D%2258%22%20r%3D%2214%22%20fill%3D%22%232dd4bf%22%20opacity%3D%220.1%22%2F%3E%3Crect%20x%3D%2270%22%20y%3D%2228%22%20width%3D%2225%22%20height%3D%2234%22%20rx%3D%224%22%20fill%3D%22%232dd4bf%22%20opacity%3D%220.08%22%20transform%3D%22rotate(35%2080%2030)%22%2F%3E%3C%2Fsvg%3E)
Infographic
The custom size workflow at a glance
One frame, seven steps: measure, set the trim, check the limits, pick the stock, add an eighth of an inch of bleed, draw the cut, and print a proof at 100 percent to cut out and hold. Keep it beside you while you set up the document, and the trim you order will be the trim you get.
The steps run in order for a reason. A measurement taken after the file is built almost always means rebuilding the file, while a measurement taken first makes every later choice obvious.
Specs and pricing
Custom die cut specs and live pricing
When the dimensions are settled, these are the stocks, finishes, and quantity breaks behind them. Enter your own width and height on the product page to see the price move with your size.
| Quantity | Price Per Unit | Total |
|---|---|---|
| 50 | $1.74 | $87.00 |
| 100 | 91.0¢ | $91.00 |
| 200 | 51.2¢ | $102.50 |
| 300 | 37.7¢ | $113.00 |
| 400 | 30.9¢ | $123.50 |
| 500 | 26.6¢ | $133.00 |
| 600 | 24.0¢ | $144.00 |
| 700 | 22.1¢ | $155.00 |
Print it
Products built for sizes that are not on the menu
See it in use
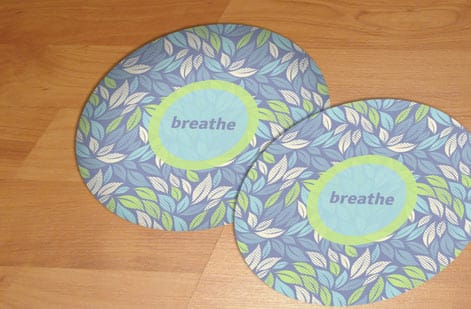
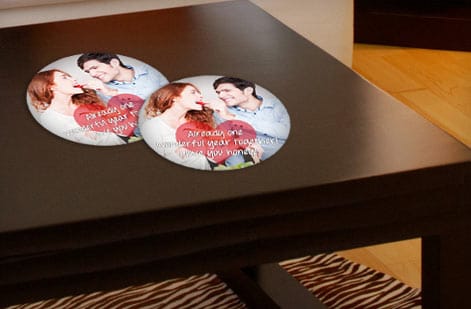
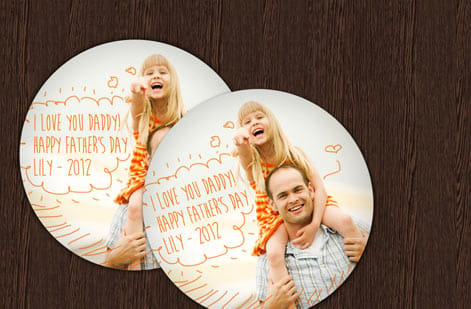
Real custom shapes and sizes, printed in house


Explore more
Where to go next



By the numbers
Custom sizing backed by a full production floor
Common Questions
Common questions about custom size printing
What is custom size printing?
Custom size printing is any job where you specify the finished trim dimensions instead of picking a preset. Rather than choosing a 4 by 6 postcard, you enter the exact width and height you need, and the piece is imposed on the press sheet and cut to that measurement. It covers oversized flyers, narrow tickets, square cards, tall door hangers, and shapes cut with a die.
What size can the press actually hold?
Start with the constraint that cannot move. That might be an envelope, a display rack, a badge holder, a scanner tray, or the wall space the piece has to fill. Measure that constraint, subtract a little clearance so the piece slides in without binding, then check the result against readability at arm length. Only after those two tests should you adjust the size for looks.
What does custom size printing cost and how are prices set?
Price is driven by finished area, paper stock, coating, quantity, and whether a cutting die is involved. Custom die cut paper starts at $87.00, custom business cards start at $17.57, and holographic stickers start at $322.98. Enter your dimensions and quantity on the product page and live pricing recalculates before you commit.
What sizes, stocks, and finishes are available for custom size printing?
The size box on each product accepts fractional dimensions inside that product press range, and it tells you the failed measurement if you go outside it. Stocks run from lightweight text sheets through 14pt and 16pt card up to heavy 32pt board, plus synthetic and vinyl faces for stickers. Finishes include gloss and matte coating, soft touch lamination, spot gloss, and foil.
How long does custom size printing take to print and ship?
A custom trim on standard stock generally moves on the same production clock as a preset size, because the difference is where the blade lands. Jobs that need a new cutting die, specialty lamination, or foil add a step before press. Choose your turnaround at checkout and the estimated ship date updates with the option you select.
Is there a minimum or maximum size I can order?
Yes. Every press and cutter has a working range, and the configurator enforces it. If you enter a dimension outside the range the message names the size that failed so you can adjust one number instead of guessing. Very small pieces are limited by how safely they can be cut and handled, and very large pieces are limited by sheet size.
Do I need a die line for a custom shape?
For anything other than a straight rectangle, yes. Supply the cut path as a vector line on its own layer, drawn at final size, with background art extended past it. Keep type well inside the cut path, avoid hairline points that tear, and let corners carry a small radius so the shape survives handling.
Get Started
50 die-cut pieces at any shape cost $87.00
Enter your width and height, choose the stock and finish, and see live pricing before you commit. If the shape is unusual, send the die line and our team will check it with you.
Legal Disclaimer
Gold Standard guarantees apply to all standard orders placed through 4over4.com. Price match requires verifiable proof of a competitor's published price for an equivalent product with matching specifications and turnaround time. Satisfaction guarantee covers manufacturing defects and print quality issues. Contact support with order number and documentation.
