What You'll Learn in This Custom Envelope Making Tutorial
Making custom envelopes by hand is simpler than you think. All you need is paper, scissors, glue, and a few minutes. This custom envelope making tutorial walks you through materials, folding techniques, sizing tips, and finishing touches. You'll learn how to create envelopes for letters, invitations, and branded mailings. 4OVER4.COM has printed over 10 billion cards and print products for more than 150,000+ businesses, so we know a thing or two about paper and presentation.
Why Handmade Envelopes Still Matter in 2026
A handmade envelope says something a store-bought one never will. It tells the person holding it that you cared enough to make it yourself. Whether you're sending wedding invitations, holiday cards, or branded thank-you notes, a custom envelope turns ordinary mail into something worth keeping.
This guide breaks down every step of the process. You'll pick the right paper, learn precise folding methods, and discover finishing techniques that make your envelopes look polished. If you're interested in other hands-on projects, check out our guide on Custom Magnets Faq for another fun DIY print project.
Already familiar with the basics? Our dedicated resource on How To Make Envelopes covers additional templates and advanced techniques. 4OVER4.COM supports creators at every skill level, from first-time crafters to seasoned designers looking for that perfect presentation.
Step-by-Step: How to Make Custom Envelopes from Scratch
Gather Your Materials
You don't need a craft store haul to get started. Here's what to grab:
- Paper - Standard 8.5" x 11" printer paper works great. Cardstock (65-80 lb) adds durability. Patterned or colored paper brings personality.
- Scissors or a craft knife - Sharp blades give you cleaner edges. A paper trimmer works too.
- Glue stick or double-sided tape - Both create a clean bond without warping the paper.
- Ruler and pencil - For marking fold lines and measuring dimensions.
- Bone folder (optional) - This gives you crisp, professional-looking creases.
That's it. Five items, most of which you probably already own. If you're working on other print projects at the same time, our Faq Hub has dozens of how-to guides covering everything from folding to finishing.
Choose the Right Paper Weight and Texture
Paper choice makes or breaks your envelope. Too thin, and it tears during folding. Too thick, and it won't crease cleanly without scoring first.
Standard printer paper (20 lb) is the easiest to fold. It's perfect for casual notes, quick mailings, or practice runs. The downside? It feels flimsy. Recipients notice.
Cardstock (65-80 lb) gives your envelope a sturdy, premium feel. Think wedding invitations, branded mailers, or holiday cards. You'll want to score fold lines with a bone folder or the back of a butter knife before creasing. This prevents cracking along the fold.
Textured or specialty paper adds a tactile element. Linen, kraft, or cotton papers create envelopes that people actually want to touch. These are ideal for formal events or brand packaging. If you're curious about paper quality before committing to a project, 4OVER4.COM offers Free Samples so you can feel different stocks in your hands.
One more thing: grain direction matters. Paper folds more cleanly along the grain. Not sure which way the grain runs? Gently bend the sheet both ways. The direction with less resistance is the grain direction. Fold along it.
Blank Templates

Measure and Cut Your Paper
The size of your envelope depends on what you're mailing. Here are common dimensions to work with:
- A2 envelope (4.375" x 5.75") - Fits standard RSVP cards and thank-you notes
- A6 envelope (4.75" x 6.5") - Perfect for 4x6 photos and invitations
- A7 envelope (5.25" x 7.25") - The go-to for 5x7 invitations and announcements
- #10 envelope (4.125" x 9.5") - Standard business letter size
For each size, you'll need a flat sheet large enough to include the body of the envelope plus flaps on all four sides. A good rule: add at least 1.5" to each side of your desired finished size for the fold-over flaps. Mark your measurements lightly in pencil, then cut.
If you're making multiple envelopes, create a template from one finished piece. Trace it onto each new sheet. This keeps everything consistent and saves time. For other folding projects that require precision, our guide on How To Fold A Brochure covers similar techniques you can apply here.
Fold and Assemble Your Envelope
Here's the core of this custom envelope making tutorial. Follow these steps carefully:
Step 1: Place your paper face-down. If you're using patterned or colored paper, the design side should face the table. The inside of the envelope will show the plain side.
Step 2: Position your insert card in the center. Place whatever you're mailing (a card, letter, or photo) right in the middle of the paper. This acts as your sizing guide.
Step 3: Fold the bottom flap up. Bring the bottom edge of the paper up and over the insert, leaving about a quarter-inch of clearance so the card slides in and out easily. Crease firmly.
Step 4: Fold the side flaps inward. Fold the left side in, then the right side over it. Each side flap should overlap the bottom flap slightly. Crease each fold.
Step 5: Fold the top flap down. This is your closure flap. Fold it down so it overlaps the side flaps. Don't glue this one yet if you still need to insert your contents.
Step 6: Glue the side flaps to the bottom flap. Apply glue stick or double-sided tape to the edges of the side flaps where they meet the bottom flap. Press firmly and let dry.
Remove your insert card. You now have a functional envelope. When you're ready to mail, insert your contents and seal the top flap with glue or a decorative sticker.
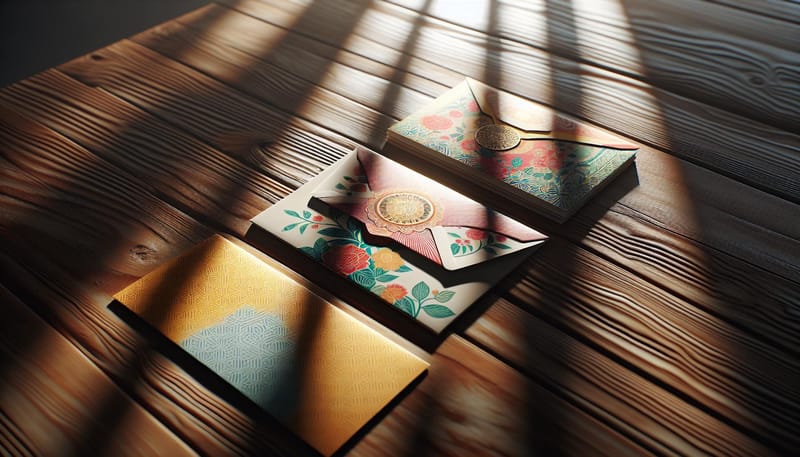
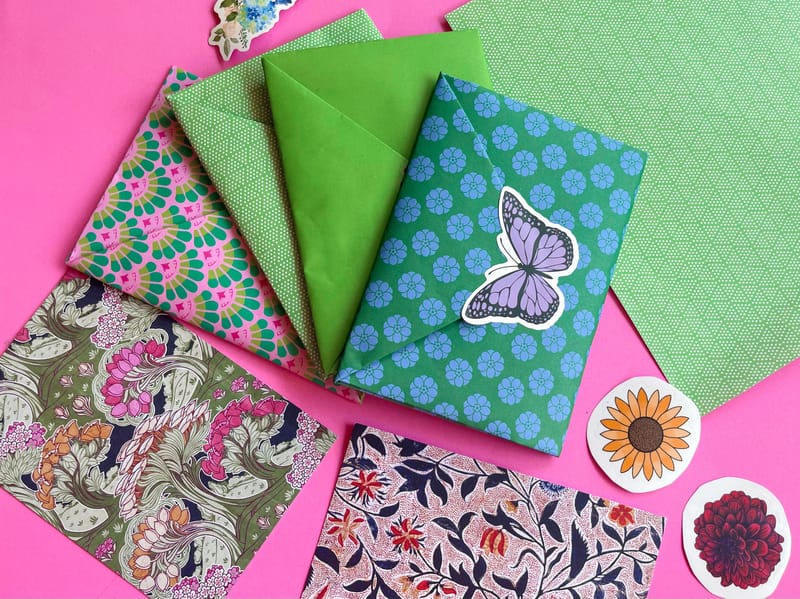
Add Custom Finishing Touches
A plain envelope is fine. A finished envelope is memorable. Here's how to take yours from basic to beautiful.
Rubber stamps and ink. A monogram, return address stamp, or decorative border adds instant personality. If you use stamps regularly, our guide on How To Clean Rubber Stamps will help you keep them in top shape between projects.
Wax seals. Nothing says "this is special" like a wax seal on the back flap. You can find seal kits with custom initials or logos for under $20. They work best on heavier paper stocks that can handle the heat.
Hand lettering or calligraphy. Write the recipient's name and address by hand. Even imperfect handwriting feels more personal than a printed label. Use a fine-tip pen or brush pen for best results.
Printed liners. Cut a slightly smaller piece of patterned paper and glue it inside the envelope. When the recipient opens it, they see a burst of color or pattern. It's a small detail with big impact.
Stickers and embellishments. Washi tape along the edges, small stickers on the seal flap, or even dried pressed flowers tucked inside - these details turn an envelope into an experience.
Scaling Up: When Handmade Meets Professional Printing
Handmade envelopes are perfect for small batches. Ten wedding invitations? Absolutely. Twenty holiday cards? Sure. But what about 200 client mailers or 500 event invitations?
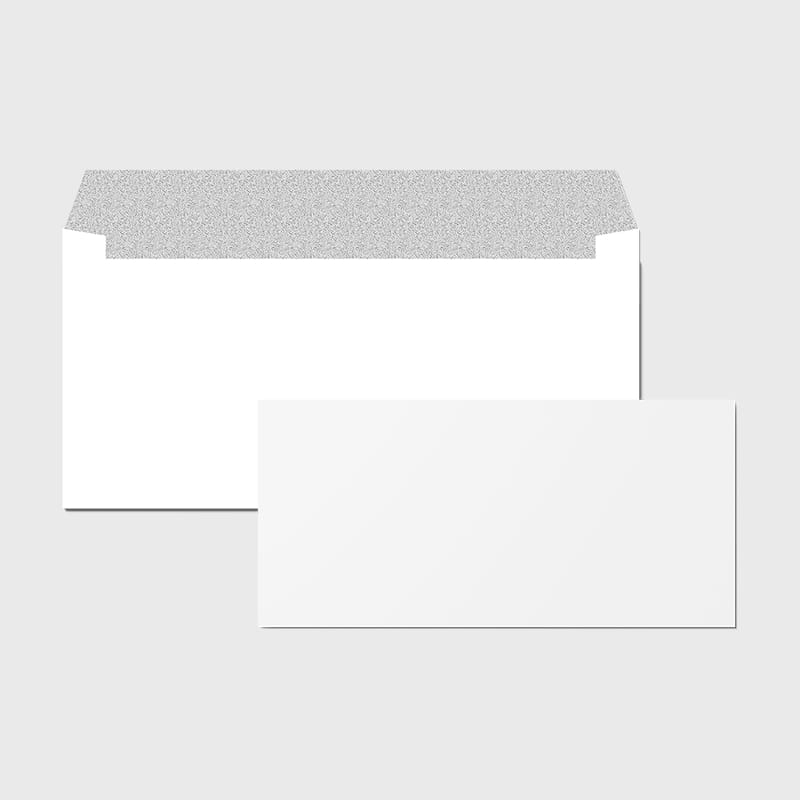
That's where professional printing picks up where DIY leaves off. 4OVER4.COM offers Blank Envelopes in a range of sizes and paper stocks, ready for your custom designs. You get the same personalized feel without spending hours at the craft table.
If you're designing flyers or inserts to go inside your envelopes, check out our walkthrough on How To Make Flyers for tips on layout, sizing, and print-ready file setup. Matching your envelope style to your insert creates a cohesive, polished mailing that recipients remember.
"I started making envelopes by hand for my small stationery business. When orders picked up, I switched to 4OVER4.COM for the envelopes and kept hand-stamping the return addresses. Best of both worlds."
- Rachel K., Stationery Designer
Whether you make one envelope or order a thousand, the goal is the same: create something that feels intentional. Something the recipient doesn't just rip open and toss.
Mistakes That Ruin Handmade Envelopes (and How to Avoid Them)
Even a straightforward custom envelope making tutorial can't prevent every mishap. Here are the most common errors people make:
- Skipping the scoring step on thick paper. Cardstock cracks when you fold it without scoring first. Run a bone folder or empty ballpoint pen along your fold line before creasing.
- Using too much liquid glue. Wet glue warps paper fast. Stick with glue sticks or double-sided tape for clean, flat results.
- Cutting flaps too short. If your side flaps don't overlap the bottom flap by at least half an inch, the envelope won't hold together under postal handling.
- Ignoring postal regulations. USPS requires envelopes to be at least 3.5" x 5" and no larger than 6.125" x 11.5" for standard letter rates. Go outside those dimensions and you'll pay extra - or get your mail returned.
- Forgetting to test the seal. Always do a test run before making a full batch. 4OVER4.COM recommends sealing one envelope, letting it dry, then checking if the flap holds firm.
Products to Pair with Your Handmade Envelopes
Once you've mastered the custom envelope making tutorial, you might want to explore what goes inside them. 4OVER4.COM prints 1,000+ products that pair perfectly with handmade or printed envelopes.
Need branded cards to tuck inside? Start with Free Business Cards to test paper stocks and finishes at no cost. Running a tight deadline? Same Day Printing gets your inserts, cards, and mailers produced and shipped fast.
For creators who want to sample different card finishes before placing a bulk order, grab your Free Business Cards and see how matte, gloss, and uncoated stocks look and feel alongside your handmade envelopes.
-
Use a square sheet of large enough paper to fit your content. Use 12" x 12" paper if you want a sizeable envelope.
-
Fold the paper corner to corner. This way, you'd have a line that runs from the bottom right corner to the top left corner and from bottom left to top right.
Here's a look at envelope-related products and what customers are saying about them:
Common Questions About Making Custom Envelopes
What paper weight works best for handmade envelopes?
Standard 20 lb printer paper is easiest to fold and works for casual mailings. For invitations or branded envelopes, use 65-80 lb cardstock. Score your fold lines first on anything heavier than 24 lb to prevent cracking. Thicker paper feels more premium but requires more care during assembly.
Can I mail handmade envelopes through USPS?
Yes. USPS accepts handmade envelopes as long as they meet minimum size requirements: at least 3.5" x 5" and no larger than 6.125" x 11.5" for standard letter rates. The envelope must be rectangular, and the address area needs to be clearly legible. Odd shapes or oversized envelopes may require extra postage.
How do I keep my envelopes from coming unglued in the mail?
Use a strong glue stick or double-sided tape on all flap seams. Avoid liquid glue - it warps paper and takes too long to dry. For extra security, add a wax seal or a piece of washi tape over the closure flap. Test your seal before making a full batch.
What size envelope fits a standard greeting card?
Most greeting cards are either 4.25" x 5.5" (A2 size) or 5" x 7" (A7 size). Cut your paper to allow at least 1.5" extra on each side for flaps. An A7 envelope at 5.25" x 7.25" gives a 5x7 card just enough room to slide in and out without bending.
When should I switch from handmade to professionally printed envelopes?
If you're making more than 25-50 envelopes, professional printing saves serious time without sacrificing quality. 4OVER4.COM prints custom envelopes on a range of paper stocks with full-color designs. Visit our Help Center for guidance on file setup and ordering.
Can I print on handmade envelopes using a home printer?
You can, but it depends on your paper thickness. Most inkjet and laser printers handle up to 80 lb cardstock. Feed envelopes one at a time to avoid jams. Set your printer to "thick paper" or "envelope" mode. Always do a test print on scrap paper first to check alignment.
