
How to Export a File in a Print Ready Format From Canva

Emma is our prepress and print production voice, built from the knowledge of our production team, with over 20 years in printing.
How to export a print ready file from Canva: the six clicks that turn a Canva design into a file a press can cut, plus the bleed and color settings Canva leaves switched off and never warns you about.
In Canva, open Share, then Download, set File type to PDF Print, tick Crop marks and bleed, and set the color profile to CMYK if your plan offers it. Before any of that, switch on View, then Show print bleed, and drag your background past the dashed line, because the export adds the extra 0.125 inch of page but never fills it. Leave Flatten PDF unchecked so your text stays vector. For stickers, Canva cannot draw a separate spot color cut line, so export the art alone as PDF Print with that 0.125 inch bleed, keep text and shapes vector, and pick the outline as a basic or complex custom shape on die-cut stickers.
Quick answer
PDF Print, bleed switched on first, CMYK if you have it
A print ready export is a PDF that carries three things a screen file does not: artwork past the trim line, marks showing where to cut, and full resolution image data. Canva can produce all three, but only through the PDF Print option, and only if you extended your background into the bleed area while designing. The color profile setting is a paid-plan feature. Without it the file leaves in RGB and we convert on receipt, which is fine for most work and worth watching on saturated blues, greens and large solid blacks.
Why a Canva Download Is Not Print Ready by Default
Canva was built for things that end up on a screen, and its defaults reflect that. Hit the download button without changing anything and you get a PNG sized for a social post: RGB color, no bleed, no marks, and images compressed for a fast page load. None of that is wrong. It is just aimed somewhere else.
A press needs three things Canva keeps switched off. It needs artwork that extends past the finished size so the blade has something to cut into. It needs the file described in the four printing inks rather than in screen light. And it needs image data at full resolution, because a guillotine does not care how quickly your file downloaded.
| Download option | What comes out | Good for | Do not use it for |
|---|---|---|---|
| PNG | Screen-resolution bitmap, RGB, transparency optional. | Social posts, web banners, slide decks. | Anything printed larger than a coaster. |
| JPG | Compressed bitmap, RGB, no transparency. | Email images and previews. | Print. The compression shows up in flat color areas. |
| PDF Standard | PDF with images downsampled for size, RGB. | Emailing a layout for approval. | Sending to a printer. The downsampling is not reversible. |
| PDF Print | Full-resolution images, live vector text, optional bleed, marks and CMYK. | Every commercial print job. | Nothing here. This is the one. |
| SVG | Vector only, paid plans, drops placed photos to links. | Handing shapes to a designer or a cutter. | A finished multi-element page layout. |
Be honest about where Canva stops. It has no spot color support, no overprint control, no way to build a die line on its own layer and no soft proof. For a flyer, a postcard, a business card or a brochure it is entirely capable. For a foil job, a Pantone match or custom packaging you will want a file built in Illustrator or InDesign instead.
The Export, Click by Click
Six clicks, in this order. Do them on the finished design, not on a duplicate, so what you check is what you send.
- Open the design and check the page size first. Top left, under the file name, Canva shows the document dimensions. If it says 1080 by 1080 px you are about to export a social graphic at postcard size. Resize before anything else, because scaling a finished layout afterwards re-flows nothing and softens every placed photo.
- Switch on View, then Show print bleed. A dashed border appears just inside each edge. Drag every background, color block and full-width photo out past it. This is the step that decides whether the export works, and it happens before you touch the download menu.
- Click Share, top right, then Download. Share opens a panel of destinations. Download sits near the bottom of it.
- Set File type to PDF Print. The list defaults to PNG. PDF Print is the last of the document formats and the only one that carries bleed and marks.
- Tick Crop marks and bleed. The checkbox appears only after you choose PDF Print. It adds 0.125 inch of page on every side plus corner marks aligned to the trim line.
- Set Color profile to CMYK if the dropdown is there, then download. Leave Flatten PDF unchecked. If Canva shows a low quality image warning, deal with it now rather than after the job is on press.
On a multi-page design, use the page selector above the file type to export only the pages you are printing. Sending a fourteen page deck when you ordered a four page brochure at $57.11 costs you a round of emails with prepress and a day of turnaround.
What the Crop Marks and Bleed Checkbox Really Does
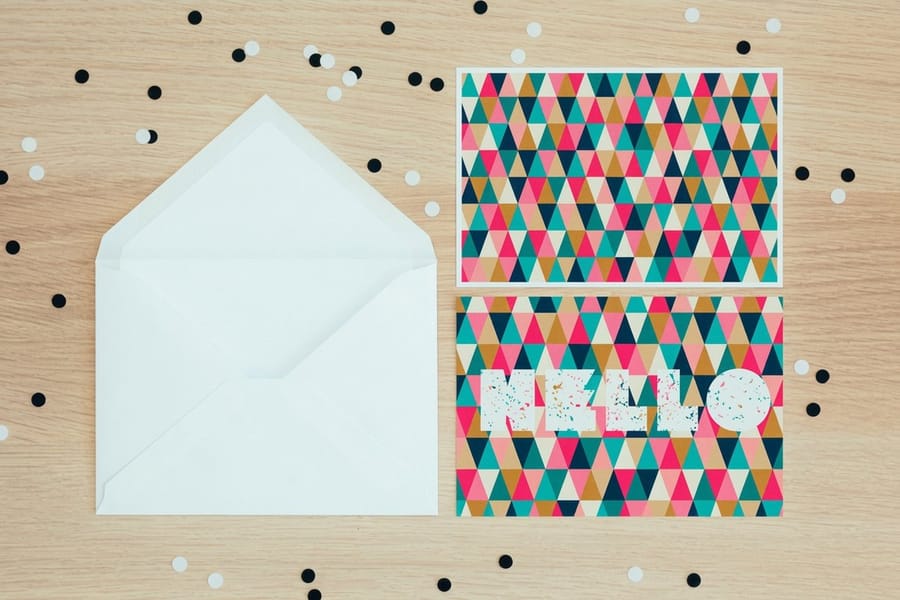
It makes the PDF page larger and draws eight short lines. That is all. The most common mistake in Canva printing is assuming the checkbox also fills the new space, and it does not.
Here is the sequence on a 4 by 6 postcard. Canva exports the page at 4.25 by 6.25 inches, adding 0.125 inch on each side. Corner marks sit outside that enlarged area, lined up with where the original 4 by 6 edges were. We print the larger sheet, stack it, and cut along the marks. Whatever sat in the outer 0.125 inch gets thrown away, which is the point: a stack of paper never trims perfectly square, so that margin absorbs the drift.
If your background stopped at the original page edge, that outer band is white. When the cut wanders half a millimeter outward, a white hairline appears down one side of some cards and not others. Nobody can fix it after printing. Switching on Show print bleed first and dragging the background past the dashed line takes four seconds and removes the entire failure mode. Our full bleed printing guide covers the same geometry from the press side.
Keep type away from the other edge too. Anything closer than 0.125 inch to the trim line risks looking off-center even on a clean cut, because the eye reads an uneven margin instantly. Canva has no safety guide of its own, so drag a ruler guide in or start from a correctly built layout in our blank template library. If you want the full anatomy of the marks, crop marks and bleed explained goes through every mark a prepress operator looks for.
The CMYK Setting, and What To Do Without It
The color profile dropdown sits under the PDF Print option and only exists on a paid Canva plan. Free accounts export RGB. This matters less than the internet suggests and more than nothing.
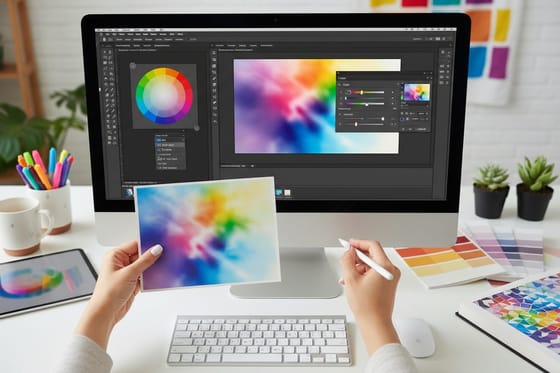
Screens make color by adding light and presses make it by subtracting it with ink, so a set of colors exists on your monitor that no CMYK press can reach. Electric blue, neon green, the hot orange in most gradient backgrounds: all of them come back a shade calmer. Choosing CMYK in Canva does not make those colors printable, it simply performs the conversion where you can see the result before you commit. That is the real benefit, and it is worth a paid month if brand color accuracy is the point of the job.
Without the setting, our prepress converts on receipt using a standard US web coated profile. For a flyer, a menu or an event postcard starting at $16.48 this is a non-issue. Where it bites is large solid black. Canva black is RGB 0, 0, 0, which converts to 100 percent black ink and nothing else, and a page of that next to a photograph reads as washed-out charcoal rather than true black. Printers build a rich black from all four inks instead, and our rich black recipe gives the numbers.
Two practical routes. Either accept 100 percent black, which is genuinely correct for small body text and thin rules, or build the black panel as a CMYK image elsewhere and place it in Canva as an asset. If the whole design lives or dies on exact color, read RGB to CMYK conversion and order a printed proof before the run.
Catching Low Resolution Elements Before We Do
Open the Download panel and Canva quietly tells you something most design tools will not: which pages contain images it thinks are too small. Take the warning seriously. It is the cheapest quality check in the whole process.
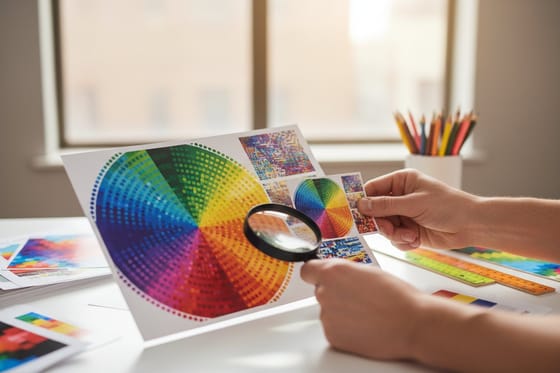
The rule behind it is arithmetic, not opinion. Offset and digital presses resolve detail at roughly 300 pixels per printed inch, so a photo filling a 4 by 6 postcard wants about 1200 by 1800 pixels of real data. Canva happily stretches a 600 pixel image across a full page, and it looks perfectly sharp on a screen showing you a third of the actual size. On paper the same file looks slightly out of focus, and there is no setting at export that recovers detail the original never had.
One piece of good news that catches people out in a useful direction: text typed directly in Canva exports as live vector inside a PDF Print file, along with Canva shapes, lines and frames. Those print crisp at any size. Only placed photos, uploaded logos and screenshots carry a pixel limit. So if a logo looks soft, the fix is a bigger original file or a vector version, not a bigger canvas.
Large format is where the arithmetic changes. A poster viewed from six feet away does not need 300 pixels per inch, because your eye cannot resolve it at that distance, and 150 is usually plenty on a 24 by 36. Our printing resolution guide lists the working numbers per product. And do not tick Flatten PDF to solve a resolution complaint, because flattening turns your sharp vector text into pixels as well and makes the page worse.
Upload the PDF to 4OVER4 and Order
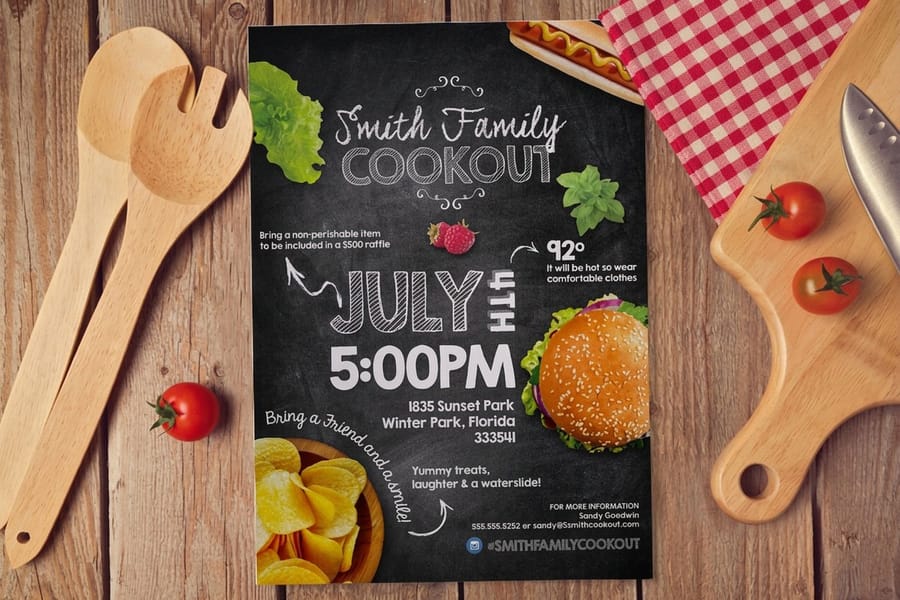
Choose the product, set size, stock and quantity, then upload the PDF on the same screen. Our prepress team opens every file before it goes to press and comes back to you if the bleed is short, a font failed to embed or an image falls below the resolution the size needs.
The common starting points for a Canva design: standard flyers from $39.54, standard postcards from $16.48, standard business cards from $17.57, and standard brochures from $57.11. Larger pieces such as standard posters start at $108.75. Prices move with size, stock and quantity, so the configurator on each product page is the number that counts.
Two habits that save a reprint. Open the exported PDF yourself before you upload it, at 100 percent zoom, and look at the edges and the smallest type. Then, on any job above a few hundred pieces or any job where a specific brand color is the reason it exists, order a proof. Proofing costs a day and catches the mistakes that only appear on paper. If you would rather not fight the export at all, our online designer builds the bleed and safety zones into the file for you, and the flyer printing category lists every size we run.
Wally explains the print ready export
Bleed first, then PDF Print, then the marks
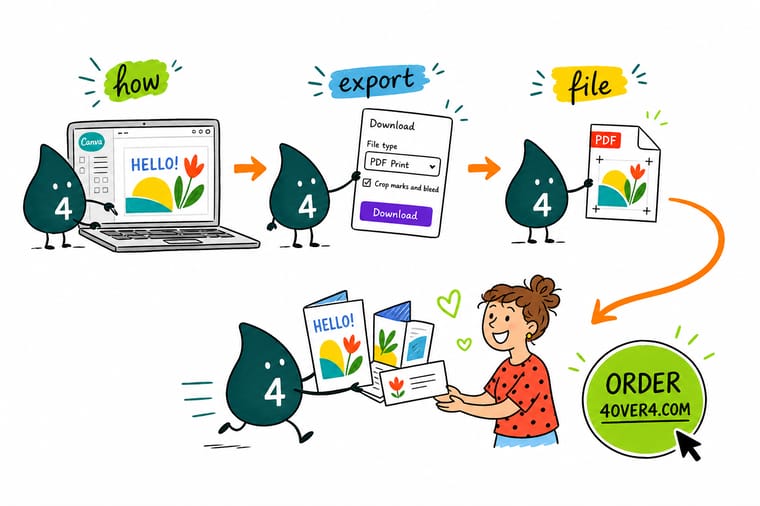
Wally never touches the download button until the background runs past the dashed line. Then he picks PDF Print, ticks crop marks and bleed, and switches the color profile to CMYK if his plan has it. He leaves Flatten PDF alone so his type stays sharp. And when Canva says a page has a low quality image, he swaps the image instead of hoping. Four seconds of setup, no white slivers on the trimmed edge.
Print your flyers with 4OVER4 →
Specs and pricing
Sizes, stocks and starting prices for your exported file
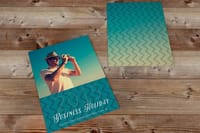
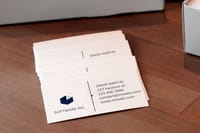
Check the trim sizes before you set the Canva page size: flyers run from 4.25 by 5.5 to 11 by 25.5 inches on 100 lb gloss text, postcards from a 2.5 inch square to 6 by 11 inches on 14pt gloss cover, and business cards at 2 by 3.5 inches, 2 inch square, 1.5 by 3.5 or 2.125 by 3.375 inches. Every option below comes straight from the 4OVER4.COM configurator, with live pricing per quantity.

Print it
Send the PDF straight to press
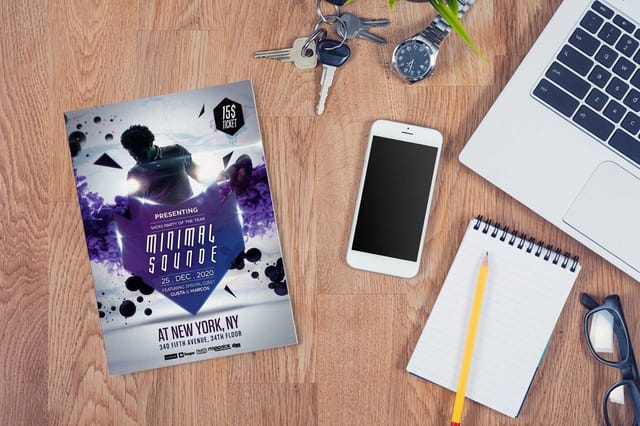
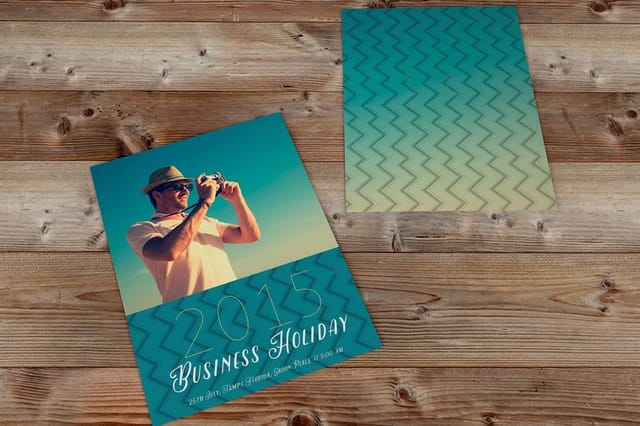
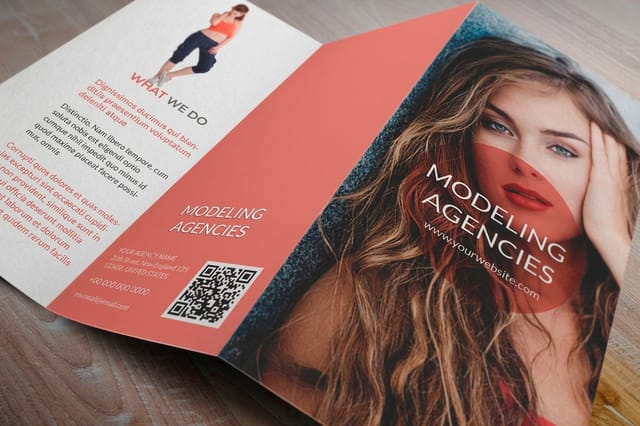
Upload the PDF Print file at the trim size you set in Canva: a flyer from 50 sheets, a postcard from 50 cards, or a brochure from 5.5 by 8.5 to 11 by 25.5 inches with a half fold option. Our free file check looks for the 0.125 inch bleed before anything prints.

Explore more
Where to go next
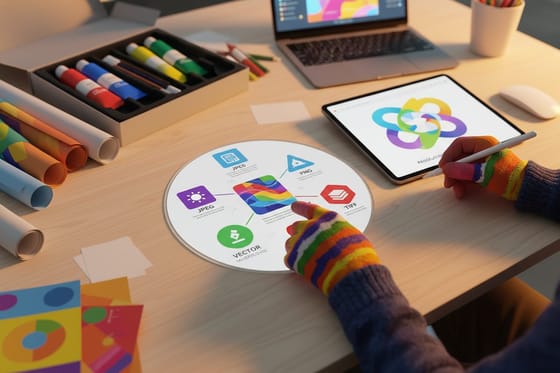
The bleed guide explains each mark on the page edge and who reads it, and the RGB to CMYK guide shows which colors shift. The resolution guide gives the pixels a printed inch needs by product, the proofing guide says what a proof will and will not show, and the file type guide sorts PDF, TIFF, EPS and JPG.


By the numbers
Files we check before they reach the press
Common Questions
Your Canva export questions, answered
Does Canva export in CMYK?
Only on a paid plan. Choose PDF Print in the Download panel and a Color profile dropdown appears with RGB and CMYK options for Canva Pro, Teams, Nonprofit and Education accounts. On a free account the dropdown is absent and the PDF leaves in RGB. That is not a blocker: we convert RGB files every day. It just means the conversion happens after you stop looking at it, so the very brightest screen blues, greens and oranges land a shade duller than they looked in the browser.
How much bleed does Canva add, and is it enough?
Canva uses 0.125 inch, which is 3 mm, on every edge. That is the standard commercial bleed and it is exactly what we ask for. The catch is that switching on the checkbox at export only makes the page bigger. Go to View, then Show print bleed, while you are still designing, and drag every background image, color block and border out past the dashed line. Elements that stop short of it export with a white edge that the trimmer cannot remove.
Should I tick Flatten PDF?
No, in almost every case. Flattening converts the whole page into a single image, so live text becomes pixels and small type loses its crisp edge. The one time it earns its place is a design with stacked transparencies or blend modes that a printer reports as rendering strangely. If nobody has told you there is a problem, leave it off and keep the vector text.
Why does my printed piece look darker than the Canva screen?
A monitor emits light and paper reflects it, so a screen will always look more brilliant than ink on stock. Two specific things make the gap wider. Uncoated stock absorbs more ink and dries back duller than gloss. And an RGB black from Canva converts to 100 percent black ink alone, which reads as a deep charcoal next to a rich black built from all four inks. If a large solid black is the center of the design, ask for a printed proof before the full run.
How do I know if an image in my Canva design is too low resolution?
Canva flags it for you. Open the Download panel and a small warning appears listing the pages that contain low quality images, which is a genuinely useful check most design tools do not offer. The arithmetic behind it is simple: an image wants roughly 300 pixels for every printed inch, so a photo filling a 4 by 6 postcard needs about 1200 by 1800 pixels. Dragging a 600 pixel logo across a full page will look fine on screen and soft on paper.
Does 4OVER4 accept a Canva PDF with crop marks on it?
Yes. Upload the PDF Print file with crop marks and bleed switched on and our prepress team works from the marks. A file exported at exact trim size with bleed but no marks is equally acceptable. The one file we cannot rescue is a PDF exported at trim size with no bleed at all on a design that runs to the edge, because there is nothing outside the cut line to trim into.
Get Started
Exported and ready to print?
Pick your size and stock, upload the PDF Print file, and our prepress team checks the bleed, the fonts and the image resolution before anything goes on press.
Legal Disclaimer
Gold Standard guarantees apply to all standard orders placed through 4over4.com. Price match requires verifiable proof of a competitor's published price for an equivalent product with matching specifications and turnaround time. Satisfaction guarantee covers manufacturing defects and print quality issues. Contact support with order number and documentation.
