Key Takeaways for Folding Brochures the Right Way
Learning how to fold a brochure starts with choosing the right fold style for your message. Tri-fold, bi-fold, Z-fold, and gate fold each create a different reading experience. The fold you pick affects panel sizing, content layout, and print setup. 4OVER4 has printed over 10 billion+ cards and print products with 99.8% on-time delivery, so your brochures arrive ready to fold perfectly every time.
"Direct Mail Brochures /5"
| Quantity | Price Per Unit |
|---|---|
| 500 | $0.48 |
| 2,000 | $0.17 |
| 8,000 | $0.10 |
| 25,000 | $0.07 |
Ink Color
Finish
Folding
Scoring
Proof Options
Why Brochure Folding Matters More Than You Think
"Brochures /5"
Ink Color
Finish
Folding
Scoring
Perforation
Proof Options
A brochure isn't just a flat sheet of paper. It's a story with a sequence. The fold controls what your reader sees first, second, and last. Get it wrong, and your message lands out of order. Get it right, and each panel builds on the next like a conversation.
Design Templates
Whether you're folding by hand or setting up files for professional printing, this guide walks you through every common fold type, step by step. You'll also pick up tips on panel sizing, paper grain, and avoiding the mistakes that ruin an otherwise great brochure.
Step-by-Step Brochure Folding Techniques
Every brochure fold creates a unique reading path. The fold type you choose depends on how much content you have, how you want to reveal information, and what format fits your distribution method. Let's break down the most popular folds, how to execute them, and when each one works best.
The Classic Tri-Fold (Letter Fold)
The tri-fold is the most common brochure fold in the world. You see it in restaurants, doctor's offices, trade shows, and real estate open houses. It takes a standard 8.5" x 11" sheet and divides it into three panels.
Here's how to do it:
- Lay your printed sheet face-down on a flat, clean surface.
- Take the right panel and fold it inward toward the center. This panel should be about 1/16" narrower than the other two so it nests inside without buckling.
- Now fold the left panel over the top of the right panel, covering it completely.
- Run your finger or a bone folder along each crease for a sharp, clean line.
The key detail most people miss: that inside right panel must be slightly narrower. If all three panels are the same width, the brochure won't close flat. It'll bulge and look sloppy. When setting up your file for printing through Custom Brochures, make sure your design accounts for this size difference.
The Bi-Fold (Half Fold)
Simple. Elegant. The bi-fold divides your sheet into two equal panels, creating four printable surfaces - front cover, back cover, and a two-page interior spread.
Folding steps:
- Place your sheet on a flat surface, printed side facing down.
- Bring the right edge over to meet the left edge precisely.
- Align the corners carefully before pressing the fold.
- Use a bone folder or ruler edge to crease from the center outward. This prevents air bubbles and wrinkles.
Bi-folds work great for event programs, product spotlights, and menus. They give you a generous interior spread, which is perfect when you need room for large images or detailed information. If you're also creating matching mailers, you might find our guide on How To Make Envelopes helpful for pairing brochures with custom packaging.
The Z-Fold (Accordion Fold)
The Z-fold gets its name from the shape it makes when viewed from the side. Instead of nesting panels inside each other like a tri-fold, each panel folds in the opposite direction, creating a zigzag pattern.
How to fold it:
- Start with your sheet face-up on a flat surface.
- Fold the right third of the sheet to the left, toward the center.
- Now fold the left third backward, away from you, in the opposite direction.
- When you pick it up and look at it from the edge, you should see a clear Z shape.
All three panels in a Z-fold are the same width. That's a big difference from the tri-fold. No panel needs to be narrower because nothing nests inside anything else. This fold is popular for maps, step-by-step instructions, and timeline-based content because it can unfold completely flat or be read panel by panel.
The Gate Fold
Gate folds create a dramatic reveal. Two panels fold inward from opposite sides and meet in the center, like double doors opening. It's a premium fold that works well for luxury brands, invitations, and product launches.
Folding instructions:
- Lay your sheet face-down.
- Fold the left edge inward to the center of the sheet.
- Fold the right edge inward to meet the left panel at the center.
- The two flaps should meet without overlapping.
Gate folds require precise panel sizing. Each side panel is exactly one-quarter of the total sheet width, while the center spread is one-half. This fold uses more paper real estate than a tri-fold, so plan your content accordingly. For eye-catching alternatives, consider pairing gate-fold brochures with 3D Postcards for a multi-piece marketing kit.
The Roll Fold (Barrel Fold)
A roll fold works like a tri-fold's bigger sibling. It has four or more panels that progressively fold inward, each one wrapping around the previous panel. Think of it as rolling the paper toward the center.
Steps for a four-panel roll fold:
- Start with your sheet face-down.
- Fold the far-right panel inward toward the center.
- Fold the next panel over the first fold.
- Continue folding each successive panel over the previous one.
- Each inner panel must be progressively narrower (about 1/16" less) so the brochure closes flat.
Roll folds are ideal for content-heavy brochures like travel guides, product catalogs, and service menus. The progressive reveal keeps readers engaged as they unfold each layer.
Choosing Paper Weight and Grain Direction
The paper you print on directly affects how clean your folds turn out. Heavier stocks (like 100lb gloss cover) resist folding and can crack along the crease if you don't score the paper first. Lighter stocks (like 80lb gloss text) fold easily by hand without scoring.
Grain direction matters. Paper has a grain - the direction the fibers run. Folding with the grain gives you smooth, clean creases. Folding against the grain causes rough, cracked edges. When you're ordering printed brochures from 4OVER4, the production team handles grain direction automatically. But if you're folding at home or in the office, test a blank sheet first.
For heavier stocks, always score before folding. Scoring creates a shallow indentation along the fold line, giving the paper a guide to bend along cleanly. You can score with a bone folder and a ruler, or use a scoring tool designed for the job. Browse the Faq Hub for more tips on working with different paper types.
Setting Up Your File for Professional Folding
If you're sending your brochure to a professional printer, your file setup is just as important as the fold itself. Here's what to keep in mind:
- Panel widths: For tri-folds and roll folds, the innermost panel must be 1/16" to 1/8" narrower than the outer panels.
- Bleed: Add 0.125" bleed on all sides. This prevents white edges after trimming.
- Safe zone: Keep text and important elements at least 0.125" from fold lines and trim edges.
- Resolution: Use 300 DPI minimum for sharp, professional results.
- Color mode: CMYK, not RGB. RGB colors shift during printing.
If you're creating other printed materials alongside your brochures, check out our guide on How To Make Flyers for complementary design tips. Both formats share similar file setup requirements.
Hand Folding vs. Machine Folding
For small runs (under 50 pieces), hand folding works fine. Use a bone folder, work on a clean surface, and take your time aligning edges before creasing. A ruler helps keep folds straight on larger sheets.
For anything over 50 pieces, machine folding saves hours and delivers consistent results. Professional print shops like 4OVER4 use automated folding equipment that handles scoring and folding in one pass. The result is crisp, uniform folds on every single piece - something that's nearly impossible to achieve by hand at scale.
"I ordered 500 tri-fold brochures for our clinic's open house. Every single fold was sharp and perfectly aligned. The panels lined up exactly with my design."
- Rachel K., Clinic Administrator, ★★★★★
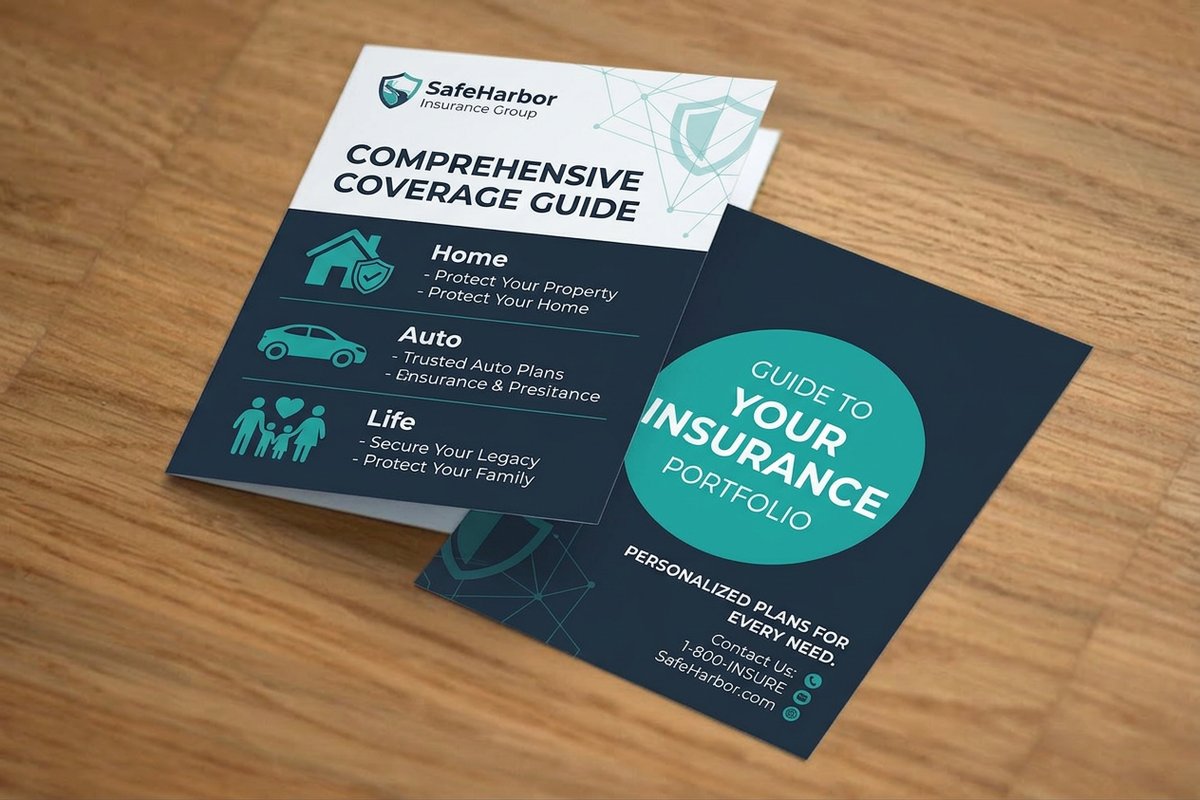
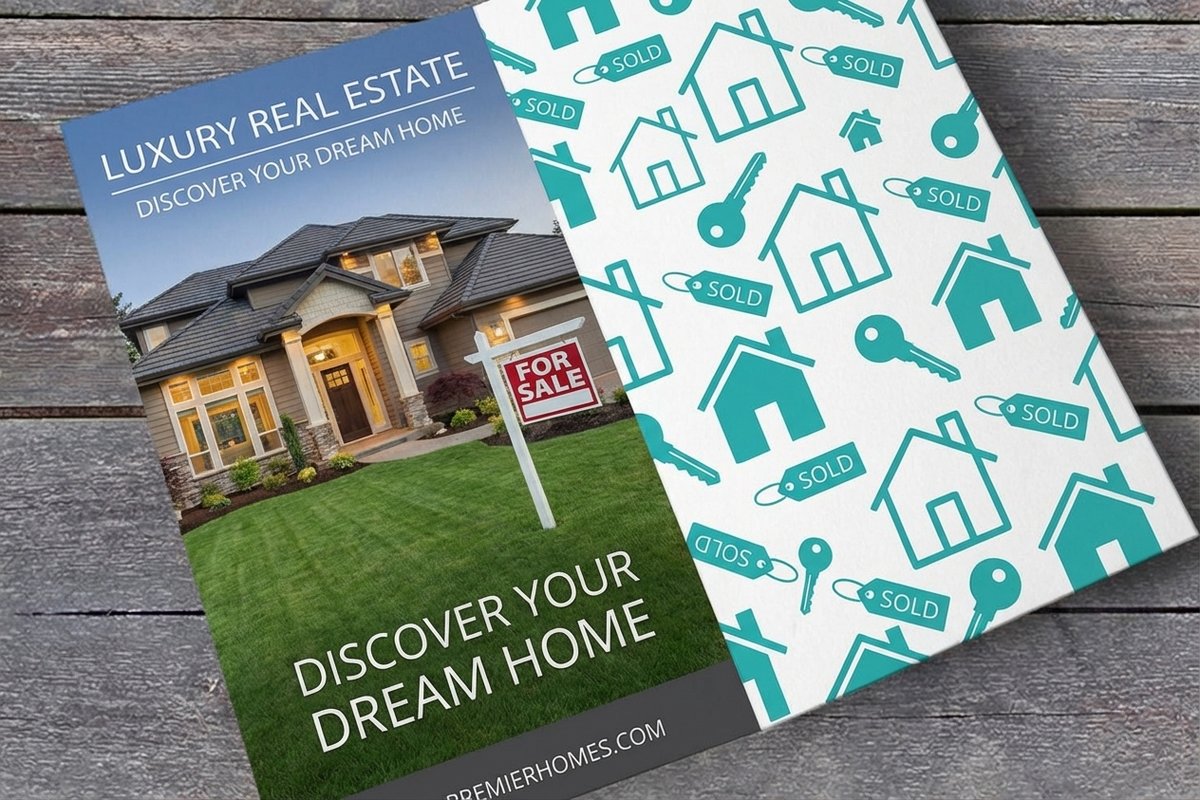
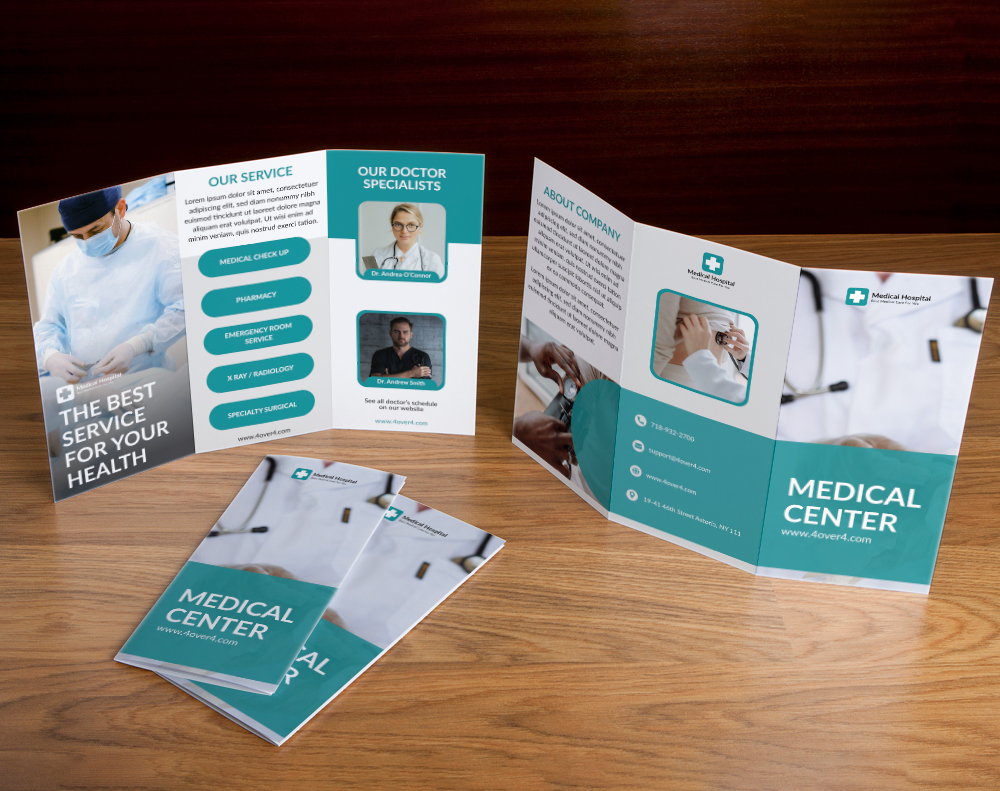
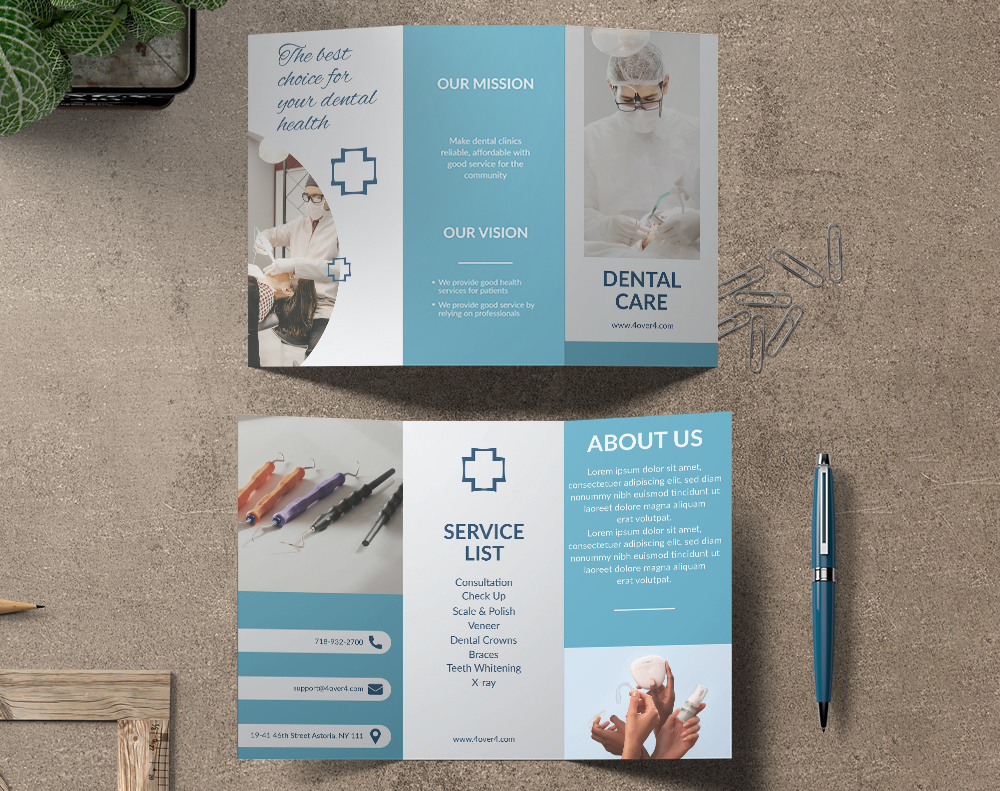
Here are some real brochure projects from 4OVER4 customers to give you a sense of what's possible with different fold styles:
Need a starting point for your brochure layout? These templates are designed with proper panel sizing and fold marks already built in:
Blank Templates

For blank templates you can customize from scratch, here's a clean starting point:
Folding Mistakes That Ruin Good Brochures
Even a beautifully designed brochure falls apart if the fold goes wrong. Here are the most common mistakes people make when learning how to fold a brochure:
- Equal panel widths on tri-folds. The inside panel must be narrower. Skip this, and your brochure won't close flat.
- Folding against the grain. This causes cracking, especially on heavier paper stocks. Always test grain direction first.
- Skipping the score on thick paper. Anything heavier than 80lb text stock needs scoring before folding. No exceptions.
- Misaligned content. Text or images that cross fold lines look broken when the brochure is folded. Keep critical elements within panel boundaries.
- Rushing the crease. A sloppy fold can't be undone. Align edges first, then press firmly from center outward.
- No bleed in the file. Without bleed, you'll get white edges after trimming. Always add 0.125" on all sides.
4OVER4 handles scoring, folding, and trimming during production, so these issues disappear when you order professionally printed brochures. That's one less thing to worry about.
Brochure Products Worth Printing at 4OVER4
Once you know how to fold a brochure, the next step is picking the right product for your project. 4OVER4 offers brochure options across multiple paper stocks and fold types. Whether you're mailing them directly or handing them out at events, there's a format that fits.
Looking to try 4OVER4 risk-free? Grab a set of Free Business Cards to test print quality before committing to a larger brochure order. And if sustainability matters to your brand, explore Green Printing options for eco-conscious brochure runs. You can also order Free Business Cards as companion pieces to hand out alongside your brochures at events and meetings.
Here's a look at current pricing and specifications for 4OVER4 brochure products:
Ink Color
Finish
Folding
Scoring
Proof Options
"Ordered how to fold a brochure from 4OVER4 and the quality blew me away. Sharp colors, premium feel, arrived 2 days early."
"Been using 4OVER4 for how to fold a brochure for a year. Consistent quality every time. The online designer made it easy."
"Switched to 4OVER4 and saved 40% on how to fold a brochure. Better quality than my old printer. 60+ paper options."
"4OVER4's how to fold a brochure helped us look more professional. Clients notice the difference."
"We switched to 4OVER4 for our quarterly brochures and the paper quality blew us away. The Z-fold came out perfectly crisp on the 100lb gloss."
- Marcus D., Marketing Director, ★★★★★
Free Design Templates
Brochure Folding Questions, Answered
What is the most common brochure fold type?
The tri-fold (also called a letter fold) is the most widely used brochure fold. It divides a standard 8.5" x 11" sheet into three panels and fits perfectly in a #10 envelope. It's the go-to for restaurants, healthcare providers, and trade show handouts because of its compact size and natural reading flow.
Do I need to score paper before folding a brochure?
Yes, if you're using cover-weight stock (anything heavier than 80lb text). Scoring creates a guide line that prevents cracking along the fold. For lighter text-weight papers, you can fold without scoring. When you order brochures from 4OVER4, scoring is handled automatically during production.
How do I make sure my tri-fold panels are the right size?
The inside panel (the one that folds in first) needs to be about 1/16" to 1/8" narrower than the other two panels. This lets it nest inside without causing the brochure to bulge or buckle. The front and back panels stay at full width.
What's the difference between a Z-fold and a tri-fold?
A tri-fold nests panels inside each other, with the inside panel slightly narrower. A Z-fold alternates fold directions so each panel folds the opposite way, creating a zigzag shape. Z-folds have equal-width panels and can unfold completely flat, making them great for maps and timelines.
Can I fold brochures by hand or do I need a machine?
Hand folding works well for small batches under 50 pieces. Use a bone folder and ruler for clean, straight creases. For larger runs, machine folding delivers consistent results and saves big time. 4OVER4 includes professional machine folding on all brochure orders.
What paper grain direction should I fold along?
Always fold with the grain, not against it. Folding with the grain produces smooth, clean creases. Folding against the grain causes rough, cracked edges - especially on coated and heavier stocks. Test a blank sheet by folding it both ways to identify the grain direction before committing.
"I was nervous about getting the gate fold right for our product launch brochures. 4OVER4's templates made the panel sizing foolproof. Everything lined up perfectly."
- Tanya L., Brand Manager, ★★★★★