
How to Get Sticker Residue Off a Laptop Without Damage


Sticker residue on a laptop lifts off in minutes when you warm the glue, dab on the right solvent, and wipe gently. Here is the safe method, and how to choose a printed laptop sticker on repositionable vinyl so the next one peels clean.
To get sticker residue off a laptop, warm it with a hair dryer on low for twenty to thirty seconds, peel what you can, then dab seventy percent isopropyl alcohol on a microfiber cloth and wipe in gentle circles. Lift any leftover gummy film with packing tape, dry buff, and keep acetone, blades, and scouring pads off the shell.
Start here
Getting residue off a laptop, in one paragraph
Warm the glue, break its grip, then wipe it clean. A hair dryer on low softens the adhesive so most of it peels away, seventy percent isopropyl alcohol on a microfiber cloth dissolves the rest, and packing tape lifts any stubborn film. Keep acetone and metal off the finish, dry buff at the end, and the lid looks untouched. The diagram sums up the whole method at a glance.
Watch it printed
See die-cut stickers on the press, in 124 seconds
Why sticker residue clings to a laptop lid
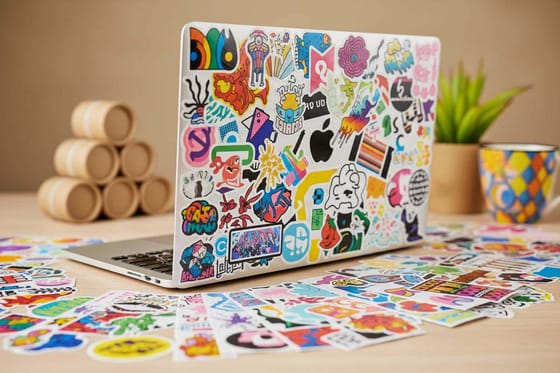
Peel a sticker off a laptop and you often trade one problem for another: a sticky grey ghost where the design used to be, dotted with lint by the end of the day. That film is the adhesive left behind after the printed face tears away, and on a warm laptop lid it has usually had months to cure into place.
Residue almost never bonds for good to the hard shell of a laptop. It sits on the surface rather than soaking in, so the whole job is about softening the glue and lifting it, not scrubbing it off. Rushing that with a fingernail or a blade is what leaves scratches, so the method below is slow on purpose and gentle on the finish.
Work only on the closed outer lid, keep every liquid on the cloth instead of the machine, and you can clear even old, stubborn residue in a few minutes. Then, if you want the look without the cleanup next time, the last section covers stickers built to peel clean.
What sticker residue actually is
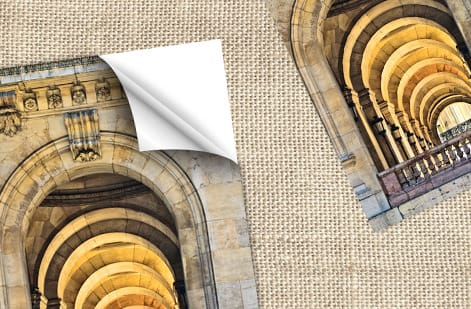
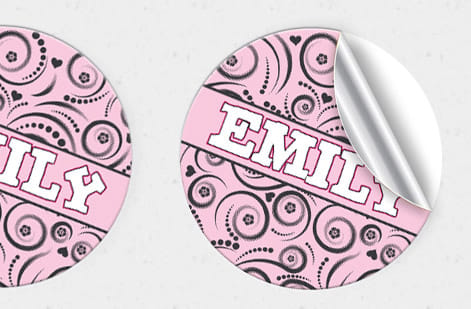
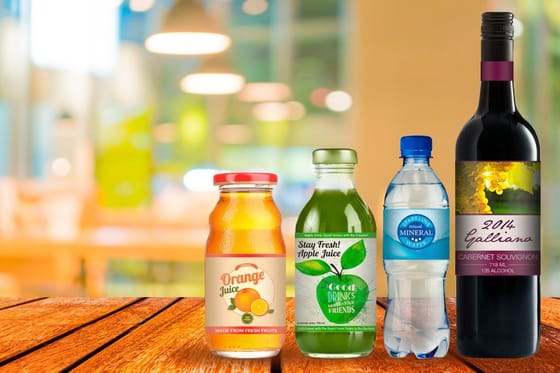
A sticker is two layers: the printed face and the adhesive that holds it down. When you peel it, a well made sticker releases both together. A cheap one splits, the printed face comes away, and the adhesive stays on your lid as tacky residue. Paper faces split most often, because the paper tears before the glue lets go; a vinyl face stretches and carries its adhesive off with it. That is why our die-cut stickers offer White Vinyl Permanent, White Vinyl Repositionable and Clear Label Permanent next to the uncoated, semi-gloss and hi-gloss paper labels.
Two things make it worse. Heat from the laptop slowly cures budget adhesive until it grips harder, and time lets dust bind into the glue so it turns grey and gummy. That is why a sticker that came off a fridge in seconds fights you on a machine that runs warm all day. The adhesive itself has changed.
Knowing that shapes the fix. Reheating the glue reverses some of that curing and makes it pliable again, and a mild solvent breaks its grip on the surface. It is also why the stock matters so much: quality vinyl stickers and custom stickers from 4OVER4.COM use a pressure sensitive adhesive designed to release in one clean piece, so you rarely reach the residue stage at all.
Step one, warm the glue to break its grip

Before any liquid, reach for a hair dryer. Warm adhesive behaves completely differently from cold adhesive: it turns soft and pliable and lets go of the surface instead of clinging to it. This one step does most of the work and saves the finish from any hard scraping.
Hold the dryer on a low setting about six inches from the residue and move it slowly across the patch for twenty to thirty seconds. You want the spot warm to the touch, not hot, so keep the nozzle moving and never park the heat on one area of the shell. A heat source that is too concentrated can soften the coating itself, which you do not want.
While the glue is still warm, work a fingernail or the corner of a plastic card, an old gift card is perfect, under an edge and lift slowly. Much of the residue peels up in a single sheet. Whatever stays behind is now soft enough for the next step to clear easily.
Step two, dissolve the adhesive the safe way
For the film the heat could not lift, the safest solvent on a laptop shell is isopropyl alcohol at seventy percent or higher. It dissolves adhesive quickly, evaporates without leaving a mark, and is gentle on painted and aluminum finishes, which is exactly why it is the standard for cleaning electronics.
The technique matters more than the liquid. Put a small amount on your microfiber cloth, never pour it onto the laptop, then press the damp cloth flat on the residue and hold it there for about thirty seconds. Letting it soak breaks the glue down so it wipes away instead of smearing around.
If you have no alcohol on hand, a dab of cooking oil or a citrus adhesive remover on the cloth also loosens glue, though you should wipe any oily trace off afterward. Whatever you use, keep it well away from the keyboard, the ports, the vents, and the screen. You are only ever treating the closed outer lid.
Step three, wipe and buff without scratching
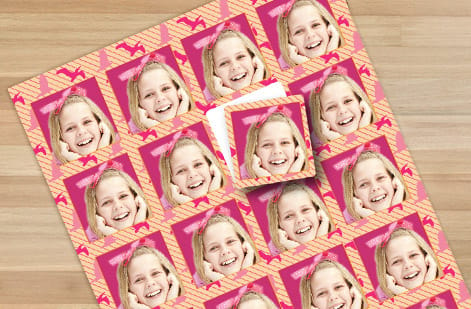
With the adhesive softened, wipe it away in small gentle circles using the microfiber cloth. Let the cloth and the solvent do the lifting rather than your fingernail. If a patch resists, refresh the alcohol on the cloth and give it another soak instead of pressing harder or reaching for something abrasive.
On a brushed metal lid, wipe along the direction of the grain so you never leave cross marks in the finish. On matte plastic, keep the pressure light because those coatings scuff more easily than a glossy shell. This is also the moment to keep razor blades, keys, and scouring pads in the drawer, since any one of them can leave a permanent scratch in seconds.
When the residue is gone, flip to the dry side of the cloth and buff the whole area so no streaks or haze remain. Give it a minute to air, and the lid looks as if the sticker was never there.
Stubborn residue and surfaces to treat with care
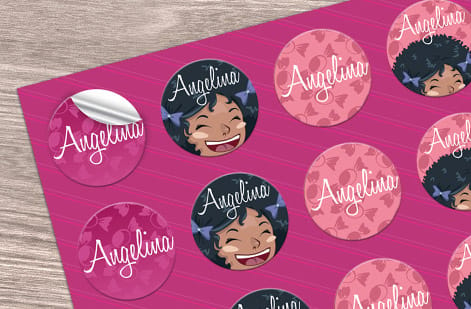
Every so often a gummy film survives both heat and alcohol. Tape beats it. Press a length of strong packing or duct tape firmly onto the residue and pull it off fast, then repeat with fresh tape until it lifts away clean. The adhesive on the tape grabs the old glue and pulls it up with zero liquid involved.
For a truly baked-on patch, a citrus based adhesive remover is the next tool, but treat it as a last resort on plastic. Spot test a hidden corner first, apply a small amount to the cloth, work quickly, and wipe the surface dry right away so the remover never sits and softens the coating.
Two things to avoid entirely: acetone or nail polish remover, which can cloud, pit, or discolor a laptop shell, and any metal edge. If you would not use a product on your phone screen, keep it off your laptop. Take it slow: two extra minutes of heat costs you nothing, and a scratch stays for the life of the lid.
Can you use nail polish remover on a laptop?
No. Nail polish remover is acetone, or acetone based even when the bottle says gentle, and acetone goes after the finish long before it gets through the glue. On a painted or anodized lid it clouds the clear coat, pulls color out in a pale patch, and on soft touch plastic it turns the coating tacky and pitted. The residue comes off and the mark it leaves behind stays for the life of the machine, so there is no version of this that ends well.
Use seventy percent isopropyl alcohol on a cloth instead. It dissolves the same pressure sensitive adhesive, it flashes off in seconds so nothing sits and creeps into a hinge or a speaker grille, and it is the solvent laptop makers name in their own cleaning notes. Put it on the cloth, never on the shell. If a patch shrugs the alcohol off, go back to heat and tape rather than reaching for a stronger solvent: warmth and a fresh strip of packing tape will beat anything acetone would have done, without costing you the finish.
The easier fix, stickers that peel clean
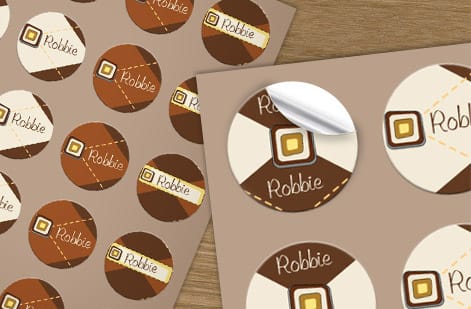
The residue comes from adhesive that cures hard on a warm lid and tears apart on removal, so the fix starts at the order form. For a laptop, pick White Vinyl Repositionable: the adhesive holds through daily handling and releases in one piece when you want a change, with no hair dryer. Pick White Vinyl Permanent only for a sticker you never plan to move. Size it to the lid: 3 x 3 to 5 x 5 inches suits a logo on a 13 inch laptop, and our die-cut sizes run from 2 x 2 up to 11 x 11 for a full lid piece.
Our die-cut stickers are cut to your exact artwork, our vinyl stickers stand up to scuffs and sunlight, and both use clean-release adhesive. Want a laptop covered in your own art? Design it in the free online Designer or start from a ready-made template, then print a set in the size and finish you like.
Prefer to keep it simple? Browse the full custom sticker range or grab a set of bumper stickers for the car while you are at it. The specs and live pricing panel below shows exactly what a set of clean-peel stickers costs.
Wally lifts the sticker, not the finish
Warm it, wipe it, done
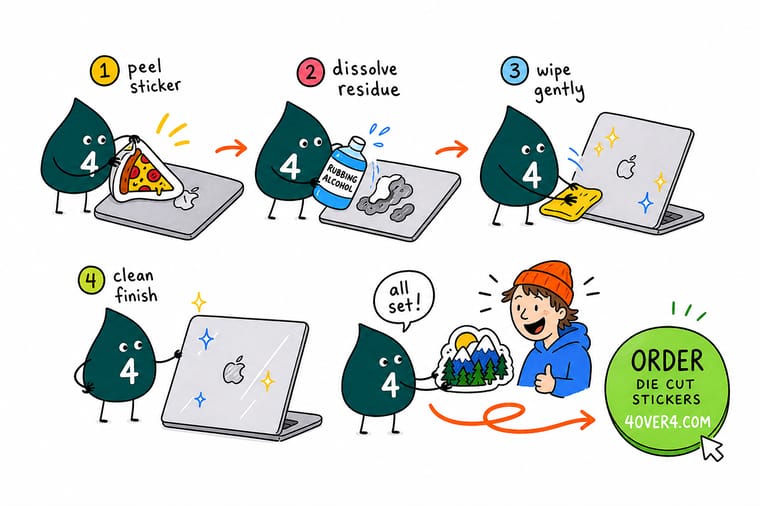
Wally treats a sticky laptop lid like a two-minute job: warm the glue with a hair dryer, peel the sheet, then dab isopropyl on a soft cloth and buff. No acetone, no blades, no scratches. Better yet, start with stickers that peel clean so there is nothing to scrub next time. Print a set on real vinyl and 4OVER4 makes the whole mess optional.
Order clean-peel stickers →Quick reference
What to reach for, and what to skip
Five tools do the whole job: a hair dryer on low, 70 percent isopropyl, a microfiber cloth, a citrus remover for baked-on glue and a roll of packing tape. The last row lists what stays in the drawer.
| Tool | Use it like | Why it works |
|---|---|---|
| Hair dryer | Low heat, 20 to 30 sec | Warms the adhesive so it releases in one piece instead of leaving a smear. |
| Isopropyl alcohol | 70 percent or higher | Dissolves adhesive and evaporates clean. Apply to the cloth, not the laptop. |
| Microfiber cloth | Soft, lint free | Lifts softened residue without scratching a painted or brushed metal lid. |
| Adhesive remover | Citrus based, small dab | For stubborn glue, but spot test a hidden corner first and wipe dry quickly. |
| Sticky tape | Packing or duct tape | Dab repeatedly to pull off loose gummy bits with zero liquid at all. |
| Avoid | Acetone, blades, scouring pads | These cloud the finish and scratch the shell. Never use them on a laptop. |
Step by step
Remove laptop sticker residue in 7 steps
- Power down and unplug Shut the laptop off, unplug it, and close the lid. You are only ever working on the outer shell, never near a port, vent, or the screen. A cold, closed machine also means nothing you wipe can run down into a hinge gap or a speaker grille while you work.
- Warm the residue Hold a hair dryer on low six inches from the spot and warm it for twenty to thirty seconds until the glue feels tacky and pliable. Keep it moving in small passes. A heat gun is far too hot for a laptop lid, and so is a car dashboard in the sun, so the dryer on its lowest heat is the whole toolkit here.
- Peel what you can by hand While it is warm, work a fingernail or a plastic card under an edge and lift slowly. Most of the sticker and its glue comes away in one go. An expired gift card or a guitar pick does the job without marking the shell, and pulling the edge back flat against itself, rather than straight up, shears the glue loose instead of stretching it thin.
- Dab on isopropyl alcohol Put a little seventy percent isopropyl on the microfiber cloth, press it on the leftover residue, and let it soak for thirty seconds to break the glue down. The alcohol goes on the cloth, never straight on the laptop, and the soak is what does the work: pressing harder at this stage only smears softened glue into a wider film.
- Rub in small circles Wipe the softened residue away in gentle circles. Refresh the cloth and repeat on any patch that resists rather than pressing harder. Work from the outside of the patch inward so you are not dragging glue onto clean shell, and turn to a fresh face of the cloth each pass instead of reusing a loaded one.
- Lift stubborn glue with tape If a gummy film remains, press packing tape onto it and pull off fast. Repeat until the tape lifts clean, then give it one more alcohol pass. Duct tape works just as well. Press it down with your thumb so it keys right into the film, then rip it back in one quick pull rather than peeling it slowly.
- Dry buff to finish Wipe the whole area with the dry side of the cloth so no streaks or haze are left, and let it air a minute before you reopen the lid. Check it under a light held at an angle, because a faint haze only shows up in a reflection and not straight on.
Specs and pricing
Clean-peel sticker specs and live pricing
Die-cut stickers come in 16 sizes from 2 x 2 to 11 x 11 inches on six stocks, including White Vinyl Repositionable, from $93.37 for 25 with 5 business days of standard production. The live specs and price per unit below come straight from the configurator.
| Quantity | Price Per Unit | Total |
|---|---|---|
| 25 | $3.73 | $93.37 |
| 50 | $1.91 | $95.56 |
| 100 | 100.0¢ | $99.95 |
| 200 | 56.3¢ | $112.59 |
| 300 | 41.4¢ | $124.13 |
| 400 | 33.9¢ | $135.65 |
| 500 | 29.2¢ | $146.10 |
| 600 | 26.4¢ | $158.17 |
Print it
Stickers that peel clean from 4OVER4
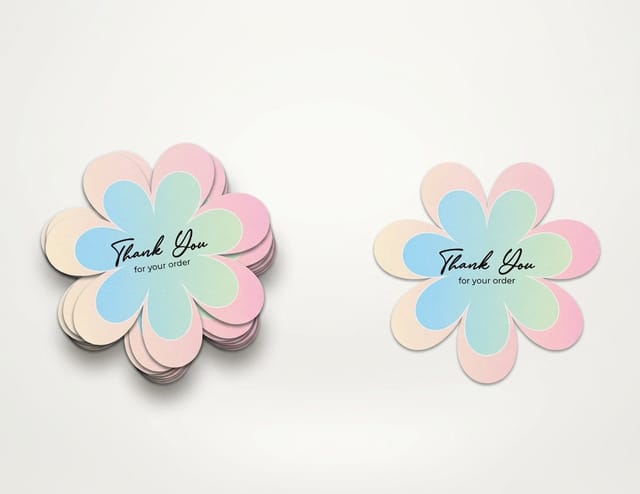
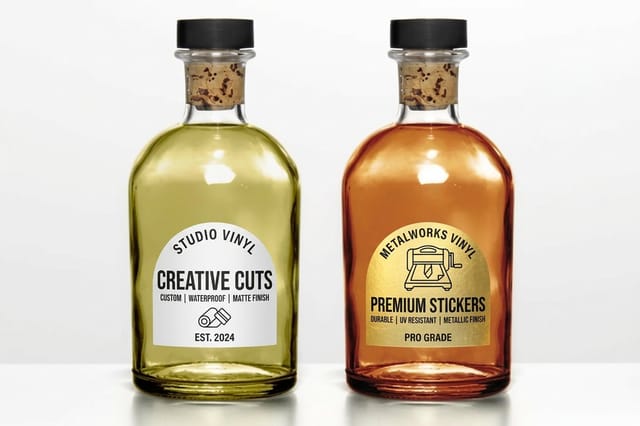
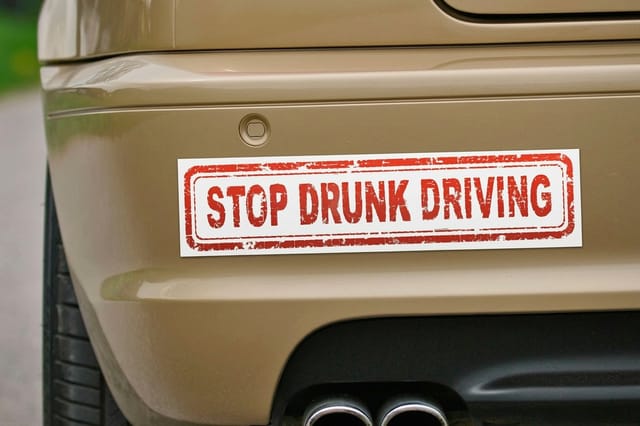
Die-cut stickers follow your artwork's outline, vinyl stickers start at $25 for 25 in rectangles and squares from 2 x 3.5 inches, and bumper stickers print on White Vinyl Permanent with a UV coating from $38.44.
See it in use
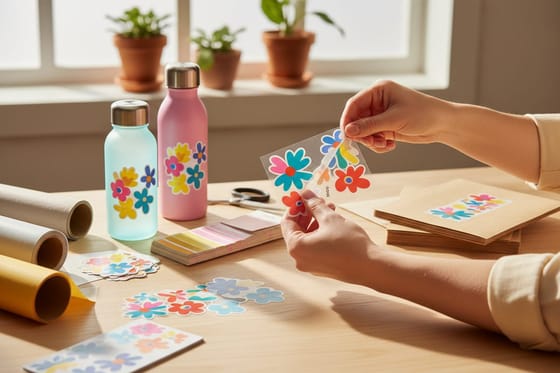
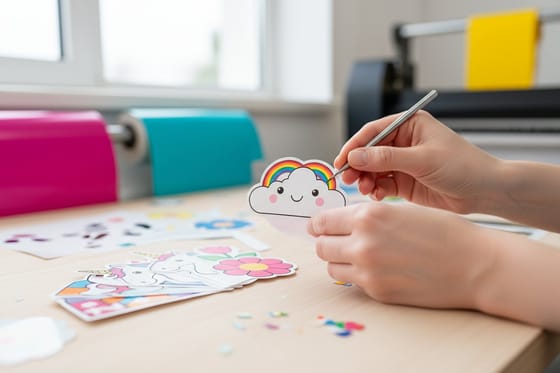
Customer stickers, cut and printed here

Explore more
Where to go next

By the numbers
Stickers across 60+ paper and vinyl stocks
Common Questions
Common questions about laptop sticker residue
Is it okay to peel the stickers off my laptop?
Yes, the lid is built to take it. Residue sits on the hard outer shell rather than soaking into it, so nothing about peeling harms the machine as long as you are gentle. What causes damage is the method, not the act: a fingernail dug under a cold edge, a blade, or a solvent that attacks the finish. Warm the sticker first, lift a corner with a plastic card, and pull back low and slow. Work only on the closed outer lid, never near a port, vent or the screen.
How do I remove a manufacturer sticker from a laptop?
The small processor and brand labels come off the same way as any other sticker, but they are often thin foil or paper that shreds instead of peeling. Warm the label with a hair dryer on low for twenty to thirty seconds, then lift an edge with a plastic card. If the face tears away and leaves the glue behind, press packing tape onto the patch and pull it off fast, repeating until the tape lifts clean. Finish with seventy percent isopropyl on a microfiber cloth and a dry buff.
Can I remove sticker residue without heat?
Yes, though it takes longer. Put seventy percent isopropyl alcohol on a microfiber cloth, press it flat on the residue and let it soak for about thirty seconds, then wipe in small circles. Packing or duct tape handles anything gummy that survives the alcohol, and it uses no liquid at all. Heat just makes both steps faster by softening glue that has cured on a warm lid, so skipping it means repeating the soak a few more times rather than losing the option.
Is removing the sticker different from removing the residue?
They are two jobs and each wants its own method. Getting the sticker itself off is a peeling job: warm it, get under a corner, and pull it back slowly and flat so the vinyl carries its own glue away with it. Clearing the leftover residue is a dissolving job: seventy percent isopropyl on a cloth, thirty seconds of soak, then gentle circles, with packing tape for any gummy film that survives. Rushing the first job is what creates the second one, which is why the steps above start with heat rather than with a solvent.
Does rubbing alcohol damage a laptop?
Seventy percent isopropyl alcohol is safe on the painted or aluminum outer shell of almost every laptop, which is why cleaning guides recommend it for grime and residue. Seventy percent is the number to look for because the water in it keeps the alcohol on the surface long enough to break the adhesive down instead of flashing off first. The rule is to apply it to a cloth and not pour it on the machine, keep it away from the keyboard, ports, vents, and screen, and let the surface dry before you open the lid. Work on the closed outer lid only and you will not risk anything electronic.
How do I remove sticker residue without alcohol?
Reach for heat and tape first. Warm the residue with a hair dryer on low, then press strong packing or duct tape onto the gummy film and pull it off fast, repeating until the tape comes away clean. This costs nothing, uses no liquid at all, and clears most residue on its own. A tiny dab of cooking oil or a citrus based adhesive remover on a cloth also loosens glue, though you should wipe any oily residue off afterward with a barely damp cloth so nothing is left behind. Whatever you use, spot test a hidden corner of the lid first and keep every liquid off the keyboard side.
Can I use a hair dryer to remove sticker residue?
Yes, and it is the single most useful step. Old adhesive is far easier to lift when it is warm, so hold the dryer on a low setting about six inches from the spot for twenty to thirty seconds until the glue turns tacky. Then peel or wipe while it is still warm. When the glue starts to go stringy rather than hard, it has had enough heat and you can stop. Keep the heat moderate and moving so you never overheat one area of the shell.
How do I get residue off a matte or brushed aluminum lid?
Matte plastic and brushed metal both scratch more easily than a glossy coat, so stay gentle. Warm the glue, lift what you can with a plastic card rather than a fingernail, and use isopropyl on a soft microfiber cloth wiping along the grain on brushed metal. Skip any abrasive pad or powder. Test a hidden corner first if you are using an adhesive remover so you can confirm it will not dull the finish.
Will Goo Gone or citrus remover hurt my laptop finish?
Citrus and solvent based removers work well on adhesive but some can soften or discolor certain plastic coatings, so treat them as a last resort. Apply a small amount to the cloth, test an out of sight spot, work quickly, and wipe the area dry immediately so the remover never sits on the shell. If a light warm-and-alcohol pass clears the residue, there is no reason to reach for anything stronger.
How do I keep the next sticker from leaving residue?
The mess almost always comes from cheap adhesive that cures hard and tears apart when removed. Quality die-cut and vinyl stickers use a pressure sensitive adhesive engineered to hold firmly yet release cleanly, so they lift off in one piece even months later. Ordering laptop stickers printed on proper vinyl stock is the difference between a clean peel and an afternoon with a hair dryer.
What sizes and finishes do 4OVER4 stickers come in, and how fast do they ship?
Custom stickers at 4OVER4.COM print on durable vinyl in die-cut, kiss-cut, and standard shapes, in sizes from small logo dots up to large laptop-lid pieces, with gloss, matte, and clear finishes. You set the size, shape, quantity, and finish in the configurator and the price updates live, with more pieces lowering the unit cost. Standard production is quick and same-day shipping is available on many runs, so a fresh set of clean-peel stickers arrives fast.
Get Started
Skip the scrubbing next time
Print laptop stickers on real vinyl with clean-release adhesive at 4OVER4.COM. Set the size, shape, and finish and watch your price update live.
Legal Disclaimer
Gold Standard guarantees apply to all standard orders placed through 4over4.com. Price match requires verifiable proof of a competitor's published price for an equivalent product with matching specifications and turnaround time. Satisfaction guarantee covers manufacturing defects and print quality issues. Contact support with order number and documentation. On-time delivery rate based on tracked orders 1999 to 2026. Individual results may vary based on shipping carrier performance.
