How to Make a Trifold Brochure in Google Docs, Step by Step, and Print It Professionally

Nadia Petrov
Nadia Petrov Customer Education Writer at 4OVER4.COM

Google Docs can build a clean tri-fold brochure for free, and it is genuinely useful for a fast draft. Here is how to set it up step by step, plus the print limits to fix before you order so the finished piece looks professional, not homemade.

To make a tri-fold brochure in Google Docs, set the page to Landscape, use narrow margins, and split the content into three columns across two pages for the outside and inside. It is great for drafting text and structure, but Google Docs cannot set true bleed or CMYK color, so before printing, export a PDF and fix those in a print tool, or upload to a printer who handles it. Then order professional brochures for a crisp, folded result.

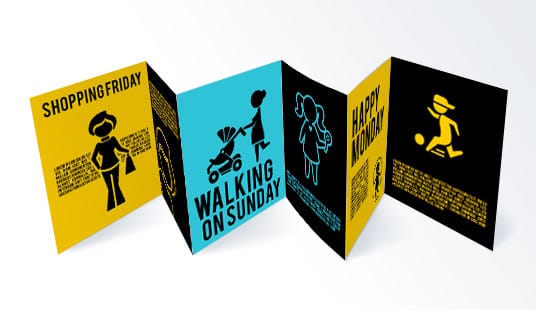
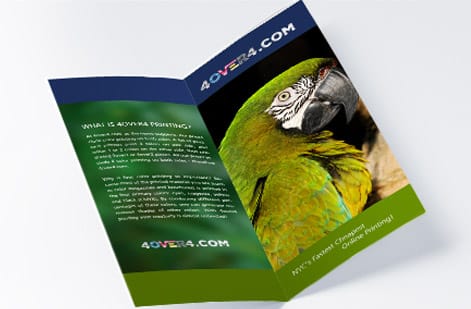
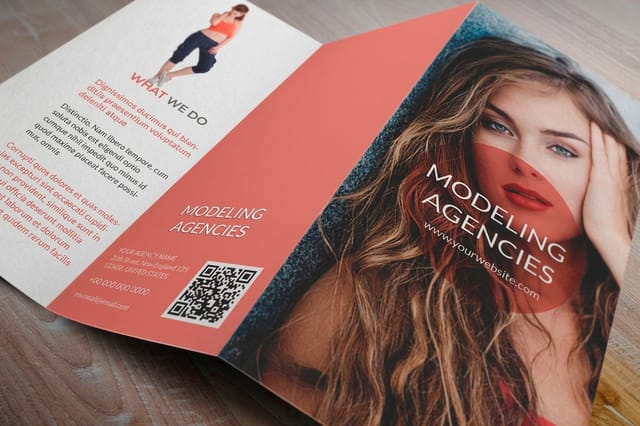
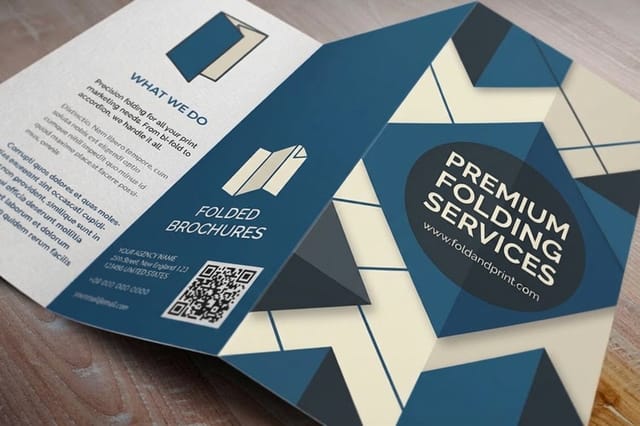
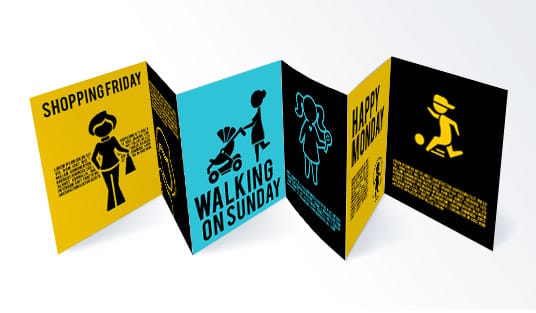
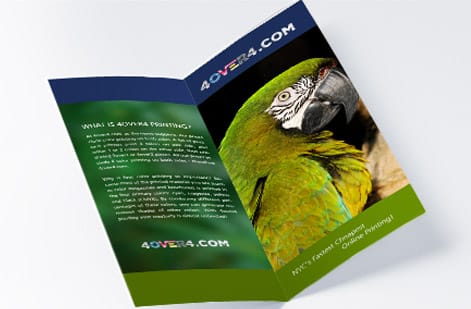
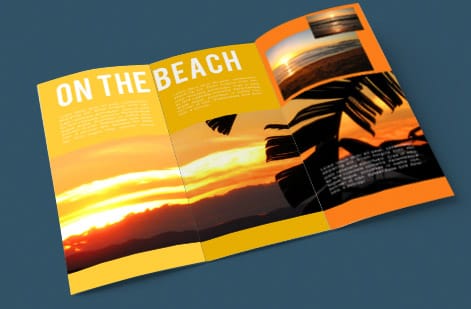
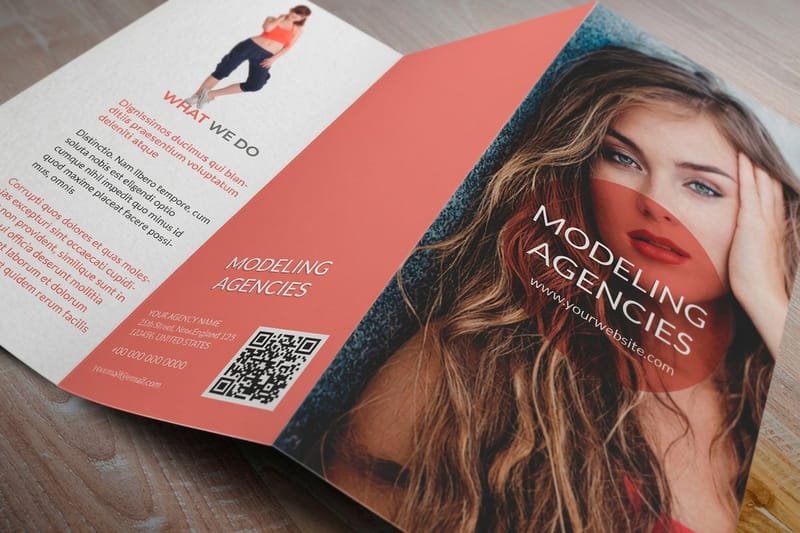
A tri-fold brochure printed professionally by 4OVER4 from a Google Docs layout

Start here

Making a brochure in Google Docs, in one paragraph

Google Docs is a fine place to draft a tri-fold brochure and a poor place to finish one for commercial print. Set the page to Landscape with narrow margins, build three columns across two pages for the outside and inside panels, and write your content into them. Where it falls short is print production: no true bleed, RGB color instead of CMYK, and limited control over image resolution. So export a PDF, correct those limits in a print tool or let your printer handle them, and order professional brochures for a crisp fold. The panel map below shows how a tri-fold really divides.

Tri-Fold Brochure Setup Landscape, three columns, panels in fold order Outside (page 1) Inward flap ~3.62 in Back 3.69 in Front cover 3.69 in Inside (page 2) Panel 1 Panel 2 Panel 3

What you can and cannot do in Google Docs

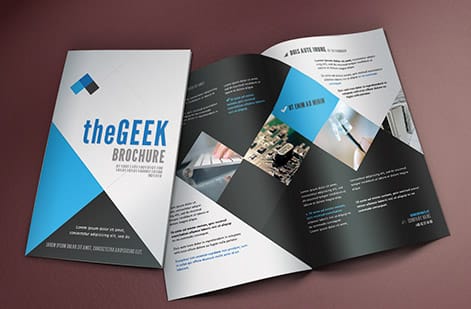
A brochure draft laid out in a document editor

Google Docs is genuinely useful for the early stage of a brochure. You can structure your message, write and edit copy live with teammates, drop in images, and rough out a three-column tri-fold, all for free in a browser. For a quick internal handout or a first draft you want feedback on, that is often enough.

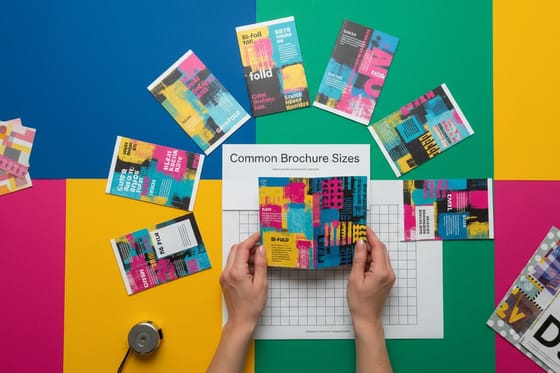
What it cannot do is commercial print production. There is no true bleed setting, so full-bleed backgrounds are a workaround at best. It works in RGB, not the CMYK that presses use, so colors can shift. And it gives you little control over image resolution or precise fold placement. None of that makes Docs useless; it just means it is a drafting tool. When the design is ready, our free online design tool or a proper layout app takes it the rest of the way, and you can compare formats first in our brochure sizes and fold options guide.

Set up your brochure document

Page setup for a landscape tri-fold brochure

Start with the page. Open File, then Page setup, and switch the orientation to Landscape. Set the paper size to Letter (8.5 by 11 inches) for a standard tri-fold, and pull all four margins in to about 0.25 inches so you have room for three usable columns. This gives you the wide canvas a tri-fold needs.

You will use two pages: page one is the outside of the brochure (back panel, front cover, and the panel that folds in), and page two is the inside (the three interior panels revealed when it opens). Keep both pages set up identically. If a tri-fold is not the right shape for your content, the same setup logic applies to bi-folds and other formats covered in our how to fold a brochure guide.

Build a tri-fold layout step by step

A three-column tri-fold layout with fold lines marked

With the page in Landscape, create the three panels. Use Format, then Columns and choose three columns, then add a little space between columns so text does not run into the folds. Each column becomes a panel. To jump cleanly from one panel to the next, insert a column break (Insert, then Break, then Column break) rather than pressing Enter until the text moves.

Mind the fold order, because it is not intuitive. On the outside page, the rightmost column is the front cover, the middle is the back, and the left column is the flap that folds inward first. On the inside page, the three columns read left to right as the brochure opens. Sketch it on paper once and it clicks. A helpful detail: the inward-folding panel should be a hair narrower in a real print file, which is exactly the kind of thing a proper print setup handles for you.

Add text, images, and columns

Text and images placed into brochure panels

Now fill the panels. Lead the front cover with a strong headline and a single clean image so the brochure invites a pick-up. Inside, keep each panel focused on one idea, use short paragraphs and clear subheads, and let the columns guide the reader. Keep your fonts and colors consistent so the piece feels designed rather than assembled.

For images, insert the highest-resolution files you have and avoid stretching them to fill space, since Docs will not warn you when an image is too low-resolution to print sharply. Keep important text and logos away from the fold lines so nothing lands awkwardly on a crease. This is the point where a standard brochure or a folded brochure layout starts to look real, and where the limits of Docs start to show.

Where Google Docs falls short for print

A comparison of a screen file versus a print-ready brochure file

Here is the honest part. A commercial press needs three things Docs does not give you cleanly: bleed (art extending 0.125 inches past the trim so full-color panels have no white slivers), CMYK color (so what prints matches what you intend), and reliable image resolution at 300 DPI. Docs has no bleed setting, exports in RGB, and does not flag low-resolution images.

That does not mean your Docs draft is wasted; it means it needs one more step before press. You can export a PDF and correct color and bleed in a print-capable tool, rebuild the final in our free online designer, or simply upload your file to a printer who prepares it. Our print-ready files guide and bleed and trim guide explain exactly what to fix.

Export a print-ready PDF

Exporting a brochure to PDF for printing

When the layout is final, export it: File, then Download, then PDF Document. That gives you a fixed version of your design that will not reflow on someone else's screen. If your brochure has full-bleed color, extend those backgrounds slightly and plan to trim, or hand the file to your printer to add proper bleed and convert color.

Before you send it, do a quick pre-flight: read every line for typos, confirm images look sharp at full size, check that nothing important sits on a fold, and make sure the panels are in the right order. If you want the safest path to a professional result, our file-type guide explains why a flattened PDF is the format presses prefer, and how to hand off your Docs export cleanly.

Order professional brochures

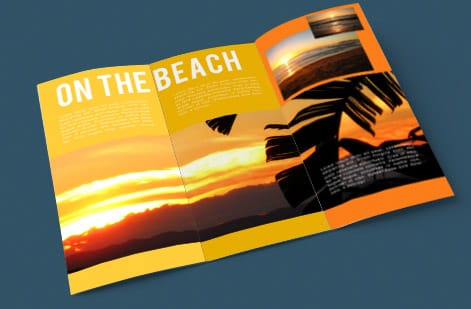
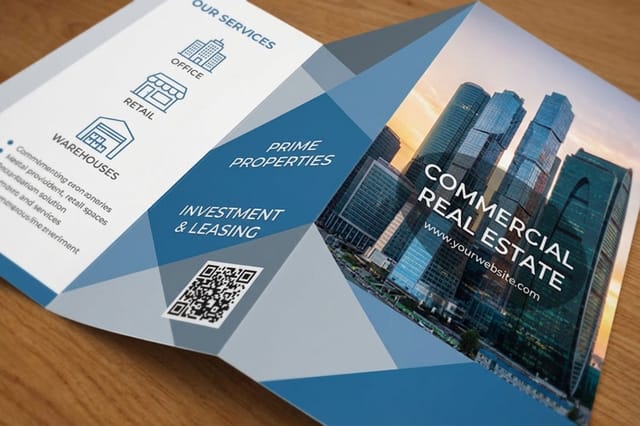
Finished professional brochures printed in-house by 4OVER4

A brochure lives or dies on the finish, and this is where professional printing pulls ahead of a desktop printer. Real brochure stock, an accurate fold, and true CMYK color make the difference between a piece that feels like a company invested in it and one that feels improvised. A run of standard brochures at 4OVER4 starts around $57.11, with the per-unit price dropping as the quantity climbs.

Pick your size and fold, choose a stock and finish, and upload your file, or rebuild it in the free designer if the Docs export needs bleed and color fixed. The live specs and pricing panel below shows the exact options, so you can turn a free Google Docs draft into a brochure that actually looks the part. Explore more formats in our brochure printing category.

Wally drafts in Docs, then fixes it for the press

Google Docs makes the draft, print makes it look the part

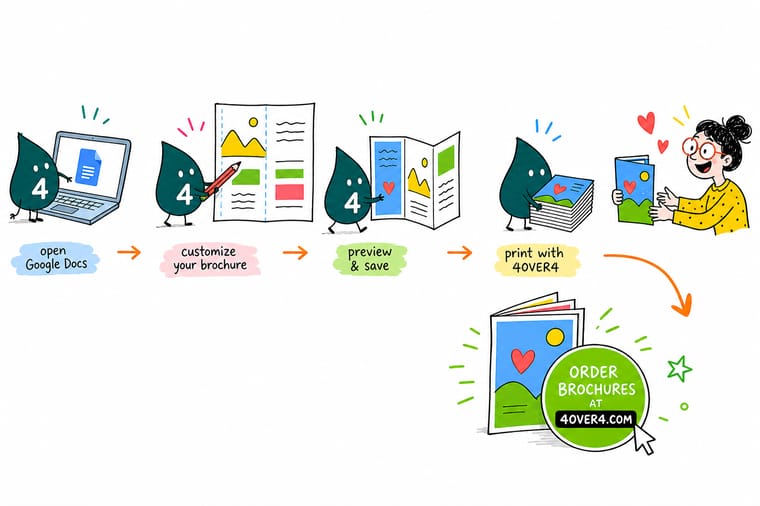
Wally, the 4OVER4 mascot holding a 4, folding a tri-fold brochure and fixing its bleed and CMYK for print

Wally is happy to rough out a tri-fold in Google Docs: Landscape page, three columns, panels in fold order. But he knows Docs has no bleed and prints in RGB, so before it goes to press he adds 0.125 inches of bleed, converts color to CMYK, and exports a flattened PDF. Then 4OVER4 prints it on real brochure stock with an accurate fold.

Print your brochure →

Quick reference

Tri-fold setup and print checklist

Use these settings in Google Docs, then fix the print items before you order so the finished brochure looks professional.

SettingIn Google DocsFor professional print
OrientationLandscapeLandscape, at the product trim size.
Paper sizeLetter 8.5 x 11 in8.5 x 11 in tri-fold, or your chosen brochure size.
PanelsThree columns, two pagesInward-fold panel about 1/16 in narrower than the others.
MarginsAbout 0.25 in all sides0.125 in safe margin; keep text off the folds.
BleedNot availableAdd 0.125 in past every edge for full-bleed art.
ColorRGB onlyConvert to CMYK so color prints true.
ExportDownload as PDFFlattened, press-ready PDF with fonts embedded.

Step by step

Make a tri-fold brochure in Google Docs in 6 steps

  1. Step 1: Set the page to Landscape Open File, then Page setup, switch to Landscape, and choose Letter size. A trifold reads across the wide edge, so a Portrait page fights you from the first line. Screenshot for this step: the Page setup dialog with Landscape selected and Letter showing in the Paper size list.
  2. Step 2: Pull all four margins in to 0.25 inches In the same Page setup dialog set top, bottom, left and right margins to about 0.25 inches, then press OK. The Docs default of 1 inch eats roughly a third of every panel, and a 0.25 inch margin still keeps type safely inside the trim. Screenshot for this step: the four margin fields, each reading 0.25.
  3. Step 3: Create three columns with real spacing Use Format, then Columns, choose three, then open More options and set the spacing between columns so text stays clear of the fold lines. That gap is your fold safety zone: whatever sits in it can land on a crease. Screenshot for this step: the Column options dialog with three columns and the spacing field filled in.
  4. Step 4: Move between panels with a column break Use Insert, then Break, then Column break to jump to the next panel. Never push copy across with returns: the moment you edit a sentence, everything reflows into the wrong panel and the fold order collapses. Screenshot for this step: the Insert then Break menu with Column break highlighted.
  5. Step 5: Lay out page one, the outside Page one holds the outside panels (back, front cover, inward flap). Reading left to right: the flap that tucks inside, then the back panel with contact details or a mailing area, then the front cover on the right. Place the front cover on the right of page one so it lands face up once the sheet is folded. Screenshot for this step: page one with the three panels labeled tuck flap, back, front cover.
  6. Step 6: Lay out page two, the inside Page two holds the three inside panels, and they open as one wide spread, so treat them as a single canvas rather than three posters. Left panel sets up the offer, middle carries the detail, right closes with the call to action. Screenshot for this step: page two with the three inside panels labeled left, middle, right.
  7. Step 7: Add high-resolution images Use Insert, then Image, then Upload from computer. Insert the sharpest images you have, keep them off the folds, and do not stretch them to fill space, because Docs will happily blow a small file up to full width and say nothing. If an image looks soft at 100 percent on screen, it will look worse on paper. Screenshot for this step: an image selected in the doc with its sizing handles and the Image options panel open.
  8. Step 8: Export a PDF and fix it for print Use File, then Download, then PDF Document (.pdf). Then add bleed and convert to CMYK in a print tool, or upload to 4OVER4 to print professionally, since Docs has no bleed setting and works in RGB. If any color runs to the edge of a panel, that edge needs bleed added before press or it prints with a white sliver. Screenshot for this step: the File then Download submenu with PDF Document selected.

Specs and pricing

Brochure specs and live pricing

Once your layout is drafted, the print decisions come down to size, fold, and stock. Here are the live specs and price-per-unit for brochures at 4OVER4.COM, straight from the configurator.

Printing Specifications & Options
Paper Type
100# Gloss Text100# Silk/Matte Text70# Uncoated Text14pt Gloss Cover
Ink Color
4/0 : 4 Color Front; Blank Back4/4 : 4 Color Both Sides
Finish
Standard FinishHigh Gloss UV Coating
Folding
No FoldingHalf Fold
Perforation
No PerfingYes, Perfing
Bundling
noyes
Proof Options
Straight To ProductionFree Online ProofNext Day Hardcopy Proof
Standard Brochures Pricing
Starting from $57.11
QuantityPrice Per UnitTotal
50$1.14$57.11
10082.4¢$82.38
20053.3¢$106.55
30041.0¢$123.02
40034.9¢$139.49
50031.2¢$155.97
60026.7¢$160.36
70023.5¢$164.75
View and customize

Print it

Turn your draft into a real brochure

Standard Brochures
Standard Brochures
From $57.11
150 ordered
View and customize
Folded Brochures
Folded Brochures
From $57.11
20 ordered
View and customize
Commercial Real Estate Brochures
From $57.11
12 ordered
View and customize

See it in use

Real brochures, printed in-house

Print showcase
4OVER4.COM Brochure Printing Showcase: real customer work printed in-house at 4OVER4's Queens, NY facility.
4OVER4.COM Brochure Printing Showcase customer work 14OVER4.COM Brochure Printing Showcase customer work 24OVER4.COM Brochure Printing Showcase customer work 34OVER4.COM Brochure Printing Showcase customer work 44OVER4.COM Brochure Printing Showcase customer work 54OVER4.COM Brochure Printing Showcase customer work 64OVER4.COM Brochure Printing Showcase customer work 74OVER4.COM Brochure Printing Showcase customer work 8

By the numbers

Custom printing you can count on at 4OVER4

60+ Paper stocks
1,000+ Products
99.8% On-time delivery
150,000+ Businesses served

Common Questions

Common questions about making a brochure in Google Docs

How do I make a trifold brochure in Google Docs?

Open a blank Google Doc, go to File then Page setup, set the orientation to Landscape with Letter paper, and pull all four margins in to about 0.25 inches. Go to Format then Columns, choose three, and open More options to add spacing between them so text stays clear of the fold lines. Build two pages: page one is the outside, with the tuck flap on the left, the back panel in the middle and the front cover on the right, and page two is the three inside panels, read left to right as one spread. Move between panels with Insert then Break then Column break rather than pressing return, insert images at the highest resolution you have and keep them off the folds, then use File then Download then PDF Document. Docs has no bleed and works in RGB, so add bleed and convert to CMYK in a print tool, or upload the PDF to 4OVER4 and have it printed and folded for you.

Is there a trifold brochure template for Google Docs?

There is no trifold template in the Google Docs gallery, so the fastest route is to build the grid once and reuse it: Landscape, Letter, 0.25 inch margins, three columns with spacing, two pages, and each panel labeled in fold order as back, front cover, tuck flap, inside left, inside middle, inside right. Save that empty shell, then use File then Make a copy every time you start a new brochure, or share it with the team so the setup never has to be rebuilt. Keep the labels while you write, because the panel that tucks inside is trimmed slightly narrower on the real fold and you want logos and headlines away from those fold lines.

How do I make a brochure on Google Docs?

Open a new document, go to File then Page setup, and switch the orientation to Landscape with Letter paper and margins around 0.25 inches. Use Format then Columns to create three columns for a tri-fold, and add two pages, one for the outside panels and one for the inside. Write your content into the columns using column breaks to move between panels, keeping the front cover on the right of the first page. Google Docs is excellent for this drafting stage, though you will need to add bleed and convert to CMYK before commercial printing.

Can Google Docs make a print-ready brochure?

Google Docs can make a solid brochure draft, but not a fully print-ready file on its own. It has no true bleed setting, works in RGB rather than the CMYK color presses use, and does not flag low-resolution images. That is fine for a quick internal handout, but for a professional printed brochure you should export a PDF and then add bleed and convert color in a print-capable tool, rebuild the final in a designer that supports print, or upload your file to a printer who prepares it before press.

What does professional brochure printing cost and how are prices set?

Price scales with quantity, size, fold, paper stock, and finish. More brochures lower the unit price, while a larger size, a heavier stock, or a special finish adds to it. Standard brochures at 4OVER4 start around $57.11, and you set each option in the configurator so the total updates live as you adjust it. That lets you see exactly what a heavier stock, a gloss finish, or a bigger run does to the number before you commit, which is far more predictable than guessing at a desktop printer.

What sizes, stocks, and finishes are available for brochures?

You can print brochures in several standard sizes and fold styles, including tri-fold and other folds, on stocks that range from bright gloss text papers that make images pop to matte options that read more premium and reduce glare. Finishes such as gloss, matte, and coatings add durability and polish, especially for pieces that get handled often. The live specs panel on this page lists the exact sizes, folds, stocks, and finishes currently available so you can match the brochure to its purpose.

How long does it take to print and ship brochures?

Turnaround depends on the size, quantity, fold, and finish, and the configurator shows the available production and shipping speeds for your exact order before checkout. Because 4OVER4 prints in-house in Queens, New York, most standard jobs move quickly. To avoid delays, upload a flattened, CMYK, press-ready PDF with 0.125 inches of bleed and the panels in the correct fold order, so the file needs no fixes before it goes to press.

★ 4.810,000+ reviewsacross Google, Trustpilot, Facebook & 4OVER4.com
5Written guarantees
G7Certified printer
150K+Businesses served
25+Years printing

Get Started

Ready to turn your Google Docs draft into a real brochure?

Bring your layout to 4OVER4.COM and print it on real brochure stock with an accurate fold and true CMYK color. Rebuild it free in the online designer or upload your file, and watch your price update live.

Legal Disclaimer

Gold Standard guarantees apply to all standard orders placed through 4over4.com. Price match requires verifiable proof of a competitor's published price for an equivalent product with matching specifications and turnaround time. Satisfaction guarantee covers manufacturing defects and print quality issues. Contact support with order number and documentation. On-time delivery rate based on tracked orders 1999 to 2026. Individual results may vary based on shipping carrier performance.

FSC Certified Printer #C013635
G7 Certified Color Accuracy
25+ Years Since 1999
150,000+ Businesses Served