
How to Make an Image Less Pixelated Before You Print


Blurry, blocky images are a resolution problem, not a filter. Resampling up invents pixels, and no amount of sharpening puts back detail that was never captured.
An image looks pixelated when it is printed larger than the real detail it holds. Fix it by checking each image at 100 percent zoom, using art that is about 300 DPI at final size, replacing low-resolution photos instead of enlarging them, keeping logos and text as vectors, and saving in TIFF, PNG, or a vector PDF. Our free file check flags anything too soft before it prints.
Start here
Pixels per inch at final size
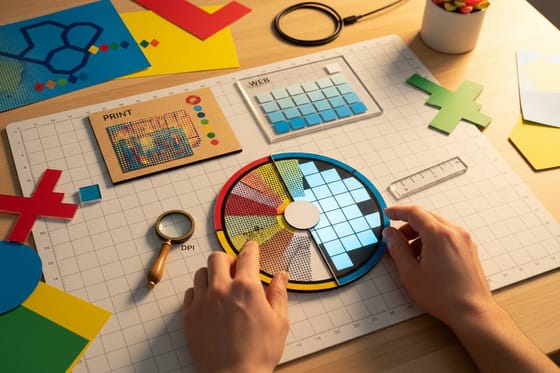
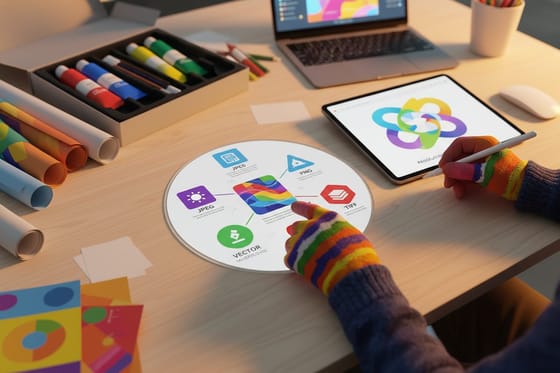
Pixelation is missing detail, so the cure is more real resolution, not a filter. Aim for 300 DPI at the final print size, check every image at 100 percent zoom, keep logos and text as vectors, and save from a clean file type. The diagram below shows why the same photo prints sharp at 300 DPI and blocky at 72.
What pixelation actually is

Every photo on your screen is a grid of tiny colored squares called pixels. Pixelation happens when that grid gets stretched larger than the number of pixels it actually contains. To fill the extra space, the software has to invent pixels, and the result is the blocky squares and jagged edges you recognize as a pixelated image.
The important thing to understand is that pixelation is missing information, not a filter you can toggle off. Once an image is captured at a certain size, that is all the real detail it has. Enlarging it does not create more detail, it just spreads the existing detail thinner. That is why no print setting can rescue a truly low-resolution photo.
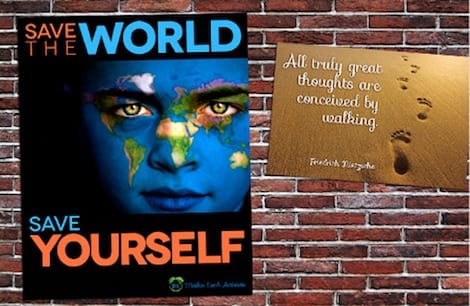
Print is less forgiving than a screen here. A monitor packs pixels densely and can hide softness, but a press reproduces fine detail at high resolution, so flaws that were invisible on screen show up on a poster or canvas. The fix is always about having enough real pixels before you print.
Does pixelation happen in vector images?

No, and this is the most useful exception to know. Vector images are not made of pixels at all. They are built from mathematical paths, so the software redraws them perfectly at any size. Blow a vector logo up to billboard scale and every edge stays razor sharp, because there is no fixed grid to stretch.
That is exactly why logos, icons, and text should live as vectors whenever possible. A vector mark scales from a sticker to a wall poster without losing a hair of crispness, while a low-resolution screenshot of that same logo would fall apart. If you have your logo only as a small raster file, ask for the vector version before you build a large piece.
The catch is that a photograph cannot be a true vector, because it is captured as pixels. So a strong print file usually mixes the two: vector for type and marks, high-resolution raster for photos. Our guide on logo design best practices covers building marks in vector from the start.
What to look out for: resolution, color, image type, file type
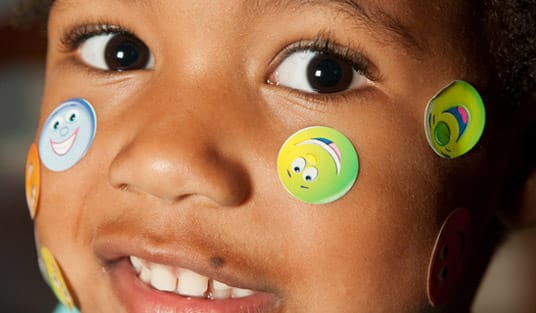
Resolution is the big one. Presses reproduce detail at about 300 DPI, and they need that resolution at the size the image actually prints. Check every image at 100 percent zoom in your layout, because a photo that looks fine small can be far too low-resolution once it fills a panel.
Color mode will not sharpen an image, but converting to CMYK before you export keeps color from becoming a second surprise on press. Image type matters too: keep logos and text as vectors, and reserve raster for photos where you have the resolution to back it up.
File type is the quiet culprit. A heavily compressed JPG bakes in blocky artifacts around edges and in flat areas, and those print just as ugly as true pixelation. Save from a lossless format like TIFF or PNG, or a vector PDF, so you are not printing compression damage. The reference table below sums up all four checks, and our guide on image resolution for printing goes deeper on the first.
Interpolation: a rescue, not a fix
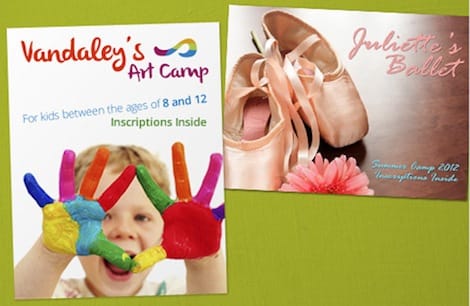
Interpolation is the smart upscaling built into image editors and a growing set of AI tools. When you enlarge an image, interpolation decides what color the invented pixels should be by looking at their neighbors, which can soften jagged edges and make a slightly low-resolution image acceptable for print.
But be clear about what it does and does not do. Interpolation guesses the detail that was never captured. It can smooth an image, and modern AI upscalers do this impressively, yet pushed too far it produces a soft, plasticky look with invented texture. It is a rescue for an image you genuinely cannot re-source, not a substitute for enough real resolution.
So treat it as a last resort. Try to replace the image with a higher-resolution original first. If you must upscale, do it in modest steps, judge the result at 100 percent zoom, and remember that our online design tool and free file check will still flag an image that is too soft to print well.
Order crisp prints with confidence

Once your images pass the 100 percent zoom test, you are ready to print without worrying about soft spots. The reliable recipe is simple: 300 DPI at final size, CMYK color, vectors for logos and text, and a clean file type. Do that and a poster, canvas print, or sheet of stickers comes back exactly as sharp as your source.
Every order also runs through a free file check, so a second set of eyes catches a low-resolution image before the press does. That safety net means you can order confidently even if you are not sure a photo will hold up, because we will flag it first.
From there it is size, stock, finish, and quantity, all set in the configurator with the price updating live. Explore the full lineup in posters and wall art, where image quality matters most, and let the specs below guide your choices.
Wally trades blocky for crisp
More real pixels beats any upscaling trick
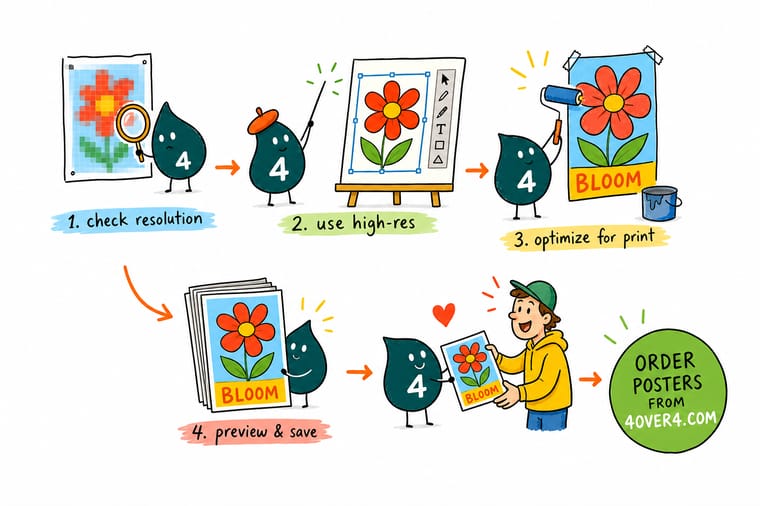
Wally checks every photo at full zoom and swaps a soft, blocky file for a sharp 300 DPI original before it ever hits the press. Keep logos as vectors, save in a clean file type, and let our free file check catch anything too soft. Then 4OVER4 prints your poster, canvas, or stickers exactly as crisp as your source.
Print crisp posters →Quick reference
Four checks that stop pixelation
Run every image through these before you export. Clear all four and most pixelation problems disappear.
| Check | Get it to | Why it matters |
|---|---|---|
| Resolution | 300 DPI at final size | This is the single biggest cause of pixelation. Check each image at the size it actually prints, not the size it was saved at. |
| Color mode | CMYK | RGB art can shift on press. Converting to CMYK will not sharpen an image, but it keeps color from being a second surprise. |
| Image type | Vector for logos and text | Raster photos have fixed pixels and can pixelate. Vectors scale cleanly, so keep marks and type as vectors whenever you can. |
| File type | TIFF, PNG, or PDF | Heavy JPG compression adds blocky artifacts. Save from a lossless or vector format so you are not printing compression damage. |
Step by step
Fix a pixelated image in 6 steps
- View the image at 100 percent zoom Zoom to actual size in your layout. If it looks soft or blocky there, it will print that way, so this is your fastest test.
- Check the resolution at the print size Confirm the image is about 300 DPI at the dimensions it appears on the page. If it is well under that, you need a larger source.
- Replace, do not enlarge Find a higher-resolution version of the same image rather than scaling the small one up. Original size at or above final size always wins.
- Rebuild logos and text as vectors Swap any low-resolution logo or screenshot for a vector version so those elements print crisp at any size.
- Save in a clean file type Export from TIFF, PNG, or a vector PDF instead of a heavily compressed JPG so you are not baking in compression artifacts.
- Let our free file check confirm it Upload your file and our free preflight flags low-resolution images before the press does, so nothing prints soft by surprise.
Specs and pricing
Poster specs and live pricing
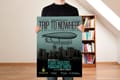
Once your images are sharp, size, stock and finish set the price. Posters run 50 for $108.75, which is $2.18 each.
| Quantity | Price Per Unit | Total |
|---|---|---|
| 50 | $2.18 | $108.75 |
| 100 | $1.64 | $163.67 |
| 200 | $1.01 | $202.11 |
| 300 | 80.2¢ | $240.55 |
| 400 | 69.7¢ | $278.99 |
| 500 | 63.5¢ | $317.44 |
| 600 | 55.8¢ | $335.02 |
| 700 | 50.4¢ | $352.59 |
Print it
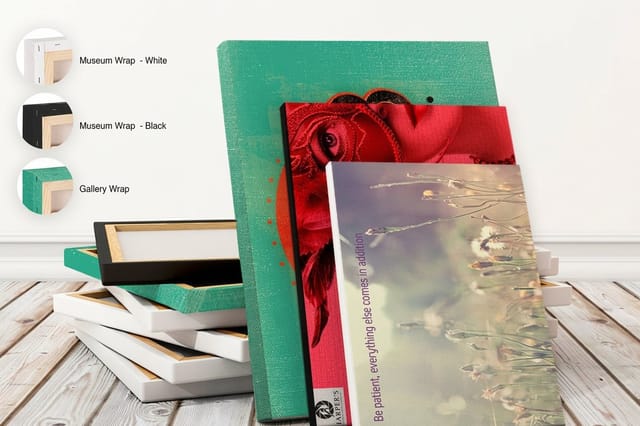
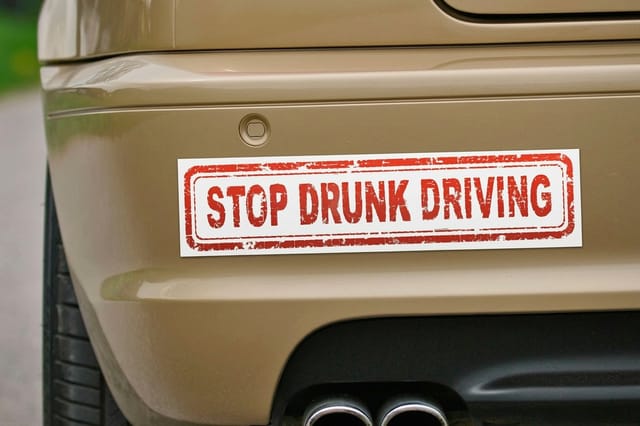
Print sharp posters, canvas, and stickers

See it in use
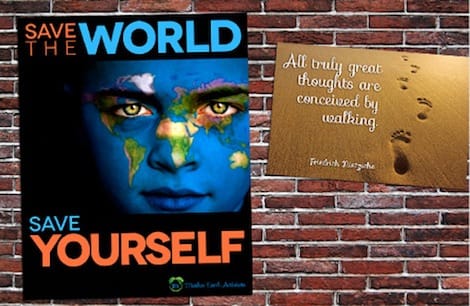
Real prints, produced in-house

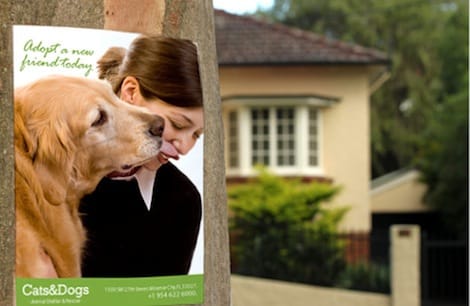
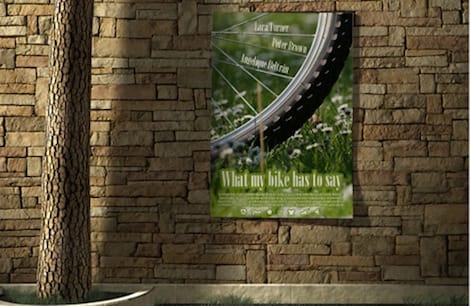

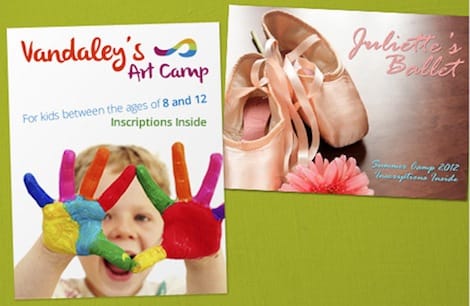

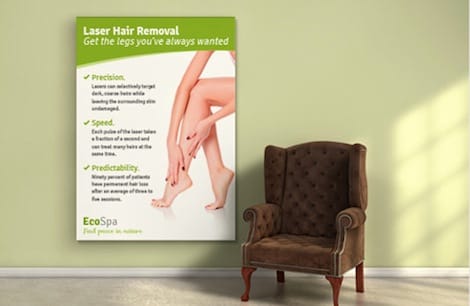
Explore more
Where to go next

By the numbers
The resolution target and the check that catches it
Common Questions
Common questions about pixelated images and print
How do I make a picture less pixelated for print?
Start by viewing the image at 100 percent zoom in your layout, which shows exactly how it will print. If it looks blocky, the cause is almost always too little resolution for the print size. The reliable fix is to replace the image with a higher-resolution version of the same shot rather than enlarging the small one, since scaling up only stretches the pixels you already have. Aim for about 300 DPI at the final size, keep logos and text as vectors, and save in a clean file type like TIFF, PNG, or a vector PDF instead of a heavily compressed JPG.
What causes an image to look pixelated?
Pixelation happens when an image is displayed or printed larger than the detail it actually contains. Every raster image is a grid of pixels, and when that grid is stretched past its native size, the software has to invent the missing pixels, producing visible blocky squares and jagged edges. Heavy JPG compression adds a second kind of damage, creating blocky artifacts around edges and in flat areas. Both look worse in print than on screen because a press reproduces fine detail that a monitor can hide.
Does pixelation happen in vector images?
No. Vector images are built from mathematical paths rather than a fixed grid of pixels, so they redraw perfectly at any size and never pixelate. That is why logos, icons, and text are best kept as vectors, and why a vector file scales from a business card to a billboard without losing an edge. The catch is that a photograph cannot be a true vector, so photos still need enough resolution. A good file often mixes the two: vector for type and marks, high-resolution raster for photos.
What should I look out for before printing an image?
Four things. Resolution is first: aim for about 300 DPI at the final print size and check each image at 100 percent zoom. Color mode is next: design in CMYK so color prints true. Image type matters: keep logos and text as vectors so they stay sharp. And file type counts: save from TIFF, PNG, or a vector PDF rather than a heavily compressed JPG so you are not printing compression artifacts. Clear those four and most pixelation problems disappear before the file ever reaches the press.
Can interpolation fix a pixelated image?
Interpolation, the smart upscaling built into image editors and some AI tools, can soften jagged edges and make a slightly low-resolution image acceptable, but it is a rescue rather than a real fix. It works by guessing the pixels that were never captured, so it can smooth an image without truly adding detail, and pushed too far it produces a soft, plasticky result. Treat it as a last resort for an image you cannot re-source, and always judge the result at 100 percent zoom before you commit to print.
What does it cost to print crisp images, and how are prices set?
Preparing a sharp file costs nothing beyond your time, and running it through our free file check before you order is included. Print price then scales with quantity, size, stock, and finish, and the total updates live in the configurator as you set each option. A larger poster or canvas costs more than a small print, and heavier stocks and special finishes add to it, but resolution itself does not change the price. Getting the resolution right simply makes sure the piece you pay for comes back crisp.
Get Started
Order a stretched canvas, made in 3 business days
Get your resolution right, bring the file to 4OVER4, and our free file check confirms it before the press does. Adjust size, stock, and finish and watch your price update live.
Legal Disclaimer
Gold Standard guarantees apply to all standard orders placed through 4over4.com. Price match requires verifiable proof of a competitor's published price for an equivalent product with matching specifications and turnaround time. Satisfaction guarantee covers manufacturing defects and print quality issues. Contact support with order number and documentation. On-time delivery rate based on tracked orders 1999 to 2026. Individual results may vary based on shipping carrier performance.
