What You Need to Know Before Making Banners
Learning how to make banners comes down to three things: picking the right material, sizing your design correctly, and setting up print-ready files. 4OVER4 has printed over 10 billion+ cards and print products for 150,000+ businesses, so we know what separates a banner that grabs attention from one that gets ignored. This guide walks you through every step - from choosing vinyl vs. fabric to file setup and finishing options.
Your Step-by-Step Banner Creation Guide
Banners are one of the most visible marketing tools you can invest in. They work at trade shows, storefronts, grand openings, and outdoor events. But a poorly designed banner? That's money wasted on something people walk right past.
This guide breaks down how to make banners that actually perform. You'll learn about material options, design best practices, file preparation, and display hardware. Whether you're building a retractable stand for a conference booth or hanging a vinyl banner across your storefront, every detail matters.
Need to pair your banner with other marketing materials? Check out 4OVER4's Design Templates to match your banner design across flyers, postcards, and more. You can even add a scannable code using our QR Code Generator to drive traffic from your banner to a landing page. And if you're exploring other custom print projects, our guide on Custom Magnets Faq is worth a read too.
Here's a look at some of the most popular banner display options 4OVER4 offers to get you started:
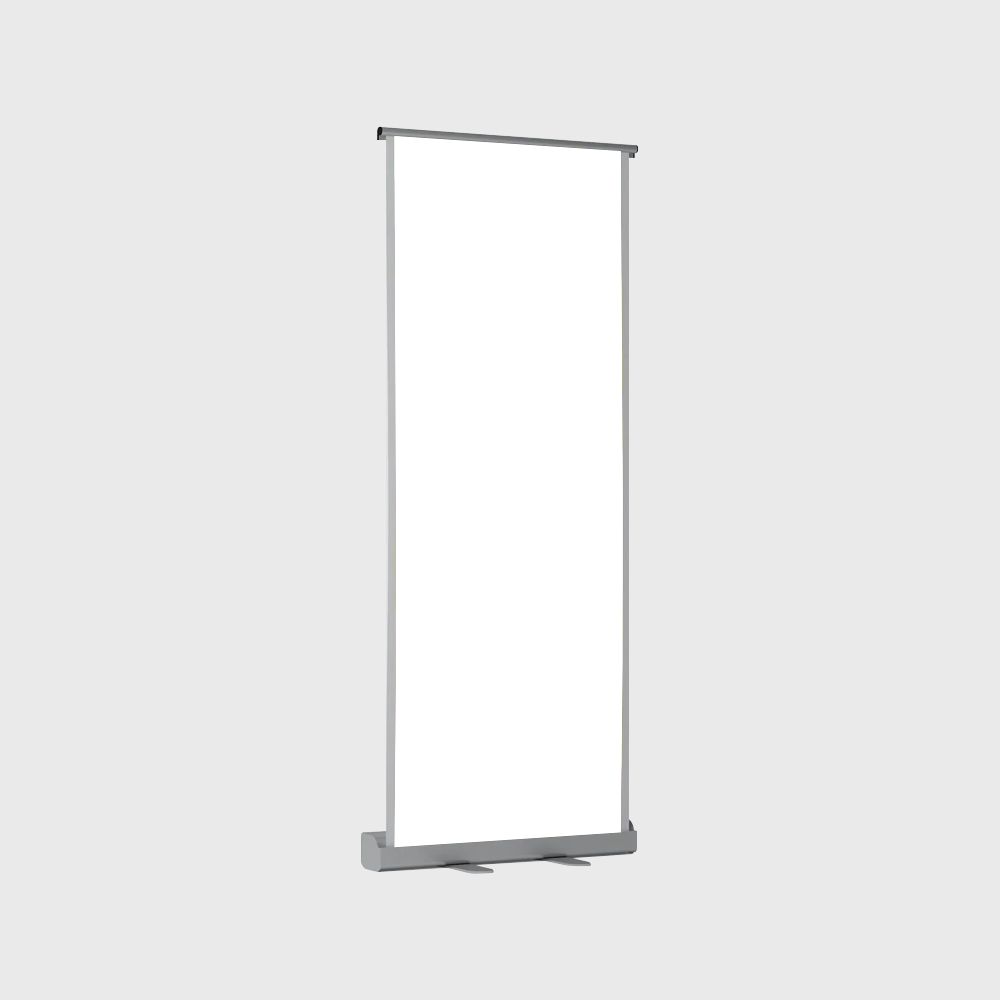
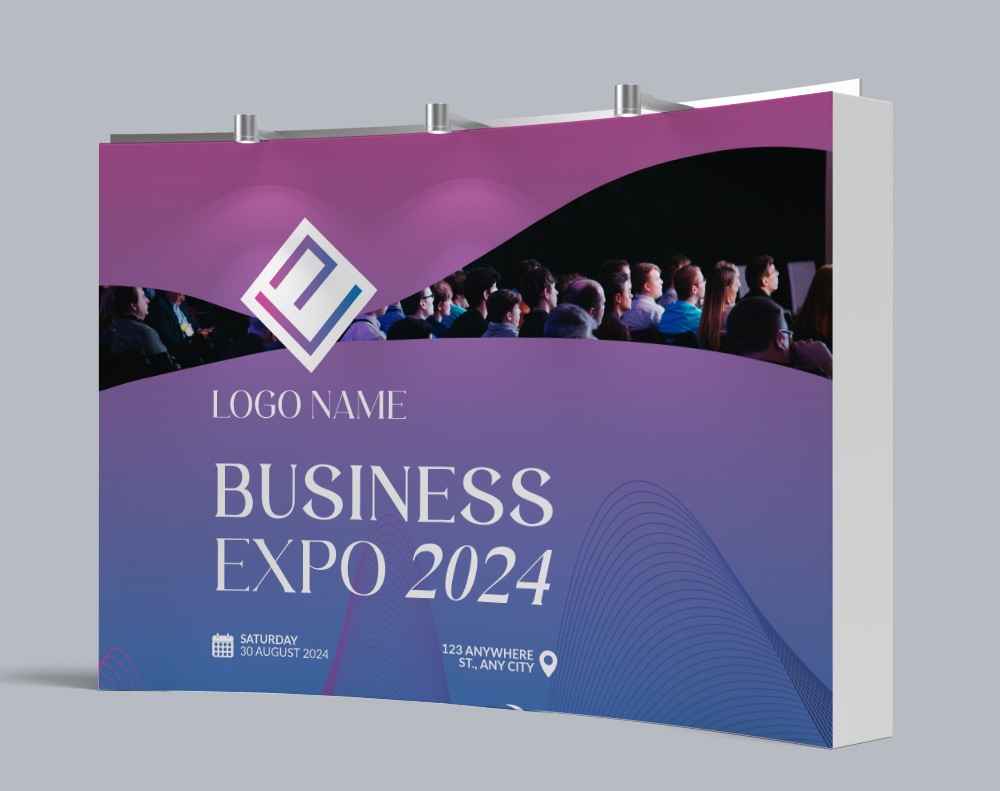
"Double Retractable Stands /5"
Paper Types
Banner Stand Type
Banner Design
Proof Options
"Fabric Tube Displays /5"
Paper Types
Number of Sides
Hardware
LED Lights
Proof Options
"Mini Retractable Banner Stands /5Paper Types10 mil Premium VinylProof OptionsStraight To ProductionFree Online Proof"
How to Design, Build, and Print Professional Banners
Step 1: Define Your Banner's Purpose and Placement
Before you open any design software, answer two questions. Where will this banner go? And what do you want people to do when they see it? These two answers dictate everything - material, size, design layout, and finishing.
Indoor banners at trade shows and retail spaces need different specs than outdoor banners facing wind and rain. A retractable banner stand in a conference hall can use lighter fabric. A banner stretched across a building facade needs heavy-duty vinyl with reinforced grommets.
Think about viewing distance too. A banner people see from 20 feet away needs large, bold text. One at a checkout counter can include finer details. Get this wrong and your message disappears. For related print projects that complement banner campaigns, check out our guide on How To Make Flyers.
Step 2: Choose the Right Banner Material
Material choice is where most beginners stumble. Here's what you need to know about the main options:
- Vinyl Banners - The workhorse of outdoor advertising. Durable, weather-resistant, and available in various weights (13 oz is standard). Great for storefronts, fences, and building wraps.
- Fabric Banners - Lightweight, wrinkle-resistant, and perfect for indoor displays. They look more polished at trade shows and retail environments. Colors pop with dye-sublimation printing.
- Mesh Banners - Perforated vinyl that lets wind pass through. Ideal for outdoor fences and scaffolding where wind load is a concern.
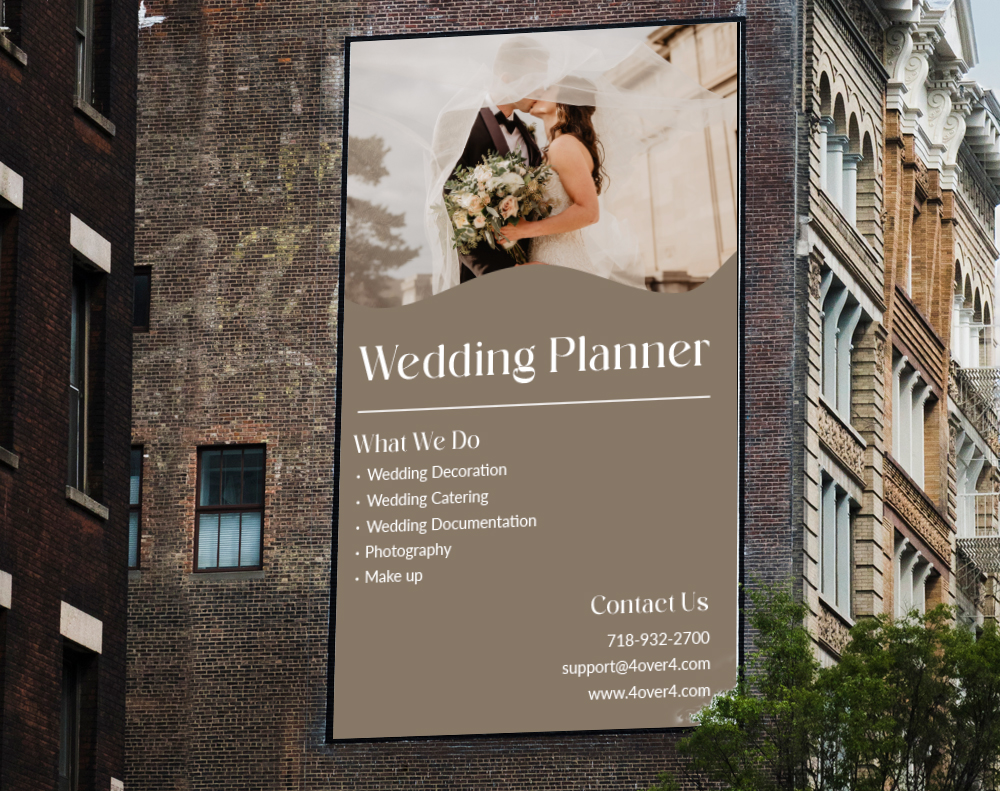
- Blockout Banners - Double-sided printing with an opaque layer in between so graphics don't bleed through. 4OVER4 offers 2 Sided Blockout Banners that work perfectly for hanging displays visible from both directions.
Each material has a different feel and function. Vinyl feels sturdy and rigid. Fabric drapes smoothly and looks premium. Pick based on your environment, not just your budget. For additional research on banner material durability and outdoor signage best practices, this resource from
provides helpful context.Step 3: Get Your Banner Dimensions Right
Standard banner sizes exist for a reason - they fit common display hardware and viewing scenarios. Here are the most popular:
- Retractable banner stands: 33" x 80" or 36" x 92" (vertical, eye-level at trade shows)
- Outdoor vinyl banners: 3' x 6', 4' x 8', or custom sizes up to 5' x 50'+
- Table banners: 6' or 8' wide (designed to drape over standard event tables)
- Pole banners: 18" x 36" or 24" x 48" (mounted on street light poles)
Custom sizes are always an option. But sticking to standard dimensions keeps costs down and makes hardware selection simpler. If you're creating complementary materials like branded envelopes for a mailing campaign alongside your banner push, our guide on How To Make Envelopes covers the process.
Step 4: Design Your Banner for Maximum Impact
Simplicity wins with banners. You have about 3-5 seconds to communicate your message. That's it. Here's how to make those seconds count:
Text hierarchy matters. Your headline should be readable from the farthest expected viewing distance. Use a font size of at least 1 inch tall for every 10 feet of viewing distance. So a banner viewed from 30 feet needs 3-inch-tall headline text at minimum.
Limit your color palette. Two to three colors max. High contrast between text and background is non-negotiable. Dark text on light backgrounds or white text on dark backgrounds. Skip the fancy gradients - they muddy readability from a distance.
Use high-resolution images. This is where banners fail most often. Your images need to be at least 150 DPI at full print size for vinyl banners and 300 DPI for fabric banners viewed up close. A photo that looks great on your laptop screen will look pixelated and blurry blown up to 4 feet wide.
Include one clear call to action. A phone number, website URL, or QR code. Not all three. Pick the one action you want most and make it prominent. For more design resources and inspiration across all print products, visit the Faq Hub.
"We ordered retractable banners for our real estate open houses. The colors were vivid, the text was crisp from across the room, and setup took about 30 seconds. Couldn't be happier."
- Marcus L., Real Estate Agent ★★★★★
Step 5: Prepare Your Print-Ready File
File preparation trips up even experienced designers. Follow these rules and your banner will print exactly as you designed it:
Color mode: Always design in CMYK, not RGB. RGB is for screens. CMYK is for print. If you submit an RGB file, your colors will shift - bright blues go dull, vivid reds turn muddy.
Bleed area: Add at least 0.25" of bleed on all sides. Bleed is the extra design area that extends past the trim line. It prevents white edges if the cut is slightly off. For larger banners, 0.5" bleed is safer.
Safe zone: Keep all important text and logos at least 0.5" inside the trim line. Grommets, hems, and pole pockets eat into your design area. Account for that in your layout.
File format: PDF is the gold standard. It preserves fonts, colors, and resolution. TIFF works too. Avoid JPEGs for large banners - compression artifacts become visible at large sizes.
If you're working on a broader print campaign that includes brochures alongside your banners, our guide on How To Fold A Brochure walks through layout and fold considerations.
Blank Templates

Step 6: Select Finishing and Display Options
Finishing determines how your banner gets mounted, hung, or displayed. The wrong finishing choice means your banner won't fit its hardware or won't survive its environment.
Grommets: Metal rings punched into the banner edges. Standard for outdoor vinyl banners hung with rope, bungee cords, or zip ties. Usually placed every 2-3 feet along the edges.
Pole pockets: Fabric or vinyl folded and sewn to create a sleeve along the top and/or bottom edge. A pole slides through to keep the banner taut. Common for street pole banners and indoor hanging displays.
Hemmed edges: The banner edge is folded over and heat-welded or sewn. This reinforces the material and prevents fraying. Standard for most professional banners.
Retractable stands: The banner rolls up into a base unit. Pull it up, lock it in place. Takes 30 seconds to set up. Perfect for trade shows, lobbies, and events where you need portability.
For maintaining your other branded materials like rubber stamps alongside your banner displays, here's a useful resource on How To Clean Rubber Stamps.
Step 7: Review, Proof, and Order
Never skip the proofing step. Request a digital proof before printing. Check these things specifically:
- Spelling and phone numbers - Sounds obvious. Gets missed constantly.
- Image resolution - Zoom in to 100% on the proof. Any pixelation will show on the final print.
- Color accuracy - Compare your proof to your brand color standards. Ask for a Pantone match if color precision matters.
- Finishing placement - Confirm grommet locations, pole pocket dimensions, and hem widths won't overlap your design.
4OVER4 provides proofs so you can catch issues before they become expensive mistakes. Take the extra five minutes. It's worth it.
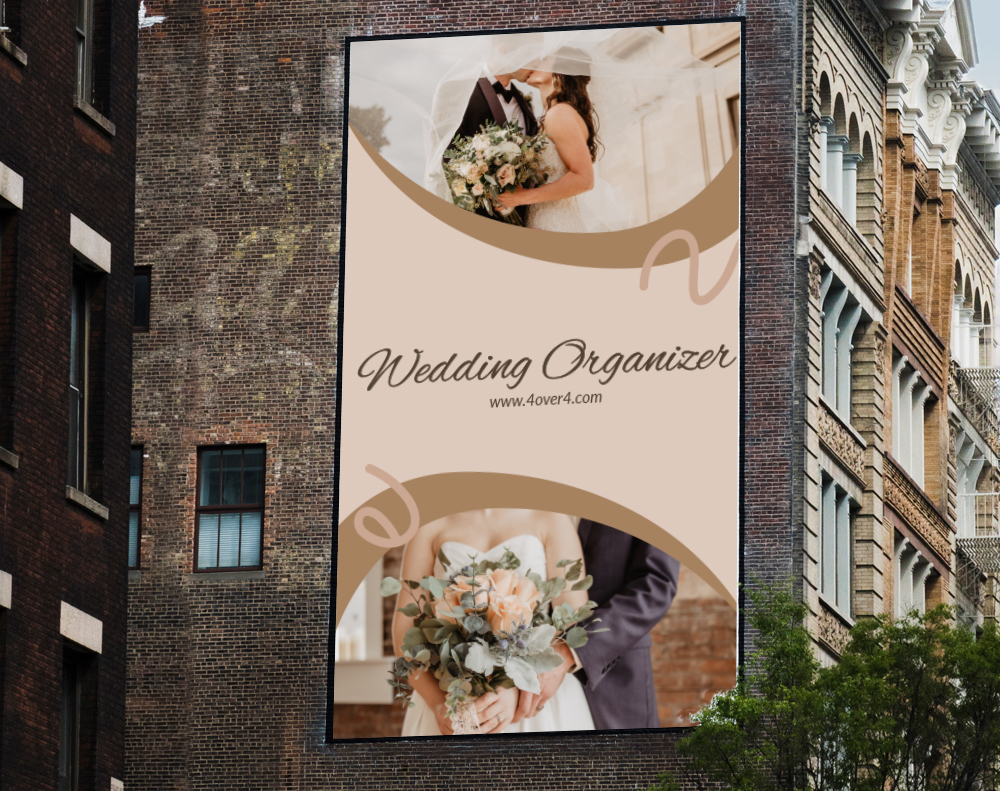
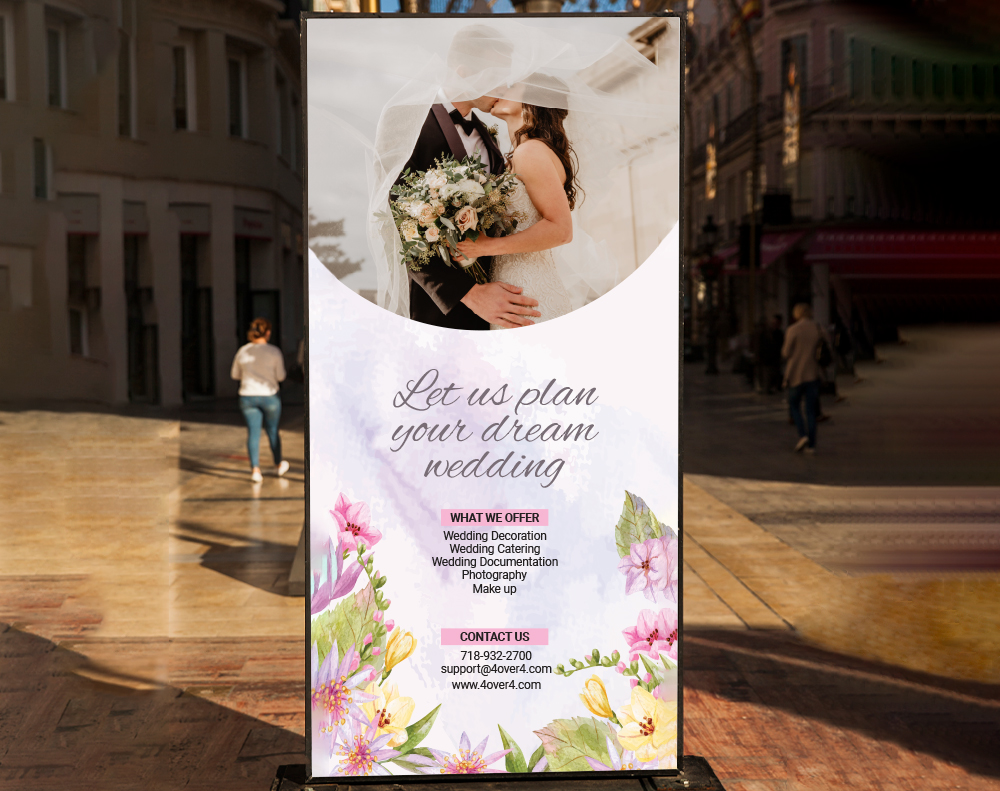
Here's a look at some industry data on banner effectiveness, along with real examples of completed banner projects:
Banner Mistakes That Cost You Money (and How to Avoid Them)
After printing banners for 150,000+ businesses, 4OVER4 has seen every mistake in the book. Here are the ones that come up most when people learn how to make banners:
- Too much text. Your banner isn't a brochure. If someone needs more than 5 seconds to read it, you've lost them. Stick to a headline, a sub-line, and one call to action.
- Low-resolution images. That logo you pulled from your website? It's 72 DPI. You need 150 DPI minimum. Always use source files.
- Ignoring the bleed. No bleed means white edges on your finished banner. Add 0.25" minimum on every side.
- Wrong material for the environment. Fabric banners outdoors will fade and sag. Vinyl indoors can look cheap under fluorescent lighting. Match your material to your setting.
- Forgetting about hardware. Designing a banner without knowing how it'll be displayed leads to last-minute compromises. Pick your stand or mounting method first, then design to fit.
4OVER4 catches many of these issues during file review, but starting with clean files saves time and gets your banners to you faster.
Best Banner Products to Match Your Project
Now that you know how to make banners, picking the right product is the final step. 4OVER4 offers banner options for every scenario - from indoor retractable displays to heavy-duty outdoor vinyl.
Running an event? Pair your banners with Free Invitations to create a cohesive branded experience from the mailbox to the venue. And if you're planning a follow-up event, grab another set of Free Invitations through 4OVER4's loyalty program.
Here's what real customers are saying about their banner orders:
Free Design Templates

"Ordered how to make banners from 4OVER4 and the quality blew me away. Sharp colors, premium feel, arrived 2 days early."
"Been using 4OVER4 for how to make banners for a year. Consistent quality every time. The online designer made it easy."
"Switched to 4OVER4 and saved 40% on how to make banners. Better quality than my old printer. 60+ paper options."
"4OVER4's how to make banners helped us look more professional. Clients notice the difference."
Common Questions About Making Custom Banners
What file format should I use when submitting banner artwork?
PDF is the best format for banner files. It preserves your fonts, colors, and resolution without compression. TIFF files also work well. Avoid JPEGs for large banners because compression artifacts become visible when the image is scaled up to banner size.
What resolution do I need for banner printing?
For vinyl banners viewed from a distance, 150 DPI at full print size is the minimum. Fabric banners and retractable stands viewed up close need 300 DPI. Lower resolution means blurry, pixelated graphics on the final print.
How do I choose between vinyl and fabric banners?
Vinyl is best for outdoor use - it's weather-resistant and durable. Fabric works better indoors at trade shows and retail displays because it drapes smoothly and doesn't glare under lighting. Match your material to where the banner will live.
Can I print banners with graphics on both sides?
Yes. Blockout banners have an opaque layer between two printed surfaces, so graphics don't bleed through. These are ideal for hanging displays in lobbies, event halls, or anywhere the banner is visible from both directions.
What's the best way to add a call to action on a banner?
Pick one action - a phone number, website, or QR code. Don't list all three. Make it large and place it in the lower third of the banner where eyes naturally land. You can generate a scannable code using 4OVER4's QR Code Generator to link directly to a landing page or special offer.
How much bleed should I add to my banner design?
Add at least 0.25 inches of bleed on all sides. For larger banners (4 feet wide or more), 0.5 inches is safer. Bleed prevents white edges if the trim cut shifts slightly during production.