Quick Guide: Making Brochures That Actually Get Read
Learning how to make brochures starts with a clear goal, the right fold style, and print-ready design files. 4OVER4.COM has printed over 10 billion cards and marketing materials for more than 150,000+ businesses, so we know what separates a brochure that gets kept from one that hits the trash. This guide covers everything from layout and copywriting to paper selection and printing - so your next brochure does its job.
Why Brochures Still Work (And How to Make Yours Stand Out)
| Quantity | Price Per Unit |
|---|---|
| 500 | $0.48 |
| 2,000 | $0.17 |
| 8,000 | $0.10 |
| 25,000 | $0.07 |
Ink Color
Finish
Folding
Scoring
Proof Options
Brochures aren't outdated. They're one of the few marketing pieces people physically hold, flip through, and take home. A well-made brochure puts your message directly in someone's hands - no algorithm, no ad blocker, no scroll-past. That's powerful.
Ink Color
Finish
Folding
Scoring
Perforation
Proof Options
This guide walks you through how to make brochures from scratch. You'll learn how to plan your content, pick the right fold, design for print, and choose paper that matches your brand. Whether you're promoting a new service, handing out menus, or creating event programs, the process is the same. If you're working on other print projects too, check out our guides on How To Make Envelopes and Custom Magnets Faq for more hands-on walkthroughs.
Need a head start on layout? Browse 4OVER4.COM's Design Templates to skip the blank-page anxiety and jump straight into customization. Below, you'll find our most popular brochure products to get a feel for what's possible.
Brochures
Starting from $57.11
Free Design Templates:
Step-by-Step: Planning, Designing, and Printing Your Brochure
What Are Brochures, Exactly?
A brochure is a folded printed document used to share information about a product, service, event, or organization. Unlike a flyer (which is a single unfolded sheet), a brochure uses folds to create multiple panels - giving you more space to organize content into sections. If you're curious about the single-sheet approach, our How To Make Flyers guide covers that side of things.
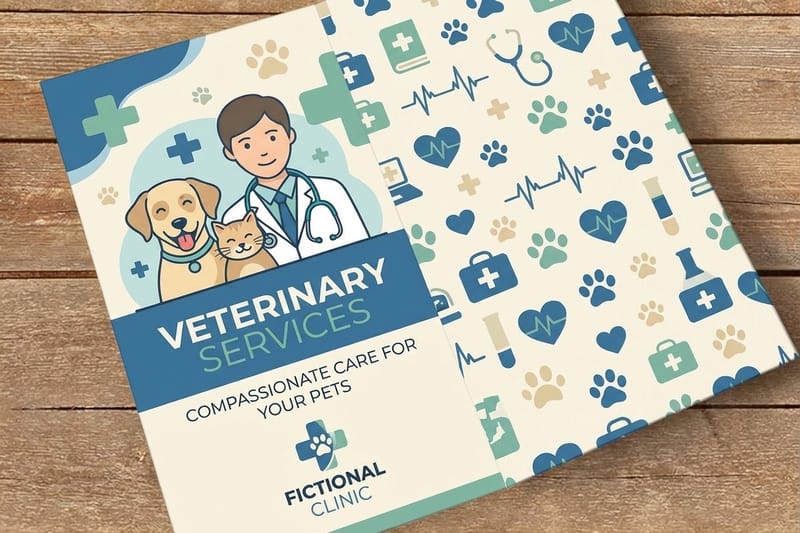
Brochures come in several standard formats. The most common are tri-fold (three panels folded into thirds), bi-fold (a single center fold creating four panels), and z-fold (an accordion-style fold). Each serves a different purpose. Tri-folds work great for service overviews and menus. Bi-folds give you more room for photos and longer copy. Z-folds are perfect when you want a visual reveal - each panel unfolds to show the next piece of your story.
For a deeper look at fold options and how they affect your layout, visit our dedicated How To Fold A Brochure guide.
Step 1: Define Your Purpose and Audience
Before you open any design software, answer two questions. What do you want this brochure to do? And who's going to read it?
A brochure for a real estate open house needs big photos, a floor plan, and contact info. A brochure for a nonprofit fundraiser needs an emotional story, donation tiers, and a clear call to action. A restaurant takeout menu needs prices, descriptions, and hours. Different goals demand different layouts.
Write down your single most important action. Do you want people to call? Visit a website? Walk into your store? Every design decision flows from that answer. Your headline, your images, your paper choice - all of it should push toward that one action.
Know your audience's expectations too. A luxury spa brochure on thin, flimsy paper sends the wrong message. A budget-friendly service advertised on ultra-thick stock might feel out of touch with pricing. Match the brochure's feel to what your reader expects from your brand.
Step 2: Plan Your Content Before You Design
Don't start with colors and fonts. Start with words.
Map out each panel of your brochure. For a standard tri-fold, you've got six panels to work with: front cover, inside left, inside center, inside right, back panel, and the inside flap. Each panel should have a clear job.
- Front cover: Headline, one compelling image, your logo. That's it. Don't cram it.
- Inside panels: Your main content - services, features, benefits, pricing, or your story. Break it into scannable sections with subheadings.
- Back panel: Contact info, hours, location, social media handles, and a QR code linking to your site or booking page.
- Inside flap: A teaser or intro paragraph that pulls the reader into the full inside spread.
Write your copy first in a plain document. Edit it down. Then edit it again. Brochure space is limited, and every word needs to earn its spot. Aim for short paragraphs, bullet points where possible, and one clear headline per panel.
Step 3: Choose Your Fold and Size
Your fold type determines your panel count and how readers interact with the piece. Here's a quick breakdown of the most popular options:
- Tri-fold (letter fold): 6 panels. The workhorse. Fits in a #10 envelope or a brochure rack. Best for service menus, product overviews, and informational handouts.
- Bi-fold (half fold): 4 panels. More room per panel. Great for photo-heavy content like portfolios, event programs, and product showcases.
- Z-fold: 6 panels that unfold in a zigzag. Good for step-by-step content, timelines, and visual storytelling.
- Gate fold: Two panels fold inward to meet in the center, then open like doors. High-impact reveal for luxury brands and special announcements.
Standard brochure sizes start at 8.5" x 11" (letter) and 8.5" x 14" (legal). Larger formats like 11" x 17" give you room for a bi-fold with generous panels. 4OVER4.COM offers Custom Brochures in multiple sizes, so you're not locked into one option.
Blank Templates

Step 4: Design for Print (Not for Screen)
This is where most people trip up. Designing for print is different from designing for a website or social media post. Here are the rules that matter:
Resolution: All images must be 300 DPI (dots per inch) at the final print size. That photo that looks crisp on your laptop at 72 DPI? It'll look blurry and pixelated in print. Always use high-resolution source files.
Color mode: Design in CMYK, not RGB. Your screen uses RGB (red, green, blue) to display color. Printers use CMYK (cyan, magenta, yellow, black). If you design in RGB and convert later, your colors will shift - sometimes dramatically. Set your document to CMYK from the start.
Bleed: Add 0.125" of bleed on all sides. Bleed is the extra image area that extends past the trim line. It prevents white edges if the cut is slightly off. Any background color, photo, or graphic that touches the edge of a panel needs to extend into the bleed area.
Safe zone: Keep all text and important elements at least 0.125" inside the trim line. This is your safety margin. Text too close to the edge risks getting cut off.
Fold allowance: On tri-fold brochures, the panel that folds inward should be about 1/16" narrower than the other two panels. This prevents buckling and ensures a clean fold. Your printer's template will usually account for this, but double-check.
"We switched to 4OVER4.COM for our tri-fold brochures last year. The color matching was spot-on, and the fold lines were clean every time. Our clients actually comment on how professional the pieces feel."
Marcus L., Marketing Director
Step 5: Pick Your Paper Stock and Finish
Paper choice changes everything about how your brochure feels in someone's hands. A glossy finish makes colors pop and photos look vivid. A matte finish feels sophisticated and is easier to read under bright lights. An uncoated stock gives a natural, organic feel that works well for eco-conscious brands.
For most brochures, 100lb gloss text or 100lb matte text is the sweet spot. It's sturdy enough to feel big but flexible enough to fold cleanly. If you want something thicker and more rigid - like a bi-fold that doubles as a mini presentation folder - consider a heavier cover stock.
4OVER4.COM carries a wide range of paper options so you can match your brand's personality. If sustainability matters to your audience, explore our Faq Hub for more on material choices and printing best practices.
Step 6: How to Print Brochures the Right Way
Once your design is finalized, it's time to get it printed. Here's how to print brochures without running into problems:
Export as PDF. Save your file as a press-quality PDF with bleed marks and crop marks included. This is the industry standard format that preserves your fonts, images, and color profiles.
Check your file. Open the PDF and zoom in to 100%. Look for pixelated images, text that's too close to the fold, and any elements that don't extend to the bleed. Fix issues now - not after you've placed your order.
Order a proof. Always review a digital proof before approving your print run. A proof lets you catch color issues, typos, and layout problems before hundreds or thousands of copies roll off the press.
When it comes to where to print brochures, you want a printer that offers consistent color, clean folds, and reliable turnaround. 4OVER4.COM handles all of that, plus you get access to templates and proofing tools that simplify the process. For more hands-on tips on maintaining your print tools and supplies, check out How To Clean Rubber Stamps.
Step 7: Distribution Strategy
A great brochure sitting in a box doesn't help anyone. Think about distribution from the start.
If you're mailing brochures, make sure your fold and size fit standard envelope dimensions - or go with a self-mailer format that doesn't need an envelope at all. Direct mail brochures can include a mailing panel on the back with space for an address label and postage.
For in-person distribution, consider brochure racks at your business, trade show tables, or partner locations. Hand them out at events, include them in welcome packets, or leave them at checkout counters.
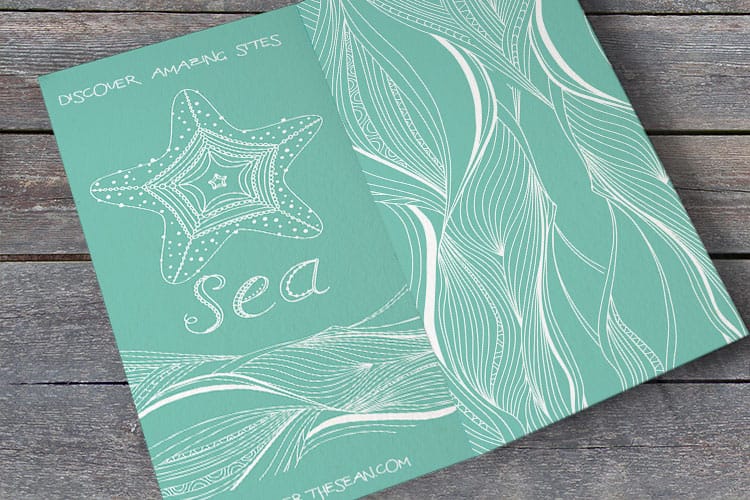
Below, you'll find real customer examples and ready-to-use templates to help you get started faster.
Brochure Blunders That Waste Your Budget
Even experienced designers make these mistakes when creating brochures. Here's what to watch for:
Ignoring the fold in your layout. Text or images that land right on a fold line look broken and unprofessional. Always design with your template's fold guides visible, and keep key content away from the crease.
Too much text, not enough white space. A brochure isn't a novel. If every panel is packed wall-to-wall with copy, nobody reads any of it. Edit ruthlessly. Use bullet points. Let the design breathe.
Using low-resolution images. This is the number one print quality killer. If your image looks slightly soft on screen, it'll look terrible in print. Stick to 300 DPI minimum.
Forgetting a call to action. Every brochure needs to tell the reader what to do next. Call this number. Visit this website. Scan this QR code. Without a clear next step, your brochure is just a pretty piece of paper.
Skipping the proof. 4OVER4.COM offers proofing for a reason. One missed typo on 5,000 brochures is an expensive mistake. Always proof before you approve.
Your Brochure Questions, Answered
What are brochures used for?
Brochures are folded printed documents designed to share information about a business, product, service, or event. They're used for everything from restaurant menus and real estate listings to nonprofit fundraising campaigns and trade show handouts. Unlike single-sheet flyers, brochures use folds to create multiple panels that organize content into logical sections.
What software should I use to design a brochure?
Adobe InDesign is the professional standard for brochure layout. Illustrator and Photoshop also work. For free options, Canva offers brochure templates that export as print-ready PDFs. Whatever tool you pick, set your document to CMYK color mode, 300 DPI resolution, and include 0.125" bleed on all sides.
How do I choose between a tri-fold and bi-fold brochure?
Tri-folds give you six panels - ideal for service lists, menus, and informational content that benefits from organized sections. Bi-folds give you four larger panels with more room for photos and longer copy. If your content is image-heavy or you need a presentation-style feel, go bi-fold. For compact handouts, tri-fold wins.
What paper weight works best for brochures?
For most brochures, 100lb gloss text or 100lb matte text hits the right balance. It's thick enough to feel professional and thin enough to fold without cracking. If you need a stiffer piece - like a bi-fold that stands up on its own - move to a cover-weight stock.
How do I add a QR code to my brochure?
Use 4OVER4.COM's free QR Code Generator to create a code that links to your website, booking page, or social profile. Place it on the back panel of your brochure where there's room to scan. Make sure the code is at least 1" x 1" and has enough contrast against the background to scan reliably.
How long does it take to print brochures?
Standard brochure printing at 4OVER4.COM typically ships within a few business days, depending on quantity and paper selection. Rush options are available if you're on a tight deadline. Always factor in shipping time when planning your project timeline.