Quick Steps to Get Custom Shipping Boxes
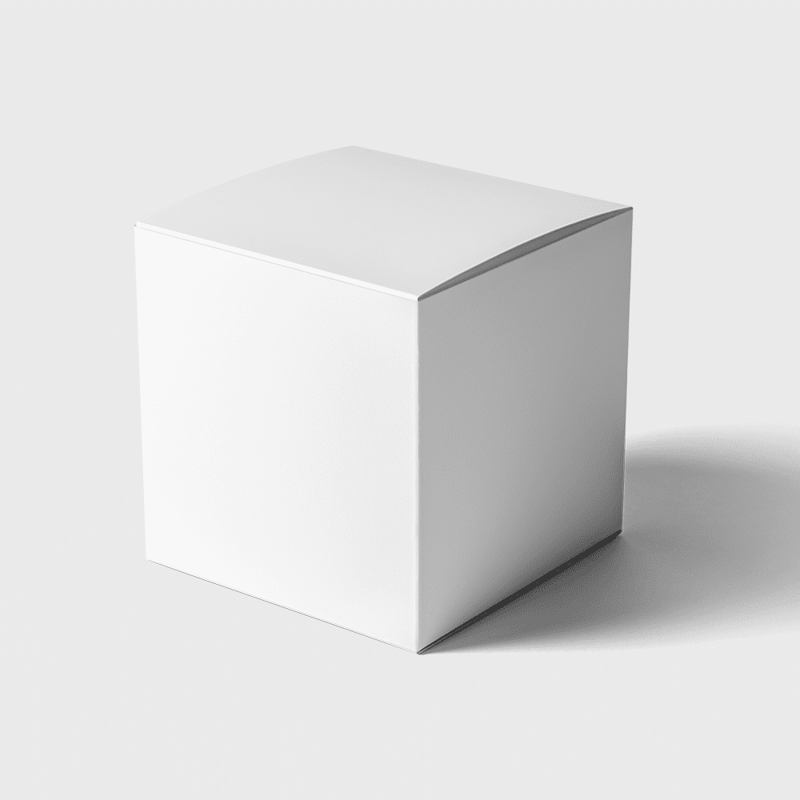
Getting custom shipping boxes starts with knowing your product dimensions, choosing the right box style, and finding a printer that delivers quality at scale. 4OVER4.COM has served over 150,000+ businesses with printed products across 1,000+ categories. Whether you're shipping candles or electronics, custom boxes protect your product and build your brand from the moment a package hits the doorstep.
Why Custom Shipping Boxes Matter for Your Brand
Custom shipping boxes do more than hold your product. They're the first physical touchpoint your customer has with your brand. A plain brown box says nothing. A branded box with your logo, colors, and maybe a QR Code Generator link printed on the inside flap? That says you care about every detail.
| Quantity | Price Per Unit |
|---|---|
| 1 | $328.42 |
| 7 | $311.94 |
| 13 | $280.09 |
| 20 | $280.09 |
Item
Aluminum Finish
Backlit Print Insert
Proof Options
If you're figuring out how to get custom shipping boxes, you're already thinking ahead. The process is straightforward once you break it down: measure your products, pick a box style, design your artwork, and place your order. 4OVER4.COM makes this simple with Design Templates that take the guesswork out of file setup.
This guide walks you through every step, from choosing materials to avoiding common pitfalls. And if you're exploring other branded packaging ideas, check out our Custom Magnets Faq for creative inserts that pair well with your shipments.
Your Complete Walkthrough for Ordering Custom Shipping Boxes
Step 1: Measure Your Products Accurately
Before you do anything else, grab a ruler. Measure the length, width, and height of the product you're shipping - including any packaging materials like tissue paper, bubble wrap, or inserts. Add 0.5 to 1 inch of clearance on each side for protective padding.
If you ship multiple product sizes, you'll want two or three box sizes rather than one oversized box for everything. Oversized boxes waste filler material, increase dimensional weight shipping costs, and give your product room to bounce around. None of that is good for your brand or your budget.
Write down your interior dimensions (length x width x height). You'll need these when you request a quote or configure your order online. Getting this wrong means reprints, delays, and wasted money. For tips on precise measurements for other print projects, our How To Fold A Brochure guide covers similar sizing principles.
Step 2: Choose Your Box Style
Not all shipping boxes are built the same. Here are the most common styles for custom shipping:
- Regular Slotted Container (RSC) - The classic brown box. All four flaps meet in the middle. Best for standard rectangular products and the most cost-effective option for high-volume shipping.
- Mailer Boxes (Tuck-top) - These fold together without tape and create a clean unboxing experience. Popular with subscription boxes, apparel brands, and direct-to-consumer companies.
- Rigid Boxes - Thick, sturdy, non-collapsible. Think Apple product packaging. Premium feel, higher cost. Best for luxury items or gift sets.
- Corrugated Padded Mailers - Flat items like books, prints, or documents ship well in these. Lighter than a full box, still branded.
Your box style depends on what you're shipping, how much protection it needs, and the experience you want your customer to have. A candle company might pick a mailer box with a magnetic closure. An electronics brand might need double-wall corrugated RSCs. Match the box to the job.
Step 3: Pick Your Material and Thickness
Corrugated cardboard is the standard for shipping boxes. It comes in different flute profiles that determine thickness and crush resistance:
- E-flute (1.5mm) - Thin, smooth surface ideal for printing. Great for lightweight items and mailer boxes where print quality matters more than heavy-duty protection.
- B-flute (3mm) - The middle ground. Good crush resistance with a reasonably smooth print surface. Works for most standard shipping needs.
- C-flute (4mm) - The workhorse. Thick, strong, and the most common choice for shipping heavier products.
- BC double-wall - Two layers of fluting for maximum protection. Heavy or fragile items that travel long distances need this level of support.
If you're printing directly on the box (not using a label or sticker), E-flute and B-flute give you the best print results. C-flute's rougher surface can make fine details look fuzzy. For complex artwork, consider a printed wrap or sleeve over a plain corrugated box. Visit our Faq Hub for more material selection tips across different print products.
Step 4: Design Your Custom Box Artwork
This is where your brand comes alive. Your custom shipping box design should include:
- Your logo - Placed prominently on at least two sides so it's visible regardless of box orientation on a shelf or doorstep.
- Brand colors - Consistent with your website, social media, and other printed materials.
- Contact information or website URL - Make it easy for customers to reorder or reach you.
- Handling instructions - "Fragile," "This Side Up," or temperature warnings if applicable.
- Interior printing - A thank-you message, care instructions, or social media handles printed inside the box add a surprise element during unboxing.
Design your artwork in CMYK color mode at 300 DPI minimum. Use vector files (AI, EPS, PDF) whenever possible for crisp logo reproduction. Most printers provide a dieline template - a flat layout showing every panel, flap, and fold line. Download the template, place your artwork within the safe zones, and keep text at least 0.125 inches from any fold or cut line.
Blank Templates
4OVER4.COM offers Blank Templates for a wide range of print products. If you're working with a designer, send them the dieline first. If you're doing it yourself, keep the design simple. One or two colors on kraft cardboard looks sharp without driving up print costs. Similar design principles apply whether you're creating boxes or learning How To Make Flyers - clean layouts always win.
Step 5: Decide on Printing Method
How your design gets onto the box affects cost, quality, and minimum order quantities:
- Flexographic printing - The most common method for corrugated boxes. Uses rubber plates to transfer ink. Cost-effective at high volumes (500+ units). Limited color accuracy compared to digital, but fast and affordable.
- Digital printing - Full-color, photo-quality printing directly onto the box surface. No plates needed, so setup costs are lower. Best for short runs (50-250 units) or designs with gradients and photographic elements.
- Lithographic lamination - A full-color sheet is printed on an offset press, then laminated onto the corrugated board. The highest print quality available. Used for retail-ready packaging and premium brands. Higher cost, longer lead times.
- Screen printing - Best for simple 1-2 color designs on large runs. Bold, opaque ink coverage. Common for industrial or wholesale packaging.
For most small-to-medium businesses figuring out how to get custom shipping boxes, digital printing hits the sweet spot. Low minimums, full color, and no plate charges. As your volume grows, switching to flexo brings per-unit costs down a lot.
Step 6: Request Samples and Proofs
Never approve a full production run without seeing a sample first. A physical sample lets you check:
- Does your product actually fit with padding?
- Is the cardboard thick enough to survive shipping?
- Do the colors match your brand guidelines?
- Does the box fold and close cleanly?
Most box manufacturers offer blank samples for free and printed proofs for a small fee. It's worth every penny. A $25 sample can save you from a $2,500 mistake. For other packaging and print inserts, our guide on How To Make Envelopes covers similar proofing best practices.
Step 7: Place Your Order and Plan for Storage
Once you've approved your proof, finalize your quantity. Order more than you think you'll need for the next 3-6 months. Per-unit pricing drops a lot at higher quantities, and reorders with new plate setups can add unexpected costs.
Plan your storage space before boxes arrive. Flat-packed (knocked-down) boxes take up far less room than assembled ones. A pallet of 500 flat-packed mailer boxes fits in a closet. The same boxes assembled would fill a small room. If you're also ordering branded inserts like Custom Cd Covers or thank-you cards, coordinate delivery dates so everything arrives together.
Keep detailed records of your box specifications, artwork files, and vendor contacts. When it's time to reorder, you want the process to take minutes, not days. And don't forget to maintain your other branded materials too - our guide on How To Clean Rubber Stamps is a good example of keeping your tools in top shape.
"We switched to custom mailer boxes for our skincare line last year. Customers started posting unboxing videos on Instagram without us even asking. The box basically became free marketing."
- Rachel K., Skincare Brand Owner, ★★★★★
Cost Factors to Keep in Mind
Custom shipping box pricing depends on several variables: box dimensions, material thickness, print method, number of ink colors, quantity ordered, and any special finishes like spot UV or embossing. Expect to pay more per unit for orders under 250 boxes. Digital printing eliminates plate charges but costs more per box at high volumes.
Get quotes from at least three suppliers. Compare not just price but turnaround time, sample availability, and minimum order requirements. Some vendors offer price breaks at 500, 1,000, and 2,500 units. Factor in shipping costs for the boxes themselves - a pallet of corrugated boxes isn't light.
Mistakes That Ruin Custom Shipping Box Orders
Ignoring dimensional weight pricing. Carriers like UPS and FedEx charge based on package size, not just weight. An oversized box for a small product means you're paying for air. Size your boxes as close to your product as possible.
Skipping the proof. Colors on your monitor look different on corrugated cardboard. Brown kraft board shifts every color warmer. White-coated board gives truer color but costs more. Always request a printed proof before committing to a full run.
Ordering too few. The per-unit cost difference between 250 and 1,000 boxes can be dramatic - sometimes 40-50% less per box. If you know you'll need them, order in bulk.
Forgetting interior branding. The outside of your box gets beaten up during shipping. The inside is what your customer sees when they open it. A simple printed message or pattern inside the lid costs little but makes a big impression.
Using the wrong flute for your print design. Fine text and detailed logos look terrible on C-flute corrugated. Match your flute profile to your artwork complexity. 4OVER4.COM offers guidance across all print products to help you avoid exactly these kinds of costly errors.
Common Questions About Getting Custom Shipping Boxes
What's the minimum order for custom shipping boxes?
Minimum orders vary by printing method. Digital printing typically starts at 25-50 boxes. Flexographic printing usually requires 250-500 minimum. For very small runs, consider custom labels or stickers on plain boxes as a cost-effective alternative while you test designs.
How long does it take to receive custom shipping boxes?
Standard production runs take 2-4 weeks from proof approval to delivery. Digital printing is faster, often 7-10 business days. Rush options exist but add 20-40% to your cost. Always factor in 3-5 days for sample approval before production begins.
Can I print full color on corrugated boxes?
Yes. Digital printing and lithographic lamination both support full CMYK color on corrugated boxes. Digital works best for short runs under 500 units. For larger quantities, litho lamination gives the sharpest results. E-flute and B-flute corrugated provide the smoothest surfaces for detailed color printing.
What file format should I use for custom box artwork?
Vector formats like AI, EPS, or PDF work best. Set your color mode to CMYK (not RGB) and resolution to 300 DPI minimum for any raster elements like photos. Always design on the manufacturer's dieline template to ensure artwork aligns with panels, folds, and cut lines.
How do I figure out how to get custom shipping boxes on a tight budget?
Start with a 1-2 color design on natural kraft board. Skip coatings and special finishes. Order at higher quantity tiers for better per-unit pricing. Use digital printing to avoid plate setup fees. You can also start with custom stickers on plain boxes - branded on a budget without committing to a large box order.
Do custom shipping boxes protect products as well as plain ones?
Absolutely. The printing process doesn't affect structural integrity. A custom-printed C-flute corrugated box has the same crush resistance and stacking strength as an unprinted one. Choose your flute profile and wall thickness based on product weight and fragility, not print method.