Quick Guide: Creating Custom Lottery Scratch Off Cards
Making a lottery scratch off card at home is simpler than you'd think. You need cardstock, clear adhesive film, and a scratch-off coating made from acrylic paint mixed with dish soap. Design your hidden message first, seal it with adhesive, then apply two coats of the scratch-off mixture. 4OVER4 has printed 10 billion+ cards and offers professional scratch card printing with 1,000+ products to choose from when you're ready to scale up.
Why DIY Scratch Off Cards Work for Promotions, Parties, and Giveaways
Scratch off cards tap into something primal - the thrill of revealing a hidden prize. That's why they work so well for marketing campaigns, bridal showers, classroom rewards, and fundraisers. Learning how to make lottery scratch off cards gives you a versatile tool that grabs attention and keeps people engaged.
Whether you're running a small business promotion or planning a birthday party game, scratch off cards add an interactive element that printed flyers and postcards can't match. You can browse the Showcase for creative inspiration from real customers. The same design principles that apply to scratch cards also work for other DIY print projects like Custom Magnets Faq and promotional materials.
4OVER4 makes it easy to go from homemade prototypes to professional-grade scratch off cards. Use the Online Designer to create polished artwork, then let professional presses handle the scratch-off coating for a clean, consistent finish every time.
Step-by-Step: Building Your Own Lottery Scratch Off Cards
A scratch off card is a printed card with a hidden message covered by a removable metallic coating. When someone scratches the surface with a coin or fingernail, the message underneath is revealed. That's the magic. And you can create this effect at home with basic craft supplies - or go professional with 4OVER4's printing services for larger runs.
Let's break this down into clear, actionable steps. By the end, you'll know exactly what materials to grab, how to design your card, and how to apply the scratch-off layer without ruining the hidden message underneath.
Gather Your Materials
Before you start designing, get everything together. Nothing kills momentum like stopping mid-project to run to the craft store. Here's what you need:
- Cardstock paper (80-110 lb) - Thicker stock holds up better to scratching. Think credit-card thickness or close to it.
- Clear contact paper or wide packing tape - This creates a barrier between your printed message and the scratch-off coating.
- Metallic acrylic paint (silver or gold) - The classic scratch-off look. Silver reads as "lottery ticket" instantly.
- Dish soap - Mixed with acrylic paint at a 2:1 ratio (paint to soap), this creates the scratchable coating.
- Soft paintbrush or foam brush - For applying the scratch-off mixture evenly.
- Scissors or paper cutter - Clean cuts make the difference between "homemade" and "handcrafted."
- Printer - Inkjet or laser works. Laser prints hold up better under the adhesive layer.
If you're creating cards for a bridal shower or wedding event, you might also want to check out Flat Bridal Shower Invites for coordinating your printed materials. Matching your scratch off cards to your event stationery creates a polished, cohesive look.
Design the Card Layout
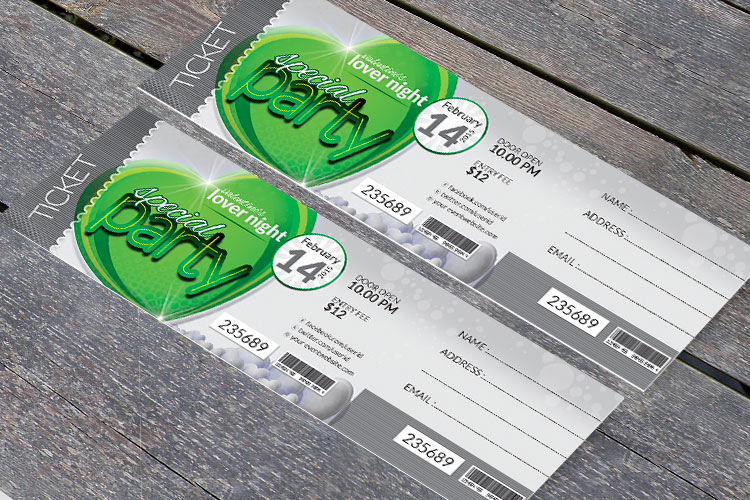
Your scratch off card has two visual zones: the visible area and the hidden area. The visible area includes your branding, instructions ("Scratch here to reveal your prize!"), and any decorative elements. The hidden area contains the prize, message, or discount code.
Start with the card dimensions. Standard sizes work well:
- Business card size (3.5" x 2") - Perfect for promotional giveaways and pocket-sized prizes.
- Postcard size (4" x 6") - Great for event games and larger scratch-off areas.
- Custom sizes - Cut to whatever dimensions fit your project.
Design your layout in any program you're comfortable with. Canva, Adobe Illustrator, or even Microsoft Word will do the job. The key is marking exactly where the scratch-off zone will go. Use a dotted outline or a different background color as a placeholder for the hidden area during design.
For the hidden message, keep text large and bold. After someone scratches through the coating, they want to read the result instantly - not squint at tiny print. Use high-contrast colors (dark text on a light background) for the hidden area. Similar design principles apply when you're learning How To Make Flyers - readability always comes first.
Print Your Cards
Print your design on the cardstock. If your printer can handle heavy stock, feed it through carefully - one sheet at a time to avoid jams. If not, print on regular paper and glue it to cardstock afterward.
A few printing tips that matter:
- Laser printers produce toner-based prints that won't smear under adhesive. Preferred choice.
- Inkjet printers work but need 24 hours of drying time before you apply the contact paper. Rushing this step means smudged messages.
- Print a test sheet first. Check alignment, color accuracy, and make sure the hidden message sits exactly where you planned.
For professional results on larger quantities, 4OVER4 handles the entire process - printing, coating, and cutting. That's the move when you need 100+ cards with consistent quality.
Apply the Clear Adhesive Layer
This step is the most important one. The clear adhesive layer protects your hidden message from the scratch-off paint. Without it, the paint bonds directly to the printed surface and becomes impossible to scratch off cleanly.
Cut a piece of clear contact paper (or wide packing tape) to cover the entire scratch-off zone. Smooth it down firmly, pushing out any air bubbles from the center outward. The adhesive needs to be completely flat against the printed surface.
Take your time here. Wrinkles and bubbles create weak spots where the scratch-off coating peels unevenly. Press the edges down extra firmly - those corners are where lifting starts. The same attention to detail applies in other craft projects. If you've ever read about How To Clean Rubber Stamps, you know that small details make a big difference in the final result.
Mix and Apply the Scratch-Off Coating
Here's the recipe: mix 2 parts metallic acrylic paint with 1 part dish soap. Stir thoroughly until the mixture is smooth and consistent. The dish soap prevents the paint from bonding permanently to the contact paper, making it scratchable.
Apply the first coat with a soft brush. Use gentle, even strokes in one direction. Don't glob it on thick - thin, even layers are the goal. Let the first coat dry completely (about 30-45 minutes depending on humidity).
Apply a second coat in the opposite direction. This cross-hatching technique ensures full, opaque coverage so the hidden message can't be read through the coating. Two coats is the sweet spot. Three coats can make the card too difficult to scratch.
Let everything dry for at least 2 hours before handling. Overnight is even better.
Cut and Finish Your Cards
Once everything is dry, cut your cards to final size using a paper cutter or sharp scissors. A paper cutter gives you cleaner, straighter edges. If you're making dozens of cards, it's worth the investment.
Round the corners with a corner punch if you want a more polished, professional feel. This small touch makes homemade cards look store-bought. The same finishing principle applies to brochures and folded materials - check out How To Fold A Brochure for more on clean finishing techniques.
Test Before You Distribute
Always test at least 2-3 cards before making a full batch. Scratch them with a coin and check for:
- Clean scratch removal - The coating should come off in satisfying flakes, not smear.
- Hidden message visibility - The text underneath should be crisp and fully readable.
- Coating opacity - Hold the card up to light. If you can read the message through the coating, add another layer.
- Card durability - The cardstock shouldn't bend or tear during scratching.
If the coating is too hard to scratch, add more dish soap to your mixture. If it flakes off too easily (or rubs off in your pocket), reduce the soap ratio slightly.
Creative Ideas for Your Scratch Off Cards
Now that you know the mechanics, here are some real-world applications that work:
Restaurant promotions: "Scratch to reveal your discount!" with prizes ranging from 10% off to a free appetizer. Hand these out with every check. Customers love the gamble, and it drives repeat visits.
Classroom rewards: Teachers use scratch off cards as incentive prizes. Students scratch to reveal bonus points, homework passes, or extra recess time. It turns routine rewards into exciting moments.
Baby shower games: Guests scratch to reveal baby-related trivia answers or prize assignments. Pairs beautifully with custom invitations and coordinated party materials.
Fundraiser raffles: Sell scratch off cards at $1-5 each with prizes listed underneath. Instant gratification beats waiting for a drawing. People buy more when the result is immediate.
Employee recognition: HR teams create scratch off cards for quarterly rewards. Employees scratch to reveal gift card amounts, extra PTO hours, or lunch vouchers.
For more project ideas and design inspiration, browse the Faq Hub or check out finished projects in the Showcase gallery.
When to Go Professional
DIY scratch off cards work great for small batches - think 10-50 cards. But once you need consistency across hundreds or thousands of cards, professional printing saves time and delivers better results.
Professional scratch-off coatings are applied with precision equipment. They scratch evenly every time. The coating thickness is uniform. The hidden messages are completely invisible until scratched. And the cards themselves are printed on commercial-grade stock that feels big in your hand.
4OVER4 offers scratch card printing with custom designs, professional scratch-off coatings, and fast turnaround. If you're running a marketing campaign or large event, that's the route that makes sense. You can also learn about complementary print projects like How To Make Envelopes for mailing your scratch off cards to customers.
Here are some ready-to-use templates to jumpstart your scratch off card design:
Blank Templates

Avoid These Scratch Off Card Pitfalls
Most people who learn how to make lottery scratch off cards run into the same handful of problems. Here's what trips up first-timers - and how to fix it.
Skipping the adhesive layer. This is the number one mistake. Without clear contact paper between the print and the scratch-off coating, the paint bonds to the ink. The result? A card that's impossible to scratch cleanly. Always apply that barrier layer.
Using too much dish soap. More soap doesn't mean easier scratching. It means the coating rubs off in your pocket or purse before anyone gets to scratch it intentionally. Stick to the 2:1 paint-to-soap ratio.
Applying thick, uneven coats. Thick globs of paint dry bumpy and look amateurish. Two thin, even coats beat one thick coat every time.
Not letting layers dry fully. Impatience ruins more scratch off cards than bad technique. Each coat needs 30-45 minutes minimum. Rush it, and layers blend together into an unscratchable mess.
Using flimsy paper. Regular printer paper tears during scratching. Use 80 lb cardstock minimum. 4OVER4 prints on heavy stock that handles scratching without any damage.
Best 4OVER4 Products for Scratch Off Card Projects
Once you've mastered DIY scratch off cards, 4OVER4's professional printing takes your project to the next level. Thick cardstock, precise scratch-off coatings, and bright full-color printing make a real difference when you're handing cards to customers or event guests.
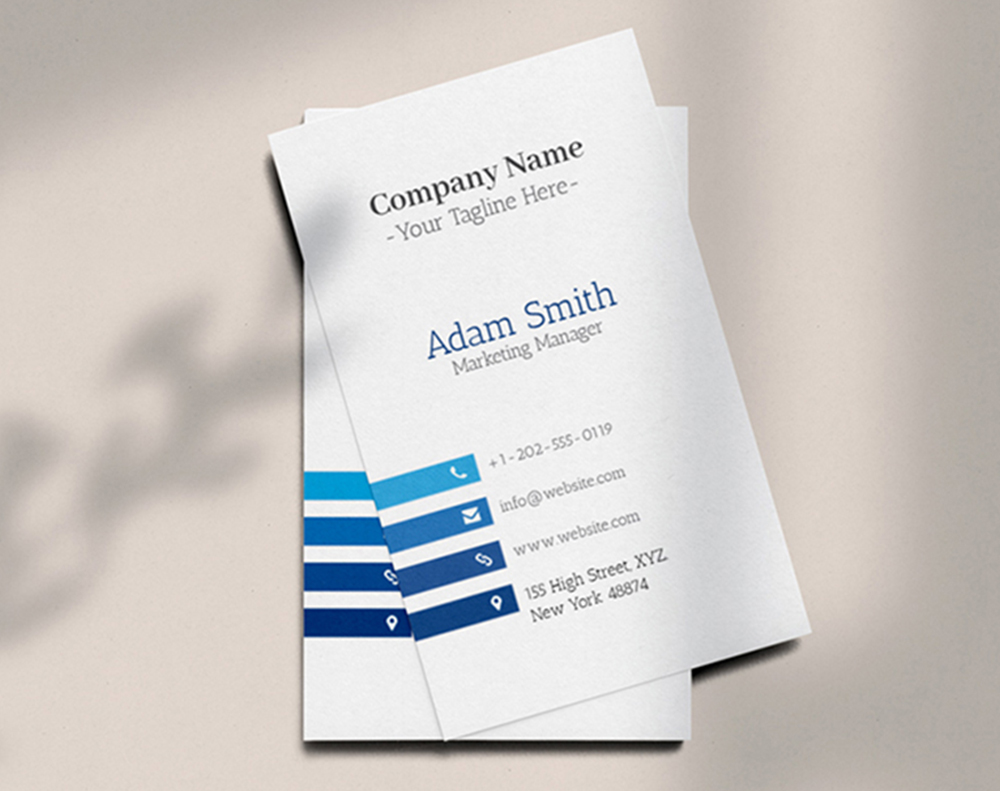
New to 4OVER4? Start with Free Business Cards to test the paper quality and printing before committing to a larger scratch card order. It's a smart way to feel the stock in your hands first. You can also grab Free Business Cards to use as mini scratch off card prototypes at business-card dimensions.
Here are the top product options for your scratch off card project:
-
Cardstock Paper: Opt for sturdy cardstock paper to ensure durability and a professional finish.
-
Clear Self-Adhesive Paper or Tape: This will be used to cover the scratch-off area securely.
-
Acrylic Paints or Markers: Choose vibrant colors to make your designs pop.
-
Paintbrushes or Fine-tipped Markers: These tools are essential for intricate designs and precise detailing.
-
Scissors or Paper Cutter: To cut the scratch-off cards to your desired size and shape.
-
Templates or Stencils: Card templates are optional but helpful for beginners or for creating uniform designs.
-
Scratch-Off Stickers or Paint: You can either purchase pre-made scratch-off stickers or create your own using metallic acrylic paint mixed with dish soap
-
Themed Scratch-Offs: Consider the occasion or theme of your event when you make your own scratch cards, making each ticket a bespoke piece of art. Whether it's a birthday, wedding, baby shower, or holiday celebration, tailor your designs to match the mood and atmosphere.
-
Personalized Messages: Add a personal touch by incorporating custom messages or inside jokes that resonate with the recipient.
- Interactive Elements: Get creative with interactive elements such as puzzles, riddles, or trivia questions hidden beneath the scratch-off surface.
-
Surprise Reveals, an exciting aspect of crafting your own lottery ticket-like experiences.: Create anticipation by concealing prizes, discounts, or secret messages beneath the scratch-off coating.
-
Brand Promotion: If using scratch-off cards for business purposes, incorporate your brand colors, logo, and tagline to reinforce brand recognition.
-
Practice on Test Cards: Before creating your final designs, experiment with different techniques and materials on test cards to perfect your process.
-
Allow Sufficient Drying Time: Be patient and allow each layer of paint or adhesive to dry completely before applying the next layer or assembling the cards.
-
Use High-Quality Materials: Invest in quality paper, paints, and adhesives to achieve professional-looking results that will impress recipients.
-
Protect Finished Cards: Once your scratch-off cards are complete, consider laminating them or sealing them with clear varnish to protect the design and ensure longevity.
-
Have Fun and Get Creative, as the process of making scratch off cards at home is a delightful craft activity.: Don't be afraid to think outside the box and let your imagination run wild. The beauty of DIY scratch-off cards lies in their uniqueness and personal touch, showcasing the art of craft.
"Ordered how to make lottery scratch off card from 4OVER4 and the quality blew me away. Sharp colors, premium feel, arrived 2 days early."
"Been using 4OVER4 for how to make lottery scratch off card for a year. Consistent quality every time. The online designer made it easy."
"Switched to 4OVER4 and saved 40% on how to make lottery scratch off card. Better quality than my old printer. 60+ paper options."
"4OVER4's how to make lottery scratch off card helped us look more professional. Clients notice the difference."
"I ordered scratch off promo cards through 4OVER4 for our restaurant's anniversary event. The coating scratched perfectly every time, and customers kept coming back to redeem their prizes. Way better than what I was making at home."
Free Lottery Scratch Off Card Templates

Your Scratch Off Card Questions, Answered
What's the best paint-to-soap ratio for scratch off coating?
Mix 2 parts metallic acrylic paint to 1 part dish soap. This ratio creates a coating that scratches off cleanly with a coin but won't rub off accidentally in a pocket or envelope. Test a few cards before making your full batch to confirm the consistency works.
Can I use an inkjet printer for scratch off cards?
Yes, but let inkjet prints dry for 24 hours before applying the clear adhesive layer. Inkjet ink is water-based and smears easily when wet. Laser printers are the better choice since toner bonds to paper immediately and won't bleed under contact paper.
How many coats of scratch-off paint do I need?
Two coats applied in alternating directions. The first coat goes on horizontally, the second vertically. This cross-hatch pattern ensures the hidden message is fully concealed. Three or more coats make the card too difficult to scratch and can crack or peel.
What cardstock weight works best for lottery scratch off cards?
Use 80 lb to 110 lb cardstock for DIY projects. Anything lighter tears during scratching. For reference, 110 lb cardstock feels close to a credit card's thickness. Professional scratch off cards from 4OVER4 use even heavier commercial stock for maximum durability.
Can I make scratch off cards without contact paper?
You can try applying the scratch-off mixture directly, but results are inconsistent. The paint tends to bond with printed ink, making it nearly impossible to scratch off without damaging the message underneath. Clear contact paper or wide packing tape is a small investment that makes a huge difference in quality.
How long do homemade scratch off cards last?
Stored in a cool, dry place, DIY scratch off cards last 3-6 months before the coating starts to degrade. Humidity is the enemy - it softens the coating over time. Professional scratch off cards with industrial coatings last much longer, making them better for campaigns that run over several weeks or months.
"I made scratch off cards for my daughter's birthday party using this method. The kids went crazy scratching to find out their prize. Next time I'll order through 4OVER4 for a bigger batch - the DIY version was fun but time-consuming for 30 cards."