Quick Takeaways for Making Greeting Cards
Learning how to make greeting cards starts with choosing the right paper stock, designing a layout that balances imagery with white space, and printing on quality material that feels good in someone's hands. 4OVER4.COM has printed over 10 billion cards across 1,000+ products, so the process is dialed in. Pick your size, choose a finish, upload your design or use a template, and you're done. The whole thing takes minutes once you know the steps.
Greeting Cards
Starting from $56.02
Free Design Templates:
Your Starting Point for Custom Greeting Cards
A handmade or custom-designed greeting card says something a store-bought one never can. It says you cared enough to think about it. Whether you're creating cards for a birthday, holiday, thank-you, or a business touchpoint, the process is simpler than most people expect.
| Quantity | Price Per Unit |
|---|---|
| 50 | $1.12 |
| 4,000 | $0.11 |
| 35,000 | $0.05 |
| 100,000 | $0.04 |
Ink Color
Finish
Scoring
Folding
Matching Blank Envelopes
Proof Options
Ink Color
Effect
Number of Flips
Effect Direction
Scoring
Folding
Matching Blank Envelopes
Proof Options
This guide walks you through how to make greeting cards from scratch - from picking your dimensions and paper to designing artwork and getting it printed. You'll also find ideas for adding interactive elements like a QR Code Generator link inside, or pairing your card with something unexpected like a Custom Magnets Faq insert. 4OVER4.COM makes the printing side effortless, but you still need a solid design. Let's get into it.
Ink Color
Die Cutting
Foil Stamping
Embossing
Spot UV
Edge Painting
Scoring
Proof Options
Below you'll find a few popular Greeting Card products to explore before we look at the details.
Step-by-Step: Designing and Printing Greeting Cards That People Actually Keep
Step 1 - Decide on Your Card's Purpose and Audience
Before you open any design software, get clear on who this card is for and what it needs to say. A birthday card for your best friend looks nothing like a holiday thank-you card from your business. Purpose drives every decision after this one - size, paper, imagery, tone.
Business greeting cards tend to lean clean and professional. Personal cards can go wild with color, hand-lettering, or photos. If you're making cards for an event like a bridal shower, check out Flat Bridal Shower Invites for inspiration on layout and sizing. Write down three things: who's receiving it, what's the occasion, and what feeling you want them to have when they open it.
Step 2 - Choose Your Card Size and Fold Style
Standard greeting card sizes include 5x7 inches (the classic), 4.25x5.5 inches (A2, great for quick notes), and 4x6 inches. The fold matters too. A single fold down the center is the most common. You can also go with a flat card - no fold at all - which works well for postcards or simple announcements.
Think about the envelope. Your card size determines your envelope size, and you want a snug fit. If you're planning to make your own envelopes, our guide on How To Make Envelopes covers that process in detail. Most people order matching envelopes alongside their cards, which keeps everything looking cohesive.
Step 3 - Pick the Right Paper Stock
Paper choice is where a greeting card goes from "nice" to "wow." Thin, flimsy paper feels cheap. A thick, textured stock feels like a gift in itself. Here's how to think about it:
- 14pt cardstock - Standard weight. Good for budget runs or large quantities. About the thickness of a cereal box panel.
- 16pt cardstock - A step up. Feels sturdy and big, similar to a credit card in thickness.
- 32pt ultra-thick - Premium and rigid. People don't throw these away. They prop them up on their desk.
- Linen or textured stocks - Add a tactile element that makes the card feel handcrafted even when it's professionally printed.
4OVER4.COM offers 60+ paper types, so you're not limited to standard options. Kraft paper gives a rustic, earthy vibe. Pearl or metallic stocks catch light beautifully for holiday cards. Match your paper to your purpose.
Step 4 - Design Your Artwork
Here's where the creative part kicks in. You've got a few paths depending on your skill level:
Use a template. 4OVER4.COM provides ready-to-customize templates that handle the layout, bleed lines, and safe zones for you. Just swap in your text, photos, and colors. This is the fastest route if you're not a designer.
Blank Templates

Design from scratch. Tools like Canva, Adobe Illustrator, or InDesign give you full control. Set your document to the correct dimensions (including 0.125" bleed on all sides), work in CMYK color mode for accurate print colors, and keep important text at least 0.25" from the trim edge.
Hand-draw and scan. If you want that true handmade feel, sketch your design on paper, scan it at 300 DPI, and clean it up digitally. This approach works beautifully for watercolor cards, ink illustrations, or calligraphy. The principles here are similar to what you'd use when learning How To Make Flyers - strong visuals, clear hierarchy, and readable text.
A few design tips that separate good cards from great ones:
- Leave breathing room. Don't cram every inch with content. White space makes your message feel intentional.
- Limit your fonts to two. One for headings, one for body text. Three fonts and things start looking chaotic.
- Use high-resolution images. Anything below 300 DPI will look blurry in print. Phone photos work if they're well-lit and not cropped too aggressively.
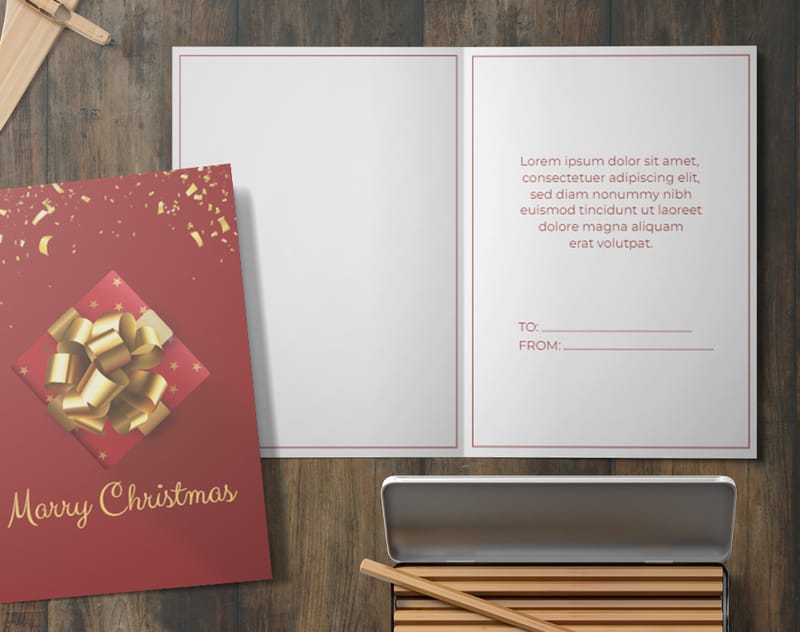
- Think about the inside. The front gets all the attention during design, but the inside is where your message lives. Don't neglect it.
Step 5 - Add Finishing Touches
Finishes transform a printed card into something special. Here are your main options:
Matte finish gives a soft, smooth feel with no glare. It's elegant and understated - perfect for sympathy cards, formal invitations, or minimalist designs. Gloss finish makes colors pop and adds a slight shine. Great for photo-heavy cards or anything bright. Soft-touch lamination creates a velvety texture that people can't stop touching. It's a premium choice that makes any card feel expensive.
You can also add spot UV coating to highlight specific elements - like making a logo or illustration glossy while the rest stays matte. Foil stamping in gold or silver adds a luxurious metallic accent. If you use rubber stamps for additional embellishment, our guide on How To Clean Rubber Stamps will help you maintain them between uses.
Step 6 - Set Up Your Print File Correctly
This is where most DIY card makers run into trouble. Your digital design needs to follow specific rules to print correctly:
- Bleed: Extend your background and images 0.125" past the trim line on all sides. This prevents white edges after cutting.
- Safe zone: Keep all text and important elements at least 0.25" inside the trim line.
- Color mode: Convert everything to CMYK. RGB colors (what your screen shows) often look different when printed.
- Resolution: 300 DPI minimum. No exceptions.
- File format: PDF is the gold standard for print files. It preserves fonts, colors, and layout.
If you've ever set up a folded print piece before - like when learning How To Fold A Brochure - the file setup principles are nearly identical. Panels need to be in the right order, and fold lines need to be clearly marked.
Step 7 - Print and Review
Upload your file, select your paper stock and finish, choose your quantity, and order a proof. Always review the proof. Check for typos, color accuracy, and alignment. A fresh pair of eyes helps here - ask someone else to look at it before you approve.
4OVER4.COM ships with a 99.8% on-time delivery rate, so once you approve, your cards arrive when expected. For more printing guides and design resources, browse the Faq Hub for step-by-step walkthroughs on dozens of print products.
"I designed my own holiday greeting cards for the first time using 32pt stock with soft-touch lamination. My clients thought I hired a professional designer. The texture alone made them feel like luxury gifts."
- Rachel K., small business owner ★★★★★
Here's a look at what other customers have created, along with templates to help you get started.
Mistakes That Ruin Greeting Cards (and How to Dodge Them)
Even experienced designers slip up when making greeting cards. Here are the most common pitfalls:
Ignoring bleed and safe zones. This is the number one mistake. Your design looks perfect on screen, then arrives with text cut off or white edges showing. Always set up bleed at 0.125" and keep text inside the safe zone.
Designing in RGB instead of CMYK. That bright neon green on your monitor? It'll print as a dull olive if you don't convert to CMYK before exporting. 4OVER4.COM prints in CMYK, so design in it from the start.
Choosing the wrong paper for the occasion. A glossy, colorful stock for a sympathy card feels tone-deaf. A thin, flimsy stock for a premium thank-you card feels cheap. Match your paper weight and finish to the card's emotional tone.
Overcrowding the design. More isn't better. One strong image and a short, heartfelt message beats a cluttered collage with three fonts and six colors every time.
Skipping the proof. Always order a proof or at least review the digital preview carefully. Catching a typo before printing 500 cards saves money and embarrassment.
Best Greeting Card Products for Your Next Project
Once you know how to make greeting cards, the next step is choosing the right product to bring your design to life. 4OVER4.COM offers several Greeting Card options - from classic flat and folded styles to eye-catching 3D Lenticular Greeting Cards that add motion and depth.
If you're working on event-related cards, you might also want to check out Invitations for budget-friendly options. And for recurring occasions, stock up through the same invitations printing collection to keep costs low.
Ink Color
Finish
Scoring
Folding
Matching Blank Envelopes
Proof Options
Here's a closer look at products, pricing, specs, and what real customers are saying.
Free Design Templates
Common Questions About Making Greeting Cards
What's the best paper thickness for greeting cards?
For most greeting cards, 16pt cardstock hits the sweet spot between quality and cost. It feels sturdy and professional. If you want a premium, gift-like feel, go with 32pt ultra-thick stock. For large-quantity mailings on a budget, 14pt works fine.
Can I print greeting cards with my own artwork or photos?
Yes. Upload your own design as a print-ready PDF at 300 DPI in CMYK color mode. Include 0.125" bleed on all sides. 4OVER4.COM also offers templates if you'd rather start with a pre-built layout and customize from there.
What size should I make my greeting cards?
5x7 inches is the most popular greeting card size. It fits standard A7 envelopes and gives you plenty of room for artwork and a message. Smaller A2 cards (4.25x5.5") work well for short thank-you notes or quick personal messages.
How do I add a QR code to my greeting card?
Use 4OVER4.COM's free QR Code Generator to create a code that links to a video message, website, or digital gift. Place it on the back of the card or inside near your written message. Make sure the QR code is at least 1x1 inch so phones can scan it easily.
What's the difference between matte and gloss finish on greeting cards?
Matte finish has no shine and feels smooth and understated. It's ideal for elegant or formal cards. Gloss finish reflects light and makes colors appear more vivid - great for photo cards or bright holiday designs. Soft-touch lamination adds a velvety texture that feels premium.
How long does it take to get greeting cards printed and delivered?
4OVER4.COM maintains a 99.8% on-time delivery rate. Standard turnaround is typically a few business days depending on quantity and finishing options. Rush and same-day printing options are available for tight deadlines.
"I ordered 200 thank-you greeting cards on linen stock with matte finish. They arrived two days early and looked exactly like my proof. My wedding guests loved them."
- Danielle P., bride ★★★★★
