What You Need to Know Before Making Invitations
Learning how to make invitations starts with three things: picking the right size, choosing paper that matches your event's tone, and designing with print-safe margins. Whether you're figuring out how to make baby shower invitations or planning a formal gala, 4OVER4.COM gives you access to 1,000+ products and 60+ paper types so your invite looks and feels exactly right. This guide walks you through every step - from concept to mailbox.
Your Starting Point for Standout Invitations
| Quantity | Price Per Unit |
|---|---|
| 25 | $0.79 |
| 3,000 | $0.06 |
| 30,000 | $0.03 |
| 100,000 | $0.02 |
Ink Color
Finish
Rounded Corners
Matching Blank Envelopes
Total Sets
Proof Options
Ink Color
Finish
Scoring
Folding
Matching Blank Envelopes
Proof Options
Ink Color
Finish
Diecut Trim
Proof Options
A great invitation does more than share details. It sets the mood before anyone walks through the door. The texture of the paper, the weight in someone's hand, the finish catching light - these things tell your guests this event matters.
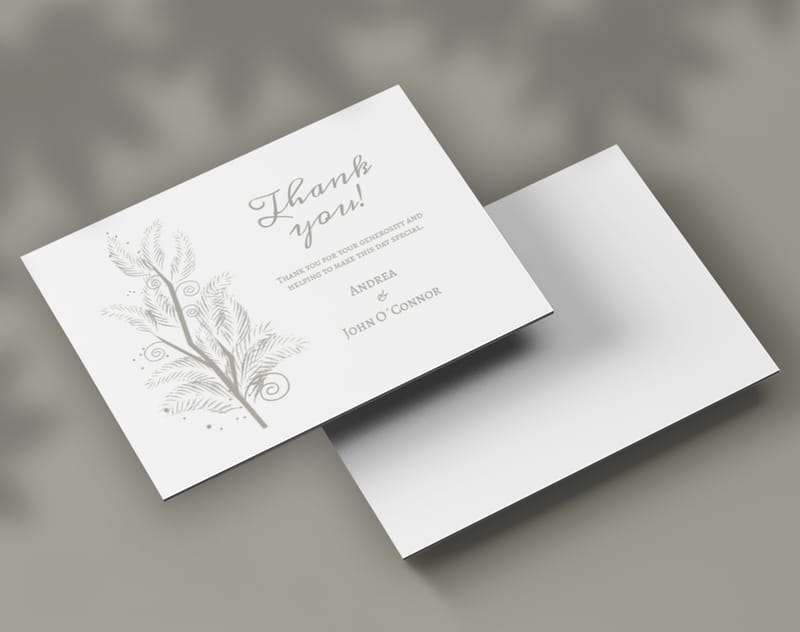
This guide covers how to make invitations for any occasion. Weddings, birthdays, baby showers, graduations - you'll learn how to pick paper stocks, set up your design files, choose the right finish, and avoid the mistakes that lead to reprints. If you're new to print design, start with Design Templates to get a head start. You might also find our guides on How To Make Envelopes and Custom Magnets Faq helpful for completing your invitation suite.
4OVER4.COM has printed 10 billion+ cards since 1999. That's a lot of invitations done right. Let's get yours started.
Step-by-Step: How to Design, Build, and Print Invitations
Step 1: Define Your Event and Choose an Invitation Style
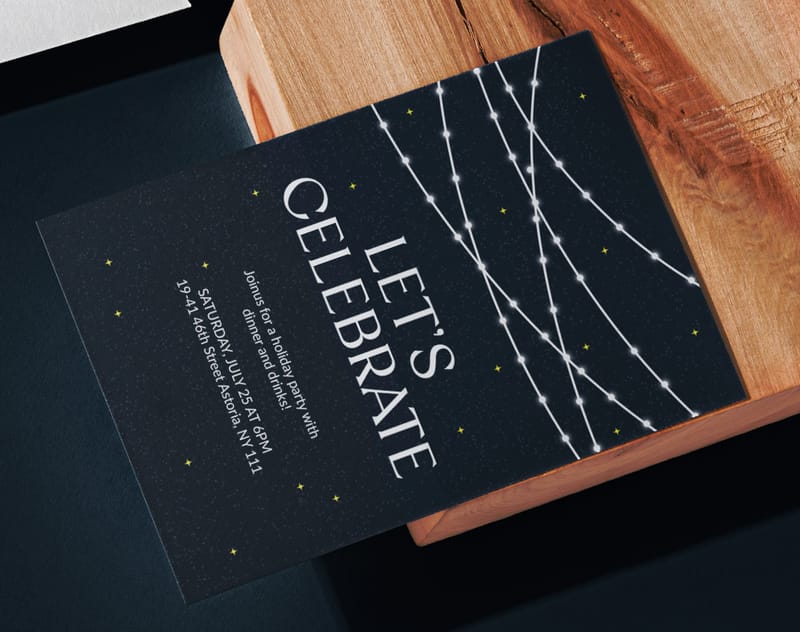
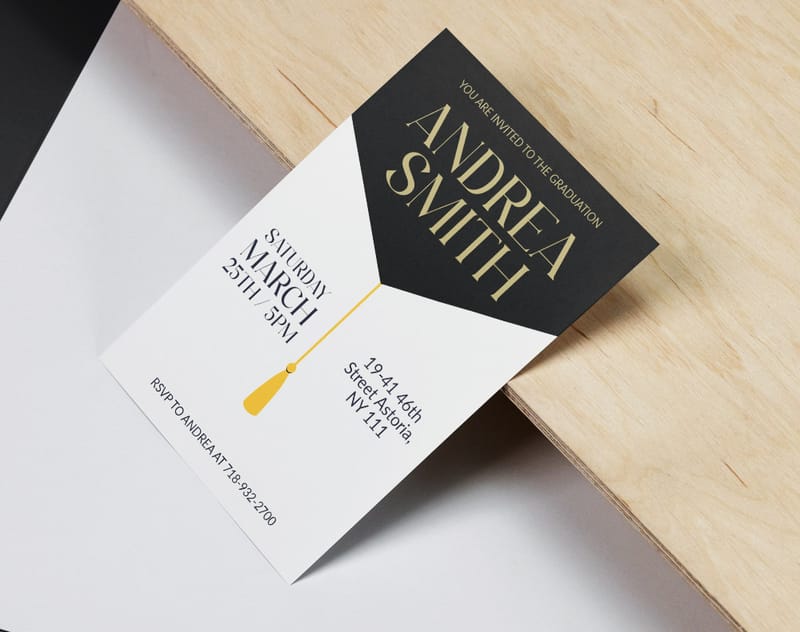
Before you open any design tool, answer one question: what's the vibe? A backyard birthday party calls for something playful and colorful. A black-tie wedding demands elegance - think foil accents, heavier stock, maybe a fold. How to make birthday invitations and how to make wedding invitations are two very different projects, and the style should match.
Flat Invitation Cards work great for casual events, save-the-dates, and simple announcements. Folded Invitations give you extra real estate for details - maps, itineraries, registry info. Shaped Invitations break the mold entirely and grab attention the second they land in someone's hands.
Free Design Templates:
Folded Invitations
Starting from $38.22
Free Design Templates:
Think about what your guests need to know. A graduation party might need just a date, time, and address. A baby shower could include a gift registry, a theme, and RSVP details. Match the format to the information. If you need design inspiration for other print projects, check out our Faq Hub for dozens of how-to guides.
Step 2: Pick the Right Paper Stock and Finish
Paper choice makes or breaks an invitation. Hold a flimsy invite and you think "cheap." Hold something thick with a soft-touch coating and you think "this is going to be a good party."
Here's how to think about it:
- 14pt cardstock - solid everyday weight, good for casual gatherings and budget-friendly runs
- 16pt cardstock - about the thickness of a credit card, works for most invitations
- 32pt ultra-thick - rigid, hefty, impossible to ignore, perfect for weddings and upscale events
- Kraft paper - rustic, earthy feel for barn weddings, outdoor parties, eco-conscious hosts
- Linen or textured stocks - adds a tactile element that photographs can't capture
Finishes change the personality too. Matte feels modern and understated. Gloss makes colors pop. Soft-touch lamination feels velvety - guests literally won't want to put it down. Spot UV adds a raised, shiny accent to specific design elements like a monogram or border.
If you're making Flat Bridal Shower Invites, a linen stock with matte finish gives that elegant-but-approachable feel. For kids' birthday parties, go glossy with bright colors on 14pt.
Invitation Cards
Starting from $19.77
Free Design Templates:
"We ordered shaped invitations on 32pt stock for our daughter's first birthday. People kept saying they'd never received an invitation that felt so special. A few guests even framed them."
Monica R., ★★★★★
Step 3: Set Up Your Design File Correctly
This is where most DIY invitation projects go sideways. Your design might look perfect on screen and print completely wrong. Here's what you need to nail:
Resolution: Set your file to 300 DPI minimum. Anything lower and your text will look fuzzy, your images will look pixelated. Screen resolution (72 DPI) is not print resolution. Ever.
Color mode: Design in CMYK, not RGB. Your monitor uses RGB. Printers use CMYK. If you design in RGB, your bright reds might print as dull oranges. Convert before you export.
Bleed area: Add 0.125 inches of bleed on all sides. This means your background colors and images should extend past the trim line. Without bleed, you risk thin white edges where the cutter lands. It's the most common mistake in DIY print design.
Safe zone: Keep all important text and logos at least 0.125 inches inside the trim line. Text too close to the edge gets cut off or looks cramped.
Don't have design software? 4OVER4.COM offers Blank Templates pre-formatted with the right dimensions, bleed, and safe zones. Just drop in your content. You can also learn similar layout principles in our guide on How To Fold A Brochure - the bleed and margin rules apply to invitations too.
Blank Templates
Step 4: Write Invitation Copy That Works
Good invitation wording is clear, complete, and matches the tone of your event. Don't overthink it, but don't underthink it either.
Every invitation needs these basics:
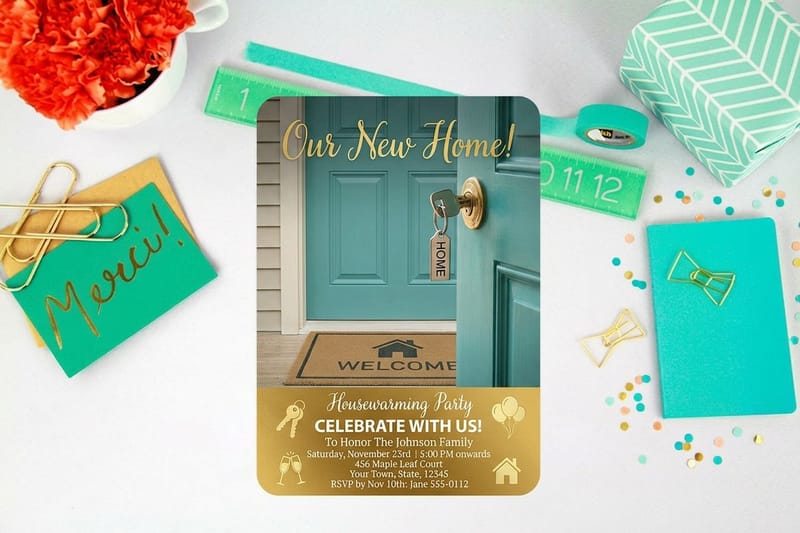
- Who's hosting - "Join Sarah and Mike" or "The Johnson Family invites you"
- What the event is - birthday, wedding, baby shower, graduation, dinner party
- When - date and time, spelled out for formal events
- Where - full address plus venue name
- RSVP details - phone, email, or website with a deadline
For formal events like weddings, use traditional phrasing: "request the honor of your presence." For casual events, keep it relaxed: "Come celebrate with us!" When figuring out how to make baby shower invitations, include the registry info and the theme if there is one.
One tip: read your copy out loud. If it sounds stiff or confusing, rewrite it. Your guests should understand everything in one quick read.
Step 5: Choose Your Size and Quantity
Standard invitation sizes include 4x6, 5x7, and 6x9 inches. The 5x7 is the most popular - big enough to feel big, small enough to fit standard A7 envelopes without custom ordering.
For quantity, count your guest list and add 10-15% extra. You'll want extras for last-minute additions, keepsakes, and the inevitable "I lost mine, can you send another?" moment. Ordering more upfront is always cheaper per piece than reordering a small batch later.
If you're also creating related materials like event flyers, our guide on How To Make Flyers covers similar design and sizing principles.
Step 6: Review, Proof, and Print
Before you hit "order," triple-check everything. Seriously. Print a test copy on your home printer to check layout and spacing. Have someone else read the copy for typos - you've been staring at it too long to catch your own mistakes.
Check these specifically:
- Is the date correct? (You'd be surprised how often it's wrong.)
- Is the address complete with zip code?
- Is the RSVP deadline realistic - at least 2-3 weeks before the event?
- Are all names spelled correctly?
- Does the design look balanced with enough white space?
4OVER4.COM provides a digital proof before printing so you can catch issues. Take advantage of it. Look at it on your phone and your computer - colors and spacing can look different on each screen.
"I almost missed a typo in our wedding date. The proof process caught it before anything went to press. Saved us from a very embarrassing situation."
David L., ★★★★★
For finishing touches like return address stamps on your envelopes, our guide on How To Clean Rubber Stamps will keep your stamp kit in good shape between uses.
Below you'll find ready-to-use templates that take the guesswork out of sizing and layout. Pick one, customize it, and you're halfway to a finished invitation.
Invitation Mistakes That Cost You Time and Money
Even experienced designers slip up when making invitations. Here are the errors 4OVER4.COM sees most often - and how to avoid them.
Skipping the bleed. No bleed means white edges on your printed piece. Always extend backgrounds 0.125 inches past the trim line. This is the number one reason people reorder.
Using low-resolution images. That photo from Instagram? It's 72 DPI. You need 300 DPI for print. Stretch a small image to fill a 5x7 card and it'll look like a blurry mess.
Forgetting RSVP details. You'd be shocked how many beautiful invitations go out without a way to respond. Always include a deadline, method, and contact.
Choosing the wrong paper for the occasion. A 14pt glossy card works for a pool party. It doesn't work for a formal wedding. Match paper weight and finish to the event's tone.
Ordering exact quantities. Always order 10-15% more than your guest count. Last-minute additions happen. Envelopes get damaged. Plan for it.
Best Invitation Products for Every Occasion
Now that you know how to make invitations, pick the format that fits your event. 4OVER4.COM offers flat, folded, and shaped options across 60+ paper types. Want to test the waters first? Try Invitations to see the print quality before committing to a full order.
If you're also building brand materials alongside event planning, Free Business Cards let you sample 4OVER4.COM's paper stocks at no cost. And for baby showers or birthday parties on a budget, grab another round of premium invitations to hand out to close friends and family.
Here's a look at pricing and specs for the most popular invitation formats:
Free Design Templates

Ink Color
Finish
Scoring
Folding
Matching Blank Envelopes
Proof Options
Common Questions About Making Invitations
What's the best paper stock for wedding invitations?
For weddings, 32pt ultra-thick cardstock or a textured linen stock gives the premium, hefty feel guests expect. A matte or soft-touch finish adds elegance. If you're learning how to make wedding invitations, start with heavier paper - it signals that this event is special.
How far in advance should I order printed invitations?
Order at least 4-6 weeks before you need to mail them. This gives you time for proofing, printing, and addressing. Wedding invitations should go out 6-8 weeks before the event. Baby shower and birthday invitations need 3-4 weeks lead time.
Can I design invitations without professional software?
Yes. 4OVER4.COM provides free design templates and blank templates pre-set with correct dimensions and bleed areas. You can also use free tools like Canva - just make sure you export at 300 DPI in CMYK color mode for accurate print results.
What size works best for most invitations?
The 5x7 inch format is the most versatile. It fits standard A7 envelopes, provides enough space for event details, and feels big in hand. For simpler events, a 4x6 works well and saves on postage costs.
How do I make baby shower invitations that stand out?
When figuring out how to make baby shower invitations, consider shaped invitations - think onesie or bottle shapes. Use soft, pastel-toned designs on a textured stock. Include the theme, registry details, and any game instructions right on the card so guests have everything in one place.
What file format should I use for printing invitations?
Submit your design as a high-resolution PDF with fonts embedded or outlined. PDF preserves your layout, colors, and resolution exactly as you designed them. Avoid submitting JPEGs or PNGs - they can lose quality during compression and don't support CMYK natively.
How many invitations should I order for my event?
Count your guest list (households, not individual guests) and add 10-15% extra. If you have 80 households on your list, order 90-95 invitations. The extras cover last-minute additions, damaged envelopes, and keepsakes. Per-unit cost drops at higher quantities, so ordering a few more saves money long-term.