
How to Make Painted Edge Business Cards That Pop with Color


Add a bold stripe of color to the edge of a thick card and a standard business card turns into something people actually keep. Here is how to do it by hand and how to order a flawless professional run.
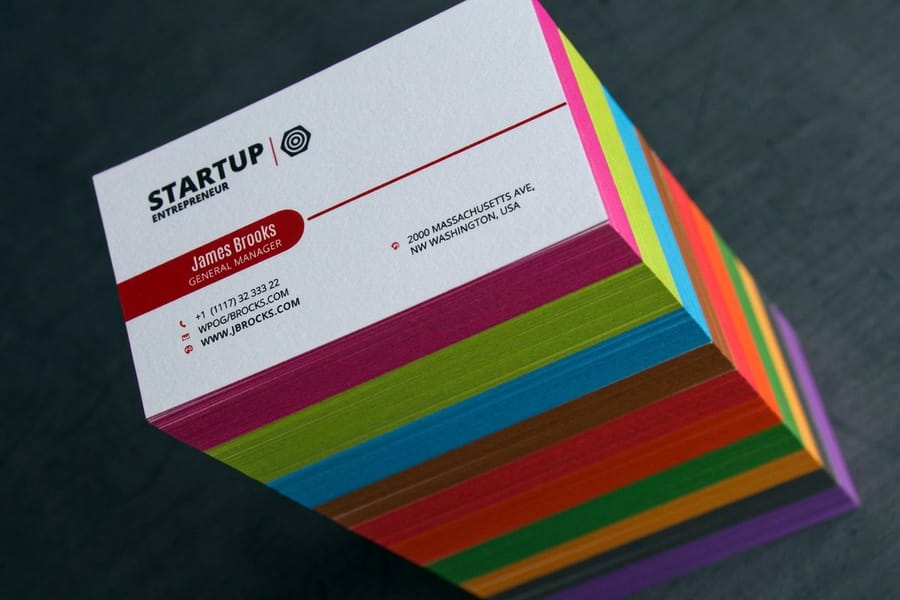
To make painted edge business cards, start with thick 32pt stock so the edge has room to show color. For DIY, clamp a tight stack and brush on two thin coats of acrylic, then dry for two hours before separating. For volume, order a professional run so every card gets an identical, precise edge. Match the color to your brand, or go metallic gold or silver for a premium finish.
Quick tips
Quick tips for painted edge business cards
Start with 32pt stock or thicker so the edge has room to carry color. For DIY, clamp a tight stack and brush on two thin coats of acrylic, waiting 10 to 15 minutes between coats, then dry a full two hours before separating. Match the edge to your brand color, or go metallic for a premium look. For 250 cards or more, a professional run from 4OVER4.COM gives identical edges on every card.
Watch it printed
See edge painted business cards on the press, in 130 seconds
Why painted edge business cards get kept, not tossed
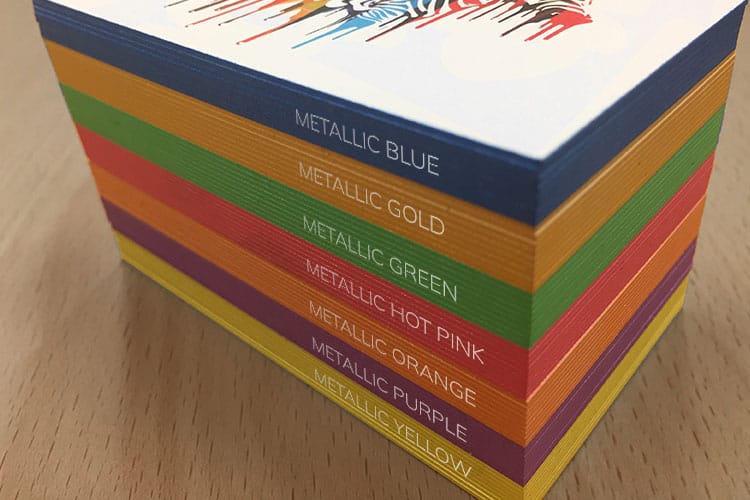
Most business cards land in the trash within a week. Painted edge business cards do not. That flash of color along the side catches attention before anyone reads your name, and it signals that you care about details. That impression sticks.
The look is easy to reach once you know the method. You can paint the edges by hand for a small batch, or order a professional run from 4OVER4.COM on thick card stock that holds edge color cleanly. Thicker stock means sharper lines and a more striking finished card.
This guide walks through both routes, the hands-on brush method and the faster online order. If you are also lining up other print projects, like a run of custom magnets or working out how to make envelopes, the same attention to stock and finish carries straight over.
What makes painted edge business cards different
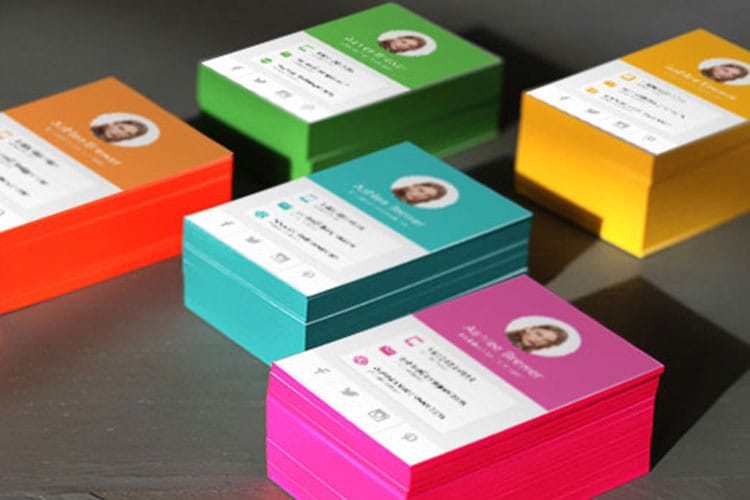
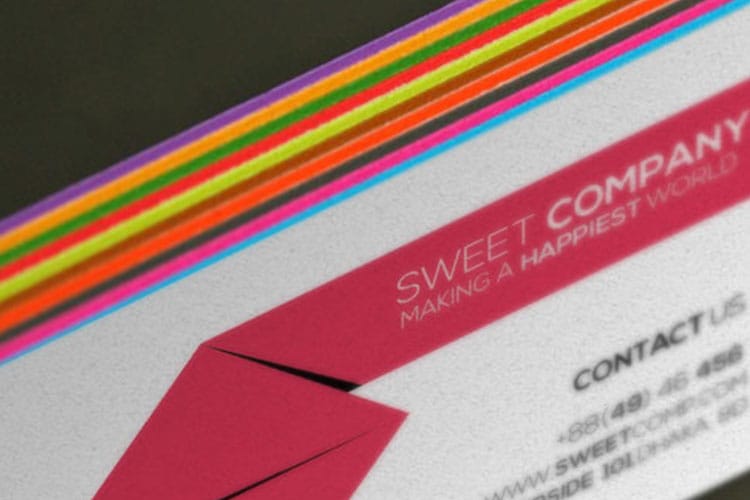
Standard cards use the front and the back for design. That is it. Painted edge business cards go one step further and add a visible band of color to the exposed edge. Stack a pile on a desk and that color pops. It is a small detail with outsized impact.
The technique works best on thick card stock. A thin 14pt card barely has a visible edge. At 32pt or thicker the edge becomes a real design element, bold enough to carry a brand color and clean enough to stay refined.
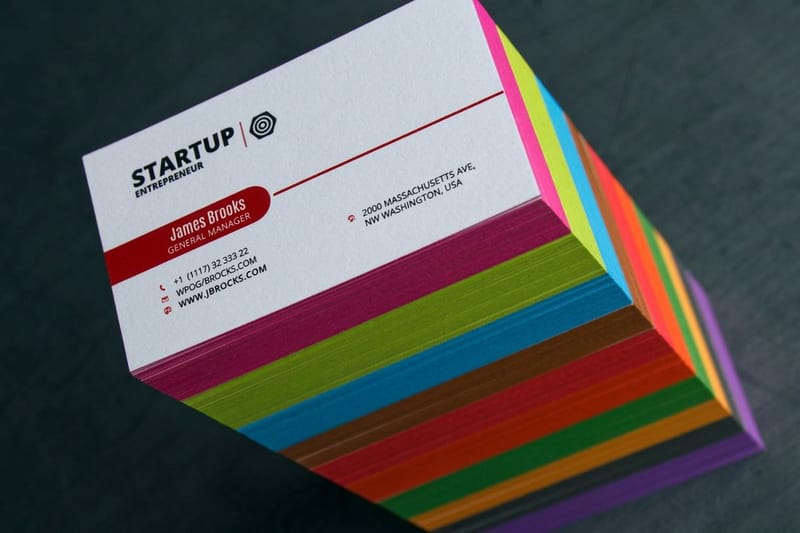
Creative professionals reach for them first, photographers, designers, and architects. They are not just for creative fields though. Real estate agents pick gold or silver edges to signal luxury listings, attorneys choose deep navy or black for a serious and polished feel, and salon owners match the edge to their brand palette. If your work runs on face-to-face networking, a painted edge is a literal conversation starter that people remember.
The DIY method: painting card edges by hand
Want to try this yourself? Here is what you need and exactly how to do it right.
Materials you will need:
- Thick business cards at 32pt minimum. Thinner stock absorbs paint unevenly and warps.
- Acrylic paint for quick drying, vivid color, and less bleed into the paper fibers than water-based alternatives.
- A flat-edge or foam brush about 1 inch wide for even strokes.
- Binder clips or a card press to hold the stack tight while you paint.
- A disposable plate or palette for your paint.
- Painter tape, optional but handy for shielding card faces from drips.
Step 1. Stack and clamp your cards. Line the cards into a neat, tight stack and press them together firmly with binder clips or a small clamp. The tighter the stack, the cleaner the edge. Any gap between cards lets paint seep where you do not want it.
Step 2. Prep the edge. Run a finger along the exposed edge. It should feel smooth and flat. If cards are misaligned, restack. On coated stocks you can lightly sand the edge with fine 220 grit paper for better paint adhesion.
Step 3. Apply paint in thin, even coats. Dip the brush lightly and do not overload it. Stroke in one direction along the edge. Two thin coats beat one thick coat every time, because thick applications pool, drip, and dry uneven. Wait 10 to 15 minutes between coats.
Step 4. Let them dry completely. Give the stack at least 2 hours before unclamping. Rushing this step means smudged edges and cards sticking together. In a humid room, wait longer.
Step 5. Separate carefully. Gently fan the cards apart. If any stick, slide a thin blade between them. Do not pull, or you will tear the surface.
That is the DIY route. It is satisfying and works great for small batches of 25 to 50 cards, though consistency drops fast beyond that. For more hands-on projects, our guide hub covers everything from how to make flyers to how to fold a brochure.
Ordering painted edge business cards online
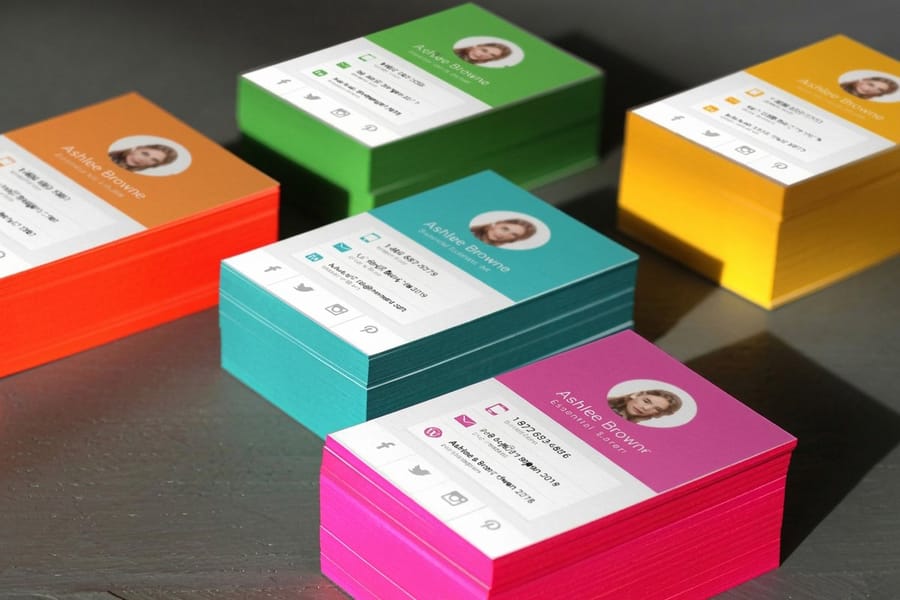
DIY is a fun weekend project. But when you need 250, 500, or 1,000 cards with perfectly uniform edges, order them professionally. The jump in quality is immediately obvious.
4OVER4.COM prints on thick card stocks built for edge work, and the color goes on with precision equipment. No brush strokes, no drips, and no card-to-card drift.
Choose your card stock. Go thick. 32pt is the sweet spot for painted edge business cards because it gives the edge enough surface to really show off the color. Some customers go heavier for an ultra-premium feel.
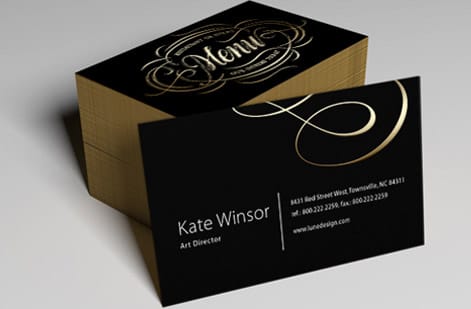
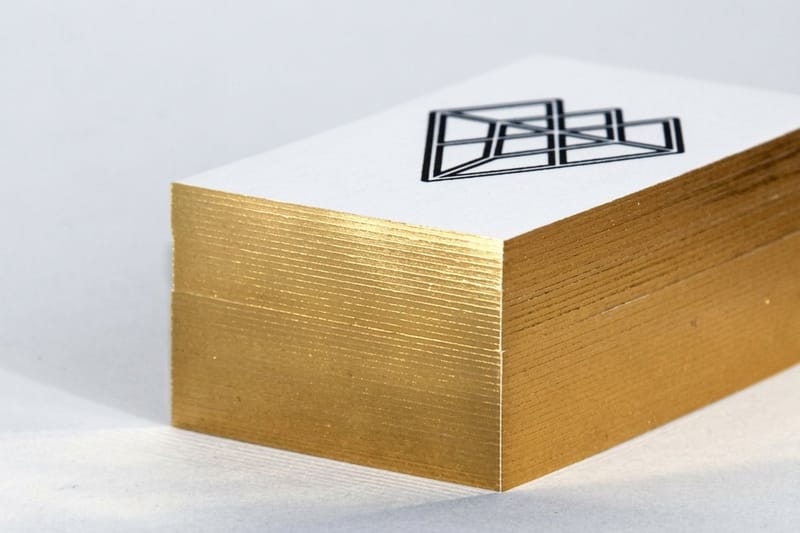
Pick your edge color. Match it to your logo or brand palette, or reach for a metallic like gold or silver for instant sophistication. Bold contrast works well, like a white card with a bright red edge or a black card with a gold edge.
Design your card faces. Keep the front and back clean, since the edge color is already doing the heavy lifting. You can start from our blank templates page, including ready layouts for edge painted business cards and edge gilded business cards, or build your art from scratch in the online designer.
Upload and proof. Always review your digital proof before approving. Check that the edge color selection is correct and your artwork has proper bleed settings.
The DIY route costs less per card, since you are only buying paint and using cards you already have, but the time adds up and you will likely waste 10 to 20 percent on mistakes. Professional printing costs more upfront and delivers perfect consistency on every single card. For anyone handing out cards at conferences, client meetings, or networking events, that consistency is worth it.
Painted edge business card specs at a glance
- Stock thickness. 32pt is the starting point, because a thinner card gives the color no edge to live on. Thicker stock widens the band and reads more premium in the hand.
- Edge colors. Brand colors matched to your palette, plus metallics like gold, silver, rose gold, and copper. Multi-color and gradient edges exist but cost more and are less common.
- Quantity. 250, 500, and 1,000 are the common runs, and the per-card price falls at each step. Below 50 cards you are into DIY territory.
- Files and proofing. Full bleed artwork with trim and safe zone respected, then a digital proof to approve before anything runs. Start from the edge painted business card templates if you want the margins handled for you.
Ordering painted edge cards, 4OVER4 versus typical online printers
Edge color range. Most online printers treat a painted edge as a one or two color upsell. Here it is a finish, so matched brand colors and metallics both sit on the menu, next to edge gilded business cards when you want a foil edge instead of a painted one.
Stock thickness. A printer that stops at 14pt cannot give you a real edge no matter how good the mockup looks, because thickness is the entire effect. That is why 32pt is the floor for painted edge business cards.
Minimums and proofing. A modest run you have proofed beats a cheap bulk run you have never seen. Order the smallest quantity you are comfortable with, check the edge color against your brand in daylight, then scale the reorder.
Turnaround. Edge work is a second pass after printing and cutting, so it adds a step for any printer who does it properly. Build that into the date of your conference or client meeting instead of ordering the same week.
Choosing the right card stock and finish

Not every stock takes edge paint the same way. Here is what to weigh before you commit.
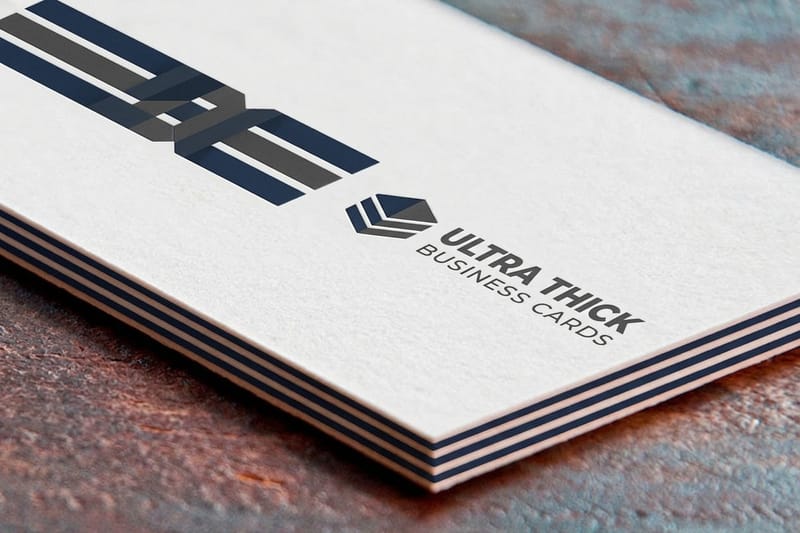
Thickness matters most. Thin 14pt cards have almost no edge to paint, so the color never makes an impact. Start at 32pt for DIY projects. For professional orders, ask about ultra thick options, since some stocks reach 48pt or use triplex layered cards.
Coated vs uncoated. Uncoated stock grips paint readily, which is good for adhesion but can let color bleed slightly into the fibers. Coated stock resists absorption for crisper lines, but it wants careful application or a light sand first. For DIY, uncoated is easier to work with. For professional printing, the printer handles adhesion regardless of coating.
Finish combinations that work. A matte or soft-touch face pairs beautifully with a glossy or metallic edge. That contrast in texture makes the card more interesting in hand, and it is the smooth face against a crisp, bold edge that makes people pause and look twice.
If you want a lower-impact run, our green printing stocks still deliver premium thickness, and you can round out a launch with custom invitations that match the card.
Color selection tips for painted edges
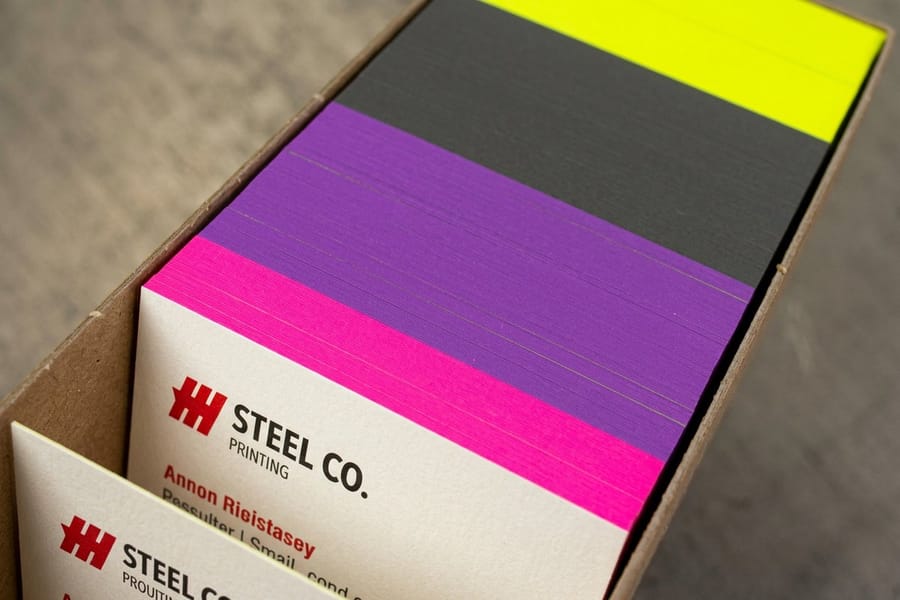
Your edge color makes or breaks the effect. Here are a few practical guidelines.
Match your brand. The simplest move is your primary brand color on the edge. If your logo is teal, paint the edge teal. That gives instant brand consistency, and it works especially well when the face uses a neutral background like white, cream, or black.
Go metallic for luxury. Gold, silver, rose gold, and copper edges read premium. They catch light differently depending on the angle, adding a subtle shimmer that flat color cannot replicate. Metallic edges pair well with minimalist designs, think clean type on a thick white stock.
Use contrast strategically. High contrast grabs attention. Dark card, bright edge. Light card, deep edge. The bigger the contrast, the more the edge pops when someone pulls your card from a stack or holder.
Avoid matching the edge too closely to the face color. A navy card with a navy edge erases the whole effect, so let the edge stand apart. For care tips that carry over to any DIY print supply, our guide on how to clean rubber stamps covers the basics.
Edge colors, grouped by the job they do
- Classic. Black, navy, deep teal, cream. Quiet against a white or black face, and where most law, finance, and consulting cards land. See how they read on painted edge business cards.
- Metallic. Gold, silver, rose gold, copper. These shift with the angle of the light, so they look richest against a minimal face with plenty of white space on 32pt stock.
- Bold and neon. Bright red, electric blue, hot pink. Maximum contrast against a white or black card, and the group that gets picked out of a stack fastest at an event. The same treatment carries onto painted edge postcards when the mailer has to match the card.
The sixteen edge colors on the menu, and how to match one to your brand
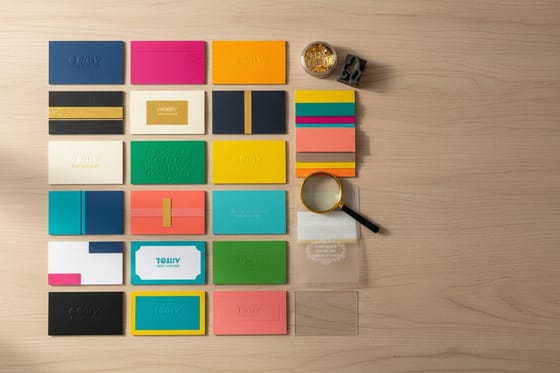
The edge painted business cards printed here carry one painted color around the full perimeter, chosen from 16 options that run from a sharp black and a deep blue to a warm brown, on a 32pt UltraWhite uncoated cover that is bright enough to make any of them read from the side.
Matching works the other way round from a DIY job. You cannot mix a custom shade, so pick the edge color first from the 16, then pull that value into the face design as an accent, a rule or the logo mark. The face is printed in full color and the edge is a fixed paint, so a hex value on the face will never be a perfect twin of the edge. When your brand color has no close neighbour on the menu, use black or the deep blue as the edge and let the face carry the brand color.
The other variables are small. Three sizes, the 2 by 3.5 inch standard, a 2.125 by 3.375 and a 2.5 inch square. Full color on the front with a blank back, or both sides. A set of 250 starts at $141.70 and a set of 2,000 is $482.19, roughly 57 cents a card at the bottom of the ladder and about 24 cents at the top. Standard turnaround is 5 business days with a free online proof, and the proof is where you check the edge color against the face.
Mistakes that ruin painted edge business cards
Even a great concept falls flat with poor execution. These are the most common errors people make, and how to avoid them.
Using thin card stock. Anything under 32pt barely shows the edge color, so you do all that work for a result nobody notices. Always start thick.
Applying paint too thick. One heavy coat creates drips, uneven coverage, and cards that stick together. Two thin coats, every time.
Not clamping tightly enough. Loose stacks let paint seep between cards and stain the faces. Use firm, even pressure across the whole stack.
Rushing the drying time. Pulling cards apart before the paint is fully dry causes smearing and tearing. Give it at least two hours, more in humid conditions.
Choosing a color that clashes. Your edge color should complement the design, not fight it. Test your combination on two or three cards before painting the whole batch.
Ordering through 4OVER4.COM removes most of these risks entirely, because professional edge painting uses precision application that stays consistent across every card in your run.
Wally explains painted edges
A colored edge is the detail people remember
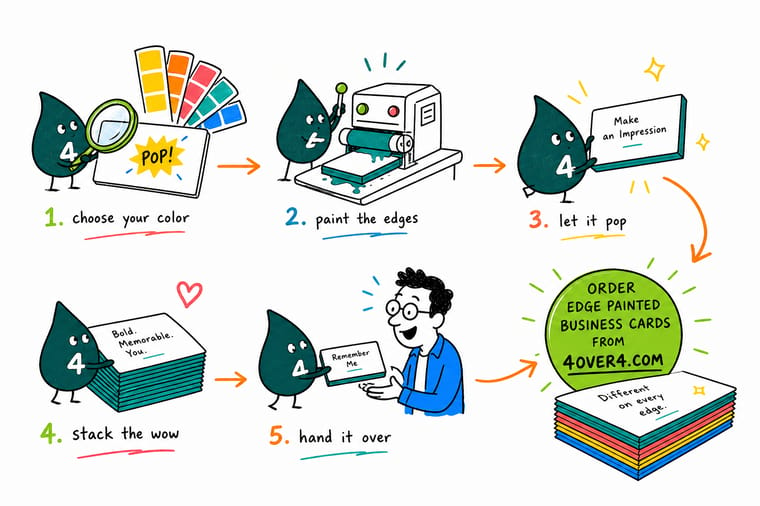
Wally treats the edge like a second cover. On a thick 32pt card that thin band of color is the first thing people see, and it says you sweat the details before they read a single word. Paint it yourself for a small batch, or let 4OVER4 lay down a flawless, uniform edge across hundreds of cards so every one you hand out lands the same premium way.
Order painted edge cards →Specs and pricing
Edge painted business card specs and pricing
When you skip the brush and order a professional run, here is what an edge painted business card gives you at 4OVER4.COM, with live specs and price-per-unit straight from the configurator, including 16 edge color options.

| Quantity | Price Per Unit | Total |
|---|---|---|
| 250 | 56.7¢ | $141.70 |
| 500 | 37.1¢ | $185.63 |
| 1,000 | 28.4¢ | $284.49 |
| 2,000 | 24.1¢ | $482.19 |
Print it
Order painted edge cards and premium stock at 4OVER4
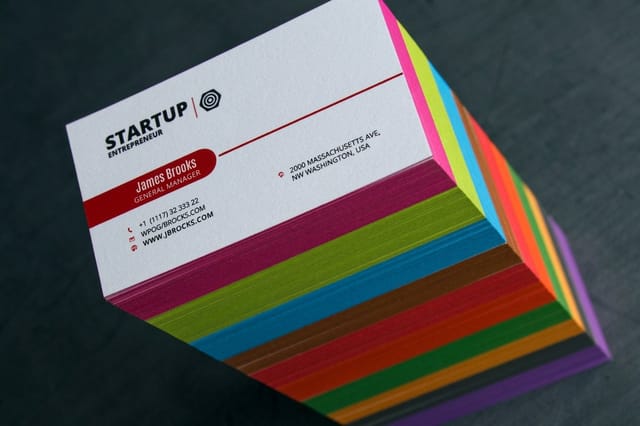
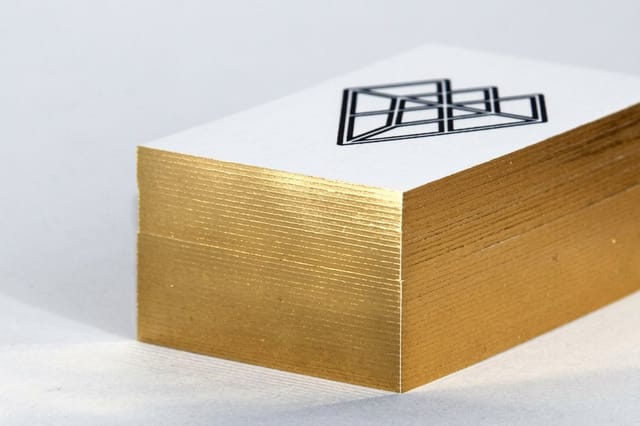
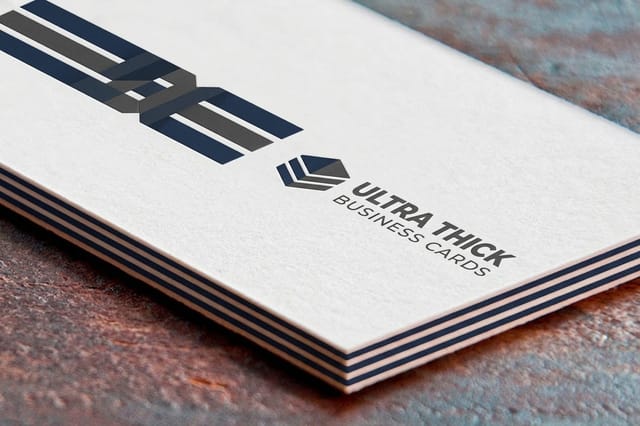
See it in use
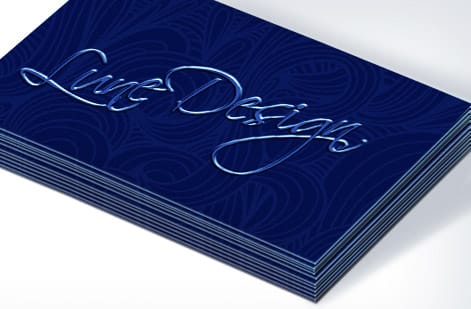
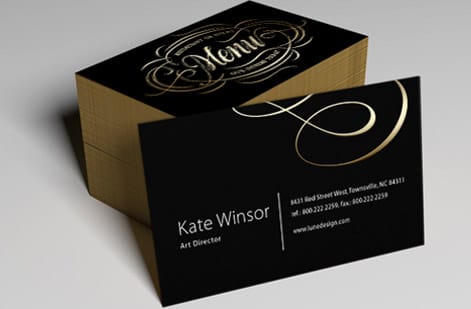
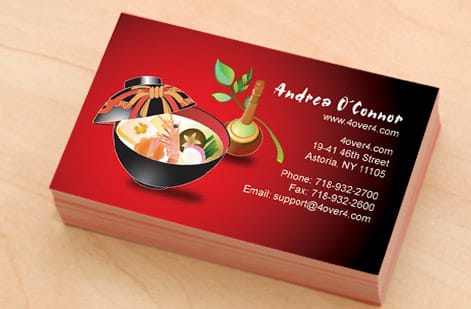
Edge painted cards we printed and finished



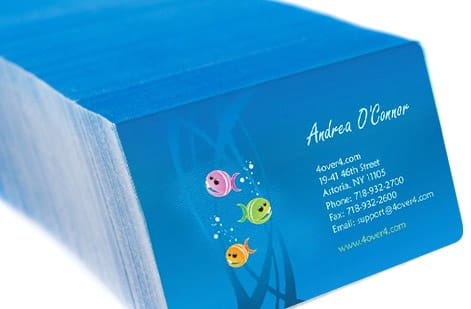

Explore more
Where to go next
By the numbers
Sixty paper types behind an edge painted card
Common Questions
Your painted edge business card questions, answered
Can I get painted edges on a square or slim business card?
Yes. The edge painted cards come in the standard 2 by 3.5 inch size, a slightly smaller 2.125 by 3.375 inch, and a 2.5 inch square, all on the same 32pt UltraWhite stock with the color painted around every edge. A square card shows the painted band on four equal sides, which makes the color read even stronger in a stack.
Can I write on painted edge business cards?
On the face, yes. The stock is a 32pt UltraWhite uncoated cover, and uncoated paper takes ballpoint, gel and pencil cleanly, so a note or an appointment time written on the back stays put. Keep the pen off the painted edge itself, which is a cured paint surface and not meant for writing, and let the professional edge do its job while the face carries anything handwritten.
What card thickness works best for painted edges?
32pt is the minimum you want. At that weight the edge is wide enough to display color clearly. Thinner stocks like 14pt do not have enough visible edge, and the paint tends to warp the card. Ultra thick options in the 38pt to 48pt range create an even more dramatic band of color.
Can I paint the edges of cards I already have?
Yes, as long as they are thick enough. Stack them tightly, clamp with binder clips, and apply acrylic paint in thin coats. Cards with a glossy coating may need a light sanding first so the paint adheres properly. Uncoated cards accept paint more easily.
What type of paint should I use for DIY edge painting?
Acrylic paint works best for DIY painted edge business cards. It dries quickly, comes in a wide range of colors including metallics, and does not bleed into paper fibers the way water-based paints do. Skip oil-based paints because they take too long to dry and can warp card stock.
How many cards can I paint at once?
A stack of 25 to 50 cards is manageable for DIY. Larger stacks get harder to clamp evenly, and paint coverage grows inconsistent toward the middle of the stack. For quantities above 50, split the work into batches or order a professional run.
Will painted edges chip or wear off over time?
DIY painted edges can chip with heavy handling, especially on coated stocks where adhesion is weaker. Professional edge painting uses specialized inks and application methods that bond more permanently. For cards you hand out often, a professional run holds up far better. Visit our Help Center for questions about specific finishes and durability.
Can I get multiple edge colors on one card?
Professionally, some runs offer multi-color or gradient edges, though it is less common and costs more. For DIY, mask off sections with painter tape and apply a different color to each side of the card. It takes patience, but two brand colors split across the long edges can look striking.
DIY or professionally printed painted edges, which should I choose?
Do it yourself for 25 to 50 cards, a prototype, or a gift: you already have the cards, acrylic paint is cheap, and the real cost is your evening. Budget two thin coats plus at least two hours of drying per batch, expect edges that read slightly uneven up close, and count on losing 10 to 20 percent of the stack to smears and seepage. Order a professional run at 250 cards and up: the color is applied with precision equipment so every card in the box matches, the inks bond instead of chipping under heavy handling, and the color range covers matched brand shades plus metallics like gold, silver, rose gold, and copper. Compare both on painted edge business cards.
How much do painted edge business cards cost?
Three things move the number. Stock: 32pt is the floor for an edge you can actually see, and thicker costs more. Edge color: metallics sit above flat brand colors. Quantity: 250, 500, and 1,000 are the usual runs and the per-card price drops at each step. DIY looks cheaper because you only buy paint, but price in the hours and the 10 to 20 percent you ruin while learning the technique. Live pricing for every stock and quantity sits on the painted edge business cards page.
Get Started
Ready to order painted edge business cards?
Pick a thick stock, choose your edge color, and we print a crisp, uniform color band on every single card.
Legal Disclaimer
Gold Standard guarantees apply to all standard orders placed through 4over4.com. Price match requires verifiable proof of a competitor's published price for an equivalent product with matching specifications and turnaround time. Satisfaction guarantee covers manufacturing defects and print quality issues. Contact support with order number and documentation. On-time delivery rate based on tracked orders 1999 to 2026. Individual results may vary based on shipping carrier performance.
