What You Need to Know Before Making Postcards
Learning how to make postcards starts with three decisions: size, paper stock, and finish. Pick a standard size like 4x6 or 6x11 for USPS compatibility. Choose a paper thick enough to feel professional in someone's hand. Design both sides with clear messaging and a strong call to action. 4OVER4.COM offers 60+ paper types and has printed over 10 billion cards across every format, so you're working with a team that knows postcards inside and out.
Your Step-by-Step Postcard Creation Guide
Postcards are one of the most cost-effective print marketing tools around. They're tangible. They don't get lost in an email inbox. And they're surprisingly simple to create once you know the basics.
| Quantity | Price Per Unit |
|---|---|
| 50 | $0.33 |
| 4,000 | $0.03 |
| 35,000 | $0.02 |
| 100,000 | $0.02 |
Ink Color
Finish
Scoring
Rounded Corners
Variable Data (Codes, Names, Etc.)
Total Sets
Proof Options
Ink Color
Proof Options
This guide walks you through how to make postcards from scratch - from choosing the right dimensions and paper stock to setting up your design file and getting it printed. Whether you're sending direct mail campaigns, event invitations, or thank-you cards, you'll find actionable steps here. If you're exploring other print projects alongside your postcards, check out our guides on Custom Magnets Faq and How To Make Envelopes for more hands-on tutorials.
Ink Color
Effect
Number of Flips
Effect Direction
Rounded Corners
Proof Options
4OVER4.COM has helped 150,000+ businesses bring their print projects to life. Let's get your postcards done right. Below you'll find the postcard products available to start your project.
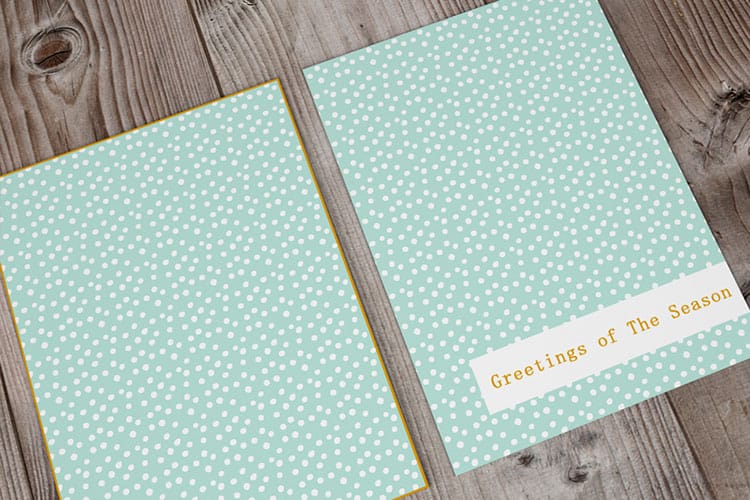
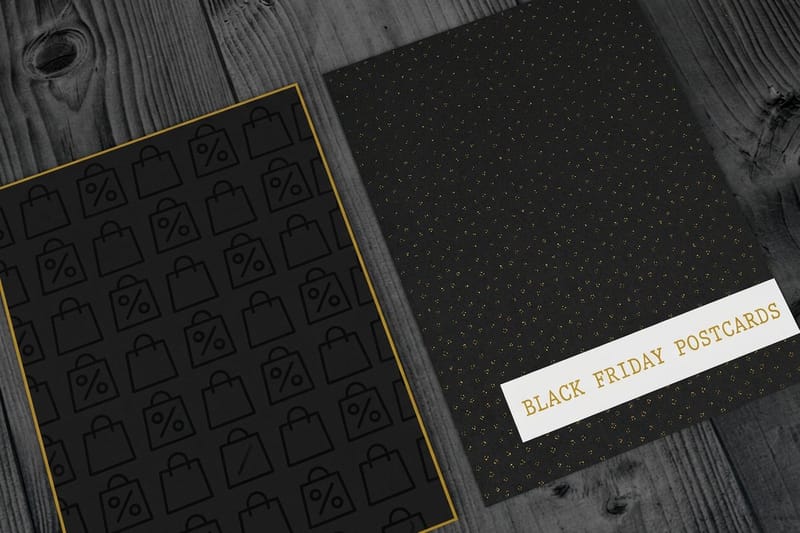
Postcards
Starting from $16.48
Free Design Templates:
Designing and Printing Custom Postcards That Get Results
Step 1: Choose Your Postcard Size
Size matters more than most people think. Your postcard dimensions affect postage cost, design space, and how the piece feels in someone's hand. The most common sizes are:
- 4" x 6" - The classic. Affordable to mail, easy to design, fits standard mailboxes perfectly.
- 5" x 7" - A bit more room for messaging. Great for event invitations or detailed promotions.
- 6" x 9" - Stands out in a stack of mail. Ideal for real estate listings or product showcases.
- 6" x 11" - Maximum impact. This oversized format grabs attention and gives you space for multiple offers.
If you're mailing through USPS, stick to their standard dimensions to avoid surcharges. A 4x6 postcard qualifies for the lowest postage rate, which adds up fast when you're sending hundreds or thousands. For more print project guidance, visit our Faq Hub where you'll find tutorials for every format.
Step 2: Pick the Right Paper Stock
Paper stock is what separates a postcard people keep from one they toss. Thin, flimsy paper signals "junk mail." A thick, sturdy card says "this is worth reading."
Here's a quick breakdown of common options:
- 14pt Cardstock - The go-to for budget-friendly bulk mailings. It's about the thickness of a standard business card. Gets the job done without breaking the bank.
- 16pt Cardstock - A step up. Feels like a credit card in your hand. Good balance of quality and cost for most direct mail campaigns.
- 32pt Ultra Thick - This is the premium tier. Three times thicker than standard. When someone picks this up, they notice. Perfect for luxury brands, high-end real estate, or VIP event invitations.
Beyond thickness, consider the texture. A smooth, coated stock makes colors pop. An uncoated stock gives you a natural, tactile feel that works well for artisan brands or personal correspondence. If you're interested in eco-conscious options, 4OVER4.COM also carries recycled and kraft paper stocks.
"We ordered 32pt postcards for our boutique hotel's grand opening. Guests kept them as souvenirs instead of throwing them away. That's when I knew we picked the right stock."
- Lauren K., ★★★★★
Step 3: Design Your Postcard Layout
Good postcard design follows a simple formula. Front side: one bold image, one headline, your logo. That's it. Don't clutter it. The front is your hook - it needs to stop someone mid-sort and make them flip the card over.
The back side is where you do the heavy lifting. Here's what goes there:
- Your message - Keep it under 100 words. Nobody reads a wall of text on a postcard.
- A clear call to action - "Visit us at [URL]" or "Call today for 20% off." One action, not five.
- Contact information - Phone, website, social handles. Make it easy to respond.
- Mailing area - If you're sending via USPS, the right half of the back needs space for the address block, postage, and barcode.
Use high-resolution images (300 DPI minimum). Low-res photos look blurry in print, and there's no fixing that after the cards are produced. Set your color mode to CMYK, not RGB. CMYK is how printers reproduce color. RGB is for screens. If you design in RGB, your bright blues might come out looking dull and muddy.
Learning layout principles from other print formats can help too. Our guide on How To Fold A Brochure covers design flow and visual hierarchy that applies directly to postcards.
Step 4: Set Up Bleed and Safe Zones
This is where most DIY postcard projects go wrong. Bleed is the extra area around your design that gets trimmed off during cutting. Without it, you end up with thin white lines along the edges where the cut wasn't perfectly aligned.
Standard bleed is 0.125" (1/8 inch) on all sides. So if your final postcard is 4" x 6", your design file should be 4.25" x 6.25". Extend any background colors, images, or patterns all the way to the bleed line.
The safe zone is the opposite - it's the inner boundary where you keep all important text and logos. Stay at least 0.125" inside the trim line. Anything closer to the edge risks getting cut off. These margins seem small, but they make the difference between a clean, professional postcard and one that looks like a mistake.
Step 5: Choose Your Finish
Finish is the coating applied to your printed postcards. It affects how the card looks, feels, and holds up over time.
- Gloss - Shiny, reflective surface. Makes colors look vivid and saturated. Great for photo-heavy designs.
- Matte - Smooth but non-reflective. Gives a sophisticated, understated look. Easier to write on if you're adding handwritten notes.
- Soft Touch - A velvety lamination that feels luxurious. People instinctively rub their fingers across it. Creates a tactile experience that's hard to forget.
- UV Coating - Adds a high-gloss protective layer. Resists fingerprints and scuffing. Good for postcards that'll be handled a lot.
- Uncoated - Raw paper feel. Works well for rustic or organic branding. Absorbs ink differently, so colors appear softer.
If you're creating something with real visual punch, consider 3D Postcards. Lenticular printing creates motion or depth effects that stop people in their tracks.

Free Design Templates:
"I switched from gloss to soft-touch matte on our quarterly postcard mailers. Response rate jumped noticeably. People actually commented on how the card felt."
- Marcus D., ★★★★★
Step 6: Prepare Your File for Print
Before uploading your design, run through this checklist:
- File format - PDF is the gold standard. It preserves fonts, colors, and layout exactly as you designed them.
- Resolution - 300 DPI minimum. No exceptions.
- Color mode - CMYK for full-color printing.
- Fonts - Outline all text or embed fonts in the PDF. If the printer doesn't have your font installed, it'll substitute something else.
- Bleed and trim marks - Include them in your export settings.
Don't have design software? 4OVER4.COM provides free blank templates sized to exact specifications with bleed and safe zones already marked. Download one, drop in your content, and you're ready to go. If you're working on other print materials at the same time, our guide on How To Make Flyers follows a similar file prep process.
Blank Templates

Step 7: Place Your Order and Proof Your Design
Always review your proof before approving print. This is your last chance to catch typos, color issues, or layout problems. Zoom in to 100% and check every line of text. Read it backward if you have to - your brain auto-corrects familiar words, and that's how "Wendsday" makes it onto 5,000 postcards.
When ordering, select your quantity based on your campaign needs. Printing more units per run drops the per-piece cost a lot. If you're mailing 1,000 postcards quarterly, consider ordering 4,000 at once and storing the extras. The savings add up.
For projects that involve stamp-based personalization or hand-addressed envelopes, our guide on How To Clean Rubber Stamps is a handy companion resource.
Postcard Use Cases by Industry
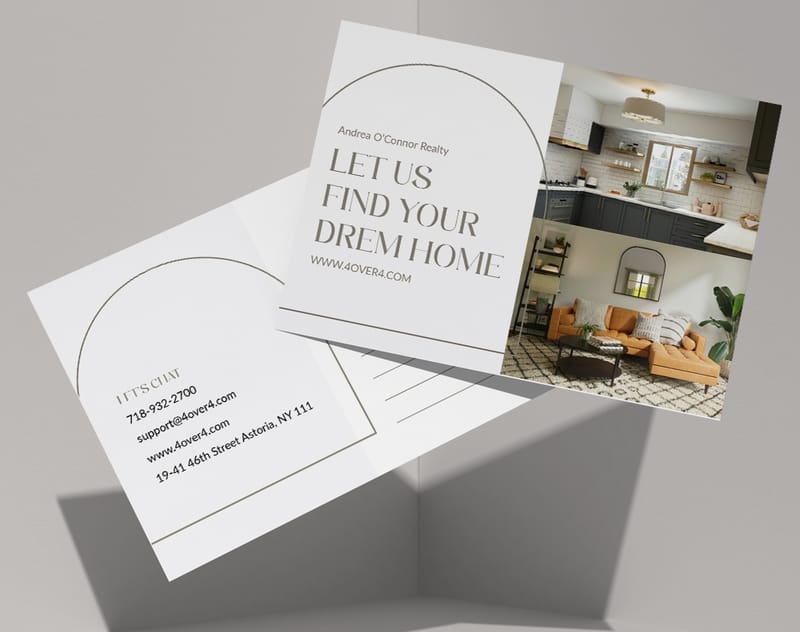
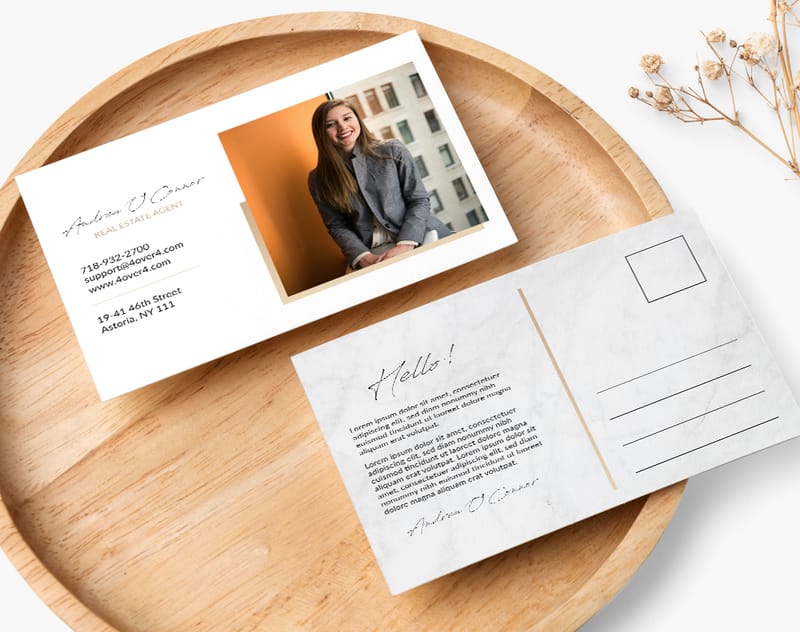
Real estate agents use oversized 6x11 postcards to showcase new listings with large property photos. A thick 16pt stock with gloss finish makes the images pop.
Restaurant owners mail 4x6 postcards with seasonal menu updates and discount codes. Matte finish lets them handwrite a personal note on each one.
Event planners choose 5x7 postcards on 32pt ultra-thick stock for wedding save-the-dates and gala invitations. Soft-touch lamination adds that premium feel.
E-commerce brands include postcards as package inserts - a thank-you note with a QR code linking to a review page or a discount for the next order.
Here's a look at industry data that shows why postcards remain a smart marketing investment, followed by real customer designs and ready-to-use templates to jumpstart your project.
Postcard Pitfalls That Waste Your Budget
When you're learning how to make postcards, these are the mistakes that cost real money:
- Skipping the bleed - White edges on a full-color design look amateurish. Always add 0.125" bleed on every side.
- Designing in RGB - Your screen colors won't match print colors. Switch to CMYK before you start designing, not after.
- Too much text on the front - The front is a billboard, not a blog post. One image, one headline. That's the rule.
- Forgetting the mailing panel - If you're sending via USPS, the address block, barcode area, and postage indicia need specific placement on the back. Check USPS guidelines before finalizing your layout.
- Choosing thin paper for direct mail - Anything under 14pt feels flimsy. Recipients associate thin paper with spam. Invest in at least 14pt or 16pt stock.
- Not proofreading the proof - 4OVER4.COM sends a digital proof before printing. Review it carefully. Once you approve, what you see is what you get.
Best Postcard Products to Start Your Project
Ready to put this guide into action? 4OVER4.COM carries a full range of postcard products for every budget and use case. Whether you need standard mailers, EDDM-ready direct mail pieces, or eye-catching lenticular cards, you'll find the right fit below.
Need your postcards fast? Check out Same Day Printing for rush turnaround options. And if sustainability matters to your brand, explore our Green Printing program for eco-friendly paper stocks and processes.
Here are the pricing details, specifications, and customer reviews for our most popular postcard products.
Free Design Templates
Ink Color
Finish
Scoring
Rounded Corners
Variable Data (Codes, Names, Etc.)
Total Sets
Proof Options
Common Questions About Making Postcards
What size postcard is cheapest to mail through USPS?
A 4" x 6" postcard qualifies for the USPS First-Class Mail postcard rate, which is the lowest available. The card must be between 3.5" x 5" (minimum) and 4.25" x 6" (maximum), with a thickness between 0.007" and 0.016". Staying within these dimensions saves you money on every single piece you send.
Can I design postcards without professional software?
Yes. 4OVER4.COM provides free blank templates with bleed lines and safe zones pre-marked. You can use Canva, Google Slides, or even PowerPoint to create your design, then export as a high-resolution PDF. Just make sure your final file is 300 DPI and set to CMYK color mode before uploading.
What's the difference between coated and uncoated postcard paper?
Coated paper has a smooth surface layer that makes colors appear vivid and sharp. It's ideal for photo-heavy designs. Uncoated paper has a natural, textured feel and absorbs ink differently, giving colors a softer look. Uncoated stock is easier to write on, which makes it a good choice if you're adding handwritten notes to your postcards.
How do I add a QR code to my postcard?
Use a free tool like the 4OVER4.COM QR Code Generator to create a code that links to your website, landing page, or social profile. Place the QR code on the back of your postcard near your call to action. Make it at least 0.75" x 0.75" so phones can scan it easily. Test it before sending your file to print.
What file format should I use for postcard printing?
PDF is the best format for postcard printing. It locks in your fonts, images, and layout so nothing shifts during production. Export at 300 DPI with CMYK color mode. Include crop marks and 0.125" bleed in your export settings. If you're using Adobe InDesign or Illustrator, outline all fonts before saving.
How many postcards should I order for a direct mail campaign?
Order based on your mailing list size plus 5-10% extra for replacements, hand distribution, or future use. Per-unit cost drops a lot at higher quantities. If you plan to mail quarterly, ordering a full year's supply in one run can cut costs by 30% or more compared to four separate orders.