What You'll Learn in This Custom Letterhead Tutorial
Custom Letterhead gives your business correspondence a polished, professional edge. In this how to make custom letterhead tutorial, you'll learn to pick the right layout, choose paper stock, place your logo and contact details, and send your file to print. 4OVER4 has helped 150,000+ businesses create branded stationery backed by 10,000+ reviews. Let's get your letterhead right.
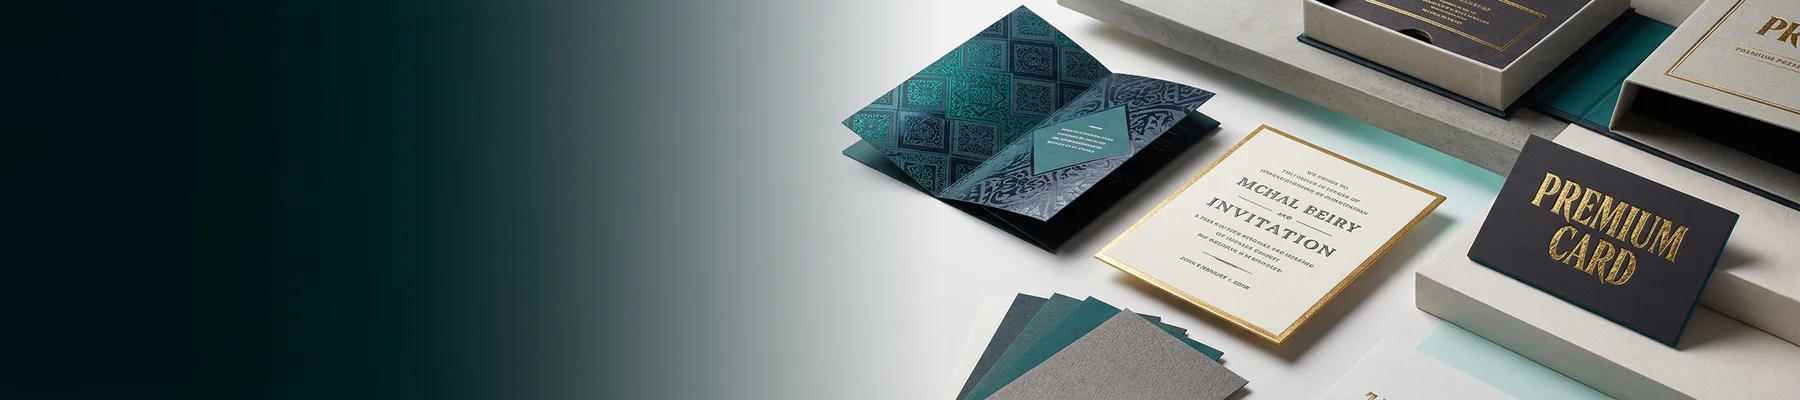
Letterheads
Starting from $99.95
Free Design Templates:
Why Custom Letterhead Still Matters in 2026
Custom Letterhead is the first thing a client sees when they open your envelope. It sets the tone before they read a single word. A well-designed letterhead tells people you're established, detail-oriented, and worth doing business with. That's not a small thing.

This tutorial walks you through every step - from initial concept to final print file. You'll learn how to structure your header, select fonts that match your brand, and avoid common file setup errors. If you get stuck along the way, the Help Center has answers for most technical questions.

4OVER4 offers 60+ paper types for letterhead printing, so you're not locked into one generic option. You can start designing right now using the Online Designer - no software downloads needed. Or, if you prefer working in your own design tool, the Online Designer also lets you upload finished files directly.
"Letterheads /5"
| Quantity | Price Per Unit |
|---|---|
| 50 | $2.00 |
| 4,000 | $0.09 |
| 35,000 | $0.05 |
| 100,000 | $0.05 |
Ink Color
Folding
Perforation
Three-Hole Punch
Blank Sheets
Proof Options
Step-by-Step: Designing and Printing Your Custom Letterhead
Step 1 - Define Your Letterhead's Purpose and Audience
Before you open any design tool, think about who's receiving this letterhead. A law firm sending contracts needs a different feel than a yoga studio confirming class bookings. Your audience shapes every decision - from color palette to paper weight.
Write down three things your letterhead should communicate. Authority? Creativity? Warmth? These words become your design compass. If you're a real estate agent, your letterhead might lean toward clean lines and neutral tones. If you run a children's party business, bright colors and playful fonts make more sense.
This step takes five minutes but saves hours of redesign later. For more tips on branded print materials, check out the Faq Hub where 4OVER4 covers dozens of print-related topics.
Step 2 - Gather Your Brand Assets
Pull together everything you'll need before you start designing. Here's your checklist:
- Logo file - vector format (AI, EPS, or SVG) works best for crisp printing at any size
- Brand colors - get your exact CMYK values, not just RGB or hex codes
- Fonts - the same typefaces used on your website and business cards
- Contact information - company name, address, phone, email, website URL
- Legal details - registration numbers, license info, or taglines if required
Using CMYK color values is non-negotiable for print. RGB colors look different on screen than on paper. If you've designed How To Make Flyers before, you already know this. Same rules apply to letterhead.
Step 3 - Choose Your Letterhead Size and Layout
Standard letterhead size in the US is 8.5 x 11 inches. That's what fits in a #10 envelope and what most printers expect. Stick with this unless you have a specific reason to go custom.
For layout, you have three main options:
- Top-centered header - logo and company name centered at the top. Classic and formal.
- Left-aligned header - logo on the left, contact info on the right. Modern and clean.
- Sidebar layout - branding runs vertically along the left edge. Bold and distinctive.
Most businesses go with a top header layout because it's versatile. It works for letters, invoices, proposals, and internal memos. The sidebar approach grabs attention but eats into your writing space.
If you're also creating matching envelopes, the guide on How To Make Envelopes walks you through coordinating your stationery set.
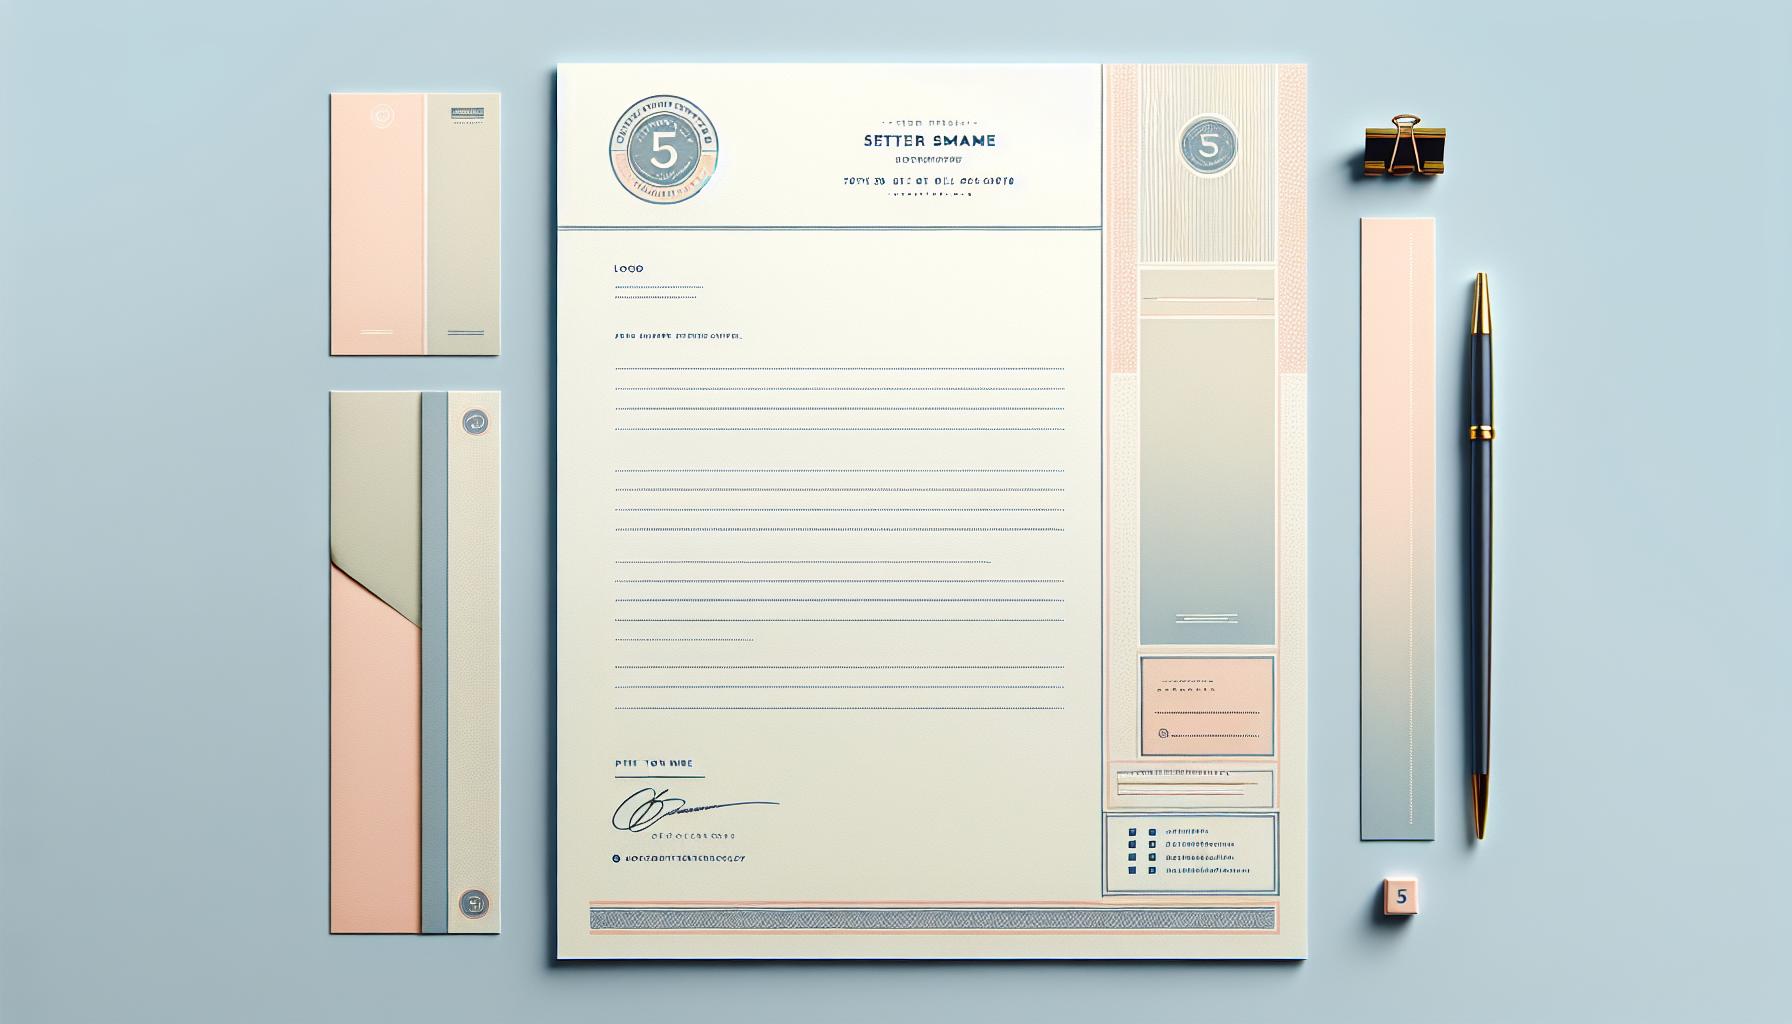
Step 4 - Design Your Header and Footer
Your header is the star of the show. It's the branded zone at the top of the page - typically 1.5 to 2 inches tall. Here's how to build it:
Logo placement: Position your logo where it's visible but not overpowering. A logo that's too large looks amateur. Keep it between 1 and 1.5 inches tall. If your logo is horizontal, it works well left-aligned with contact info stacked to the right.
Company name: If your logo already includes your company name, don't repeat it in text. If your logo is just an icon or symbol, add the company name beside or below it in your brand font.
Contact details in the header: Include your phone number, email, and website. Physical address can go in the header or footer - your call. Don't cram everything into one line. Stack it neatly with consistent spacing.
Footer design: The footer is optional but useful. Many businesses place their physical address, social media handles, or a tagline here. Keep it subtle - smaller font size, lighter color weight. The footer shouldn't compete with the header for attention.
"I designed our law firm's Custom Letterhead using 4OVER4's templates and it looked like we hired a professional agency. The 70lb uncoated stock feels big in hand."
- Rachel K., Office Manager
Step 5 - Select Your Fonts and Colors
Use a maximum of two fonts on your letterhead. One for headings (your company name, section labels) and one for body text (the actual letter content). Mixing three or more fonts creates visual chaos.
For font pairing, contrast works. A bold sans-serif for your company name paired with a clean serif for body text is a reliable combination. Avoid decorative or script fonts for contact information - they're hard to read at small sizes.
Color-wise, your letterhead doesn't need to use every brand color. Pick your primary brand color for the header elements and a neutral (black, dark gray) for text. A subtle accent color can work for lines or dividers. White space is your friend here. The page needs to feel open and readable, not like a flyer.
This same principle applies to other branded materials. If you're creating brochures too, the guide on How To Fold A Brochure covers layout best practices that complement your letterhead design.
Step 6 - Set Up Your Print File Correctly
This is where most people mess up. A beautiful design means nothing if the file isn't set up for print. Follow these specs:
- Document size: 8.5 x 11 inches with 0.125-inch bleed on all sides if your design extends to the edge
- Resolution: 300 DPI minimum. Screen resolution (72 DPI) will print blurry.
- Color mode: CMYK, not RGB. Convert all colors before exporting.
- File format: PDF is the safest choice. It preserves fonts, colors, and layout across systems.
- Safe zone: Keep all text and important elements at least 0.25 inches from the trim edge
4OVER4 provides Blank Templates pre-configured with the correct dimensions, bleed, and safe zones. Download one for your design software and drop your artwork right in. No guessing.
Blank Templates
If you work with rubber stamps for your letterhead (some businesses add a stamped seal), the guide on How To Clean Rubber Stamps is worth bookmarking for maintenance.
Step 7 - Pick Your Paper Stock
Paper choice changes everything about how your letterhead feels. A thin, flimsy sheet says "budget." A thick, textured sheet says "established." Here's how to think about it:
Uncoated paper is the traditional choice for letterhead. It's easy to write on with pen, absorbs ink from desktop printers, and has a natural, professional feel. Most business correspondence uses uncoated stock.
Coated paper (matte or gloss) gives a smoother, more polished look. Colors pop more on coated stock. But it's harder to write on and can smudge with certain inks. Best for letterhead that's primarily printed, not handwritten.
Linen or textured stock adds a tactile element that people notice immediately. Running your fingers across a linen letterhead feels rich and premium. It's a strong choice for law firms, financial advisors, and luxury brands.
4OVER4 offers 60+ paper types so you can match your letterhead to your brand personality. If you're also creating promotional magnets for your business, the Custom Magnets Faq covers material selection for that format.
Step 8 - Review, Proof, and Print
Before you hit "order," review your file one more time. Check for:
- Spelling errors in your company name, address, phone number, and email
- Correct logo version (not a low-res screenshot from your website)
- Proper alignment - nothing looks off-center or crooked
- Consistent spacing between elements
- CMYK color mode confirmed
Print a test copy on your home printer at actual size. Hold it up. Does the header feel balanced? Is there enough room for the letter body? Does the footer crowd the bottom margin? This quick sanity check catches problems that screens hide.
Once you're satisfied, upload your file to 4OVER4. You'll get a digital proof to approve before printing starts. Take that proof seriously. Zoom in. Check every detail. It's your last chance to catch mistakes before ink hits paper.
"We switched to 4OVER4 for our Custom Letterhead after years with a local vendor. The linen stock they offer is noticeably better quality, and our clients have actually commented on it."
- David L., Financial Advisor
Here are some real examples of Custom Letterhead designs to spark your own ideas, along with templates you can start customizing right away.
Mistakes That Ruin Custom Letterhead (and How to Avoid Them)
Even with a solid how to make custom letterhead tutorial in hand, these errors show up constantly. Here's what to watch for:
Oversized logos. Your logo shouldn't dominate the top third of the page. Keep it proportional. If it's bigger than 1.5 inches tall, scale it down.
RGB color files. Designing in RGB and printing in CMYK produces color shifts. That bright blue on screen turns muddy purple on paper. Always work in CMYK from the start.
Too much information in the header. Your letterhead isn't a business card. Don't list every social media handle, fax number, and satellite office. Pick the essentials.
Ignoring bleed and safe zones. Text too close to the edge gets trimmed off. 4OVER4's templates have built-in guides to prevent this.
Inconsistent branding. If your letterhead uses different fonts or colors than your business cards and envelopes, your brand looks disjointed. Match everything. 4OVER4 prints with 99.8% on-time delivery, so your coordinated stationery set arrives together when you need it.
"I made the RGB mistake on my first batch of Custom Letterhead. The green in our logo printed way darker than expected. Second time around, I converted everything to CMYK and it was perfect."
- Tanya W., Startup Founder
Best 4OVER4 Products to Pair with Your Custom Letterhead
Once you've nailed your Custom Letterhead design, build out a complete branded stationery set. 4OVER4 makes it easy to keep everything consistent across print materials, with 1,000+ products available.
Matching envelopes are the obvious next step - your letterhead deserves better than a plain white envelope. Business cards using the same color palette and fonts tie your brand together at meetings and events. For something unexpected, 30Mil Clear Plastic Cards make a bold impression alongside traditional stationery.
Here are the available specs, pricing, and real customer reviews for 4OVER4 Custom Letterhead:
Free Design Templates

-
Open a new Word document and go to the “Insert” tab.
-
Click on “Header” and select “Edit Header” to enter the header section.
-
Design your letterhead by adding your company name, address, contact information, and any other text you want to include. You can also adjust the font style, size, and color to match your branding.
-
To add a logo or image to your letterhead, click on “Pictures” in the “Insert” tab and select the image file from your computer. Resize and position the logo as needed.
-
Once you are satisfied with the design of your letterhead, go to the “Design” tab and choose a color scheme or background for the header.
-
To add a footer to your letterhead, click on “Footer” in the “Insert” tab and enter your desired information, such as a disclaimer or copyright notice.
-
Customize the footer by adjusting the font style, size, and color to match your header.
-
Save your letterhead by going to “File” and selecting “Save As”. Choose a location on your computer to save the document and select the file format as “Word Document” or “PDF” for sharing.
"Ordered how to make letterhead tutorial from 4OVER4 and the quality blew me away. Sharp colors, premium feel, arrived 2 days early."
"Been using 4OVER4 for how to make letterhead tutorial for a year. Consistent quality every time. The online designer made it easy."
"Switched to 4OVER4 and saved 40% on how to make letterhead tutorial. Better quality than my old printer. 60+ paper options."
"4OVER4's how to make letterhead tutorial helped us look more professional. Clients notice the difference."
Your Custom Letterhead Questions, Answered
What file format should I use for Custom Letterhead printing?
PDF is the best format for Custom Letterhead files. It preserves your fonts, colors, and layout without any shifting between systems. Make sure your PDF is set to CMYK color mode at 300 DPI resolution. 4OVER4 accepts PDF uploads directly through the ordering process.
What's the standard size for Custom Letterhead?
The standard US letterhead size is 8.5 x 11 inches. This fits perfectly in a standard #10 business envelope and works with all desktop printers. If your design bleeds to the edge, add 0.125 inches of bleed on each side when setting up your file.
Can I write on printed Custom Letterhead with a pen?
Yes, if you choose uncoated paper stock. Uncoated paper absorbs ink from pens and desktop printers without smudging. Coated stocks (gloss or matte) can cause pen ink to bead up or smear. For letterhead you'll handwrite on, always go uncoated.
How many colors should I use on my letterhead?
Stick to two or three colors maximum. Your primary brand color, black for body text, and optionally one accent color for lines or small details. Too many colors make letterhead look cluttered and unprofessional. Simple designs print more consistently too.
Do I need a graphic designer to create Custom Letterhead?
Not at all. This how to make custom letterhead tutorial covers everything you need. 4OVER4's online design tools and blank templates give you professional starting points. If you want extra help, the Help Center has file setup guides and support resources.
What paper weight works best for business letterhead?
For everyday correspondence, 70lb text weight is the industry standard. It feels big without being too thick for folding into envelopes. For special documents like proposals or certificates, stepping up to 80lb or 100lb text weight adds a premium, hefty feel that clients notice immediately.