Quick Tips for Creating Save The Date Cards That Actually Get Kept
Learning how to make Save The Date Cards starts with picking the right paper, nailing your layout, and sending them out on time. 4OVER4.COM has printed over 10 billion cards for couples and event planners who want something guests pin to the fridge, not toss in the recycling. With 60+ paper types to choose from, you can match your card to your wedding style from day one.
Your Save The Date Cards Set the Tone for Everything That Follows
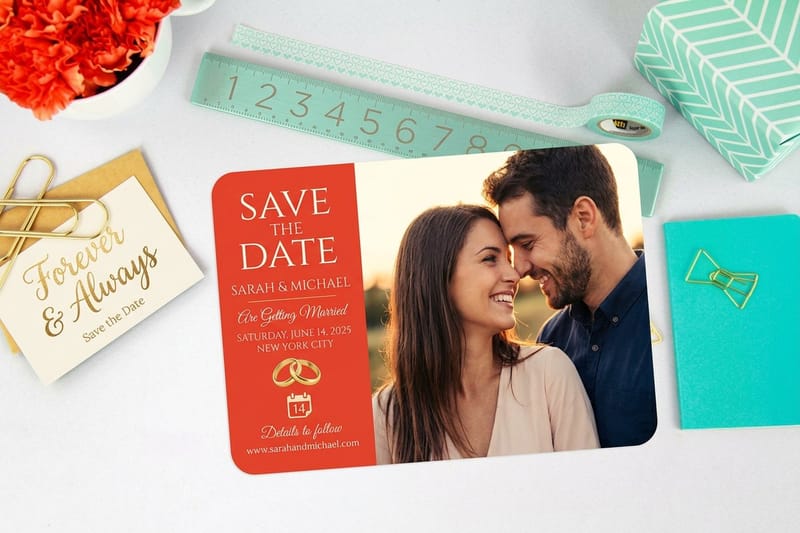
Save The Date Cards are your guests' first impression of your wedding. They're not just logistics. They're a preview. The paper weight, the colors, the design - all of it tells people what kind of celebration to expect. Get this piece right, and you build anticipation before a single invitation goes out.
Ink Color
Metallic Accent
Coating
Rounded Corners
Matching Blank Envelopes
Proof Options
Ink Color
Finish
Rounded Corners
Matching Blank Envelopes
Total Sets
Proof Options
Whether you're planning a backyard ceremony or a black-tie affair, 4OVER4.COM gives you the tools to design and print Save The Date Cards that feel personal and polished. If you're also working on other wedding stationery, check out our guide on How To Make Envelopes to keep everything coordinated. And for a fun alternative format, our Custom Magnets Faq walks you through magnet-style Save The Dates that stick - literally - to your guests' fridges.
Ink Color
Finish
Rounded Corners
Proof Options
Below, you'll find product options from 4OVER4.COM that make designing your Save The Date Cards straightforward, including metallic finishes and magnetic formats.
Step-by-Step: Designing Save The Date Cards from Scratch
Decide What to Put on Your Save The Date Cards
Before you open a single design tool, figure out what to put on Save The Date Cards. Keep it simple. You need five things: both names, the wedding date, the city or venue location, a line that says "formal invitation to follow," and your wedding website URL if you have one. That's it. Don't overcomplicate this.
Some couples add an engagement photo. Others keep it text-only with bold typography. Both work. The goal is clarity - your guests should glance at the card and immediately know who, when, and where. Save the details (dress code, registry, meal choices) for the actual invitation.
If you're working on other event materials at the same time, our How To Fold A Brochure guide can help with ceremony programs and information inserts down the road.
Choose Your Card Format
Save The Date Cards come in a few formats, and each one creates a different experience for your guests.
- Flat cards - The classic choice. Clean, easy to design, and affordable to print in bulk. Works for any wedding style.
- Postcards - No envelope needed. Guests see your design the moment they pull it from the mailbox. Great for casual or destination weddings.
- Magnets - Guests stick these on the fridge, so your date stays visible for months. Higher perceived value.
- Metallic finish cards - Foil or shimmer paper adds a luxe feel. Perfect for formal or glamorous celebrations.
4OVER4.COM offers all of these formats. Pick the one that matches your wedding vibe and your budget. If you're also planning a bridal shower, take a look at Flat Bridal Shower Invites for coordinated stationery.
Pick the Right Paper Stock
Paper choice matters more than most couples realize. A flimsy card feels forgettable. A thick, textured card feels like an event worth attending.
For Save The Date Cards, consider these options:
- 14pt uncoated - Smooth, writable surface. Good for a rustic or minimalist aesthetic. About the thickness of a standard greeting card.
- 16pt coated - Slightly thicker with a glossy or matte finish. Colors pop. Photos look sharp.
- 32pt ultra-thick - This is the "wow" stock. Nearly three times the thickness of standard cardstock. Guests notice the weight immediately.
- Kraft paper - Earthy, natural feel. Pairs well with botanical or outdoor wedding themes.
Want to feel the difference before committing? Order Free Samples from 4OVER4.COM and compare paper stocks in your hands. Touch matters when you're choosing wedding stationery.
Design Your Layout
Now for the creative part. You have three paths here:
Use a template. 4OVER4.COM offers ready-made Save The Date Card templates you can customize with your names, date, and photos. This is the fastest route. Swap colors, change fonts, upload your engagement photo, and you're done in minutes.
Design from scratch. If you have specific ideas - a custom illustration, a hand-lettered font, a particular color palette - start with a blank canvas. Just make sure your file meets print specifications: 300 DPI resolution, CMYK color mode, and proper bleed margins (usually 0.125 inches on each side).
Blank Templates
Hire a designer. If design isn't your thing, hand it off. Give your designer the print specs from 4OVER4.COM's template files, and they'll create something custom that's print-ready.
Regardless of which path you take, keep your layout uncluttered. White space is your friend. One strong focal point - whether that's a photo or a date in large type - beats a busy collage every time.
For tips on creating other printed materials with strong visual impact, check out How To Make Flyers. Many of the same design principles apply.
Typography and Color Tips for Save The Date Cards
Stick to two fonts maximum. One for names and the date (something with personality), one for supporting text (something clean and readable). Script fonts look beautiful for names but become hard to read at small sizes, so use them sparingly.
For colors, pull from your wedding palette. If you haven't locked that down yet, keep it simple: one accent color against a neutral background. Dark text on light paper is always readable. Light text on dark paper works too, but make sure there's enough contrast for older guests to read without squinting.
Metallic inks and foil stamping add a tactile layer that photographs can't capture. If you want that extra touch, 4OVER4.COM's metallic Save The Date Cards deliver that shimmer without the custom foil stamping price tag.
When to Send Save The Date Cards for Weddings
Send Save The Date Cards 6 to 8 months before your wedding date. For destination weddings, push that to 8 to 12 months. Your guests need time to request time off work, book flights, and arrange accommodations.
Here's a rough timeline:
- 12 months out - Finalize your guest list and start designing
- 10 months out - Place your print order
- 8 months out - Address and mail your Save The Date Cards
- 6 months out - Absolute latest for local weddings
Don't wait until invitations go out. Save The Dates and invitations serve different purposes. The Save The Date holds the spot on calendars. The invitation provides the details and requests the RSVP.
Prepare Your File for Print
Before you upload your design, run through this checklist:
- Resolution: 300 DPI minimum. Anything lower looks blurry when printed.
- Color mode: CMYK, not RGB. Your screen uses RGB. Printers use CMYK. Colors will shift if you skip this conversion.
- Bleed: Extend your background design 0.125 inches past the trim line on all sides. This prevents white edges after cutting.
- Safe zone: Keep all text and important elements at least 0.125 inches inside the trim line.
- File format: PDF is safest. It preserves fonts, colors, and layout exactly as you designed them.
If any of this feels confusing, browse the Faq Hub for detailed walkthroughs on file setup. And for hands-on tips about working with physical print tools, our guide on How To Clean Rubber Stamps covers care for custom stamps you might use for return addresses on your envelopes.
Place Your Order and Proof Carefully
Upload your design to 4OVER4.COM, select your paper stock, finish, and quantity. Then - and this part is non-negotiable - review your digital proof carefully. Check every name spelling. Verify the date. Confirm the city. Read the website URL character by character. A typo on a Save The Date Card is the kind of mistake that gets talked about at the reception, and not in a good way.
Order 10 to 15% more than your guest count. You'll want extras for your wedding album, for guests who lose theirs, and for the inevitable "oh wait, we forgot to add them to the list" moments.
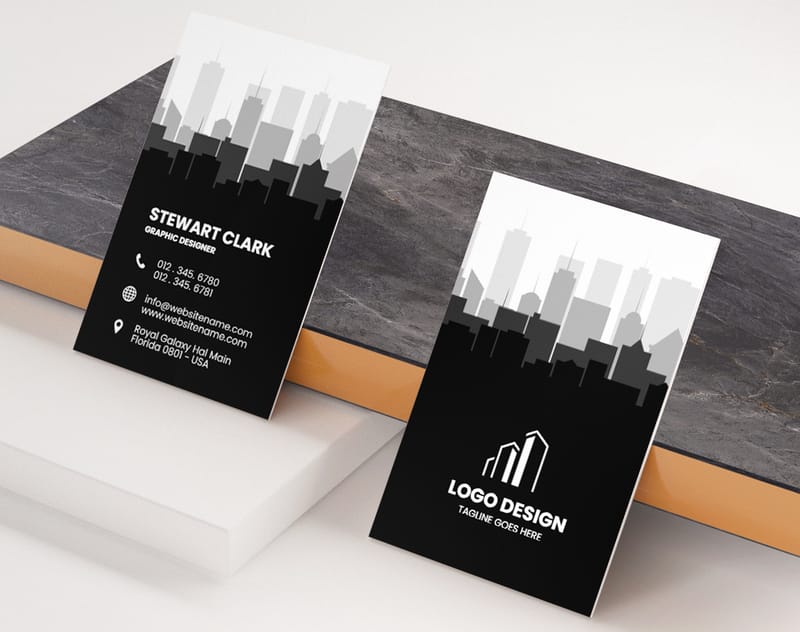
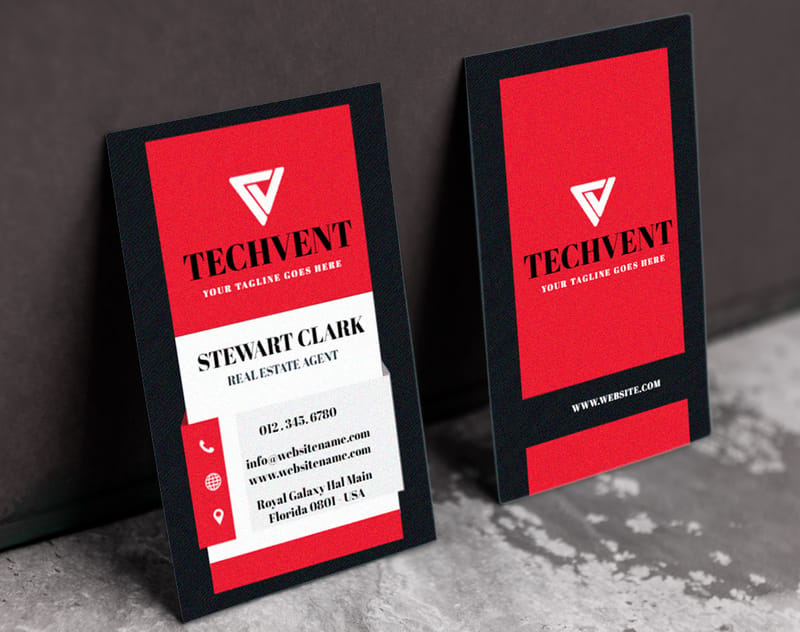
Below you'll find real examples of Save The Date Cards designed and printed through 4OVER4.COM, plus customizable templates to get you started.
Mistakes That Ruin Save The Date Cards (and How to Dodge Them)
Even well-planned couples trip up on these common errors when making Save The Date Cards. Here's what to watch for:
- Sending them too late. If your cards arrive three months before the wedding, out-of-town guests may have already booked other plans. Stick to the 6-to-8-month window.
- Including too much information. Save The Dates aren't invitations. Leave out the registry, the dress code, and the full venue address. Less is more.
- Using RGB color mode. Your bright coral on screen turns muddy salmon in CMYK. Always convert before uploading.
- Skipping the proof review. One wrong digit in the date, and you're reprinting the entire batch. 4OVER4.COM provides a digital proof for a reason - use it.
- Choosing thin paper for a premium design. A gorgeous design on flimsy stock sends mixed signals. Match your paper weight to your design ambitions.
- Forgetting the wedding website. This is the easiest way for guests to get updated details. Include it on every card.
Best 4OVER4.COM Products for Your Save The Date Cards
When you're ready to print, 4OVER4.COM has options that fit every wedding style and budget. From thick matte cards to eye-catching metallic finishes, you'll find the right match for your big day. Couples who care about sustainability can explore Green Printing options for recycled and eco-friendly paper stocks. And if your wedding is coming up fast, Same Day Printing can get your Save The Date Cards produced and shipped without blowing your timeline.
Here's what real couples have said about their 4OVER4.COM Save The Date Cards:
Free Design Templates
Save The Date Card Questions, Answered
What should I put on a Save The Date Card?
Include both names, the wedding date, the city or venue name, your wedding website URL, and a note that a formal invitation will follow. Skip details like dress code, registry info, and meal options. Those belong on the actual invitation. Keep your Save The Date Card focused on the essentials so guests can mark their calendars immediately.
When should I send Save The Date Cards for weddings?
Mail Save The Date Cards 6 to 8 months before your wedding. For destination weddings, send them 8 to 12 months ahead so guests have time to book travel. Don't wait until you're sending invitations - Save The Dates serve a different purpose and need to arrive much earlier.
Can I make Save The Date Cards with photos?
Absolutely. Engagement photos are one of the most popular Save The Date Card designs. Just make sure your image is at least 300 DPI and saved in CMYK color mode for accurate print colors. A single strong photo works better than a collage. Let one image do the heavy lifting.
What's the best paper stock for Save The Date Cards?
It depends on your wedding style. 16pt coated stock works well for photo-based designs because colors look vivid and sharp. For a more organic, rustic feel, uncoated or kraft paper is a better fit. If you want guests to feel the quality the moment they pick it up, 32pt ultra-thick stock makes a strong impression.
How many Save The Date Cards should I order?
Order one per household on your guest list, plus 10 to 15% extra. You'll want spares for late additions, replacements, and keepsakes. It's cheaper to print a few extra upfront than to place a second order later. Visit the Help Center if you need guidance on quantities or file setup.
Do Save The Date Cards need envelopes?
Flat cards typically ship with envelopes or you can order them separately. Postcard-style Save The Dates don't need envelopes at all - you address and stamp them directly. Magnets usually come with a backing card and envelope. Choose the format that fits your budget and your aesthetic.