What You'll Learn in This Business Card Design Tool Tutorial
This business card design tool tutorial walks you through every step of creating professional cards using 4OVER4's free online designer. You'll learn how to pick the right template, customize fonts and colors, upload your logo, set up bleed and trim areas, and preview your final design before printing. 4OVER4 has printed over 10 billion cards and serves 150,000+ businesses, so you're working with a platform built on real print expertise.
Standard Business Cards
Starting from $17.57
Free Design Templates:
Why a Business Card Design Tool Beats Starting from Scratch
Most people don't have Adobe Illustrator. And honestly, most people don't need it. A dedicated business card design tool gives you print-ready templates, proper dimensions, and real-time previews without the learning curve of professional software. You get a card that looks like a designer made it, because the hard work is already baked into the tool.
"Standard Business Cards /5"
| Quantity | Price Per Unit |
|---|---|
| 100 | $0.18 |
| 4,000 | $0.03 |
| 35,000 | $0.02 |
| 100,000 | $0.02 |
Ink Color
Finish
Variable Data (Codes, Names, Etc.)
Rounded Corners
Total Sets
Proof Options
4OVER4's free online designer is built for exactly this. Browse the Design Templates library to find a starting point that fits your industry. Not sure what paper stock feels like in your hands? Order Free Samples before committing. And if you want to start with a blank canvas, the Design Templates section also includes fully customizable layouts you can rebuild from the ground up.
"Free Business Cards With Free Shipping /5Paper Type14pt Gloss Cover14pt Uncoated Cover (30% PCW)Proof OptionsStraight To ProductionFree Online Proof"
Here's what we'll cover: choosing a template, customizing your layout, working with typography and color, adding your logo, setting up bleed zones, previewing your design, and placing your order. Let's get into it.
"Die-Cut Any Shape Business Cards /5"
Ink Color
Finish
Die Cutting
Total Sets
Proof Options
Step-by-Step: Designing Your Business Card with 4OVER4's Free Tool
Step 1 - Choose Your Card Size and Orientation
Before anything else, pick your card dimensions. The standard business card is 3.5 x 2 inches, but 4OVER4 offers other sizes depending on the product you select. You'll also choose between horizontal and vertical orientation right at the start.
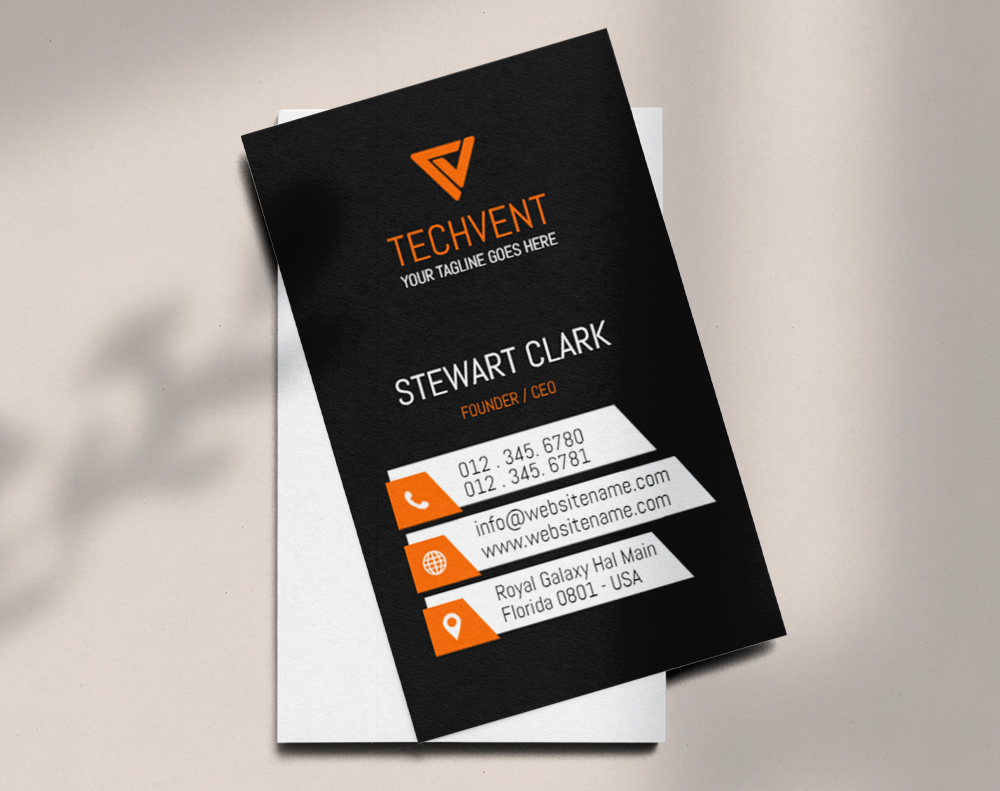
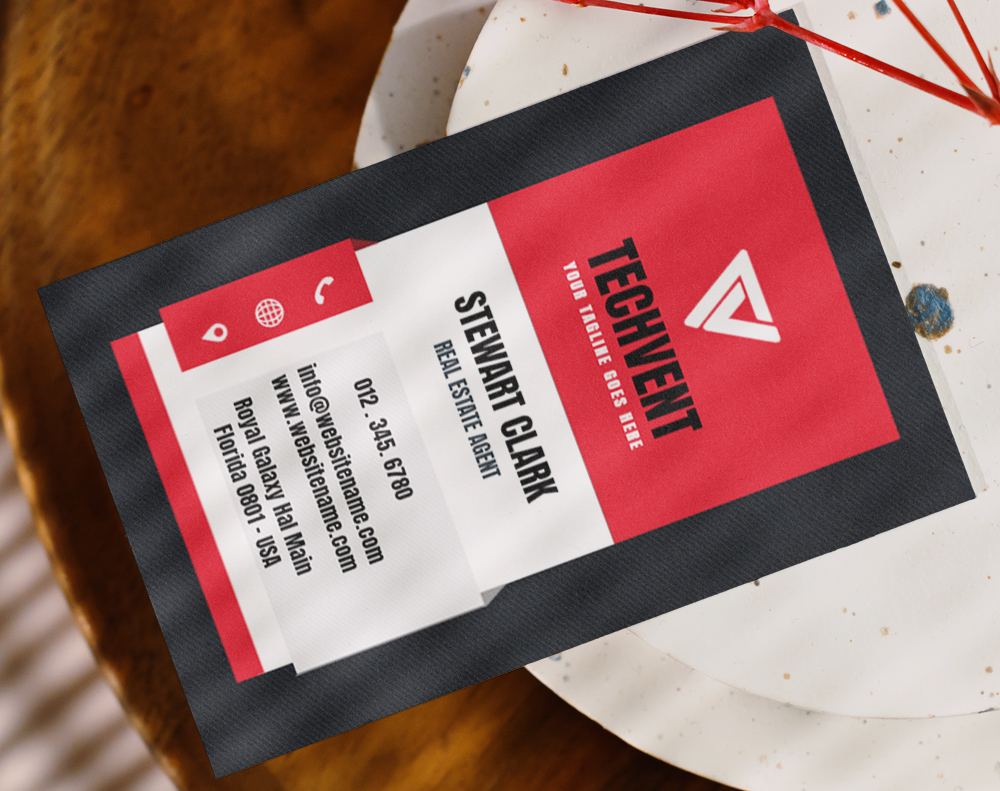
Horizontal cards are the classic choice for most industries. Vertical cards stand out a bit more, especially for creative professionals or modern brands. There's no wrong answer here. Pick the orientation that gives your content the most breathing room. If your name and title are long, horizontal usually works better. If your logo is tall or you want a bold visual layout, go vertical.
For more print project guidance across different formats, check out the Faq Hub where 4OVER4 covers everything from cards to banners.
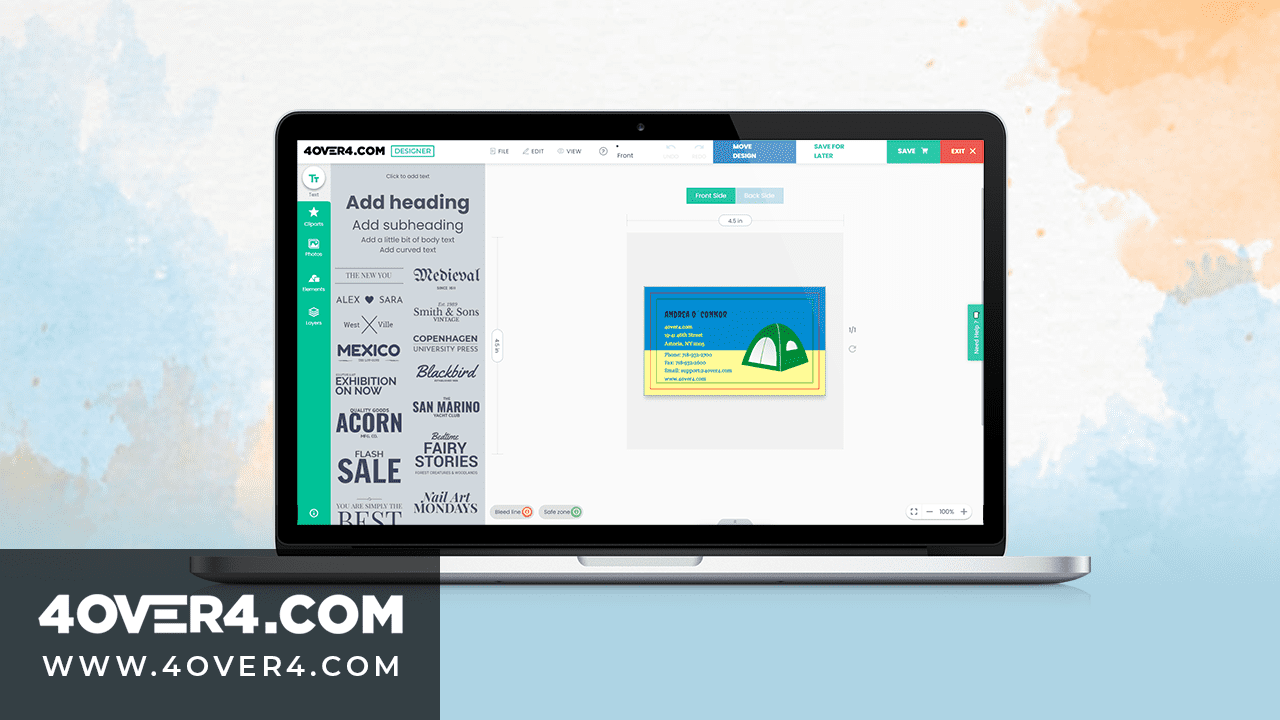
Step 2 - Pick a Template or Start Blank
Once you've set your size, the design tool presents two paths. You can browse pre-designed templates or open a blank canvas. Templates are organized by industry and style, so a real estate agent and a yoga instructor won't be scrolling through the same options.
Templates save serious time. Each one is already set up with proper margins, font pairings, and color schemes. You just swap in your info. Starting blank gives you total freedom, but you'll need to handle spacing and alignment yourself. For most people, starting with a template and customizing it heavily is the sweet spot. You can access downloadable files through Blank Templates if you prefer to design offline and upload later.
Blank Templates


"I used one of the minimalist templates for my consulting firm's cards. Changed the colors, swapped the font, added my logo - took maybe 15 minutes. People think I hired a designer."
- Marcus L., ★★★★★
Step 3 - Customize Your Typography
Typography makes or breaks a business card. The design tool includes a library of fonts ranging from clean sans-serifs to elegant serifs and modern display typefaces. Here's the rule of thumb: use no more than two fonts on a single card.
Your name or company name gets the primary font. Make it bold, make it readable. Contact details and secondary info get the second font, usually something lighter or smaller. Resist the urge to use a decorative script for your phone number. Nobody wants to decode your email address.
Font size matters too. Your name should sit around 9-12pt for standard cards. Anything smaller than 7pt risks becoming unreadable after printing. The design tool lets you adjust size, weight, spacing, and color in real time, so experiment until the hierarchy feels right. If you're working on other print materials alongside your cards, the same typography principles apply when you learn How To Make Flyers for your business.
Step 4 - Set Your Color Palette
Colors on screen don't always match colors on paper. That's a fact of life in print. The 4OVER4 design tool works in CMYK color mode, which is the standard for commercial printing. This means what you see in the preview is much closer to the final printed result than if you were designing in RGB.
Stick to your brand colors. If you have hex codes or CMYK values from your brand guidelines, enter them directly. The tool supports custom color input so you're not limited to preset swatches. A common mistake is using neon or very bright RGB colors that can't be reproduced in CMYK. The tool will show you an approximation, so trust the preview.
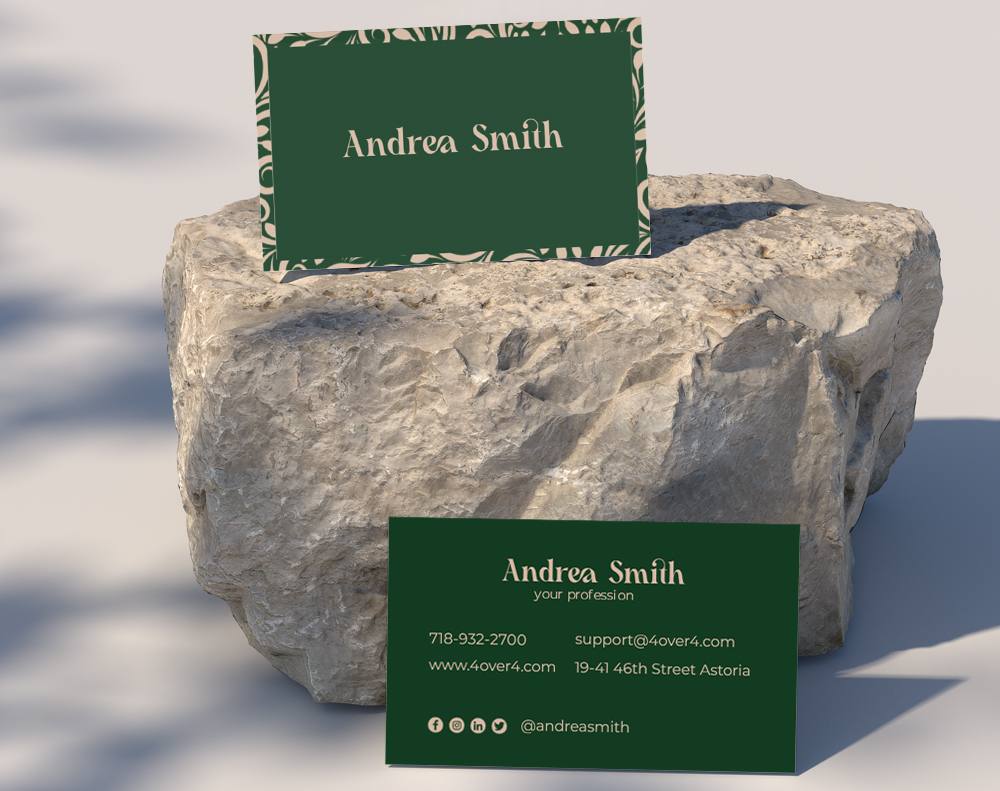
Dark backgrounds with light text create a bold, modern look. White or cream backgrounds with dark text feel classic and clean. Both work. Just make sure there's enough contrast between your text and background so nothing disappears.
Step 5 - Upload and Position Your Logo
Your logo is the anchor of your card. Upload it in the highest resolution you have. PNG files with transparent backgrounds work best because they sit cleanly on any colored background. JPEGs work too, but you might get a visible white box around your logo if the background isn't white.
The design tool lets you drag, resize, and rotate your logo. Place it where it naturally draws the eye first, usually the top-left or center of the card. Don't make it so large that it crowds your text. And don't shrink it so small that people squint. A logo that takes up roughly 20-30% of the card's visual space tends to feel balanced.
If your logo includes fine details or thin lines, zoom into the preview. Thin elements can get lost during printing, especially on textured paper stocks. This is another reason to order Free Samples and test before committing to a large run.
Step 6 - Set Up Bleed and Safe Zones
This is the step most beginners skip, and it's the one that causes the most printing headaches. Bleed is the area beyond the trim line where your design extends. It exists because cutting machines aren't pixel-perfect. Without bleed, you end up with thin white edges on your finished cards.
4OVER4's design tool shows bleed and safe zones as guidelines on your canvas. The bleed area is typically 0.0625 inches (1/16") on each side. The safe zone sits inside the trim line by the same amount. Keep all critical text and logos inside the safe zone. Background colors and images should extend all the way to the bleed edge.
Think of it this way: anything in the bleed zone might get cut off. Anything in the safe zone is guaranteed to appear on the final card. Anything between those two lines is a gamble. This same principle applies to all print products, whether you're designing cards or learning How To Fold A Brochure.
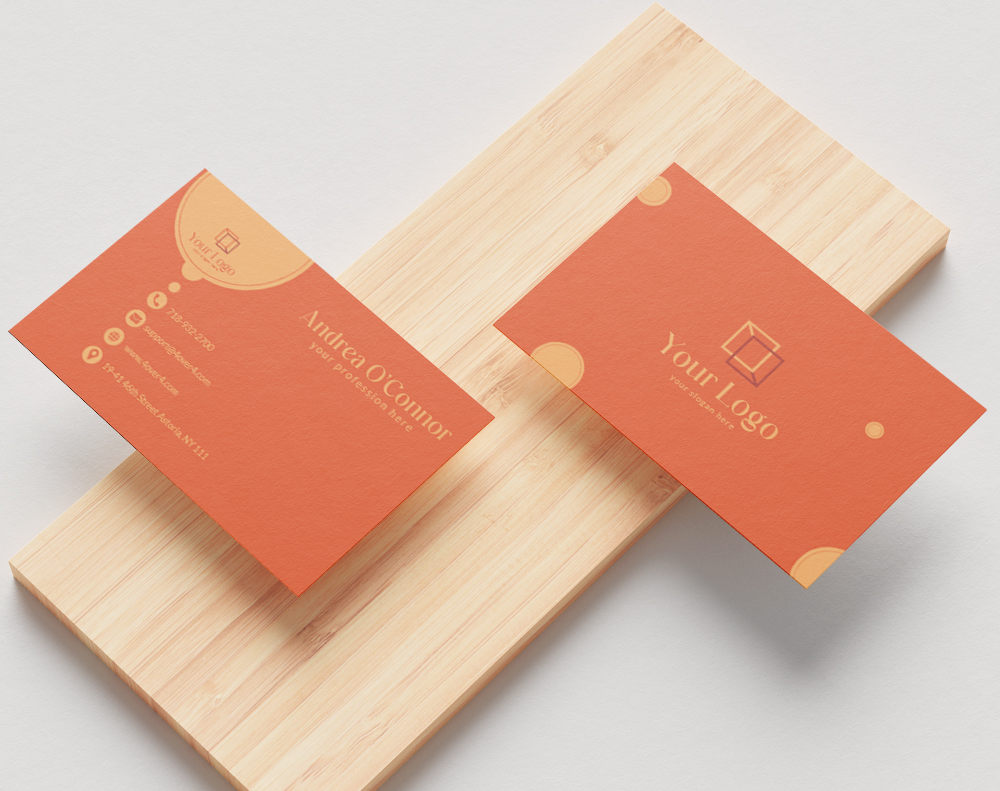
Step 7 - Design the Back of Your Card
Don't waste the back. A lot of people leave it blank, but the back of your business card is prime real estate. Use it for a tagline, a QR code linking to your website, a simple pattern that reinforces your brand, or a short list of services.
The design tool lets you flip between front and back views. You can apply a completely different design to the back or keep it minimal. A QR code is one of the smartest additions you can make in 2026. It bridges the gap between a physical card and your digital presence. Just make sure the QR code is at least 0.75 x 0.75 inches so phones can scan it reliably.
For other creative print projects that pair well with business cards, explore guides like Custom Magnets Faq and How To Make Envelopes for branded stationery sets.
"I added a QR code to the back that links to my portfolio. At a trade show last month, I watched three people scan it right in front of me. That never happened with my old cards."
- Priya K., ★★★★★
Step 8 - Preview, Proof, and Order
Before you hit order, use the high-definition preview. Zoom in on every element. Check for typos (you'd be shocked how many people misspell their own email). Verify that colors look right and that nothing important sits too close to the edges.
4OVER4 provides a digital proof so you can approve the final layout before printing begins. This is your safety net. Take it seriously. Show the proof to a colleague or friend with fresh eyes. They'll catch things you've been staring at too long to notice.
Once you approve, select your paper stock, finish, and quantity. 4OVER4 offers 60+ paper types, from standard 14pt to ultra-thick 32pt stock. A 32pt card is roughly three times the thickness of a standard card, and people notice. It's the difference between a card that gets filed and a card that gets kept. For more hands-on print tips, How To Clean Rubber Stamps covers maintenance for another popular 4OVER4 product.
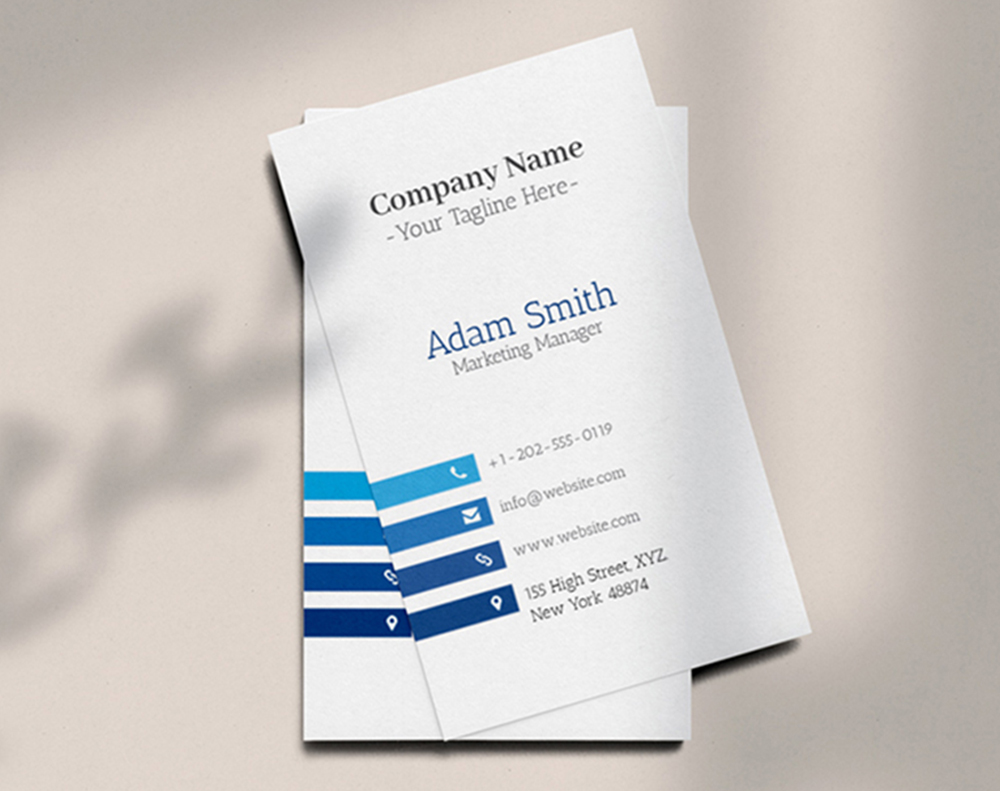
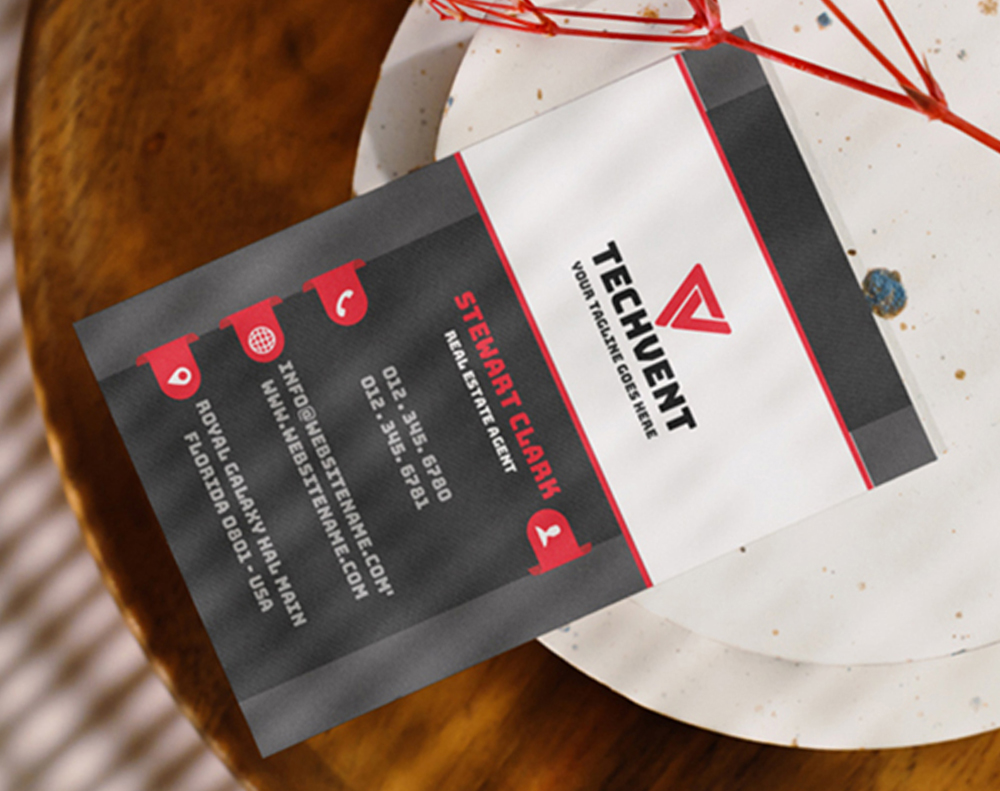
Here are some real designs created by 4OVER4 customers using the design tool, plus templates you can start customizing right now.
Mistakes That Ruin Business Card Designs (and How to Avoid Them)
Even with a great business card design tool tutorial in front of you, certain errors pop up again and again. Here are the ones 4OVER4's print team sees most often.
Low-resolution logos. If your logo looks fuzzy in the preview, it'll look worse in print. Always upload at 300 DPI or higher. Screen resolution (72 DPI) is not enough for print.
Too much information. Your card isn't a brochure. Name, title, phone, email, website. Maybe a social handle. That's it. If you're listing six phone numbers and three addresses, you need a different card for each location.
Ignoring bleed zones. We covered this above, but it's worth repeating. Extend backgrounds to the bleed edge. Keep text inside the safe zone. Every time.
Using too many fonts. Two fonts maximum. Three if one is only used for a single word. More than that and your card looks like a ransom note.
Skipping the proof. 4OVER4 sends you a proof for a reason. Review it carefully. Zoom in. Read every word out loud. One typo on 500 cards is 500 typos you're handing out.
Best Business Cards to Print After Designing
Now that you've finished this business card design tool tutorial, it's time to pick the right product for your design. 4OVER4 offers options across 60+ paper types so your card feels as good as it looks.
- User-Friendly Interface: The tool's intuitive design ensures that users of all skill levels can navigate it easily. Adjusting layouts, fonts, and colors to match brand identity requires no advanced expertise. Explore templates to see how simple it is to get started.
- Customization Options: Users can modify every detail on their cards, from images to finishes, ensuring unique, brand-conscious designs. There's also the ability to upload logos and fine-tune designs for an exclusive look.
- No Additional Costs: This tool, available for free, eliminates the expenses tied to hiring designers or buying costly software. It integrates seamlessly with 4OVER4’s free business cards offering.
- High-Quality Printing Integration: Once the design process is complete, the platform connects directly to 4OVER4’s professional printing services. Users can choose from premium paper types, finishes, and vibrant printing options.
For a card that stops people mid-handshake, try 3D Lenticular Business Cards for an animated, eye-catching effect. Standard cards on 14pt or 16pt stock work great for everyday networking. And if you want something people physically can't ignore, 32pt ultra-thick stock with a soft-touch finish feels like holding a credit card.
- Limited Offline Access: The 4OVER4 Design Tool operates exclusively online, meaning users must remain connected to the internet to design or edit their cards.
- Template Dependence: While highly customizable, starting from scratch might feel daunting for some without heavy reliance on pre-made design templates.
- Printing Only Through 4OVER4: Although seamless, the designs created only integrate with 4OVER4 for printing, narrowing external printing options.
Here are the available options, specs, and current pricing to help you decide.
Free Design Templates
"Ordered business card design tool tutorial from 4OVER4 and the quality blew me away. Sharp colors, premium feel, arrived 2 days early."
"Been using 4OVER4 for business card design tool tutorial for a year. Consistent quality every time. The online designer made it easy."
"Switched to 4OVER4 and saved 40% on business card design tool tutorial. Better quality than my old printer. 60+ paper options."
"4OVER4's business card design tool tutorial helped us look more professional. Clients notice the difference."
Common Questions About Using a Business Card Design Tool
Do I need design experience to use 4OVER4's business card design tool?
No design experience required. The tool includes pre-built templates with proper sizing, font pairings, and color schemes already set up. You customize by swapping text, uploading your logo, and adjusting colors. The interface uses drag-and-drop controls, so if you can use a smartphone, you can design a business card.
What file format should my logo be in?
PNG with a transparent background works best for the design tool. It sits cleanly on any background color without a visible bounding box. If you only have a JPEG, it still works, but make sure it's at least 300 DPI. Low-resolution logos are the number one cause of blurry prints.
Can I design both sides of my business card?
Yes. The tool lets you design front and back independently. You can flip between views while editing. Many customers use the front for contact info and the back for a QR code, tagline, or brand pattern. Printing both sides adds minimal cost and doubles your usable space.
What does "bleed" mean in the business card design tool tutorial?
Bleed is the extra 0.0625 inches of design that extends beyond the trim line on each side. It exists because cutting machines have slight variations. Without bleed, you risk white edges on your finished cards. Always extend background colors and images to the bleed edge, and keep important text inside the safe zone.
How do I know my colors will print accurately?
4OVER4's design tool works in CMYK, which is the color standard for commercial printing. Colors you see in the high-definition preview closely match the printed result. Avoid neon or very bright colors that exist only in RGB. If exact color matching is critical, order a sample print first.
What paper stock should I choose after designing?
4OVER4 offers 60+ paper types. For everyday networking, 14pt or 16pt cardstock is a solid choice. For a premium feel, 32pt ultra-thick stock is roughly three times the thickness of a standard card. Add a soft-touch or spot UV finish to make the card memorable. Your design stays the same regardless of paper choice.