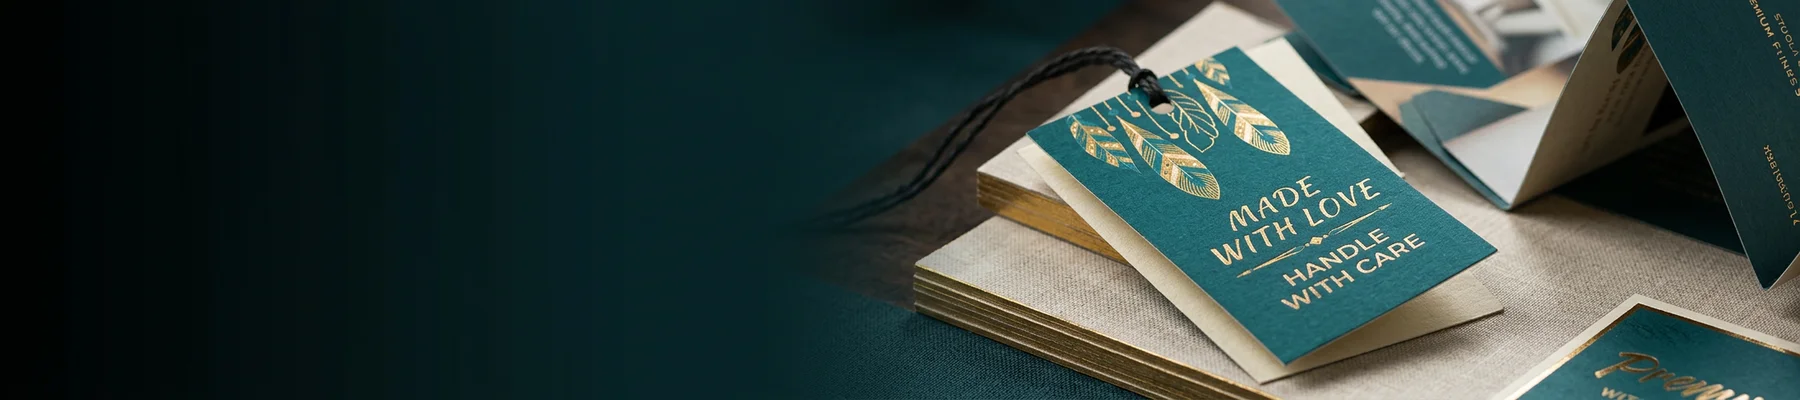
Lenticular Printing at a Glance
Lenticular printing is a technique that pairs interlaced images with a ridged plastic lens to create visuals that appear to move, flip, or pop into 3D - all without glasses or screens. It's used on business cards, bookmarks, postcards, and packaging to grab attention instantly. 4OVER4 offers lenticular products backed by 10,000+ reviews and a track record of serving 150,000+ businesses nationwide.
How Lenticular Printing Turns Flat Images Into Eye-Catching Experiences
What is lenticular printing, exactly? It's a process that combines two or more images beneath a plastic lens sheet made of tiny ridges called lenticules. As you tilt the print, different image slices become visible - creating motion, depth, or a complete image swap right before your eyes. No batteries, no screens. Just physics and smart design.
This technique has been around since the 1940s, but modern printing technology has made it sharper, more affordable, and way more accessible. 4OVER4 makes it easy to design lenticular products using the Online Designer, so you don't need to be a print expert to get started. From business cards that flip between your logo and contact info to bookmarks with animated scenes, lenticular printing gives your brand a physical "wow" factor that digital can't replicate.

Whether you're exploring print techniques for the first time or you've already mastered basics like How To Clean Rubber Stamps, lenticular printing opens up a completely different creative dimension. You can also build full designs from scratch with the Online Designer before placing your order.

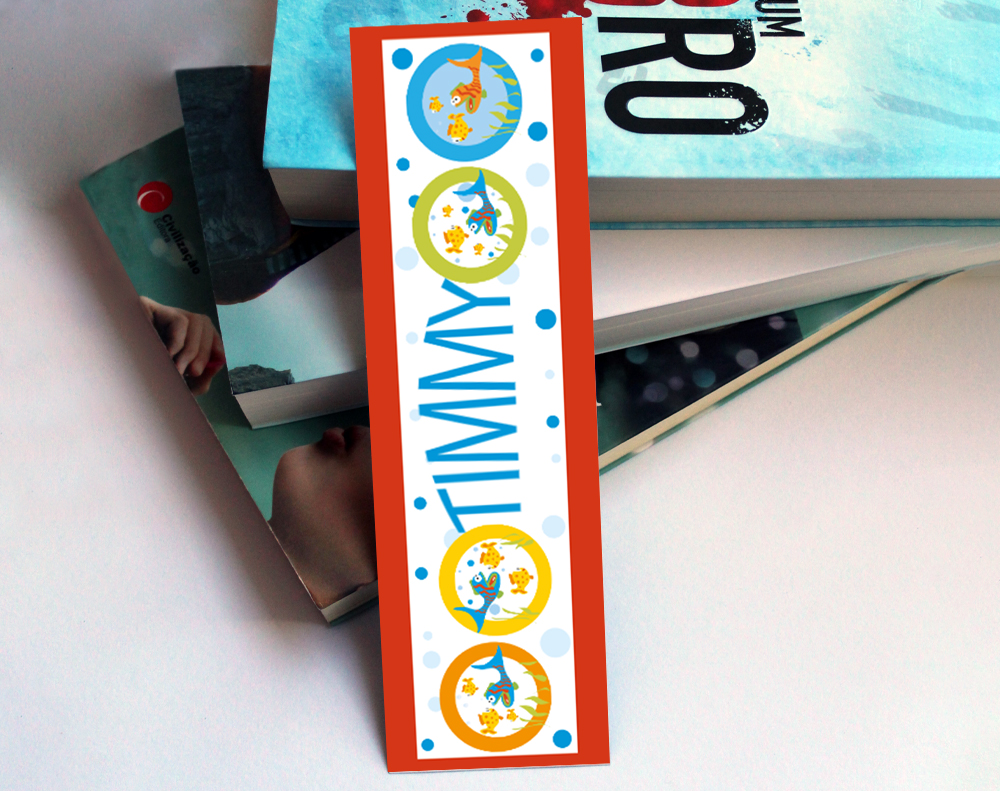
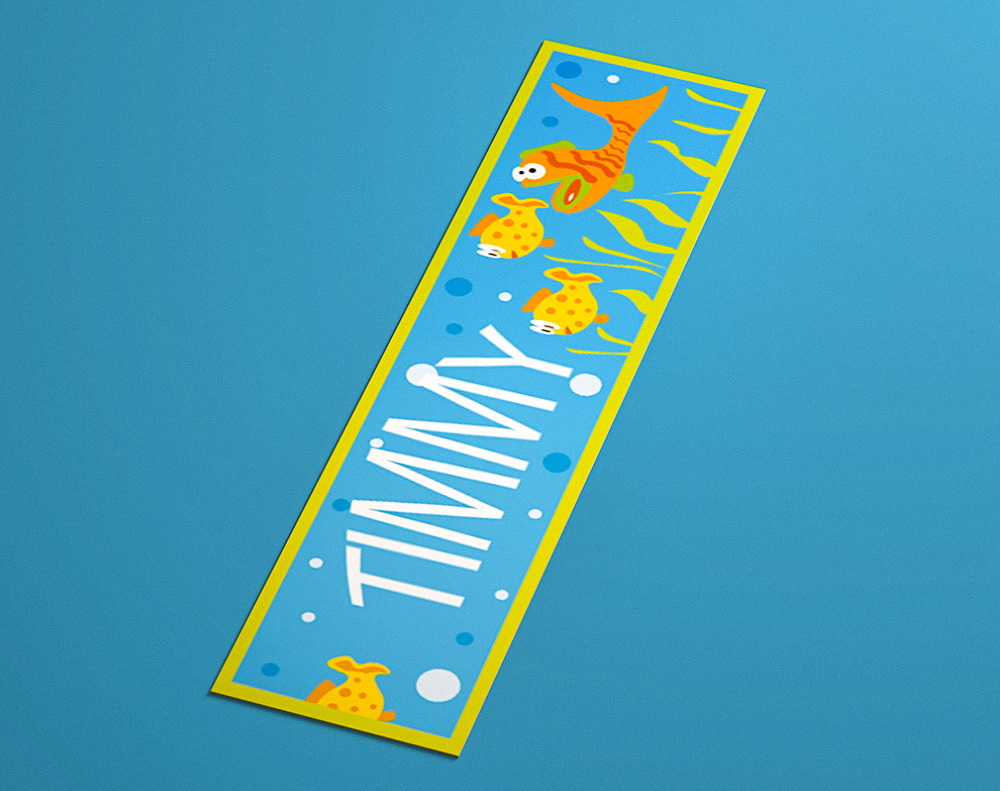
"3D Lenticular Bookmarks /5"
| Quantity | Price Per Unit |
|---|---|
| 500 | $1.97 |
| 1,000 | $1.10 |
| 3,000 | $0.66 |
| 10,000 | $0.41 |
Ink Color
Effect
Number of Flips
Effect Direction
Hole Drilling
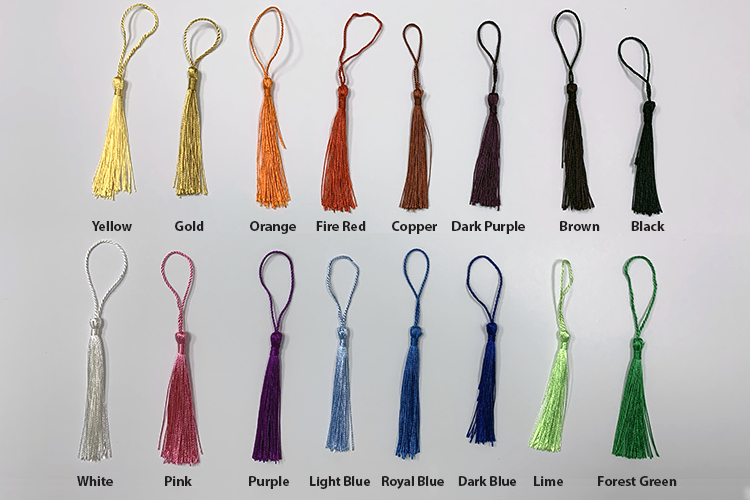
Tassels
Rounded Corners
Proof Options
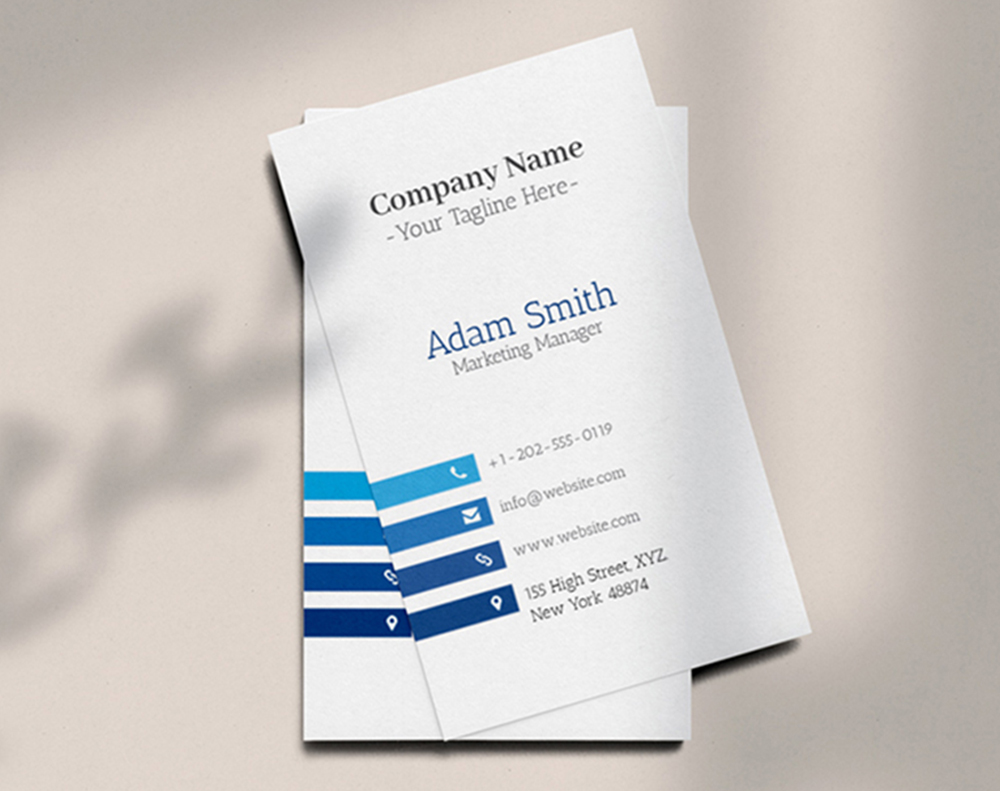
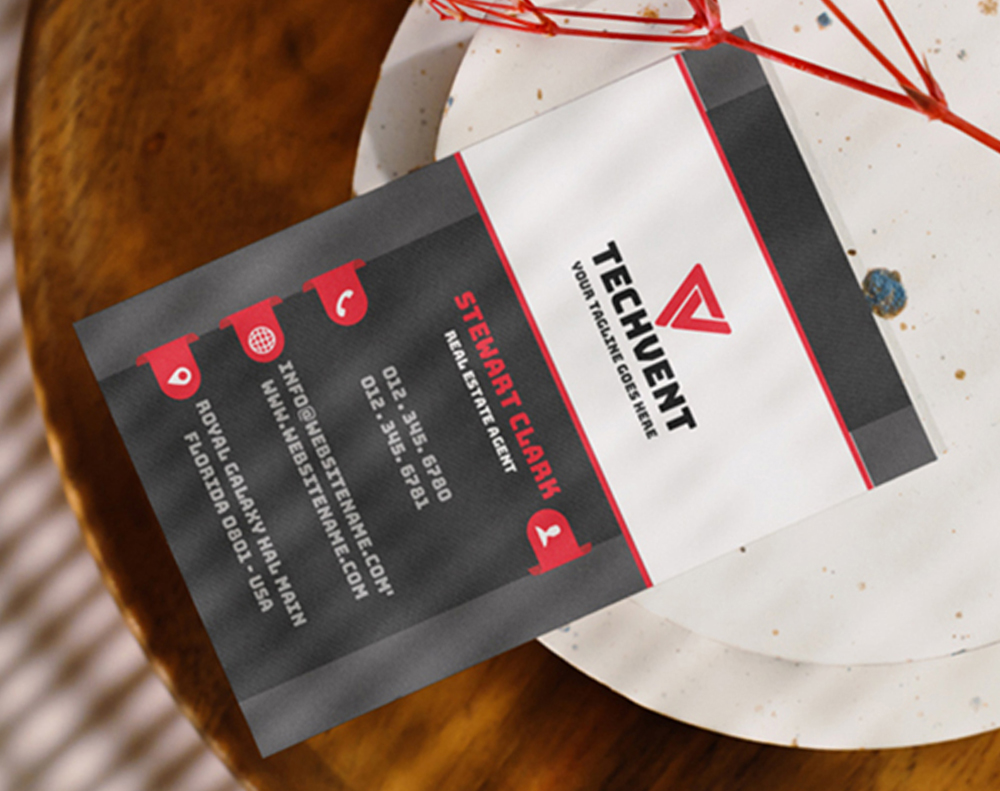
"3D Lenticular Business Cards /5"
Ink Color
Effect
Number of Flips
Effect Direction
Rounded Corners
Proof Options
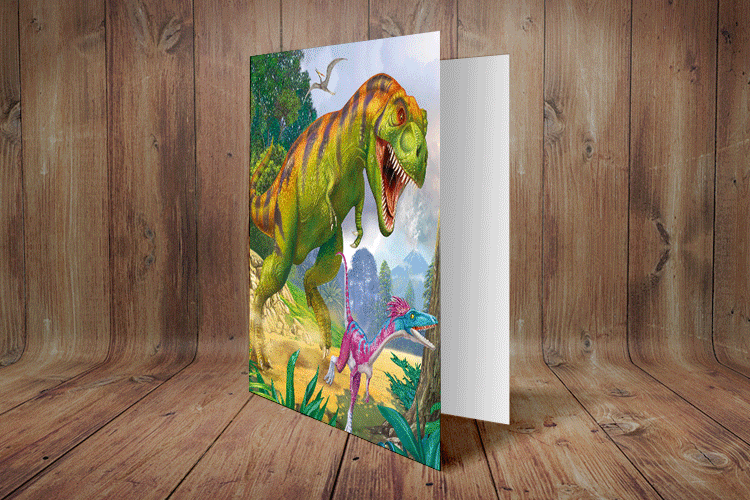
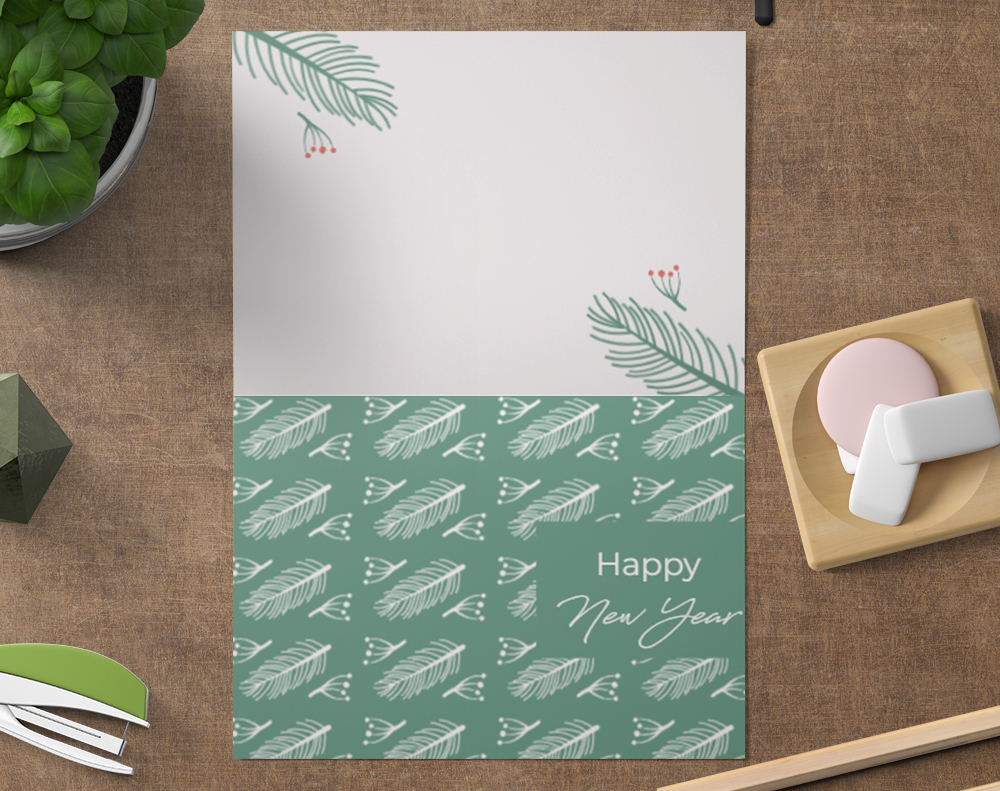
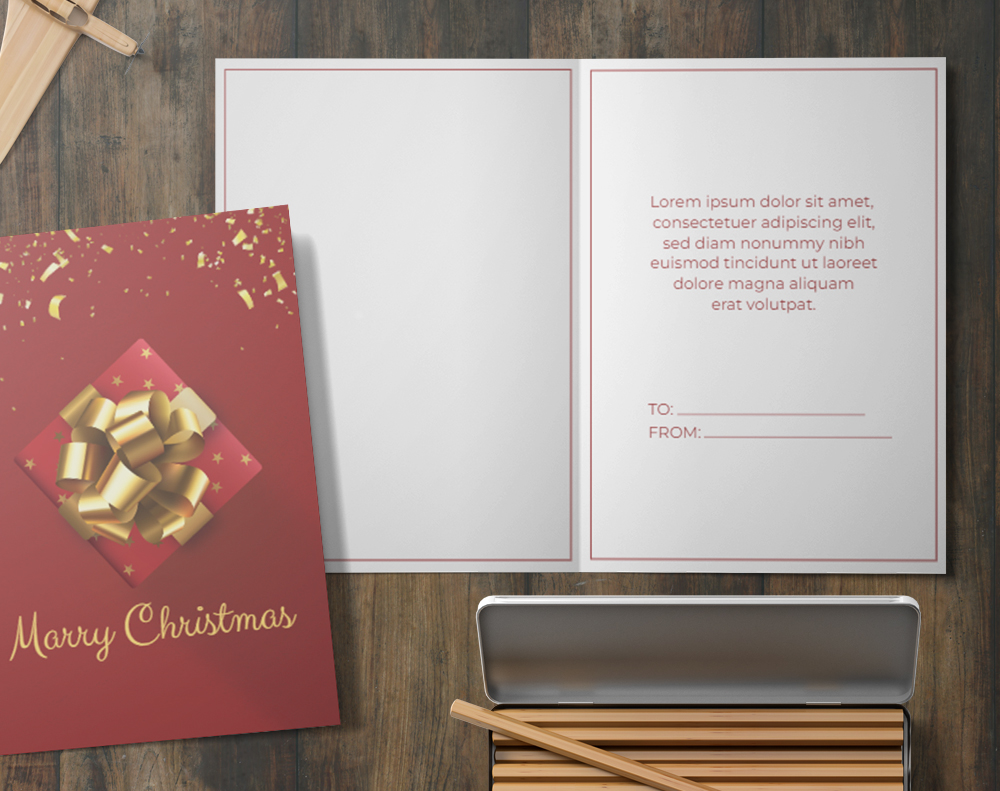
"3D Lenticular Greeting Cards /5"
Ink Color
Effect
Number of Flips
Effect Direction
Scoring
Folding
Matching Blank Envelopes
Proof Options
How Lenticular Printing Actually Works
Lenticular printing relies on two components working together: an interlaced image and a lenticular lens sheet. The interlaced image is created by slicing two or more source images into narrow vertical strips and weaving them together into a single composite file. The lens sheet - a transparent plastic layer covered in tiny, parallel convex ridges - sits on top. Each ridge acts like a miniature magnifying glass, directing your eye to a different strip depending on your viewing angle.
When you tilt the printed piece left or right, the lenticules reveal different slices of the composite image. That's what creates the illusion of movement, depth, or a complete image change. The precision here matters. The number of lenses per inch (LPI) must match the interlacing resolution exactly, or the effect falls apart. Higher LPI counts produce smoother transitions and finer detail.
"I handed out my 3D Lenticular Business Cards at a trade show, and people literally stopped walking to look at them. The depth effect on my product photo was unreal."
- Marcus L., ★★★★★
The Main Lenticular Effects You Can Create
3D Depth is the most popular effect. It takes a single image and separates foreground, midground, and background elements onto different layers. The lenticular lens gives each layer a distinct focal plane, so the final print looks like you're peering through a tiny window into a three-dimensional scene. This works especially well for product shots, landscapes, and portraits.
Flip (also called "change") alternates between two completely different images. Tilt the card one way, and you see your logo. Tilt it the other way, and your tagline or a second design appears. This is perfect for before-and-after reveals or bilingual messaging. If you're looking for creative layout ideas for other print projects, check out How To Fold A Brochure for folding techniques that also play with visual surprise.
Animation uses a sequence of frames - like a mini flipbook - to simulate motion. Think of a spinning logo, a waving hand, or a bouncing ball. You'll need 8 to 15 frames for smooth animation, and the LPI count needs to be high enough to handle that many interlaced strips without blurring.
Morph blends one image smoothly into another. A face ages, a caterpillar becomes a butterfly, a product transforms. It's a single continuous transition rather than a hard flip. Morph effects typically use 10 to 20 intermediate frames generated by software.
Zoom makes an element appear to grow or shrink as you tilt the print. It's less common but striking when done right - great for highlighting a single product or focal point.
Blank Templates


Where Lenticular Printing Gets Used
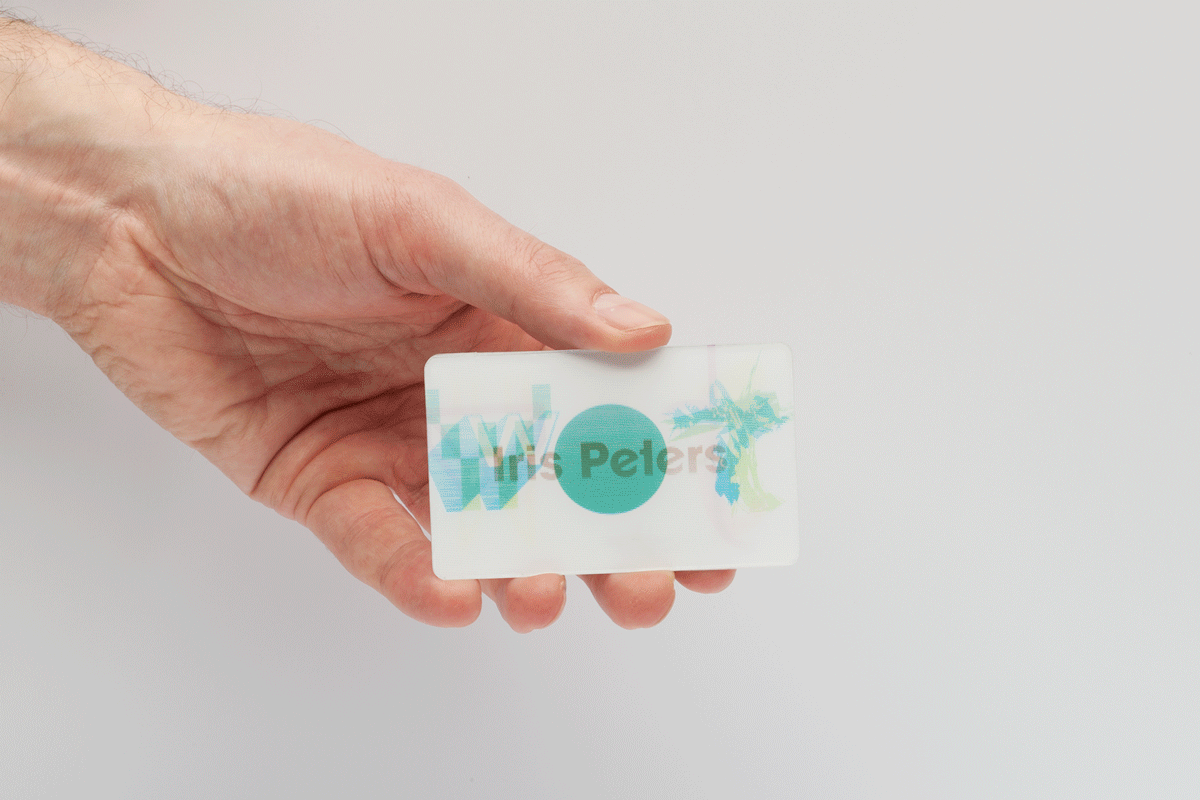
Business cards are one of the most popular applications. A lenticular business card is impossible to ignore in a stack of flat cardstock. 4OVER4's 3D Lenticular Business Cards let you choose between flip, 3D, and animation effects - so your card does the talking before you even say a word.
Free Design Templates:
Bookmarks are another natural fit. Kids love them. Libraries and publishers use lenticular bookmarks as promotional giveaways that people actually keep. The animated or 3D effect turns a simple bookmark into a collectible.
Free Design Templates:
Packaging and point-of-sale displays use lenticular panels to draw shoppers' eyes on crowded shelves. A cereal box with a 3D character or a cosmetics display with a morph effect stands out in ways that flat packaging can't match.
Greeting cards and invitations get a serious upgrade with lenticular printing. Imagine a holiday card where snow appears to fall, or a wedding invite that flips between the couple's photo and the event details. For more ideas on printed stationery, see How To Make Envelopes to pair custom envelopes with your lenticular cards.
Free Design Templates:
Promotional materials and direct mail benefit from lenticular's attention-grabbing power. Direct mail pieces with lenticular elements see higher open and response rates because recipients interact with the piece physically. If you're building a full campaign, How To Make Flyers covers complementary print collateral that rounds out your marketing mix.
"We used lenticular greeting cards for our holiday client gifts. Every single person commented on them. It was the best brand impression we've made all year."
- Danielle R., ★★★★★
Setting Up Your Lenticular Print Files
File preparation for lenticular printing is different from standard print jobs. You don't just submit a single flat image. You need to provide the individual source images (or frames, for animation) that will be interlaced. Most lenticular printers handle the interlacing step, but the source files need to be high-resolution - at least 300 DPI at final size, and often higher for complex animations.
For 3D depth effects, you'll create or provide a layered file (usually PSD or AI) with each depth layer separated. The printer's software maps each layer to a different focal plane within the lenticular lens. The more layers you separate, the more convincing the depth.
For flip and morph effects, submit each source image as a separate high-res file. Make sure the images share the same dimensions, resolution, and color profile. Mismatched files create registration errors that ruin the effect.
For animation, export your frames as a numbered sequence (frame_01.tif, frame_02.tif, etc.). Keep movements simple and bold. Fine details get lost in the interlacing process, so thick lines and high-contrast colors work best.
Color management matters too. Lenticular lenses sit on top of the printed image, which means colors can appear slightly muted compared to standard prints. Bump up your saturation by 10-15% during file prep to compensate. And always request a Free Samples kit to see how colors translate under the lens before committing to a full run.
Choosing the Right LPI for Your Project
LPI (lenses per inch) determines the quality and type of effect you can achieve. Lower LPI counts (40-60 LPI) work well for large-format prints like posters and signage where viewers stand several feet away. Higher LPI counts (75-100+ LPI) are better for handheld items like business cards and bookmarks where the viewing distance is just inches.
The LPI also limits how many frames you can interlace. A 75 LPI lens can handle more frames than a 40 LPI lens at the same print size, which means smoother animations and more gradual morphs. But higher LPI lenses are thinner and more delicate, so they're not ideal for outdoor signage that needs to withstand weather.
For a deeper look at print techniques and creative ideas across all product types, browse the Faq Hub. And if you're curious about other tactile print products that make an impression, Custom Magnets Faq covers another product category that people hold onto.
Lenticular Printing vs. Holographic and Augmented Reality
People sometimes confuse lenticular printing with holographic foils or AR-enabled prints. Here's the difference. Holographic foils use metallic layers to create rainbow-shifting patterns, but they don't display actual images or animations - just light refraction patterns. They're decorative, not informational.
AR (augmented reality) prints require a smartphone app to scan a trigger image and overlay digital content. The print itself is flat and static. Lenticular printing needs no app, no phone, no special viewer. The effect is built into the physical print. Pick it up, tilt it, and the magic happens. That self-contained nature is what makes lenticular so effective for trade shows, retail, and direct mail - contexts where asking someone to download an app is a non-starter.
Lenticular also outlasts digital gimmicks. An AR experience depends on app support and server uptime. A lenticular print works the same way in 2026 as it will in 2036. No updates required.
Pitfalls to Avoid With Lenticular Print Projects
The most common mistake with lenticular printing is using low-resolution source images. Because the interlacing process slices your images into extremely thin strips, any softness or pixelation in the original gets amplified. Start with files at 300 DPI minimum - 400 DPI or higher for animation sequences.
Overcrowding frames is another frequent issue. Trying to cram 20+ animation frames into a low-LPI lens produces a muddy, ghosted result. Keep your frame count realistic for the lens you're using. Eight to twelve frames is a sweet spot for most handheld lenticular products.
Ignoring color shift under the lens catches a lot of first-timers off guard. The plastic lens layer slightly dulls colors. Boost saturation during file prep and always proof before your full print run.
Finally, choosing the wrong effect for the wrong product wastes your budget. A complex animation on a tiny business card can look cluttered. 4OVER4 recommends flip or 3D depth for business cards, and saving detailed animations for larger formats like bookmarks or postcards.
"First time I ordered lenticular bookmarks, I used too many animation frames and the result was blurry. 4OVER4's team walked me through the right frame count for my next order, and the difference was night and day."
- Kenji W., ★★★★☆
4OVER4 Lenticular Products Worth Trying
Ready to put lenticular printing to work? 4OVER4 offers several lenticular product formats designed for different use cases. Whether you need business cards that flip between two designs, bookmarks with animated scenes, or greeting cards with 3D depth, there's a product built for your project.
4OVER4 also supports Green Printing practices across its product line, so you can create eye-catching lenticular prints while being mindful of environmental impact. Here's a closer look at available options, specs, and pricing:
Free Design Templates
- Attention-Grabbing: Lenticular prints improve visibility by up to 300% compared to static imagery. This makes them ideal for stores, events, or advertisements.
- Interactivity: Viewers experience dynamic visuals without additional tools, amplifying engagement—especially for product packaging or marketing campaigns.
- Durability: Printed on sturdy lenses, these designs last longer, making them cost-effective for extended use.
- Capture high-quality images from slightly varied angles to create multiple viewpoints of the scene.
- Interlace these images into a composite graphic using specialized software, ensuring alignment for smooth transitions.
- Apply the lenticular lens over the interlaced image, calibrating its position precisely to achieve clarity and effect.
- Test from various angles to confirm optimal depth perception.
- Proven Experience
- Artwork Vetting Services
- Technical Capabilities
- Format and Compatibility
"Ordered what is lenticular from 4OVER4 and the quality blew me away. Sharp colors, premium feel, arrived 2 days early."
"Been using 4OVER4 for what is lenticular for a year. Consistent quality every time. The online designer made it easy."
"Switched to 4OVER4 and saved 40% on what is lenticular. Better quality than my old printer. 60+ paper options."
"4OVER4's what is lenticular helped us look more professional. Clients notice the difference."
Your Lenticular Printing Questions, Answered
What is lenticular printing used for?
Lenticular printing is used for business cards, bookmarks, greeting cards, packaging, point-of-sale displays, and direct mail. Any printed piece that benefits from motion, depth, or image-change effects is a good candidate. 4OVER4 offers lenticular options across multiple product formats for both personal and commercial projects.
How many images can I combine in a single lenticular print?
For flip effects, two images work best. Animation sequences typically use 8 to 15 frames for smooth motion. 3D depth effects use a single image separated into multiple layers. The lens LPI and print size determine the maximum number of frames you can interlace without losing clarity.
Do lenticular prints cost more than standard prints?
Yes, lenticular printing costs more than flat printing because it requires specialized interlacing, precise registration, and a plastic lens overlay. However, the attention-grabbing impact often justifies the cost - especially for business cards and promotional items where standing out is the whole point.
Can I design my own lenticular files at home?
You can prepare source images at home using Photoshop or Illustrator. Submit high-resolution files (300+ DPI) with separated layers for 3D or individual frames for animation. 4OVER4 handles the interlacing and lens alignment during production, so you don't need specialized lenticular software.
How durable are lenticular prints?
Very durable. The plastic lens layer protects the printed image underneath from scratches, moisture, and general wear. Lenticular business cards and bookmarks hold up well in wallets, purses, and desk drawers. The effect doesn't fade or degrade over time - it's a permanent physical property of the lens.
What file format should I use for lenticular printing?
Submit source files as high-resolution TIFF, PSD, or PDF. For animation, export frames as a numbered TIFF sequence. Avoid JPEG compression, which introduces artifacts that become visible after interlacing. Always work in CMYK color mode at 300 DPI or higher.