
How Label Printing Works, From Blank Stock to Finished Roll


Jordan is our labels, packaging and sustainability voice, built from the knowledge of our production team, with over 20 years in printing.
Face stock, adhesive, die cutting, laminate, and roll or sheet format. Those five choices decide whether a label survives a cooler, a shipping belt, and a customer's hands, and they are all made before anyone opens a design file.
Label printing puts artwork onto pressure sensitive material, a face stock already coated with adhesive and carried on a release liner. The press prints the face, an optional laminate protects it, and a die cuts each label through the face and adhesive but not the liner, so labels peel away cleanly. Finished work is rewound into rolls for applicators or cut into sheets for hand application. Material, adhesive, shape, finishing, and quantity set both the price and how long the label lasts.

Start here
From blank stock to finished roll
A printed label is a three layer material, face stock on top, adhesive underneath, and a release liner holding it all together until you apply it. Printing happens on the face while it is still on the liner, protection is added with laminate or varnish, and a die cuts the outline without cutting the liner. The material and adhesive you choose decide durability, the shape and finishing decide the look, and quantity decides the unit price. Get those settled before the artwork and the rest of the job follows easily.
Roll labels, defined
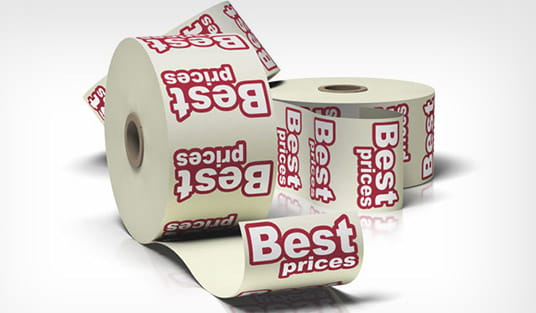
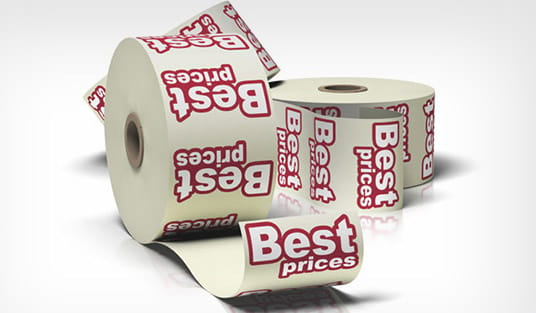
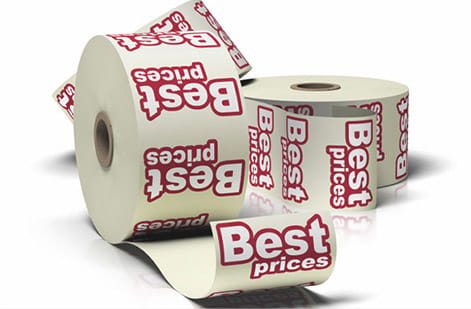
Roll labels are labels kiss cut on one continuous liner and wound onto a core, so they peel off one after another by hand or feed straight into a labeling machine. Sheet labels are the same three layers, face stock, adhesive and liner, cut into flat pages instead.
Our custom shaped roll labels come in six sizes from 1 by 1 to 6 by 6 inches, on white gloss for indoor use or white BOPP for indoor and outdoor, in runs from 250 with 6 business days of production. For short runs on sheets, standard labels start at 25 for $23.88.
How labels are printed, in order
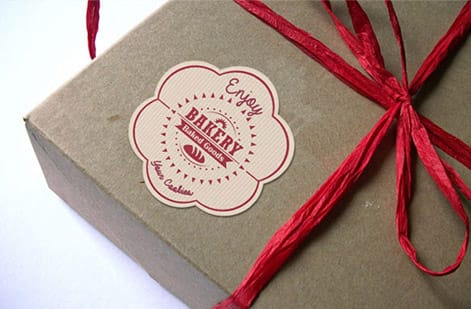
Labels are printed in five steps, all while the face stock is still on its liner:
- Stock: the face stock, paper, film or vinyl, arrives already coated with adhesive and backed by the release liner.
- Ink: the press prints the artwork onto the face.
- Protection: a laminate or varnish goes over the ink where the label will be handled or wet.
- Cut: a die or digital blade kiss cuts through face and adhesive and stops at the liner.
- Finish: the waste around each label is stripped, and the run is wound on a roll or cut into sheets.
Standard labels go through those steps in 3 business days of production.
Why label printing decides how your product reads on a shelf

A label is usually the last thing a buyer touches before deciding. It carries the name, the claims, the barcode, and the legal copy, and it does all of that on a surface that will be squeezed, chilled, wiped, and shipped. When the material is wrong, the message does not survive the trip.
Most label problems are not design problems. They are material problems that showed up after printing. Corners lifting on a curved bottle, ink smearing under a wet hand, a removable adhesive tearing the box it was supposed to release from cleanly. Every one of those traces back to a choice made before the press ever ran.
This guide walks the chain in the order the decisions actually happen, face stock, adhesive, size and shape, artwork setup, printing, finishing, and format. If you want the broader landscape of presses and processes first, the overview of different types of printing sets the context, and the print materials and paper library goes deeper on stocks.
What label printing actually is

Label printing means printing onto pressure sensitive material, a sandwich of three layers. The face stock on top receives the ink. A layer of adhesive sits underneath it. A silicone coated release liner holds the whole thing until the moment of application. Nothing is glued at your end, the adhesive is already there.
The press prints the face stock while it is still attached to the liner. After ink, the web can pass through a laminating station for protection, then a cutting station where a rotary die or a digital blade cuts through the face and adhesive but stops at the liner. That controlled depth is called kiss cutting, and it is what lets you peel one label off a sheet or a roll. For the press side of that process, our guide on what web printing means and which kind you actually need goes further.
Everything after that is finishing. Waste matrix is stripped away, the web is slit to width, and the labels are rewound into rolls or cut into sheets. Understanding this sequence explains most of the pricing later, because each extra station is another pass and another setup.
Face stock: paper, film, and vinyl

Face stock is the material your artwork prints on, and it sets the ceiling for durability. Coated paper is the everyday choice, economical, easy to print, and correct for shipping cartons, dry goods, retail boxes, and anything indoors that will not meet water. Uncoated paper gives a natural, tactile look that suits craft and food brands but marks easily.
Film stocks change the equation. White polypropylene resists water, oil, and tearing, which is why it dominates bath products, sauces, and anything that lives in a fridge. Clear polypropylene disappears into glass and gives the no label look, though it needs a white ink layer behind solid colors or the container shows through the artwork.
Vinyl is the heavy option for outdoor equipment, drums, industrial asset tags, and anything exposed to weather or chemicals. It costs more and it is worth it when replacement means sending someone out with a scraper. For tags that have to read as metal, custom asset tags in foil have their own guide. If you are used to thinking about print material in points and pounds, the paper thickness and weight guide translates those units cleanly.
Adhesive: the choice most people skip

Adhesive is invisible until it fails, which is exactly why it deserves a decision rather than a default. Permanent adhesive builds its bond over the first day and is meant to stay, the right call for retail packaging, glass, and corrugated shipping boxes. Trying to remove it later usually damages the surface.
Removable adhesive holds firmly but releases without residue for a defined window, useful for promotions, rental gear, seasonal price marking, and anything a customer is expected to peel. Freezer grade adhesive stays flexible at cold temperatures where standard adhesive turns brittle and pops off, and it needs to be applied before the product is chilled, not after.
Surface energy matters as much as the adhesive name. Textured corrugated, powder coated metal, and low energy plastics such as untreated polyethylene are harder to bond to than glass or smooth board. Curved containers add tension that pulls at the edges, so a small label on a narrow bottle needs a stronger adhesive than a large label on a flat box.
Size, shape, and how die cutting works

Standard shapes are rectangles with rounded corners, squares, circles, and ovals. They use tooling that already exists, so there is no extra die charge and the run starts sooner. If your artwork fits a standard shape without being squeezed, that is almost always the economical answer.
Custom shapes need a die line, a single vector path on its own layer that shows the blade exactly where to travel. Artwork must bleed past that path on every side so a slight shift on the web never leaves a white sliver at the edge, and important text should sit well inside the cut with a safe margin.
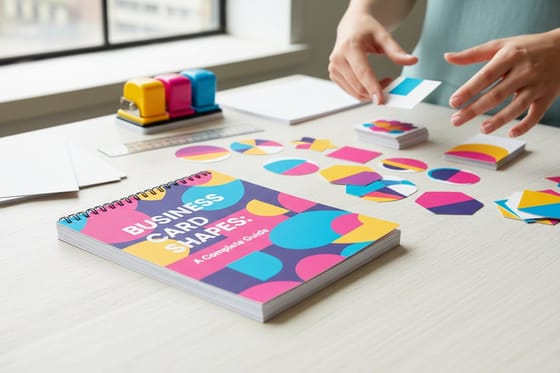
Size decisions are also application decisions. Measure the flat area of the container, not its total circumference, because a label wrapping around a curve needs relief or it will wrinkle. The same die cutting logic on a much smaller canvas is covered in the guide to business card shapes, which is a useful primer on what shapes cost and why.
Setting up label artwork so it prints the way you designed it

Build the file in CMYK, not RGB. Screen colors that look electric on a monitor flatten out in process ink, and brand colors that must match across runs should be specified as spot colors rather than trusted to a conversion. Deep blacks need a rich black build rather than a single ink pass, or large solid areas look washed and gray.
Give every edge a bleed and keep type inside a safe area. Small labels are unforgiving, a two millimeter drift is invisible on a poster and obvious on a two inch seal. Raster images should be supplied at print resolution at final size, and logos and type should be vector so curves stay crisp when the label is scaled to fit the container.
Barcodes and variable data have their own rules. A barcode needs quiet zones on both sides, adequate contrast, and enough width to scan reliably, which means it cannot be shrunk to fill a leftover gap. Sequential numbering, QR codes, and batch data are set as variable fields so the press changes them label to label without a new setup.
Printing, laminating, and finishing the label
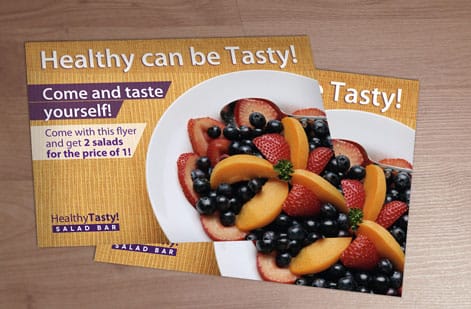
Digital printing suits short and medium runs, variable data, and jobs with many versions, because there are no plates to make and a design change costs almost nothing. Conventional presses become efficient at high volume, where the plate cost is spread thin and the running speed dominates the price.
Laminate is the difference between a label that survives and one that scuffs. A gloss laminate lifts color saturation and wipes clean. A matte laminate softens glare and reads as premium, especially on food and personal care. Soft touch adds a velvet feel that people notice in the hand, and spot gloss over a matte base makes a logo catch the light without changing the ink.
Foil, embossing, and specialty varnishes each add a station to the line and a step to the schedule. They are worth it when the label is doing brand work rather than logistics work. For shipping and inventory labels, a plain uncoated face with a strong permanent adhesive is usually the smarter spend.
Roll labels vs sheet labels: match the format to how you apply

Roll labels are wound onto a core with a defined gap between labels. If a machine applies them, three details are not optional, the core diameter your applicator accepts, the outside diameter it can hold, and the unwind direction, which describes whether the label leaves the roll face out, face in, or from a specific edge first.
Sheet labels sit flat on a backing sheet and are peeled by hand. They store easily, they suit mixed designs and small quantities, and they let a team grab a handful without threading a machine. The tradeoff is unit cost at volume and slower application when the count climbs into the thousands.
The practical rule is simple. Hand application under a few thousand pieces per run favors sheets or small rolls. Anything fed into an applicator, or any run where someone is labeling continuously, favors rolls specified to the machine. Decide this before ordering, because converting a finished roll into sheets later means running the job again.
What label printing costs and how the price is built

Five variables set the number. Quantity, material, size, shape, and finishing. Setup work such as press makeready and die cutting is a fixed cost spread across the run, which is why the unit price drops sharply between two hundred and two thousand pieces and much more gently after that.
Material is the next lever. Coated paper is the baseline, film and vinyl carry a premium that buys durability, and clear stock with a white ink layer adds an extra pass. Size affects how many labels fit across the web, so a small dimension change can move the price more than it seems it should.
Shape and finishing round it out. Standard tooling is free, a new custom die is a one time charge that pays for itself on repeat orders, and every laminate, foil, or varnish is another station. If you want to see how a printing order moves from file to doorstep before committing, how ordering works lays out the full sequence, and the comparison with PostcardMania shows how print pricing differs between a full service agency and a direct printer.
Turnaround, proofing, and getting labels delivered on time

The clock starts at artwork approval, not at upload. Files that arrive without bleed, in the wrong color mode, or with live type instead of outlines go back for correction, and that round trip is the single most common cause of a missed date. A clean file approved the first day is worth more than any rush option.
Production time then scales with complexity. Rectangular paper labels on standard tooling move fastest. A custom die, a laminate pass, foil, or variable data each add production steps. Large quantities are not automatically slower, since the press runs continuously once it is set, but they do occupy the line longer.
Shipping is a separate decision from printing. Choose the transit method against the date you need labels in hand, and build in a buffer for the first order of any new design so you can check adhesion on the real container before committing to a full run. Teams running seasonal campaigns will recognize this planning pattern from the construction company marketing guide, where lead time drives the whole calendar.
Wally explains label printing
Pick the material first, then design the label
Wally checks three things before he looks at anyone's artwork. Where does this label live, what surface is it sticking to, and who peels it. A jar in a fridge wants film stock and a cold rated adhesive. A shipping carton wants paper and a permanent bond. Answer those three and the design becomes the easy part, because the material stops fighting you halfway through the run.
Browse printed products →
Infographic
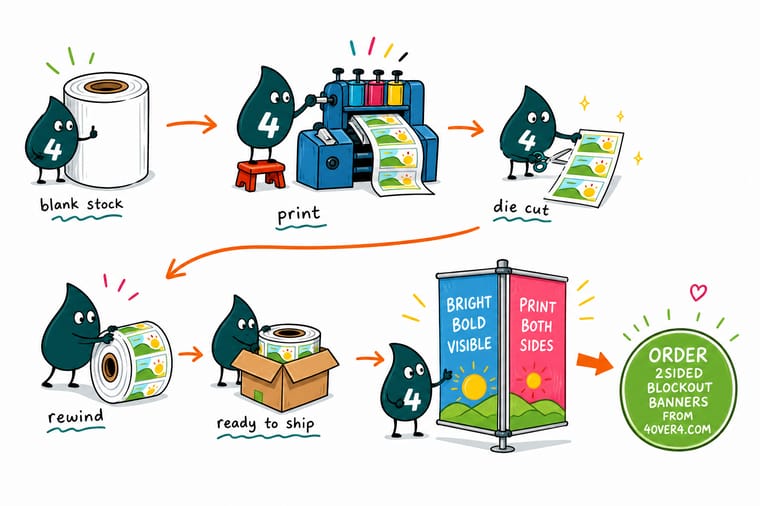
How a label gets made, in 7 steps
One frame, seven steps, in the order the decisions actually happen, from face stock and adhesive through the kiss cut to the finished roll or sheet. Standard labels run the whole sequence in 3 business days. Save it and use it as a checklist before your next label order goes to press.
The seven steps are not independent. A cold storage answer in step one forces a specific adhesive in step two, and a custom shape in step three changes both the artwork bleed and the finishing schedule.
Specs and pricing
Live specs and pricing on a 4OVER4 product
Material, size, and quantity drive the price on labels and on every other printed item. The calculator below moves the unit cost as the run size and options change.

| Quantity | Price Per Unit | Total |
|---|---|---|
| 1 | $108.75 | $108.75 |
| 2 | $108.74 | $217.47 |
| 3 | $108.74 | $326.22 |
| 4 | $97.76 | $391.02 |
| 5 | $97.76 | $488.78 |
| 6 | $97.76 | $586.53 |
| 7 | $89.28 | $624.98 |
| 8 | $86.77 | $694.18 |
Print it
Printed products that pair with a labeling program


See it in use
Real work, printed in house

%22%2F%3E%3Ccircle%20cx%3D%2243%22%20cy%3D%2245%22%20r%3D%2228%22%20fill%3D%22%23a78bfa%22%20opacity%3D%220.15%22%2F%3E%3Ccircle%20cx%3D%2280%22%20cy%3D%2262%22%20r%3D%2226%22%20fill%3D%22%23a78bfa%22%20opacity%3D%220.1%22%2F%3E%3Crect%20x%3D%2273%22%20y%3D%2221%22%20width%3D%2228%22%20height%3D%2232%22%20rx%3D%224%22%20fill%3D%22%23a78bfa%22%20opacity%3D%220.08%22%20transform%3D%22rotate(8%2080%2030)%22%2F%3E%3C%2Fsvg%3E)
Explore more
Where to go next



By the numbers
The label floor described above, in numbers
Common Questions
Common questions about label printing
What is label printing?
Label printing is the process of putting artwork onto a pressure sensitive material that is already coated with adhesive and mounted on a release liner. The press lays down ink on the face stock, an optional laminate or varnish protects it, and a cutting station trims each label to shape without cutting through the liner. What you receive is a roll or a sheet of finished labels ready to peel and apply.
Which label material survives where my product goes?
Start with where the label will live. Dry indoor packaging and shipping cartons are happy on coated paper stock. Bottles, jars, cosmetics, and anything that meets water, oil, or a cooler need a film or vinyl face with a laminate. Then match the adhesive to the surface, permanent for cardboard and glass, removable for promotions and rental equipment, freezer grade for cold storage. Shape and quantity come last.
What does label printing cost and how are prices set?
Cost per label is set by quantity, material, size, shape, and finishing. Press setup and die cutting are one time costs spread across the run, which is why a thousand labels can cost only a little more than two hundred. Film and vinyl stocks cost more than paper, laminate adds a pass, and custom shapes add a die charge unless the shape already exists in stock tooling.
What sizes, stocks, and finishes are available for labels?
Common sizes run from small round seals near one inch through standard address and shipping formats up to large drum and bucket labels. Stocks include coated and uncoated paper, white and clear polypropylene, and heavy vinyl. Finishes cover gloss, matte, and soft touch laminate, spot gloss over a matte base, and metallic foil. Clear stock printed with a white ink layer gives the no label look on glass.
How long does label printing take to print and ship?
Standard turnaround is measured in business days after artwork approval, not from the moment you upload. Simple rectangular paper labels move fastest. Custom dies, laminate, foil, and variable data such as sequential numbers or barcodes each add production time. Transit is separate, so plan the ship method against your launch date rather than against the print date.
Do I need a die line for a custom label shape?
Yes for anything that is not a standard rectangle, oval, or circle already held in stock tooling. A die line is a single vector path on its own layer showing exactly where the blade cuts, with artwork bleeding past it on every side. Send it as a vector file rather than a raster outline so the cutting station can follow the path precisely.
What is the difference between roll labels and sheet labels?
Roll labels come wound on a core with a set gap between labels and a specified unwind direction, which is what an automatic applicator needs to feed correctly. Sheet labels sit flat on a backing sheet and are peeled by hand, which suits low volumes, office printers, and mixed designs. Rolls cost less per label at volume, sheets are easier to store and hand out.
Get Started
Pick the face stock and the adhesive, then price the run
Bring the material and adhesive decisions with you, upload a print ready file, and let the 4OVER4 team handle proofing, production, and delivery.
Legal Disclaimer
Gold Standard guarantees apply to all standard orders placed through 4over4.com. Price match requires verifiable proof of a competitor's published price for an equivalent product with matching specifications and turnaround time. Satisfaction guarantee covers manufacturing defects and print quality issues. Contact support with order number and documentation.
