
How to Change DPI in Photoshop for Sharp 300 DPI Prints


Sofia is our design and templates voice, built from the knowledge of our production team, with over 20 years in printing.
Open Image Size, switch Resample off, type 300 into the Resolution field. That is the fix. This guide explains what the number means, why PPI and DPI are different, how many pixels your finished size really needs, and how to hand off a file that prints as sharp as it looks.
To change the DPI of an image in Photoshop, open Image and then Image Size, uncheck Resample, and enter 300 in the Resolution field with the unit set to Pixels per Inch. With Resample off, the pixel count never changes, so no detail is lost. Photoshop only recalculates the physical size the file will occupy on paper. If that new size is smaller than the piece you need to print, the image does not have enough pixels and should be replaced rather than enlarged.
Start here
Resample or resize, and when each applies
Resolution is a description of how tightly your existing pixels are packed onto paper, not a quality setting you can raise at will. Photoshop stores that value in the Resolution field of the Image Size dialog. Turn Resample off and change it, and you are relabeling the file safely. Turn Resample on and change it, and Photoshop manufactures pixels that were never photographed. The first is standard prepress. The second is how sharp screen artwork becomes a soft, disappointing print.
Changing DPI in Photoshop the easy way

Nearly every resolution problem is solved in one dialog. Go to Image and then Image Size, or use the shortcut Alt Control I on Windows or Option Command I on a Mac. The dialog shows two things at once: the fixed pixel dimensions of your file and the physical size those pixels will occupy on paper at the current resolution.
Find the Resample checkbox at the bottom and turn it off. Now type 300 into the Resolution field with the unit set to Pixels per Inch. Watch the Width and Height values in inches shrink while the pixel dimensions stay frozen. Nothing has been destroyed. You have simply told the file to pack its existing pixels more tightly, which is exactly what a press needs.
That is the whole trick, and it is why the same fix works for a business card, a menu or a large banner. If you want the full document setup rather than a repair, the section on starting a new document at 300 PPI below walks through building the file correctly instead of rescuing it late.
What 300 DPI actually means for a printed piece
Three hundred pixels per inch is the density at which the average eye stops seeing individual pixels on a piece held at reading distance. Below that, edges of type soften, fine lines break up and photographic detail turns waxy. Above it, you gain almost nothing visible while the file grows heavier and slower to process.
The number is a target at final size, not an abstract badge on the file. A 300 PPI image is only 300 PPI at the dimensions the dialog reports. Scale that same image up on the page and the effective resolution falls proportionally, which is why placing an image and then dragging it larger in a layout quietly undoes the work you just did in Photoshop.
The arithmetic is simple enough to do in your head. Pixel width divided by 300 gives the widest sharp print in inches. A 2400 pixel wide photo prints beautifully at 8 inches, acceptably at 12, and starts to fall apart past that. Our companion piece on image resolution in print versus web takes that comparison further.
DPI vs PPI, and why Photoshop only edits one of them

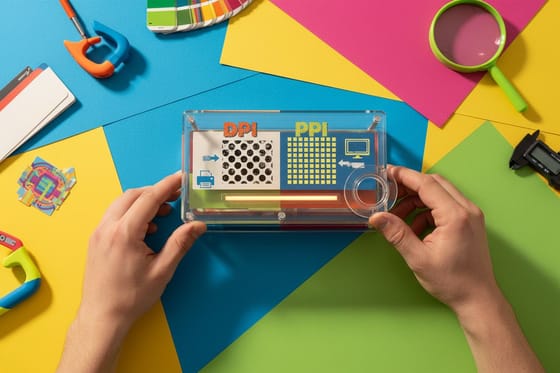
PPI, pixels per inch, describes your digital file. It is a property of the image data and it is the only value Photoshop can change. DPI, dots per inch, describes a physical printing device laying ink or toner onto stock. A press might use several thousand dots to render one image pixel, blending tiny cyan, magenta, yellow and black dots into the color you asked for.
The industry blurred the two terms decades ago, and now a printer asking for a 300 DPI file means a 300 PPI file. Knowing the difference still matters, because it explains why a device rated at 2400 DPI does not require you to supply a 2400 PPI image, and why doubling your file resolution to 600 will not make the print noticeably sharper.
If the distinction still feels slippery, the deep dive on DPI vs PPI for graphic designers puts both numbers side by side with worked examples.
Converting PPI to DPI without guessing

There is no conversion factor between PPI and DPI, and any calculator promising one is selling confusion. What you actually convert is intent: you decide the finished physical size, then work out how many pixels that size demands at the resolution the product deserves.
Start with the trim size, add bleed on every edge, and multiply by your target resolution. A 4 by 6 inch postcard with an eighth of an inch bleed becomes 4.25 by 6.25 inches, which at 300 PPI is 1275 by 1875 pixels. A 24 by 36 inch poster viewed from a few feet is fine at 200 PPI, which is 4800 by 7200 pixels. A wall sized banner read from across a lobby holds up at 100 PPI.
Run that calculation before you open a stock photo library and you will never buy an image that cannot fill the space. For small format work, the exact canvas numbers are laid out in our guide to business card dimensions in Photoshop.
Start a new document at 300 PPI instead of fixing one later

Set the resolution when you create the file and every layer, brush stroke and pasted photo is born at print scale. Go to File, then New, and fill four fields:
- Width and Height at the final trim size, for example 18 by 24 inches for a poster.
- Resolution 300, with the unit set to Pixels/Inch.
- Color Mode CMYK Color, 8 bit, so you design in the space the press prints in instead of converting a finished RGB file, when bright blues and greens tend to shift.
- Bleed, by making the canvas an eighth of an inch larger on every side.
Then mark the three zones with View, then New Guide: the bleed 0.125 inch past the cut line, the trim where the blade cuts, and a safe zone about 0.125 inch inside the trim where all text and logos stay. When you save, embed a printing color profile; US Web Coated SWOP is a safe default for coated stocks, and the guide to the best color profile for printing explains when to pick another. The bleed and trim guide shows exactly where the lines go.
Check the photo, then export for the press

Most soft prints start with a photo that never had enough pixels. A 600 by 400 pixel image pulled from a website fills 8 by 5 inches on screen and only 2 by 1.3 inches on paper at 300 PPI. Images from social feeds are compressed and small by design, so start from a camera export or licensed stock at full resolution before you build a layout around it.
When the file is ready, flatten a copy with Image, then Duplicate, then Flatten Image, so live text and effects render exactly as designed. Save it as a PDF on the Press Quality preset, or as a TIFF for photo heavy pieces, with the embedded profile checked, and confirm three numbers one last time: trim size plus bleed, 300 PPI, CMYK. The file type for printing guide compares PDF, TIFF and native files.
Big pieces bend the rule. A stretched canvas or a wall poster seen from a few feet reads cleanly at 150 to 200 PPI, which keeps the file manageable. Standard posters start at $108.75, and the how to make posters walkthrough applies every step here at large format scale.
Set an image to 300 DPI in Photoshop, step by step

- Open the file and duplicate it. Work on a copy so the original pixel data survives any experiment.
- Open Image Size. Image, then Image Size, or Alt Control I on Windows and Option Command I on a Mac.
- Read the pixel dimensions first. The Width and Height in pixels at the top are the real budget. Everything below is a description of how they will be spread across paper.
- Uncheck Resample. This is the single most important click. With it off, Photoshop cannot add or discard pixels.
- Set the unit to Pixels per Inch and type 300. The physical Width and Height update instantly to show the true printable size.
- Check that the new physical size covers your piece. If it is smaller than the trim plus bleed, the image is short on pixels. Find a larger source rather than forcing it.
- Click OK, then flatten and export. Save a print PDF or a TIFF, not a recompressed JPEG, so the detail you protected survives the handoff.
Once resolution is settled, the remaining prepress work is color and trim. Convert the file with our walkthrough on converting RGB to CMYK, then finish the edges using bleed and crop marks in Photoshop.
When resampling is the right call, and when it ruins the file

Resampling is not always wrong. Scaling a file down with Resample on is routine and safe, because Photoshop is discarding surplus pixels and the result stays sharp. Preserve Details 2.0 in the interpolation menu also does a respectable job of a modest upscale, in the region of 120 to 150 percent, on images with clean edges and low noise.
What resampling cannot do is invent information that was never captured. Push a 72 PPI web graphic to 300 and the software fills the gaps by averaging neighbors, which produces soft edges, plastic looking skin and halos around type. A logo enlarged this way looks visibly worse than the vector original would have.
The reliable fix for anything with type or flat shapes is to rebuild it as vector art rather than resample the raster. For textured, photographic pieces where a little grain is a feature rather than a fault, techniques like adding paper texture in Photoshop can disguise a marginal image far more convincingly than an upscale ever will.
Prepress checks that catch a soft file before the press does
Zoom to 100 percent before you export anything. At that magnification one image pixel maps to one screen pixel, so what you see is genuinely what the file contains. Inspect the smallest body copy, any hairline rules and the edges of logos, since those fail first.
Then check the layers you may have scaled. A smart object dragged larger inside the document keeps its original pixel count no matter what the Image Size dialog reports, so a 300 PPI canvas can still hold a 90 PPI element. Select the layer, open its transform values, and if the scale reads well above 100 percent the source needs replacing.
Finally, look at anything built from photographs and type together, because those composites hide resolution mismatches best. Effects such as filling text with images and creating duotones look striking on screen and expose every missing pixel once ink hits stock.
Upload your print ready file to 4OVER4
With the resolution fixed, the color converted and the bleed in place, the file is ready to order. Pick the product, choose the size, stock, quantity and finishing, and upload your artwork during checkout. Our prepress team reviews every file before it goes on press and flags anything that will not hold up at the size you selected.
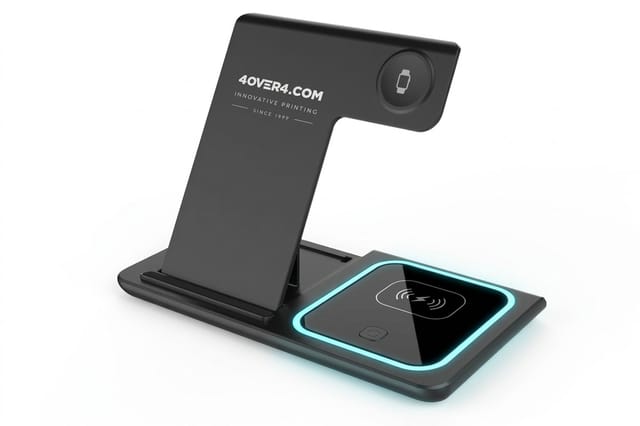
Resolution expectations shift by product, so build to the piece rather than to a habit. 2 Sided Blockout Banners start at $108.75 and read cleanly from a distance, which means a well built 150 PPI file is plenty. 30mil Clear Plastic Cards start at $529.26 and sit in the hand, so hold the full 300 PPI there. Even a small printed card that travels with a ready-made gift such as the 3 in 1 Foldable Wireless Charger at $15.00 rewards a properly prepared file.
Wally explains resolution
You cannot spend pixels you never took
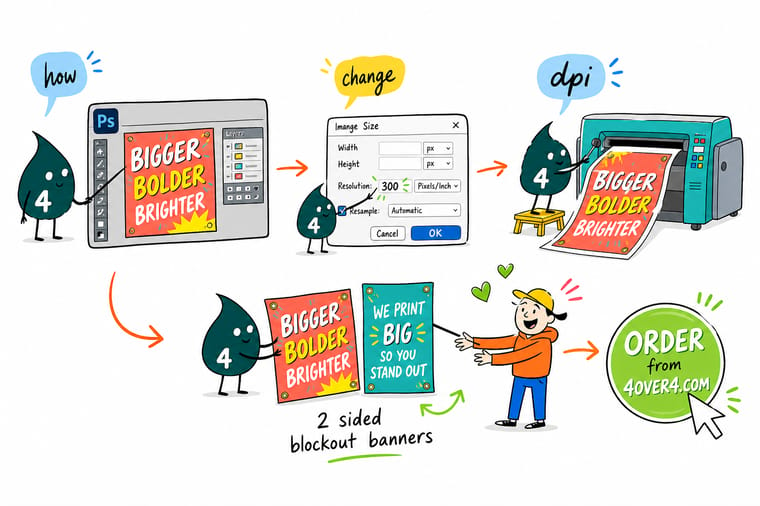
Wally thinks of pixels like paint in a tin. Changing the resolution number does not add paint, it only decides how thinly you spread what you already have across the wall. Spread it over a small card and the color is solid. Stretch the same tin across a banner and you see the wall through it. So he checks the pixel count first, then picks a print size the file can actually cover.
Print your artwork →
Infographic
DPI, PPI and the pixel math at a glance
One frame covering the seven things that decide whether your file prints sharp: resample off, 300 pixels per inch, and pixels divided by 300 to find the inches you can print, so a 3000 pixel wide photo prints 10 inches wide in hand. Save it, or keep it open in a second tab while you work through the Image Size dialog.
Work through the seven cards in order and the file that reaches our prepress team will already be the right size, the right density and the right format.
Specs and pricing
Blockout banner specs and live pricing
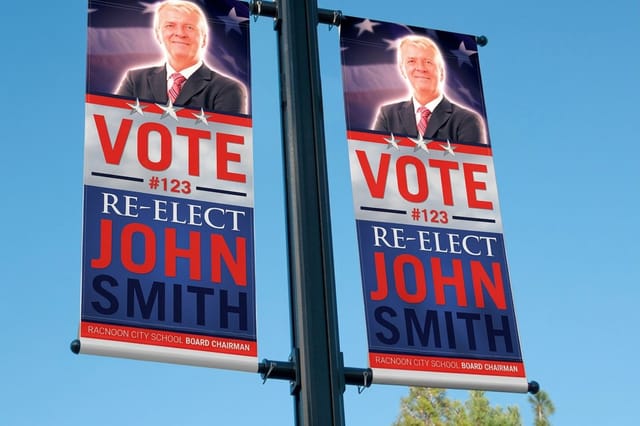
Large format is where resolution decisions pay off fastest. Two sided blockout banners run from 2 by 3 feet up to 4 by 10 feet on 15 oz blackout vinyl, with grommets or pole pockets, and a 3 by 6 foot banner at 100 PPI needs a file 3600 by 7200 pixels. Check the sizes and stocks below, then build your Photoshop file to the trim size you actually order.

| Quantity | Price Per Unit | Total |
|---|---|---|
| 1 | $108.75 | $108.75 |
| 2 | $108.74 | $217.47 |
| 3 | $108.74 | $326.22 |
| 4 | $97.76 | $391.02 |
| 5 | $97.76 | $488.78 |
| 6 | $97.76 | $586.53 |
| 7 | $89.28 | $624.98 |
| 8 | $86.77 | $694.18 |
Print it
Send your press ready file to 4OVER4
Upload a flattened print PDF or TIFF at the trim size you ordered: 300 PPI for pieces held in the hand, 200 for a poster and 100 for a banner. Blockout banners start at one banner and print in 4 business days.
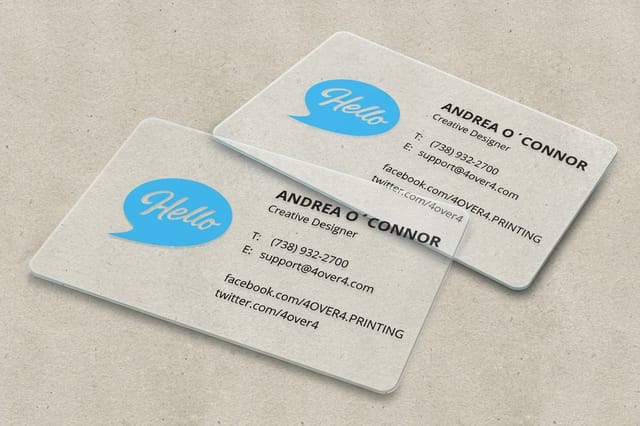
See it in use
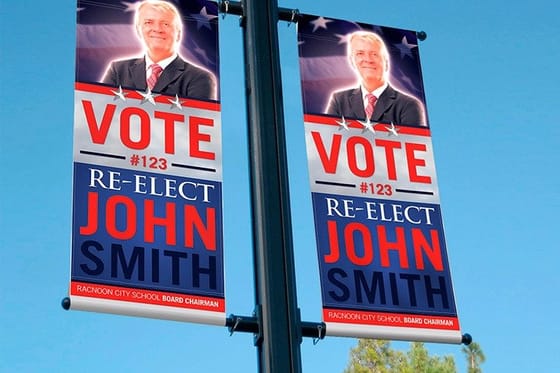
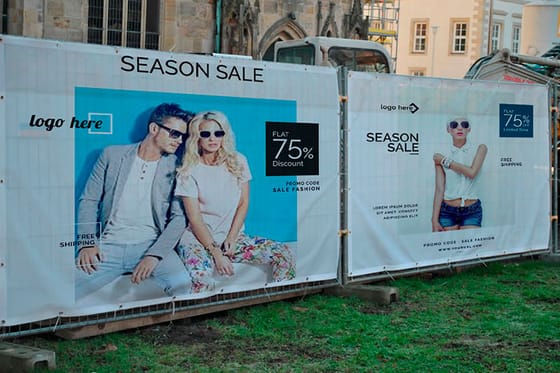
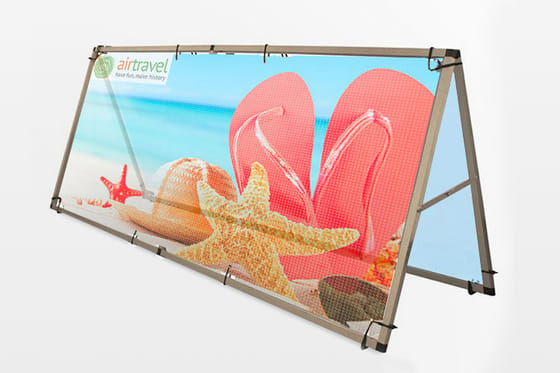
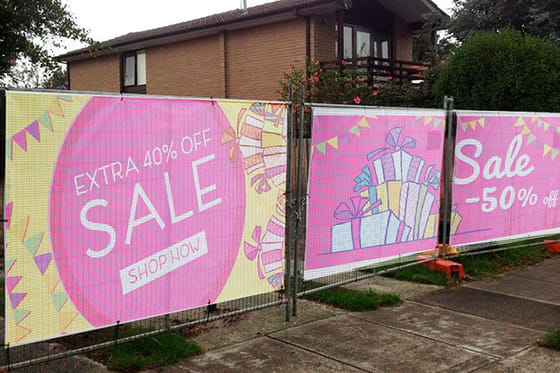
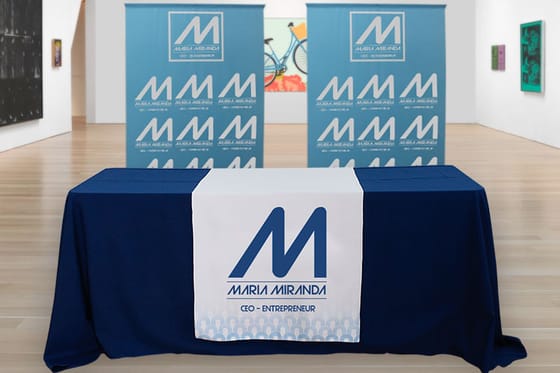
Real customer artwork, printed in house
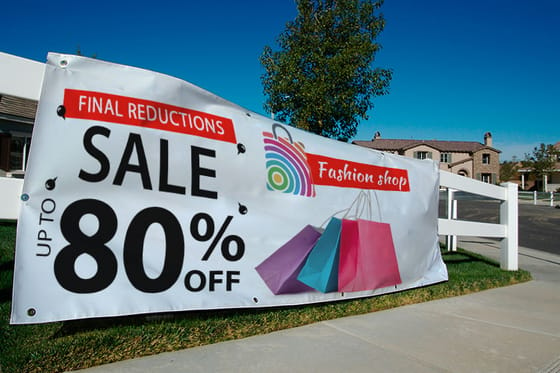
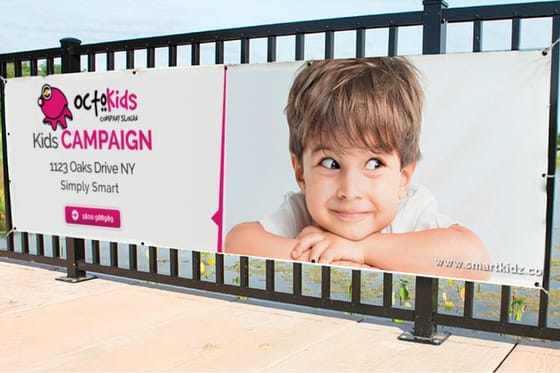
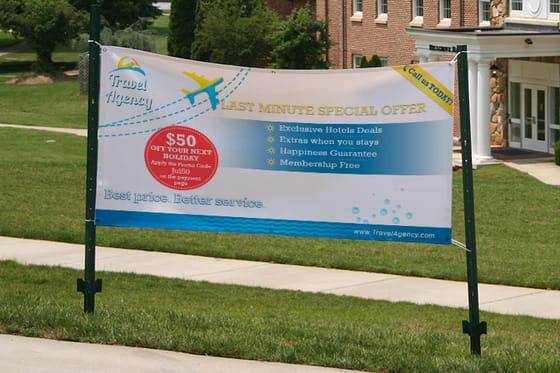
%22%2F%3E%3Ccircle%20cx%3D%2234%22%20cy%3D%2219%22%20r%3D%2229%22%20fill%3D%22%2314b8a6%22%20opacity%3D%220.15%22%2F%3E%3Ccircle%20cx%3D%2233%22%20cy%3D%2229%22%20r%3D%229%22%20fill%3D%22%2314b8a6%22%20opacity%3D%220.1%22%2F%3E%3Crect%20x%3D%2274%22%20y%3D%229%22%20width%3D%2234%22%20height%3D%2219%22%20rx%3D%224%22%20fill%3D%22%2314b8a6%22%20opacity%3D%220.08%22%20transform%3D%22rotate(14%2080%2030)%22%2F%3E%3C%2Fsvg%3E)
Explore more
Where to go next

By the numbers
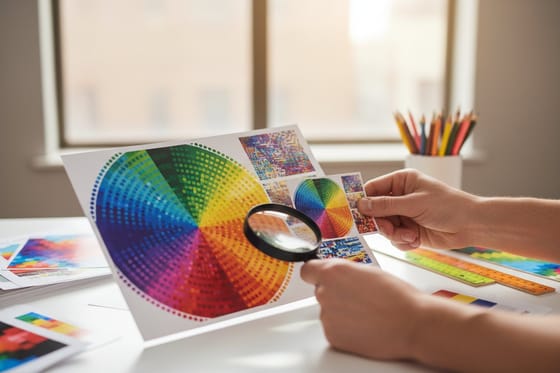
Paper types, product count, and the record behind a 300 DPI print
Common Questions
Common questions about changing DPI in Photoshop
What is the fastest way to change DPI in Photoshop?
Open your file, press Alt and Control and I on Windows or Option and Command and I on a Mac, and the Image Size dialog appears. Uncheck Resample, type 300 into the Resolution field, make sure the unit beside it reads Pixels per Inch, and click OK. The pixel count stays identical and the document simply reports a smaller physical size at a higher density. That single change is what most print files actually need.
How do I change the DPI of an image in Photoshop without losing quality?
Quality is only at risk when Resample is switched on, because that setting adds or removes pixels. Keep Resample unchecked and the file is untouched. You are editing metadata that tells the press how tightly to pack the existing pixels. If the resulting physical size is smaller than the piece you need to print, the honest answer is that the photo does not have enough pixels and you should source a larger original rather than upscale it.
What resolution does each print size actually need?
Match the resolution to viewing distance. Anything held in the hand, such as cards, flyers and booklets, wants 300 PPI at final size. Posters read from a few feet away are comfortable at 200 PPI. Large format banners viewed from across a room or a parking lot look clean at 100 PPI or even less, because the eye cannot resolve the detail from that distance. Building the file at a lower sensible resolution also keeps the file size manageable.
What does changing DPI cost, and how are print prices set?
Changing resolution in Photoshop costs nothing beyond the software you already have. Print price is driven by product, quantity, stock, size, sides printed and finishing. Larger runs bring the unit price down sharply because setup is amortized across more pieces. Resolution never changes the price, but a low resolution file can cost you a reprint.
What sizes, stocks and finishes should I set my resolution for?
Work backwards from the product. A pocket sized card at 3.5 by 2 inches needs roughly 1050 by 600 pixels of live area at 300 PPI plus bleed. A 2 by 4 foot banner at 100 PPI needs about 2400 by 4800 pixels. Thick plastic stocks, matte and gloss laminates and soft touch coatings do not change the pixel math, but a matte or uncoated finish is slightly more forgiving of a marginal image than a high gloss surface.
Why does my image look sharp on screen but blurry when printed?
A monitor shows roughly 100 to 220 pixels per inch, so an image can look crisp at screen density and still be starved of detail at 300 PPI on paper. Screen previews also apply their own smoothing. Zoom to 100 percent in Photoshop, which shows one image pixel per screen pixel, and judge the file there. If small text and edges already look soft at 100 percent, the print will exaggerate it.
Does saving as JPEG change the DPI of my file?
JPEG stores a resolution value in its header, so the number travels with the file, but heavy JPEG compression damages fine detail regardless of the resolution tag. For press work export a print PDF or a TIFF instead, and keep JPEG for web use. If a printer asks for JPEG, save at maximum quality and avoid resaving the same JPEG repeatedly, because each save compounds the compression artifacts.
Get Started
Set the file to 300 PPI at final size, then upload it
Set your resolution in Photoshop, export a flat print PDF, and upload it at checkout. Our prepress team reviews the artwork before it reaches the press.
Legal Disclaimer
Gold Standard guarantees apply to all standard orders placed through 4over4.com. Price match requires verifiable proof of a competitor's published price for an equivalent product with matching specifications and turnaround time. Satisfaction guarantee covers manufacturing defects and print quality issues. Contact support with order number and documentation.
