
How to Make a Logo Transparent for Print and Web


A transparent logo drops cleanly onto any color, photo or product, with no white box around it. PNG carries transparency for screens, and vector carries it for press.
Export your logo as a PNG or SVG with the background removed. If your logo is a vector, just export a transparent PNG or SVG. If it is a raster image, select the mark, delete the background, keep the edges smooth, and save as a PNG. Never use JPG, which cannot hold transparency. A transparent file is required to print your logo on colored shirts, die-cut stickers, and tinted stocks.

Start here
Remove the box, keep the edges
A transparent logo has no background, so it sits cleanly on any color or photo. Export it as a PNG or an SVG, never a JPG. From a vector, that export takes seconds. From a raster image, remove the background carefully and keep the edges smooth. Transparency is essential the moment you print on a colored surface, or a white box shows around the mark. The diagram below shows which format does what.
What a transparent logo is, and transparent versus solid
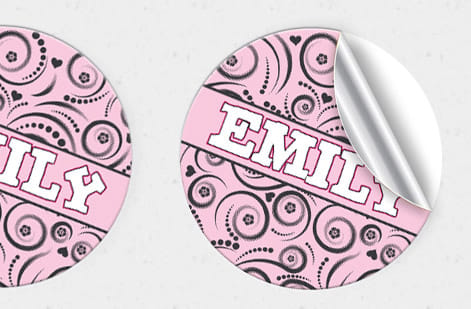
A transparent logo is a file with no background: the area around the mark is empty rather than filled with a color. Open a logo with a solid white background and it sits inside an invisible white box. Place that box on a colored header or a dark shirt and the box suddenly shows. A transparent version has no box, so the mark floats cleanly on anything you put it on.
The difference comes down to the file. Transparency has to be stored in the image itself, which is why format is everything here. A PNG is a raster format that can hold a transparent background, and an SVG is a vector format that is both transparent and infinitely scalable. A JPG cannot store transparency at all, so a logo saved as a JPG always arrives with a solid background baked in.
That single fact explains most logo headaches. If your mark keeps showing a white rectangle, you are almost certainly using a JPG. The fix is to produce a proper PNG or SVG with the background removed. This guide covers exactly how, why it matters, and where a transparent logo does its most important work, especially in print. If you are also sizing the mark for different channels, pair this with our guide on logo sizes and dimensions.
Why you need a logo with a transparent background
A transparent logo is not a nice-to-have, it is the version you will actually use most. The moment your background is anything other than pure white, a non-transparent logo shows its box, and that box quietly cheapens everything it touches. Transparency does real work in four places.
- On the web. Any header, footer, or section that is not pure white needs a transparent logo, or the mark sits in a mismatched rectangle.
- Over photos. Placing a logo on an image, a hero banner, or a social graphic only looks right when the background is gone.
- As a watermark. A faint, transparent logo over a photo or document protects and brands it without blocking the content.
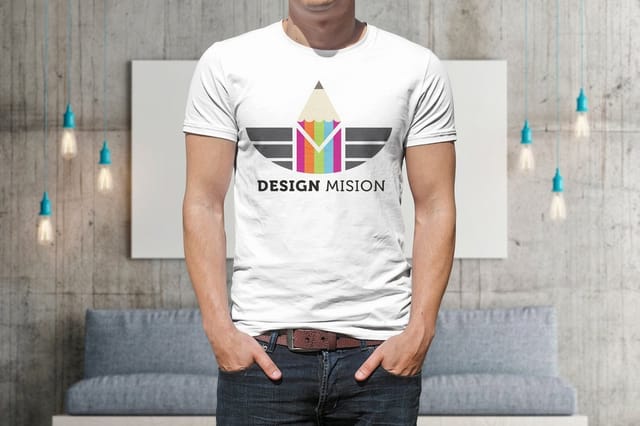
- In print on color. This is the big one. To print your logo on a colored t-shirt, a die-cut sticker, or a tinted paper stock, the file must be transparent, or a white block prints around it.
Print is where a missing transparency is most costly, because you cannot undo it once the ink is down. A white box around a logo on a navy shirt is an expensive mistake, which is why preparing a clean transparent file before you order is part of getting print right. Our guide on printing a logo on a t-shirt picks up exactly there.
How to make a logo transparent, step by step

How you make a logo transparent depends on what you are starting from, and the two paths are very different in difficulty.
If you have a vector logo (an AI, EPS, or SVG file), this is easy. Open it in your design software, confirm there is no white rectangle sitting behind the mark as its own shape, and export as a transparent PNG or an SVG. Because a vector has no baked-in background, the area around the mark is already empty; you are just choosing a format that keeps it that way. Always keep this vector master, because everything else exports from it.
If you only have a raster image with a solid background, you have to remove the background by hand. Open the image in an editor, select the mark precisely with a tool that follows its outline, delete everything around it, and export as a PNG. The make-or-break detail is the edge: work at high zoom, keep anti-aliasing on so edges stay smooth, and check the cutout against both a light and a dark background to catch any faint fringe of the old color. If the logo is complex or low quality, it is often faster and cleaner to redraw it as a vector, which our logo design best practices explain how to approach.
Using a transparent logo in print

Print is where transparency stops being a convenience and becomes a requirement. Screens are forgiving; ink is not. The rule is simple: any time your logo prints on a surface that is not white, the file must be transparent, or a rectangle of white ink shows up around the mark.
That covers a lot of ground. It is a logo on a colored t-shirt, a mark on a die-cut sticker that is cut to the logo shape, a design on a tinted or kraft stock, and a logo dropped onto a photo on a brochure cover. In every case, a transparent PNG or a print-ready vector is what keeps the background clean.
For print specifically, go one step further than the web version: supply a vector or a high-resolution transparent file in CMYK, not a small web PNG, so the mark stays sharp at print resolution. The full set of print-file settings, from resolution to color mode, is covered in our guide on preparing a logo for printing. Get the transparency and the resolution right together, and your logo prints clean on any color you choose from the sticker and label lineup.
Common mistakes and how to avoid them
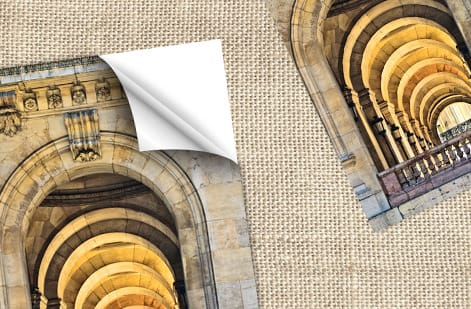
Most transparency problems come from a handful of repeat mistakes, and all of them are easy to avoid once you know the pattern.
- Saving as JPG. The most common error. A JPG cannot hold transparency, so it re-adds a white background every time. Always export a PNG or SVG for a transparent logo.
- A leftover fringe. A faint halo of the old background color around the edges, usually invisible on white and obvious on dark. Check the cutout on a dark background and defringe if needed.
- Jagged edges. A hard cutout with anti-aliasing off leaves stair-stepped edges. Keep smoothing on and work at high zoom.
- A low-resolution web PNG sent to print. Fine on screen, soft on paper. For print, supply a vector or a high-resolution transparent file.
The single best insurance against all of these is to keep a clean vector master of your logo. From a vector you can export a transparent PNG, an SVG, or a print-ready file in seconds, every time, with no fringe and no lost resolution. When you are ready to place that clean file onto a product, the Online Designer keeps it crisp all the way to print.
What it costs to print your transparent logo

Making a logo transparent costs nothing but a few minutes, and it opens every colored surface you might want to print on. When it comes to printing that logo, cost has nothing to do with the transparency and everything to do with the product around it.
The levers are the familiar ones: quantity, size, material, and finish. Die-cut stickers are cut to the exact outline of your transparent logo, and the per-sticker price drops fast as the quantity climbs. Apparel and labels follow the same pattern, where larger runs lower the unit cost and premium materials or finishes sit higher.
The honest way to see it is to configure the job. Every 4OVER4.COM product page shows live price-per-quantity from the configurator, so you watch the per-unit cost fall as you increase the run. Check the die-cut sticker specs and pricing below, or browse the full sticker and label collection to print your clean, transparent mark on any color.
Wally lifts the box off your logo
No background, clean edges, any color
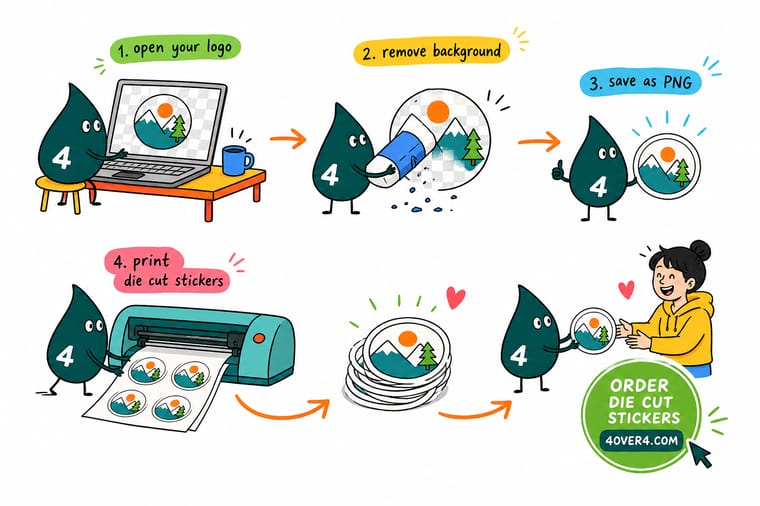
Wally strips the white box off the mark and saves it as a PNG or SVG, never a JPG. He checks the edges against a dark background so no fringe sneaks through, then keeps a vector master so he can re-export in seconds. With a clean transparent file, your logo drops onto a navy shirt or a die-cut sticker with nothing showing around it.
Turn your logo into stickers →Specs and pricing
Die-cut sticker specs and live pricing
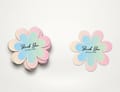
Once your logo is transparent, a die-cut sticker is cut to its exact shape, at 25 for $93.37, which is $3.73 each.
| Quantity | Price Per Unit | Total |
|---|---|---|
| 25 | $3.73 | $93.37 |
| 50 | $1.91 | $95.56 |
| 100 | 100.0¢ | $99.95 |
| 200 | 56.3¢ | $112.59 |
| 300 | 41.4¢ | $124.13 |
| 400 | 33.9¢ | $135.65 |
| 500 | 29.2¢ | $146.10 |
| 600 | 26.4¢ | $158.17 |
Print your logo
Put your transparent logo on color

See it in use
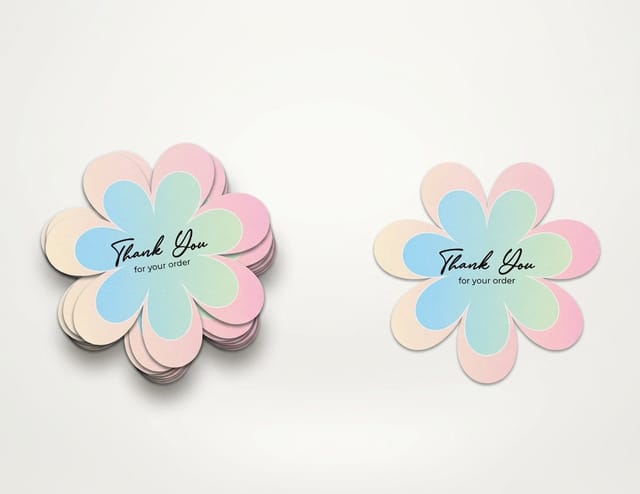
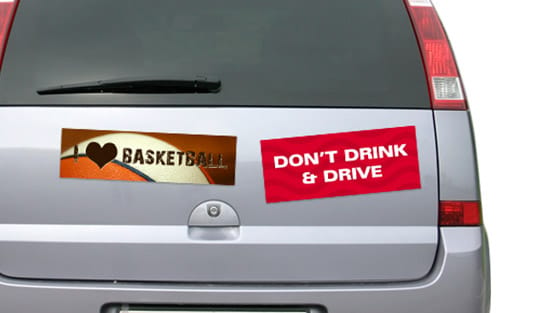
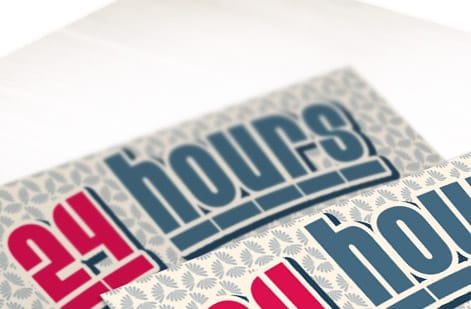
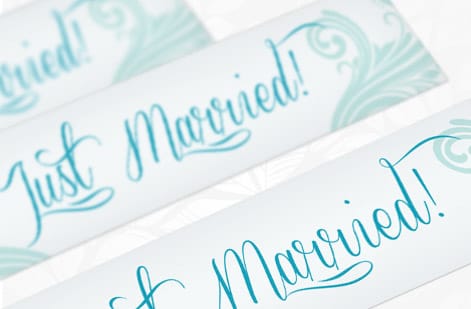
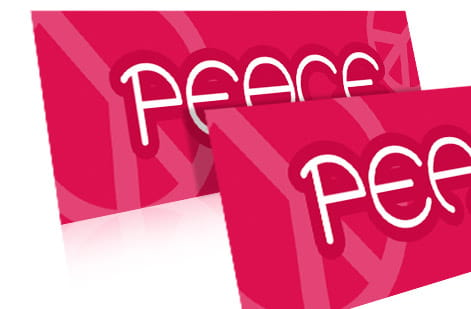
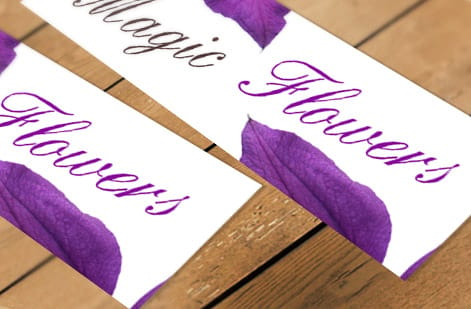
Logo stickers cut from customer PNGs


Explore more
Where to go next



By the numbers
PNG files, and the stocks they get printed on
Common Questions
Common questions about transparent logos
What is a transparent logo?
A transparent logo is a logo file with no background at all, so the space around the mark is empty rather than filled with white or another color. Because that area is empty, the logo can sit cleanly on top of any background: a colored web header, a photo, a dark shirt, or a tinted paper stock. The transparency is stored in the file itself, which is why the format matters. PNG and SVG can hold a transparent background, while JPG cannot.
How do I make my logo transparent?
If your logo is a vector, the fastest route is to open it in your design tool, make sure the background layer is empty rather than a white shape, and export it as a transparent PNG or an SVG. If you only have a raster image with a solid background, you remove the background by selecting the mark, deleting everything around it, and exporting as a PNG. For a clean result, zoom in and refine the edges so there is no leftover fringe of the old background color.
Which file format supports a transparent logo?
PNG and SVG are the two you want. A PNG is a raster format that stores transparency, ideal for placing a logo on the web or in a layout. An SVG is a vector format that is both transparent and infinitely scalable, which makes it the best choice for websites and for scaling to any size. JPG does not support transparency at all, so a logo saved as a JPG always comes with a solid background, usually white.
Why do I need a transparent logo?
A transparent logo is what lets your mark sit on anything without an ugly box around it. You need it for a website header that is not pure white, for placing the logo over a photo, for a watermark, and above all for printing on a colored surface. To put your logo on a dark t-shirt, a die-cut sticker, or a tinted stock, the file has to be transparent, or a white rectangle will print around the mark and ruin the look.
How do I keep the edges clean when removing a background?
Clean edges are the whole game. Work at high zoom, use a selection tool that follows the mark precisely, and turn on anti-aliasing so the edges stay smooth rather than jagged. After the cutout, inspect the border on both a light and a dark background, because a faint halo of the old background color often only shows against dark. If you see a fringe, tighten the selection or defringe it. Starting from a vector avoids the problem entirely, since vectors have no pixels to fringe.
What does it cost to print my transparent logo on stickers or apparel, and how are prices set?
The transparency itself is free; you pay for the product. Printing price scales with quantity, where larger runs lower the per-unit price, plus the size, material, and finish you choose. Die-cut stickers, for example, are cut to the exact shape of your transparent logo, and the per-sticker price drops as the quantity climbs. You set each option in the configurator and the total updates live, so you can see the number before you order.
How do I make a logo transparent for free?
Three free routes cover almost every logo. A browser background remover is the quickest: upload the file, let it cut the background, download a transparent PNG, usually under a minute with nothing to install. The background remover inside Canva does the same job in about a minute and also hands back a transparent PNG. Photoshop takes two to three minutes with Select Subject followed by Select and Mask, and it gives you the most control over the edge, then you hide the background layer and save as a PNG. If the logo is already a vector, in Illustrator or in the free Inkscape, there is nothing to remove: delete any white rectangle sitting behind the mark and export an SVG or a transparent PNG in seconds. Whichever route you take, export PNG-24 rather than PNG-8, because PNG-8 stores only one fully transparent color and leaves a stepped edge.
Get Started
Order 25 custom labels, printed in 3 business days
Bring your clean PNG or SVG to 4OVER4.COM, print it on stickers, apparel, or labels with no background box, and watch your price update live as you build the job.
Legal Disclaimer
Gold Standard guarantees apply to all standard orders placed through 4over4.com. Price match requires verifiable proof of a competitor's published price for an equivalent product with matching specifications and turnaround time. Satisfaction guarantee covers manufacturing defects and print quality issues. Contact support with order number and documentation. On-time delivery rate based on tracked orders 1999 to 2026. Individual results may vary based on shipping carrier performance.
