
How to Use a Blank Postcard Template So It Prints and Mails Correctly


Nadia is our customer education voice, built from the knowledge of our production team, with over 20 years in printing.
A blank template is three guide lines and an empty rectangle. Each line has a job, one trim size decides your postage, and parts of the address side have to stay empty.
A blank postcard template is a correctly sized empty file carrying three guides: a bleed line 0.125 inch outside the trim, the trim line where the blade cuts, and a safety line 0.125 inch inside it. Run background art out to the bleed, keep every word inside the safety line, and leave the USPS zones on the address side clear. Pick the trim size first, because 4 by 6 mails at the postcard rate while 5 by 7 and 6 by 9 mail as letters.
Quick answer
Three lines on the front, four reserved zones on the back
Download the template that matches your finished size, then build between its lines. Background art runs out to the bleed line 0.125 inch past the trim, text stays inside the safety line 0.125 inch within it, and the blade cuts somewhere in that band. The address side is the part templates do not explain: the top right corner belongs to the indicia, the top left to your return address, the right half to the delivery address, and the bottom 5/8 inch across the full width to the USPS barcode. Size the card before you design it, because the postcard postage rate stops at 4.25 by 6 inches.
Pick the Template Size First, Because Size Sets the Postage
Choosing the template is a postage decision wearing a design costume. The USPS postcard rate covers rectangular cards from 3.5 by 5 inches up to 4.25 by 6 inches, and nothing larger. Step past that ceiling by a quarter inch and the piece mails as a letter.
| Finished size | Template file with bleed | Safe area for type | How it mails |
|---|---|---|---|
| 4 x 6 in | 4.25 x 6.25 in | 3.75 x 5.75 in | Qualifies for the postcard rate, the cheapest way to mail a card. |
| 5 x 7 in | 5.25 x 7.25 in | 4.75 x 6.75 in | Over the postcard ceiling, so it mails at the letter rate. |
| 6 x 9 in | 6.25 x 9.25 in | 5.75 x 8.75 in | Letter rate. It sits just under the 6.125 inch letter height limit. |
| 6.5 x 9 in | 6.75 x 9.25 in | 6.25 x 8.75 in | Taller than 6.125 inches, which is what makes it eligible for EDDM. |
That last row is the one people trip over. Every Door Direct Mail needs a piece that breaks out of letter dimensions, so a 6 by 9 card fails and a 6.5 by 9 card passes on a half inch of height. The EDDM file setup guide walks the full requirement list, and the postage cost by size breakdown shows what each tier actually costs per piece.
Thickness matters too, and it is easy to miss because a template does not show it. A card mailing at the postcard rate has to measure between 0.007 and 0.016 inch thick, which rules out text-weight paper and lands comfortably on 14pt or 16pt stock. Pick the stock at the same time you pick the size, using the postcard paper and cardstock guide, then download the matching template from the blank template library. Standard sizes start at $16.48 for standard postcards, and the larger formats live under oversized postcards at $51.62.
What the Three Lines on the Template Actually Mean
Open a blank template and you get an empty rectangle with three concentric guides. They are not decoration and they are not interchangeable.
- The bleed line, 0.125 inch outside the trim. Any background color, photograph or panel that should reach the edge has to run all the way out to this line. It gets cut off. That is the point.
- The trim line. Where the blade lands, in theory. In practice a guillotine cutting a lift of card drifts slightly from the top of the stack to the bottom, which is the whole reason the bleed exists.
- The safety line, 0.125 inch inside the trim. Type, logos, QR codes, phone numbers and coupon codes stay behind it. Anything closer to the edge risks being shaved.
The trade-off worth knowing: a full-bleed photograph is far more forgiving than a thin white frame. Cut drift on a photo is invisible, because nobody knows where the image was supposed to stop. Cut drift on a 0.125 inch white border shows up as a frame that is fat on one side and thin on the other, and it looks like a printing mistake even though it is within normal tolerance. If the design wants a border, give it at least a quarter inch of width so a small shift disappears. Bleed and trim explained covers the mechanics in more depth.
Build in CMYK at 300 dpi measured at the final printed size, not at whatever size the image happens to open. A logo pulled off a website is usually 72 dpi and will not survive being scaled up to fill a 6 by 9 card. Convert your artwork before export rather than after, using the CMYK conversion walkthrough, so you see the color shift while you can still do something about it.
The Address Side Follows Rules the Design Side Does Not
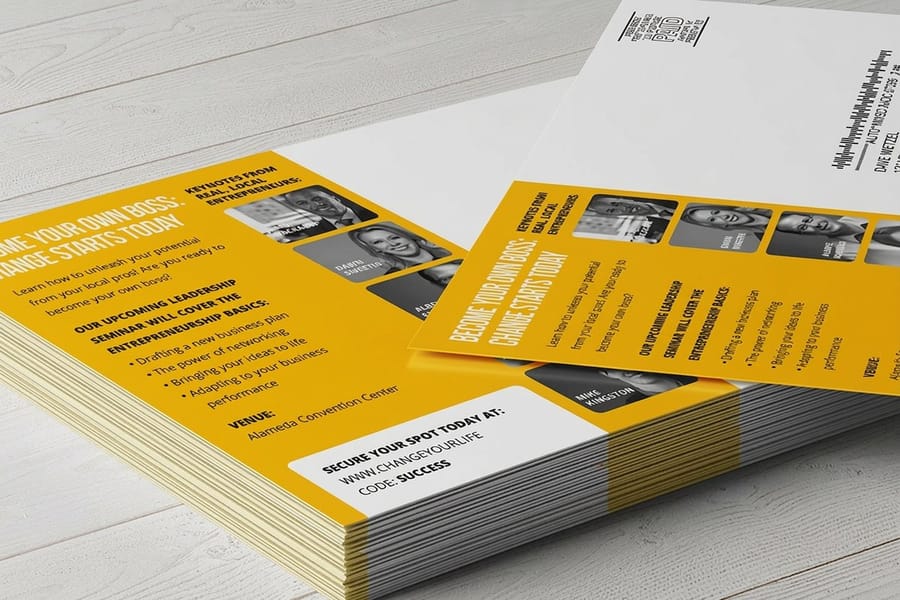
Most blank postcard templates hand you two identical rectangles, which quietly suggests both sides work the same way. They do not. The back is a postage document as much as a design surface, and four zones on it belong to USPS rather than to you.
- Top right corner. The stamp or permit indicia. Leave it empty, and leave it light. A dark photo behind an indicia makes it unreadable.
- Top left corner. Your return address, in a plain face at a readable size.
- Right half, middle. The delivery address block. If a mail house is addressing the run, this panel has to stay completely clear so the inkjet has somewhere to land.
- Bottom 5/8 inch, full width. The barcode clear zone. USPS sprays a barcode across the bottom of the piece and needs clean stock to spray it on.
The mistake that costs a whole run is coating. UV and gloss coatings seal the surface, and addressing ink sits on top of the seal instead of soaking in, so it smears when the piece hits the sorting machinery. Order the coating on the front and leave the back uncoated or matte. That is precisely how direct mail postcards at $89.68 are configured, and it is the difference between a card built to be mailed and a card built to be handed over. For the exact clearances, the address side layout guide lays the whole panel out.
One more orientation trap. The address always reads horizontally along the long edge of the card, even when the front artwork is vertical. A vertical design with a vertical back is not mailable, so build the front however you like and rotate the back to landscape. Sizing rules for every trim are collected in the postcard sizes and dimensions guide.
The Checks That Catch Almost Every Template Reprint
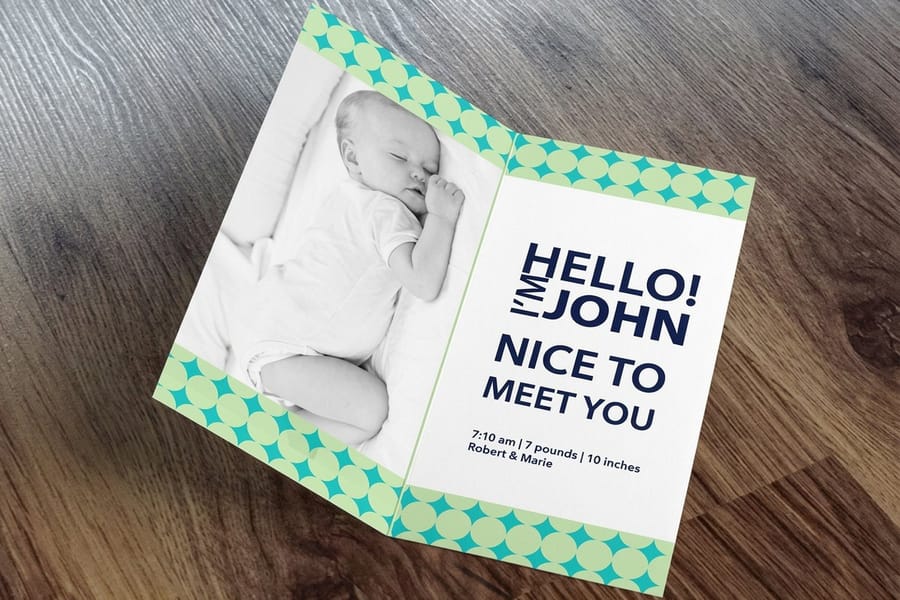
Four checks, thirty seconds each, and they catch the overwhelming majority of jobs that come back wrong.
Delete or hide the guide layer. This is the failure unique to template work. The bleed and safety lines are drawn on their own layer, usually in magenta, and they are there to be looked at, not printed. Export with that layer visible and the press prints the guides, because a press has no way to know which magenta lines you meant. Hide the layer, export, then open the PDF and look at it with fresh eyes.
Check the flip. Supply the file as a single PDF with two pages, front then back, both at the same size and orientation. If the front is vertical and the back is horizontal, say so in the order notes, otherwise the back may be rotated to match and your address block ends up running up the side.
Look for anything sitting on a line. Zoom to the corners. A phone number crossing the safety line, a border that stops at the trim instead of the bleed, an image that ends 2mm short. Every one of those is a two second fix now and a reprint later.
Order the proof. A free proof shows the file as we will run it, after our prepress has looked at it. It costs nothing and it catches the things you stopped being able to see three hours ago. When it comes back right, order from postcards printing, or pick a format with panels if the message needs room, such as folded postcards at $84.36. If you want the layout done for you rather than starting from an empty template, the free postcard template guide points at designed starting files, and how blank brochure templates work covers the same three lines on a folded piece.
Wally explains the blank template
Three lines out front, four empty zones on the back
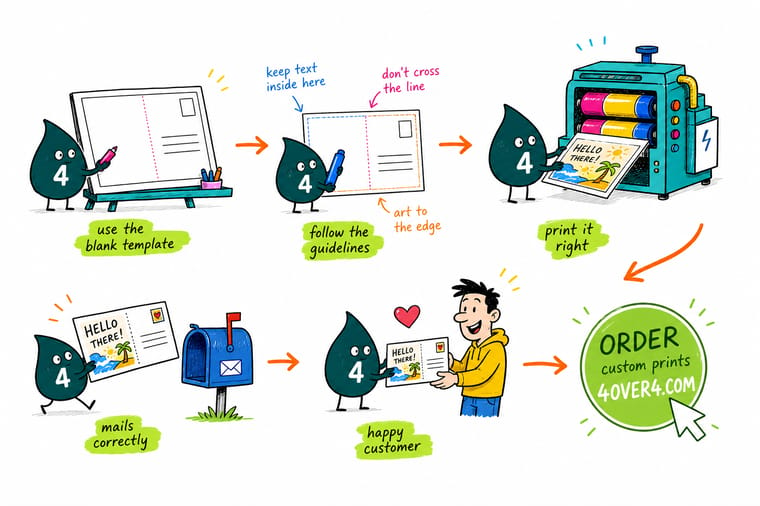
Wally drops the artwork onto the template and pushes the background all the way past the trim to the dashed bleed line, because the blade drifts and that extra 0.125 inch is what hides the drift. Then he pulls every word back inside the inner line. He flips the card over and keeps his hands off four places: the top right for the stamp, the top left for the return address, the right half for the delivery address, and the bottom 5/8 inch strip where USPS sprays the barcode. Last move before he sends it: switch off the magenta guide layer, because the press prints whatever it is given.
Order standard postcards →
Specs and pricing
Postcard sizes, stocks and starting prices
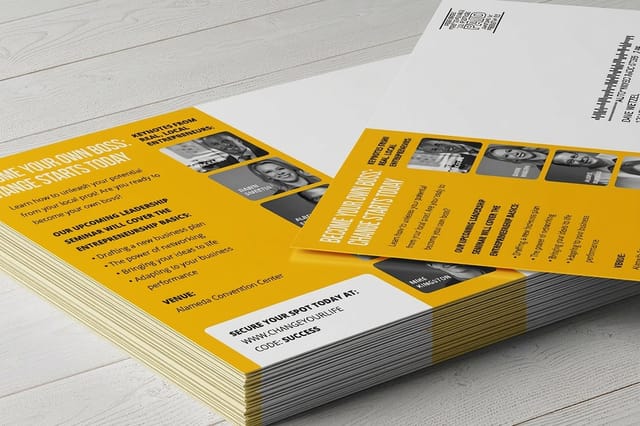
Compare the postcard formats side by side, with live size and stock choices and starting prices straight from the 4OVER4.COM configurator. Postcards come in 14 sizes from 2.5 x 2.5 to 6 x 11 inches from 50 cards, oversized postcards in 5.5 x 8.5 to 6 x 11 inches from 50, and direct mail postcards in nine sizes on 14pt or 16pt cover from 500 cards in 4 business days.


Print it
Take the template to press
Match the product to the template size you set up: postcards from 50 for a handout or a short mailing, direct mail postcards from 500 in 4 x 6 up to 6 x 11 inches for a full list, and oversized postcards at 5.5 x 8.5 to 6 x 11 inches when the card should mail as a letter.
Explore more
Where to go next
Lay out the address side and barcode clear zone, check which postage tier each trim size lands in, and pick a point weight that still takes an address, all before you fill the template.




By the numbers
Postcards trimmed to the size your postage needs
Common Questions
Your blank template questions, answered
What size should a blank postcard template be?
Start from the finished card, then add 0.125 inch of bleed on every side. A 4 by 6 inch postcard is built in a 4.25 by 6.25 inch file, a 5 by 7 in a 5.25 by 7.25 file, and a 6 by 9 in a 6.25 by 9.25 file. Inside the trim, pull a second guide 0.125 inch in and keep all type and logos behind it. The template you download from the 4OVER4.COM blank template library already has all three lines drawn at the right offsets, so the only decision left is which finished size you want.
Do I still need bleed if my postcard has a white border?
Yes, and a border is the case where bleed matters most. Cutting stacks of card drifts by a fraction of a millimeter, so a design with no bleed shows a hairline of raw stock along one edge. A border also shows the drift as an uneven frame, thicker on one side than the other. If the design calls for a white frame, make it at least 0.25 inch wide so a small shift is invisible, and still extend the background color past the trim line to the bleed line.
Where does the address go on a blank postcard template?
On the address side, the delivery address block sits on the right half of the card, the return address goes in the top left, and the postage indicia or stamp goes in the top right corner. Leave the bottom 5/8 inch clear of artwork across the entire width, because USPS sprays a barcode there. If a mail house is addressing the run for you, that whole right panel needs to stay empty and light so the inkjet reads cleanly.
Can the address side be gloss coated?
Not if anyone still needs to print on it. UV and gloss coatings seal the surface, and addressing ink beads up or smears instead of drying. The normal order is a coated front for the artwork and an uncoated or matte back for addressing. Our direct mail postcards default to a stock that accepts addressing on the back, which is exactly why they are set up differently from a standard postcard meant to be handed out.
What resolution and color mode does the template need?
Place images at 300 dpi at their final printed size, and build the file in CMYK. A photo that looks sharp at screen size is often 72 dpi, and enlarging it to fill a 6 by 9 card turns the detail to mush. Convert RGB artwork before you export rather than letting the conversion happen at the press, because bright RGB blues and greens shift noticeably and you want to see that shift while you can still adjust it.
Does a 5 by 7 postcard mail at the postcard rate?
No. The USPS postcard rate applies only to rectangular cards between 3.5 by 5 inches and 4.25 by 6 inches, and between 0.007 and 0.016 inch thick. A 5 by 7 card is over the size limit, so it mails at the letter rate, and so does a 6 by 9. The bigger card usually earns the extra postage through sheer visibility in a stack of mail, but decide that before you design, not after the run is printed.
Get Started
Template filled in? Send it to press.
Pick your trim size and stock, upload the two page PDF, and we proof it before anything runs. Postcard rate sizes, oversized formats and mail-ready backs are all in stock.
Legal Disclaimer
Gold Standard guarantees apply to all standard orders placed through 4over4.com. Price match requires verifiable proof of a competitor's published price for an equivalent product with matching specifications and turnaround time. Satisfaction guarantee covers manufacturing defects and print quality issues. Contact support with order number and documentation.
