
How to Use Free Notebook Templates for Custom Printing


Emma is our prepress and print production voice, built from the knowledge of our production team, with over 20 years in printing.
A free notebook template removes the guesswork from custom notebook printing. It fixes the trim size, the bleed, the safe zone, and the spine allowance before you draw a single line, so the book that arrives matches the book you designed.
To use a free notebook template, pick the trim size and binding first, download the template that matches both, then build your artwork on the layer beneath the locked guides. Run backgrounds out to the bleed edge, keep type inside the safe zone, widen the inside margin for the binding, and design the cover as one spread covering back, spine, and front. Export a flattened CMYK PDF at 300 DPI with bleed included and the guide layer hidden, then upload the cover and the interior as separate files.

Start here
Size and binding pick the template
Decide the trim size, the binding, and the page count, then download the notebook template built for that exact combination. Place your artwork under the locked guide layer, push every background out to the bleed edge, and keep type a quarter inch inside the trim line with extra room on the binding edge. Build the cover as a single spread across back, spine, and front, and keep the interior on a consistent grid. Export a flattened CMYK PDF at 300 DPI with bleed and embedded fonts, hide the guides, then upload the cover and interior separately and confirm the spec in the configurator matches the file.
What a print-ready notebook template actually includes

A notebook template is the file that tells you exactly where the paper stops. It carries four measurements: the trim size, which is the finished book you hold; the bleed, which is the extra artwork that gets cut away; the safe zone, which is where text and logos are guaranteed to survive; and the spine or binding allowance, which is the strip you should treat as unusable. Everything else in the file is a guide layer that comes off before you export.
Most templates arrive as layered artwork with the guides locked on top and an empty artwork layer underneath. That order matters. If you build on the guide layer you will either export the pink and blue rules onto the printed page or delete your own work trying to remove them. Place your design below the guides, keep the guides locked, then hide that layer at export time.
The same anatomy governs a bookmark, a brochure, and a bound book, which is why our free design templates library uses one consistent guide system across every product. If you have already set up a multi page file, the walkthrough on free booklet templates and print-ready files covers page order and imposition in more depth than this page needs to.
Choose the notebook size and binding before you open the template

Size and binding are the two decisions that determine which template you download, and they are much harder to change later than any part of the artwork. Pocket books around 3.5 by 5.5 inches suit event giveaways and pocket notes. The 5.5 by 8.5 inch book is the standard: big enough to write on properly, small enough to live in a bag. Letter size books at 8.5 by 11 inches read as workbooks and planners rather than notebooks.
Binding is the part people underestimate. Wire binding lets a book lie flat, which writers love, but it punches a row of holes that eats roughly a quarter inch of the inside edge. Saddle stitching is fast and inexpensive for slim books but it creeps, so outer pages need a slightly wider outside margin than inner ones. Perfect binding gives you a printable spine and a bookshelf presence, at the cost of a wider gutter margin and a spine width that only settles once the page count is final.
If you are weighing a run here against a boutique stationery brand, the side by side on the Moo notebook alternative page lays out the spec and price differences rather than the marketing. Decide the format there, then come back and download the matching template.
Setting bleed, safe zone, and margins so nothing gets trimmed off

Set the document to the bleed size, not the trim size. For a 5.5 by 8.5 inch book with the standard 0.125 inch bleed on all four sides, that means a 5.75 by 8.75 inch canvas with the trim line sitting an eighth of an inch inside it. Any background color, photo, or pattern that is meant to touch the edge must run all the way out to that bleed edge. Stopping at the trim line is what produces a hairline of white paper along one side of a finished book.
The safe zone is the opposite rule. Pull every headline, page number, logo, and body block at least 0.25 inches inside the trim line. Cutting tolerance is real and cumulative on a bound product, where the interior block is trimmed after binding rather than sheet by sheet. Then add the binding allowance on top: leave extra room on the inside edge, more for perfect binding than for wire, because that margin disappears into the curve of an open book.
Two habits save most of the rework. Keep all live text on its own layer so you can toggle it and check the clearances at a glance. And design the interior as spreads even if you export single pages, because a rule that looks generous on one page can look cramped when it faces its neighbor. The same discipline applies to small formats, which is why the bookmark template guide spends as much time on margins as on artwork.
Designing the cover and the interior pages

Treat the cover as one continuous spread that reads back cover, spine, front cover, left to right. On a perfect bound book the spine width comes from the page count and the caliper of the interior stock, so lock your page count first and let the template give you the number. Keep spine type well inside its own safe zone, because a spine is the least forgiving surface on the whole book. If the spine is under roughly a quarter inch wide, skip the type and let the color carry it.
The interior is a rhythm problem, not a decoration problem. Choose the ruling first: lined, dotted, grid, or blank. Set the line spacing to something a pen actually fits, then hold that grid on every page so the book feels made rather than assembled. Light gray rules print more gracefully than black ones and stay out of the way of handwriting. Reserve a first page for ownership details, and use the back few pages for an index, a contact block, or a branded sign off.
Branding a notebook works best when it belongs to a family rather than standing alone. The ideas in our custom branded merchandise guide show how a book, a sticker sheet, and a desk item can share one visual system, and the creative uses for custom sticky notes piece is a good source of interior page ideas that people genuinely use.
Exporting and uploading a file that clears prepress first time

Convert the document to CMYK before you export, not after. Bright RGB blues and greens that glow on screen sit outside the printable gamut and will shift on press, so proof the conversion yourself rather than discovering it on paper. Keep every placed image at 300 DPI at its final printed size. An image that is 300 DPI at 2 inches becomes 150 DPI when you scale it to 4 inches, and that is exactly how soft covers happen.
Export a PDF with bleed included and crop marks off unless the product page asks for them, embed all fonts or outline your type, flatten live transparency, and turn the guide layer off. Then reopen the exported PDF and look at it as a stranger would. Check that the background reaches the bleed edge on all four sides, that nothing important sits inside the trim margin, and that the page count is what you told the configurator.
Upload the cover file and the interior file separately, because they are printed on different stocks and follow different paths through the bindery. If you would rather skip file prep altogether, our online designer lets you build inside the correct template from the start, the same way it works on a quick job like custom business cards.
Ordering your custom notebooks and what to print alongside them

With the file settled, ordering is a matter of confirming what the template already assumes: trim size, page count, interior stock, cover stock, binding, finishing, and quantity. For the everyday 5.5 by 8.5 inch book that means a 5.75 by 8.75 inch file, type 0.25 inches inside the trim, an uncoated text interior and a heavier card cover. Change any of those after you design and you may need a different template, so make the configurator agree with your file before you upload rather than after. Order a slightly larger quantity than you think you need; the per unit price drops as the run grows and reprinting a short run costs far more than printing a few extra now.
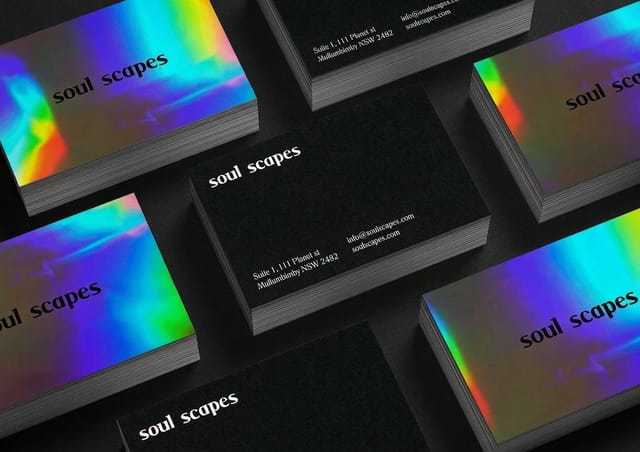
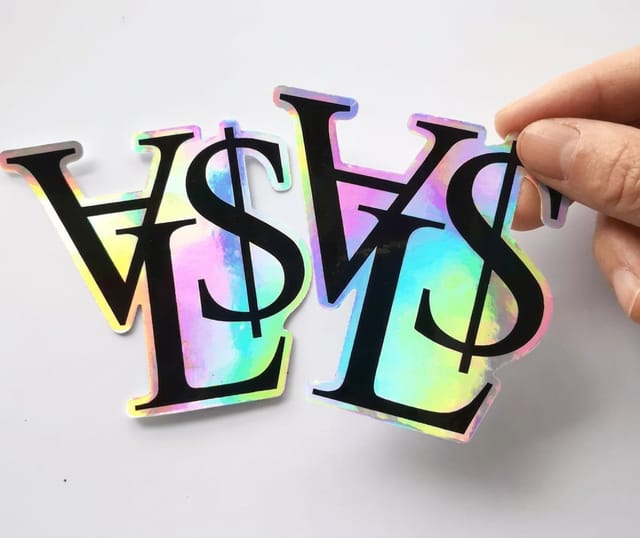
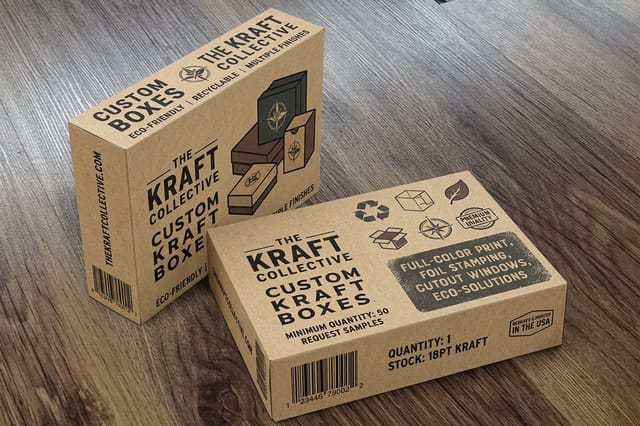
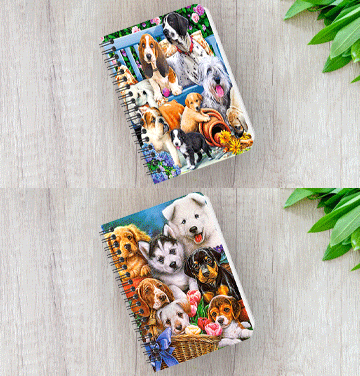
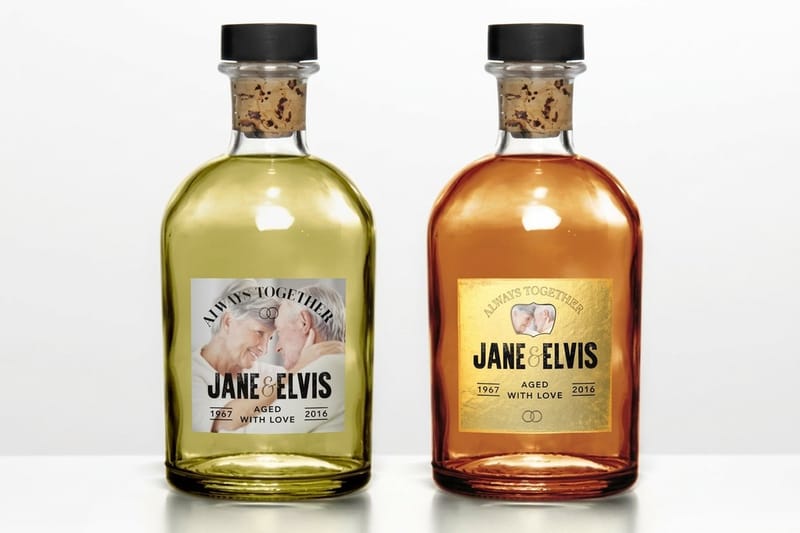
Notebooks rarely ship alone. A branded book handed over with a card, a sticker, or a box reads as a product rather than a freebie. Custom Business Cards from $17.57 carry the same brand system in a pocket format, Custom Holographic Stickers from $322.98 give the cover or the first page a finish people keep, and Custom Kraft Boxes from $711.78 turn a stack of books into a gift set worth photographing.
If your launch also needs signage or window graphics, the approach in the custom window clings guide keeps the same artwork working at a much larger size, from 11 x 17 to 40 x 60 inch custom window clings, and the free brochure templates guide covers the folded companion piece. Everything in the custom printing collection is built around artwork you supply, so one template driven design can carry an entire release.
Wally explains the template
The guides are there so the guillotine cannot surprise you
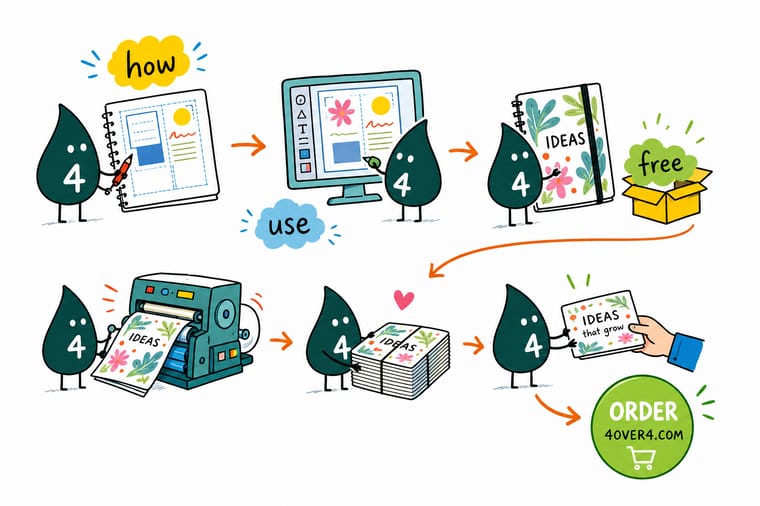
Wally thinks of a template as three rings. The outer ring is bleed, the paper you will never see because it gets cut away. The middle ring is trim, the book you actually hold. The inner ring is the safe zone, where words are guaranteed to survive. Keep color out to the first ring, keep type inside the third, and the finished notebook looks exactly like the file on your screen.
Print with your own artwork →
Diagram
Bleed, trim, and safe zone on a notebook template
One frame that shows where the paper gets cut, where your type is protected, and how much room the binding takes. On a 5.5 by 8.5 inch book the canvas is 5.75 by 8.75 inches, the safe zone sits 0.25 inches inside the trim, and wire binding takes about a quarter inch of the inside edge. Keep it open in a second window while you set your document up.
The three rings never change. Only the numbers move, and the template you download already carries the right ones for your size and binding.
Specs and pricing
Custom business card specs and live pricing
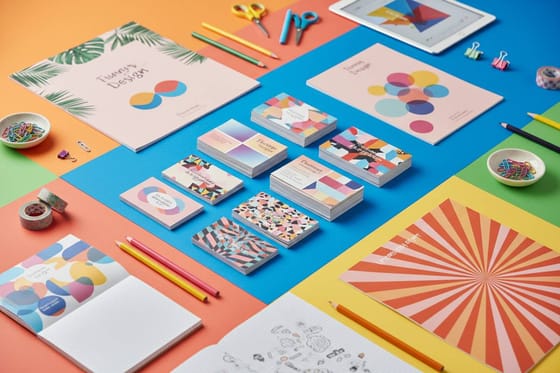
The same template discipline applies to every product here. Custom Business Cards are the quickest way to test your setup, because the bleed, safe zone, and stock choices behave exactly as they do on a notebook cover. A 2 x 3.5 inch card on 14pt gloss or 16pt uncoated cover, from 100 cards in 3 business days, shows you whether your bleed and safe zone hold before you commit a full notebook run.

| Quantity | Price Per Unit | Total |
|---|---|---|
| 100 | 17.6¢ | $17.57 |
| 200 | 11.5¢ | $23.07 |
| 300 | 9.15¢ | $27.46 |
| 400 | 7.96¢ | $31.86 |
| 500 | 7.25¢ | $36.26 |
| 600 | 6.77¢ | $40.64 |
| 700 | 6.43¢ | $45.04 |
| 800 | 6.18¢ | $49.43 |
Print it
Print the rest of the set with the same artwork
Build the set from one file: business cards from 100 in four sizes, holographic stickers from 100 on white gloss, BOPP or silver foil stock, and kraft boxes from 250 in 5 x 7 x 1.7 or 5.5 x 5.5 x 2.625 inches to hold the books.
%22%2F%3E%3Ccircle%20cx%3D%2247%22%20cy%3D%2220%22%20r%3D%2222%22%20fill%3D%22%23a78bfa%22%20opacity%3D%220.15%22%2F%3E%3Ccircle%20cx%3D%2254%22%20cy%3D%2227%22%20r%3D%22-3%22%20fill%3D%22%23a78bfa%22%20opacity%3D%220.1%22%2F%3E%3Crect%20x%3D%2277%22%20y%3D%22-9%22%20width%3D%2232%22%20height%3D%2220%22%20rx%3D%224%22%20fill%3D%22%23a78bfa%22%20opacity%3D%220.08%22%20transform%3D%22rotate(42%2080%2030)%22%2F%3E%3C%2Fsvg%3E)
Explore more
Where to go next
Set up a multi page file with the booklet templates guide, check what embossing needs from your cover art, compare calendar bindings, and weigh a run here against Moo on the notebook alternative page.

By the numbers
Templates land on a floor with 60+ stocks behind it
Common Questions
Common questions about notebook templates
What is a notebook template?
A notebook template is a pre measured artwork file that matches the exact trim size, bleed allowance, safe zone, and spine width of the notebook you plan to print. It is not a design. It is the container your design has to fit inside. Open it in Illustrator, InDesign, Photoshop, or a browser based editor, place your artwork on the layers underneath the guides, then remove or hide the guide layer before you export.
Which trim size and binding does the content need?
Start from three decisions and the template follows. First the trim size, because a pocket book and a letter size book carry very different amounts of type. Second the binding, because wire, saddle stitch, and perfect binding each take a different bite out of the inside margin. Third the page count, because the spine width on a perfect bound cover is calculated from the number of pages and the caliper of the interior stock. Once those three are fixed, one template fits your job exactly.
What does custom notebook printing cost and how are prices set?
Price is driven by quantity, trim size, page count, interior and cover stock, binding method, and any finishing such as foil or soft touch lamination. Quantity moves the number most, because setup is amortized across the run. You can watch the same behavior on any configurable product here. Custom Business Cards start at $17.57 and the per unit price falls as the run grows. Build your spec in the configurator and the live price updates before you commit.
What sizes, stocks, and finishes are available?
Common notebook trims run from pocket sizes around 3.5 by 5.5 inches up to letter size at 8.5 by 11 inches, with 5.5 by 8.5 inches as the everyday favorite. Interiors are usually an uncoated text stock that takes pen and pencil without feathering. Covers are heavier, often a thick card with matte, gloss, or soft touch lamination. Foil stamping, spot UV, and rounded corners are the finishes people reach for most when the book is a gift or a launch item.
How long does printing and shipping take?
Turnaround starts when your file passes prepress, not when you place the order, so a clean template driven file is the fastest way to shorten the clock. Bound products with covers and interiors take longer than a flat product because the press work, the trimming, and the binding are separate passes. Choose your production speed in the configurator and the checkout shows the estimated ship date for that speed before you pay.
Do I need bleed if my design has a white border?
Yes. Bleed protects you even when the artwork itself does not touch the edge, because the page still has to be trimmed and the sheet still shifts a fraction on press. Build the file at the bleed size, keep the white border as a deliberate design element inside the trim line, and let the paper color run out to the bleed edge. Skipping bleed is the single most common reason a file comes back from prepress.
Can I use the same template for a wire bound and a perfect bound notebook?
Only for the interior pages, and even then you should widen the inside margin for perfect binding. The cover is where the two part company. A wire bound cover is two separate pieces, front and back, each punched along one edge. A perfect bound cover is a single spread that wraps around a spine whose width depends on the page count. Download the template that matches your binding rather than adapting one you already have.
Get Started
Set the trim and the binding, then download the template
Set your size, binding, and page count, upload the cover and interior, and let our press team handle the rest. Order free paper samples first if you want to feel the stock.
Legal Disclaimer
Gold Standard guarantees apply to all standard orders placed through 4over4.com. Price match requires verifiable proof of a competitor's published price for an equivalent product with matching specifications and turnaround time. Satisfaction guarantee covers manufacturing defects and print quality issues. Contact support with order number and documentation.
