
How to Design a Branded Notebook From Logo Placement to Cover Stock

Emma is our prepress and print production voice, built from the knowledge of our production team, with over 20 years in printing.
Three decisions make or break a branded notebook: where the logo sits, what the cover is made of, and how the book is bound. Each one limits the other two.
Design a branded notebook by fixing the cover material first, then the binding, then the logo. Keep the mark 0.25 inch inside the trim, clear of the half inch of binding edge a coil punches away, and roughly 1.5 to 2.5 inches wide on a 5.5 by 8.5 inch cover. Leatherette takes a deboss or a foil stamp and no four color ink. A printed laminated board takes full color but never feels like leather. Coil opens flat and gives you no spine to print on. Perfect binding gives you a spine and will not lie flat.

Quick answer
Material, then binding, then the logo
Work in that order and nothing has to be redrawn. The cover material decides whether the logo can be printed in full color or has to become a single flat shape for a deboss or foil die. The binding decides how much of the cover you actually get: a coil takes half an inch off the binding edge and leaves you no spine, while perfect binding gives you a printable spine whose width you cannot set until the page count is final. Only then does the mark get placed, 0.25 inch clear of the trim and sized so the notebook still looks like something a person would choose to carry.
Where the Logo Goes, and How Much Room It Needs
Start by drawing three boxes on the cover, then place the logo last. The outer box is the bleed, 0.125 inch past the trim on every side, and any background color or texture has to run into it. The middle box is the trim itself. The inner box is the safe margin, 0.25 inch in from the trim, and everything you actually want people to read lives inside it.
Then subtract the binding edge. A coil or Wire-O notebook is drilled through the cover, so the first half inch along that edge is gone. Designers hand us covers with the logo tucked neatly into the top left corner, which is exactly where the holes go. Shift the mark into the outer two thirds of the cover and the problem disappears.
For placement, the upper third centered is the position that survives real desks. A notebook usually sits under a laptop or in a pile, and a logo in the lower half spends most of its life hidden. Lower right is the second option and reads quieter, but it is the first thing a resting forearm covers.
Size is where most branded notebooks go wrong. On a 5.5 by 8.5 inch cover, a mark 1.5 to 2.5 inches wide looks deliberate. Past about 3 inches it stops being a notebook someone owns and becomes something a company handed out. Drop the tagline for the cover, keep the symbol and the name, and put the web address small on the back cover instead. If your logo has several approved lockups, our guide to logo variations every brand needs covers which one belongs on a physical object.
The Cover Material Decides Which Finish You Can Use
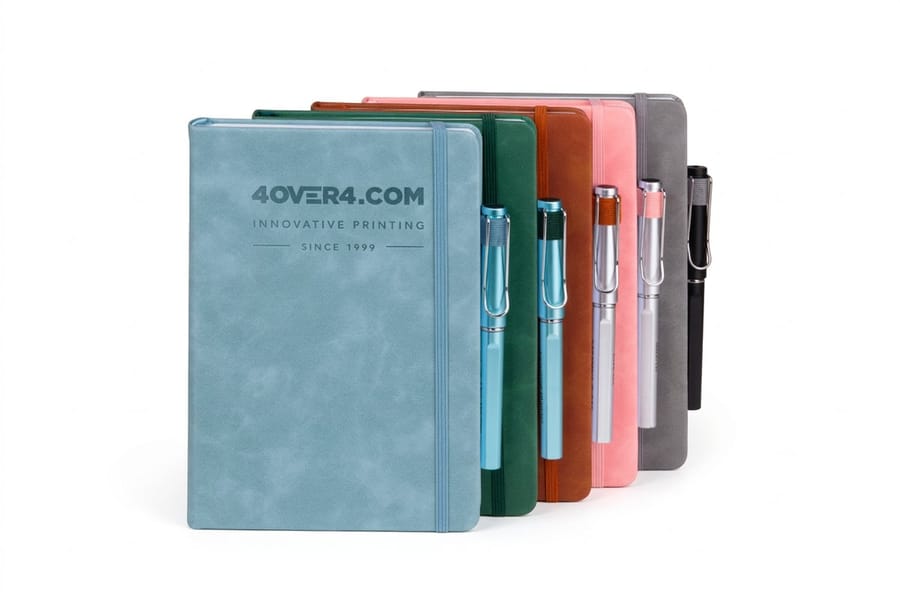
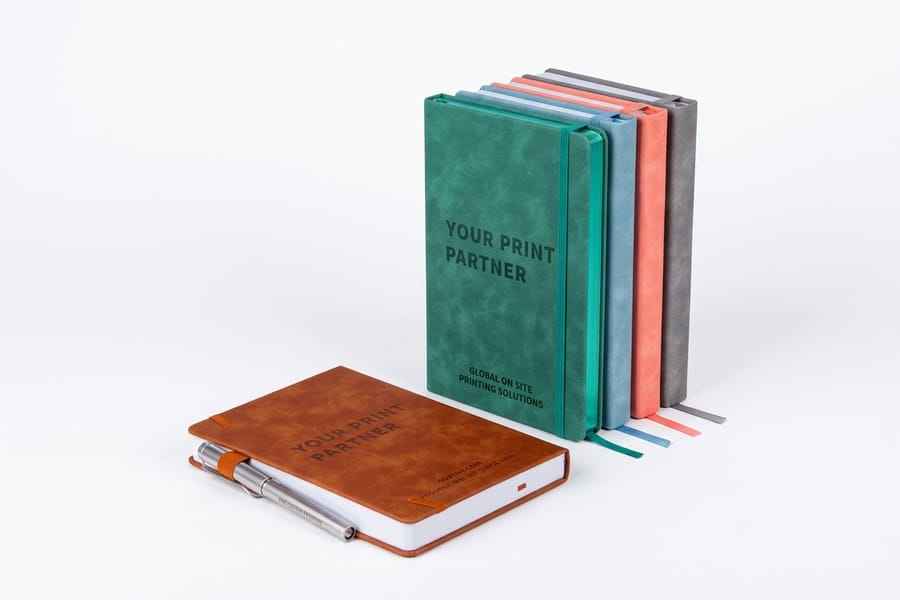
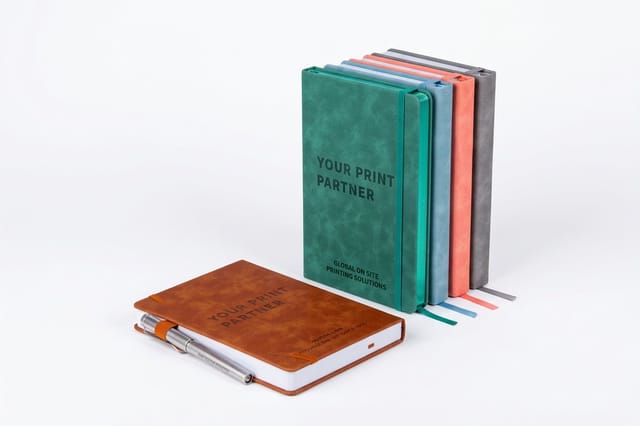
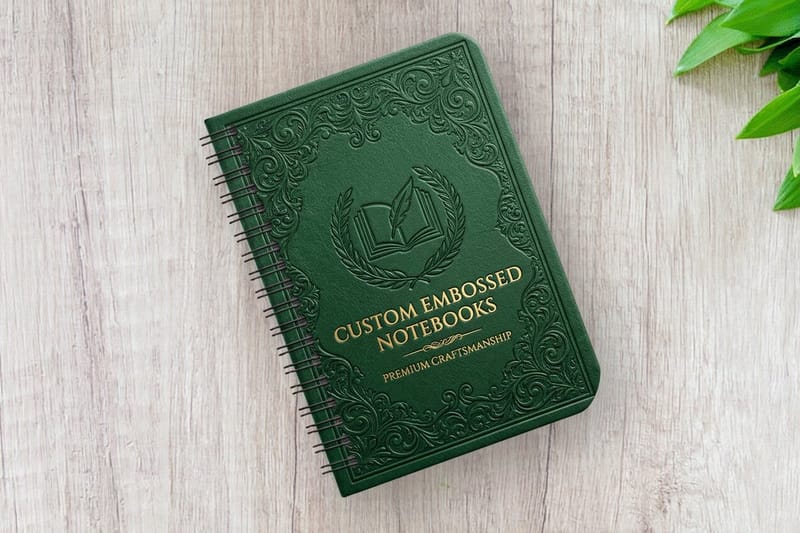
This is the decision that quietly cancels half of what a designer drew. A bonded leather or leatherette cover will not hold four color ink, so a full color illustration is not an option on it at any price. A printed and laminated board cover will hold anything you can print but will never feel like leather. Pick the material first, then design the mark to suit it.
| Cover | How the logo goes on | Color range | Best for |
|---|---|---|---|
| Bonded leather | Deboss or foil stamp from a metal die. | The cover color, plus one foil. | Executive gifts and client handovers where the object has to feel expensive. |
| Printed laminated board | Printed in CMYK, then laminated gloss, matte or soft touch. | Full color, photographs included. | Event swag, brand launches, anything with artwork rather than a plain mark. |
| Soft cover card | Printed, and it can carry a spot gloss over a matte laminate. | Full color, with a flexible feel. | Workshops and training packs where weight and price matter. |
| Kraft or uncoated | Printed, usually one or two colors, or foil for contrast. | Muted. The brown shifts every ink warm. | Recycled and craft positioning, where the shift in color is the point. |
Read the third column before you approve a design. Kraft in particular catches people out: a cool gray brand color printed on brown board comes back looking tan, and there is no press setting that fixes it. Either accept the shift, print the mark in white ink or foil, or move to a coated cover.
Soft touch laminate is worth a note of its own. It feels like suede and hides fingerprints far better than gloss, which matters on a black cover, but it also scuffs pale where a corner rubs a bag. Matte laminate is the safer everyday choice. Our soft cover notebooks guide goes through how a flexible cover behaves in a bag over a year, and Leather Journals start at $10.00 if the brief is a gift rather than a giveaway.
Binding Changes the Artwork, Not Just the Feel
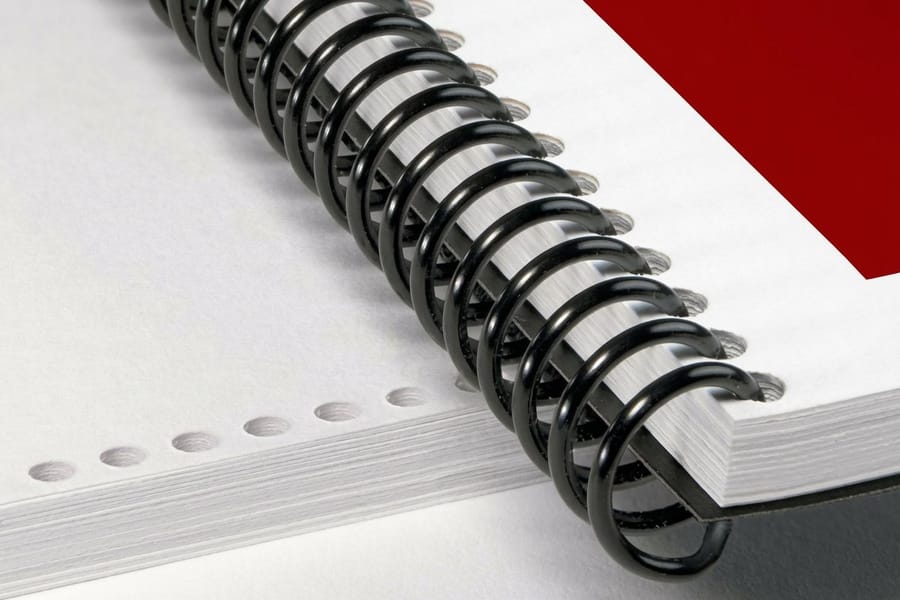
Binding is usually treated as a comfort decision. It is a layout decision. Each method takes something different away from the cover, and you need to know which before the artwork is final.
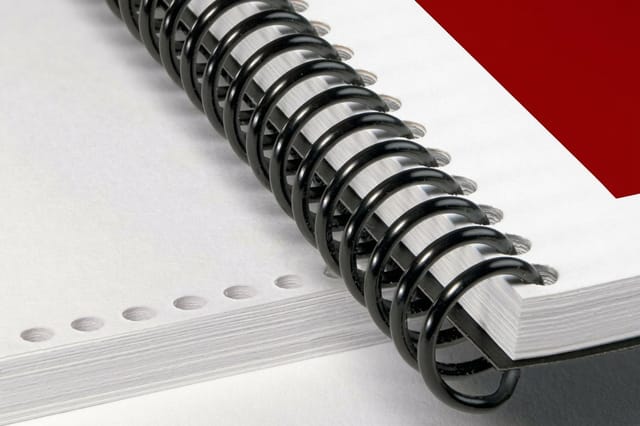
- Coil and Wire-O. Opens flat and folds fully back, which is the reason people actually write in these. Costs you half an inch of the binding edge to the punch, and it has no printable spine.
- Perfect binding. Gives you a real printed spine and a book that reads as a book on a shelf. It will not lie flat, and the spine width depends on the page count and the caliper of the interior stock, so you cannot draw the spine until the page count is locked.
- Saddle stitch. Cheapest and fastest, but the page count must be a multiple of four, and as the sheet count grows the inner pages push outward and get trimmed narrower. Fine for a thin notebook, wrong for a thick one.
- Case bound. A wrapped board cover with turn-in allowance around every edge, so the artwork has to extend well past the visible face. Ask for the wrap dimensions before you build the file.
The trade-off nobody mentions in a brief is that lie-flat and printed-spine are mutually exclusive. If the notebook has to open flat for note taking, accept that you get no spine to print on, and put the brand on the back cover instead. If the spine is the whole point because these will sit on a client bookshelf, choose Perfect Bound Book binding, which starts at $375.05 per run, and stop asking for lie-flat. Spiral Coil Books runs start at $423.28. The full comparison lives in our booklet binding methods guide, and if you are saddle stitching, page counts and creep explains the trim shift in detail.
Building the Cover File So It Prints the Way You Drew It
Build the cover at final trim size with 0.125 inch of bleed on all four sides, in CMYK, with placed images at 300 ppi at the size they sit on the page. Convert fonts to outlines before you export. None of that is notebook specific, and all of it is where files come back for correction.
Two things are notebook specific. First, a wrapped or perfect bound cover is one flat spread: back cover, spine, front cover, on a single artboard in that order, with the spine measured for your page count and stock. Three separate files means somebody has to guess how they join. Second, if any part of the design is foil stamped or debossed, that element goes on its own layer as flat vector artwork in a single spot color, with nothing else in it. The die is cut from that outline, so a drop shadow or a gradient in there produces a die nobody can make.
Set your brand colors as CMYK or as a named spot ink rather than RGB, and expect a shift if you converted from a screen palette. Bright orange, deep navy and any strong green are the usual casualties. Our guide to choosing the right color profile for printing covers the conversion, and preparing a logo for printing walks through cleaning up a mark that was drawn for the web.
Start from a sized layout instead of measuring your own. The blank template library carries the trim, bleed and safe lines already drawn, and if you are working from an existing notebook file, our guide to using free notebook templates for custom printing covers what usually has to be fixed in one.
Ordering a Run for Gifts and Swag Without a Reprint
Buy one before you buy five hundred. A deboss depth, a foil color against a dark cover and the exact feel of a soft touch laminate are all things you settle by holding the object, not by looking at a proof on a screen. Ready-made Deluxe Spiral Notebooks start at $5.00 with no logo, so a plain sample of the format costs less than the meeting where the team argues about it.
Then decide the quantity honestly. Notebooks are one of the few branded items people keep, which means the useful question is not how many you can afford but how many will genuinely be handed to someone who writes in them. Two hundred good notebooks given deliberately beat a thousand sitting in a storeroom. Where the price actually breaks by quantity is covered in our bulk notebook printing guide.
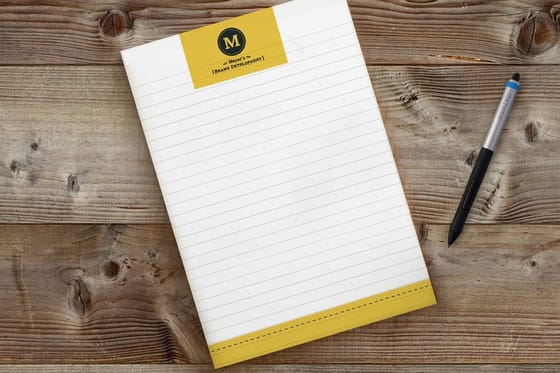
Pair the notebook with something that carries the same cover treatment and the gift reads as a set rather than an item. Notepads start at $93.37 and work as the desk companion to a carried notebook. If you are building a wider gift program, getting corporate gifting right covers what to pair and when to send it, and the custom logo merchandise buying guide covers the rest of the range. Everything we bind sits on the custom notebook printing page.
Wally lays out the cover
Safe box first, logo last
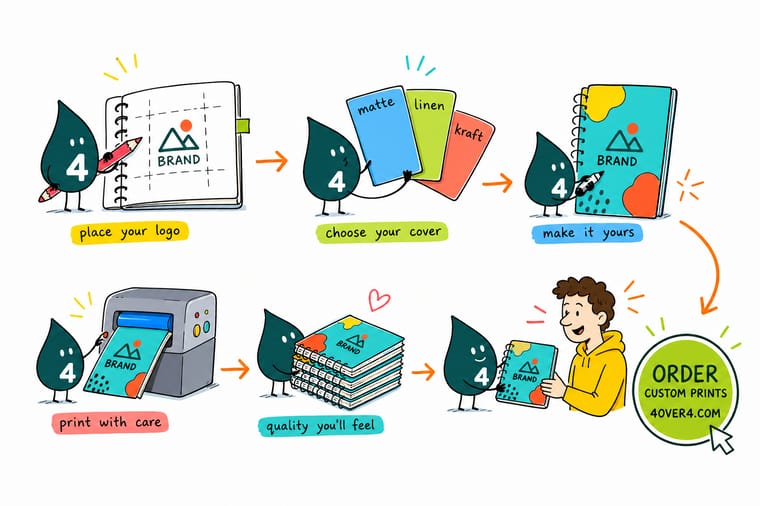
Wally rules three lines on the cover before he draws anything. Bleed on the outside, the trim in the middle, and a quarter inch safe box on the inside where the logo has to live. Then he crosses off the first half inch of the binding edge, because that is where the coil gets drilled and any logo parked there comes back with holes through it. Material next, since leatherette takes a deboss and not four color ink. The mark goes on last, about two inches wide, upper third, so the notebook still looks like something you would carry.
Order deluxe spiral notebooks →
Specs and pricing
Notebook sizes, stocks and starting prices
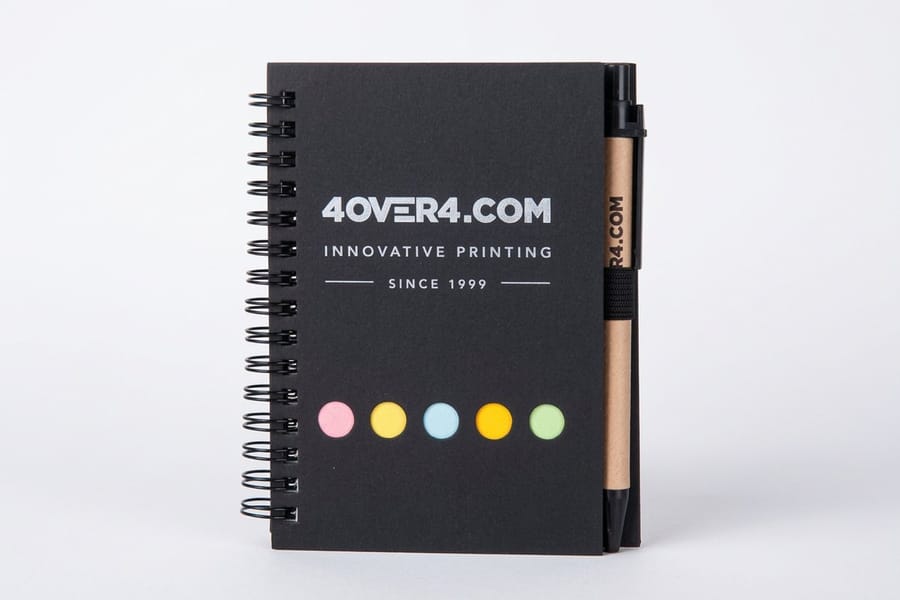
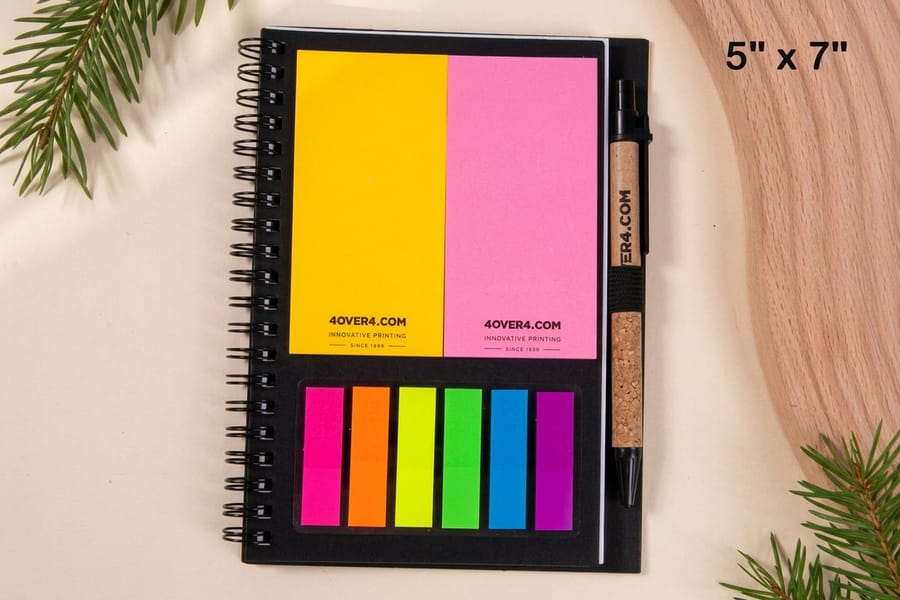
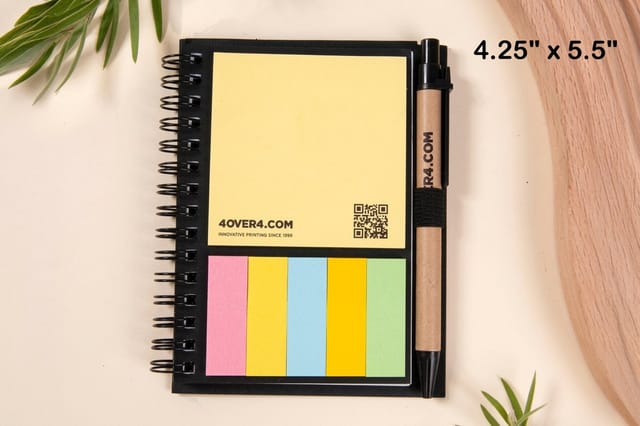
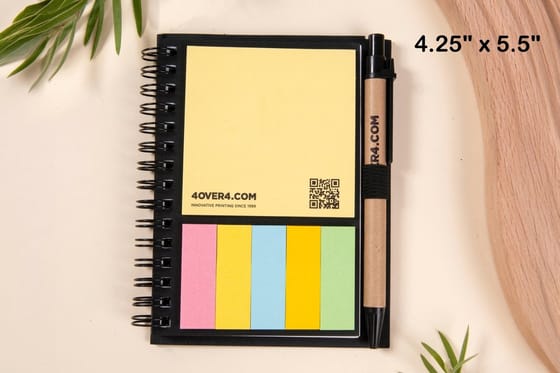
Configure the cover, the binding and the interior stock against live options and starting prices from the 4OVER4.COM configurator. Deluxe spiral notebooks come in 4.25 x 5.5 or 5 x 7 inches, leather journals in 5.75 x 8.25 inches in blue, green, gray, mocha or pink, both from a single piece, and notepads in five sizes at 50 or 100 sheets from 25 pads.

Print it
Notebooks people keep on the desk
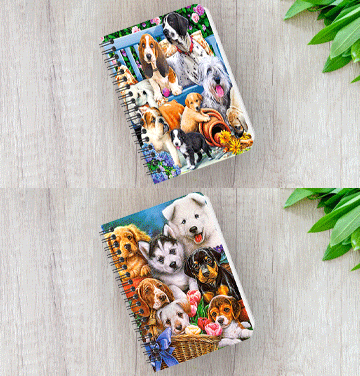
Spiral notebooks and leather journals from one piece, and spiral coil books from 10 copies at 5.5 x 8.5 up to 8.5 x 11 inches with 40 to 300 inside pages, a black or white coil and a velvet, silk or gloss laminated cover.
%22%2F%3E%3Ccircle%20cx%3D%2241%22%20cy%3D%2245%22%20r%3D%2226%22%20fill%3D%22%2314b8a6%22%20opacity%3D%220.15%22%2F%3E%3Ccircle%20cx%3D%2280%22%20cy%3D%2262%22%20r%3D%2226%22%20fill%3D%22%2314b8a6%22%20opacity%3D%220.1%22%2F%3E%3Crect%20x%3D%2271%22%20y%3D%2221%22%20width%3D%2226%22%20height%3D%2232%22%20rx%3D%224%22%20fill%3D%22%2314b8a6%22%20opacity%3D%220.08%22%20transform%3D%22rotate(6%2080%2030)%22%2F%3E%3C%2Fsvg%3E)
Explore more
Where to go next
Four guides, the notebook range and the FAQs: customizing a notebook in four decisions, bulk quantities and paper, binding methods side by side, soft cover notebooks, and every spiral, leather and hardcover format.
By the numbers
Branded notebooks inside 1,000+ products
Common Questions
Your branded notebook questions, answered
Where should the logo go on a notebook cover?
Centered in the upper third of the front cover is the safest place, because it stays visible when the notebook sits under a laptop or in a stack on a desk. The rule that matters more than the position is the clearance: hold the mark 0.25 inch inside the trim on every side, and keep it out of the first half inch along the binding edge if the notebook is coil or Wire-O bound, because those holes are punched through the cover. A lower right placement also works and looks less corporate, but it disappears the moment someone rests a hand on the book.
How big should a logo be on a branded notebook?
On a 5.5 by 8.5 inch cover, a mark roughly 1.5 to 2.5 inches wide reads as confident without turning the notebook into a billboard. Go wider than about 3 inches and the piece starts to feel like promotional stock rather than something someone chose to carry. If the logo is a horizontal lockup with a tagline, drop the tagline for the cover and keep the symbol plus the name. Fine legal text and long taglines are the first things to blur in a deboss.
Can you deboss or foil stamp a notebook cover?
Yes, and on a leatherette or bonded leather cover it is the main way a logo goes on, since those materials will not hold four color ink. Both processes are made from a metal die, so supply the mark as vector artwork in one flat color with no gradients, no soft shadows, and no strokes thinner than about half a point. A deboss reads by shadow rather than by color, which means a solid shape works and an outline logo often vanishes. Foil adds contrast, so it is the better choice for a mark that depends on fine internal detail.
Which binding should a branded notebook use?
Coil or Wire-O if people will write in it at a desk, because it opens flat and folds back on itself. Perfect binding if you want a printable spine and a book that looks like a book on a shelf, accepting that it will not lie flat and that the spine width depends on the page count and the paper caliper. Saddle stitching only for thin notebooks, since the page count has to be a multiple of four and the inner pages creep outward as the sheet count grows. A stitched book over roughly 64 pages starts to fight you.
What file do you need to design a notebook cover?
A CMYK file at final trim size with 0.125 inch of bleed on all four sides, images at 300 ppi at the size they are placed, and fonts converted to outlines. For a perfect bound or wrapped cover you supply one flat spread that includes the back cover, the spine and the front cover in a single artboard, not three separate files. For foil and deboss, add a separate vector layer holding only the shape that gets stamped. Start from a correctly sized layout in our blank template library rather than measuring it yourself.
Are branded notebooks worth it as corporate gifts?
They earn their cost when the recipient uses the notebook at work, which is why the cover design matters more than the quantity discount. A notebook someone keeps on a desk for six months does more for recall than a run of cheaper items that get binned in a week. The failure mode is the opposite of underspending: an oversized logo across the whole cover makes the book feel like advertising, and people leave it in the drawer. Restraint on the cover is what gets it carried.
Get Started
Order a spiral notebook from $5.00
Pick the cover, the binding and the interior stock, upload one flat vector logo for the deboss or foil, and we print a run that looks like it was chosen rather than handed out.
Legal Disclaimer
Gold Standard guarantees apply to all standard orders placed through 4over4.com. Price match requires verifiable proof of a competitor's published price for an equivalent product with matching specifications and turnaround time. Satisfaction guarantee covers manufacturing defects and print quality issues. Contact support with order number and documentation.
