
Easy DIY Bookmark Ideas to Craft at Home in 2026


Easy DIY bookmark ideas that actually look good
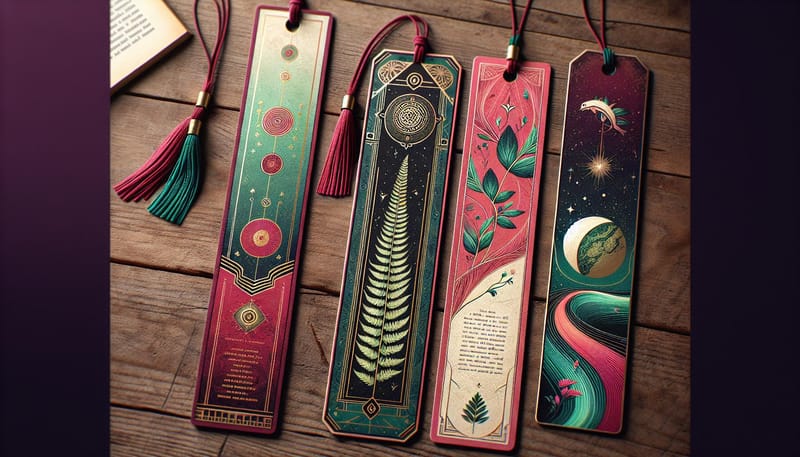
Easy DIY bookmark ideas run from simple folded corner bookmarks to hand-painted watercolor strips and tassel-topped cardstock designs. Whether you are crafting for yourself, making a gift for a fellow reader, or putting together custom bookmarks as event favors, these projects take minutes rather than hours. When you want to turn your best DIY design into a polished, durable run, 4OVER4.COM prints on 60+ paper types so you can hand them out by the hundreds.
Tucked between the pages of a gripping novel or a well-worn self-help book, a bookmark holds more than your place. It carries creativity, personality, and sometimes a whole little story of its own. If you love making things with your hands, or you are hunting for a meaningful handcrafted gift, cute DIY bookmark designs sit right at the meeting point of art and reading. For a gallery of finished looks, browse this custom bookmark design inspiration before you start.
Below you will find easy paper craft ideas for bookmarks, each with its own charm and a clear path from a quick handmade version to a professionally printed one. When you are ready to print your bookmark design, standard stock covers classroom and giveaway sets, laminated bookmarks survive life in a bag, and 3D lenticular bookmarks make the art move as the card tilts.
Simple bookmark design ideas, 12 styles to copy
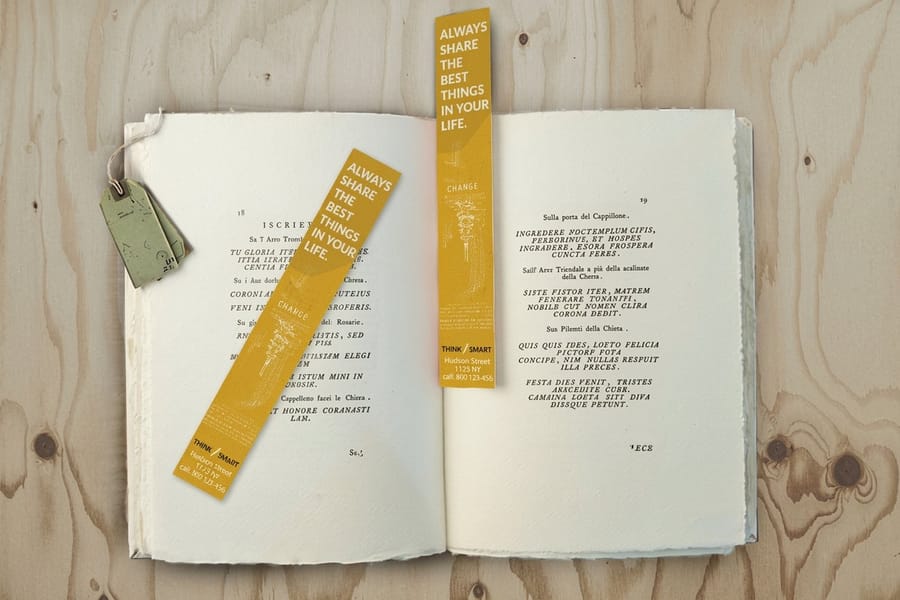
Every simple bookmark design idea below works at the standard 2 by 6 inch size, by hand or printed. Pick one, copy the layout, and change the colors to suit the book it belongs to.
1. Minimalist type. One word or one initial set large and centered, with everything else left empty.
2. Botanical line drawing. A single stem drawn in one continuous line down the length of the strip.
3. Pressed flower. One real bloom sealed under laminate, set off center, with white space around it.
4. Quote strip. A line taken from the book itself, set small at the bottom with the author name beneath it.
5. Folded corner. A paper triangle that slips over the page corner, so it cannot fall out of the book.
6. Tassel top. A plain dark strip with a punched hole and a hand-wound tassel doing all the work.
7. Photo bookmark. A full-bleed photograph on the front, the caption and the date on the back.
8. Washi stripe. Three or four patterned tapes running edge to edge in bands across the strip.
9. Watercolor wash. One gradient bleeding from a single color into another, with nothing printed on top.
10. Geometric blocks. Two or three flat color shapes stacked down the strip, hard edges, no gradients.
11. Monogram. One initial in a serif face, printed dark on a light stock, for a gift set with a name on it.
12. Seasonal. One motif per season, pumpkins in October, snowflakes in December, held to two colors.
Seasonal corner bookmarks for every mood
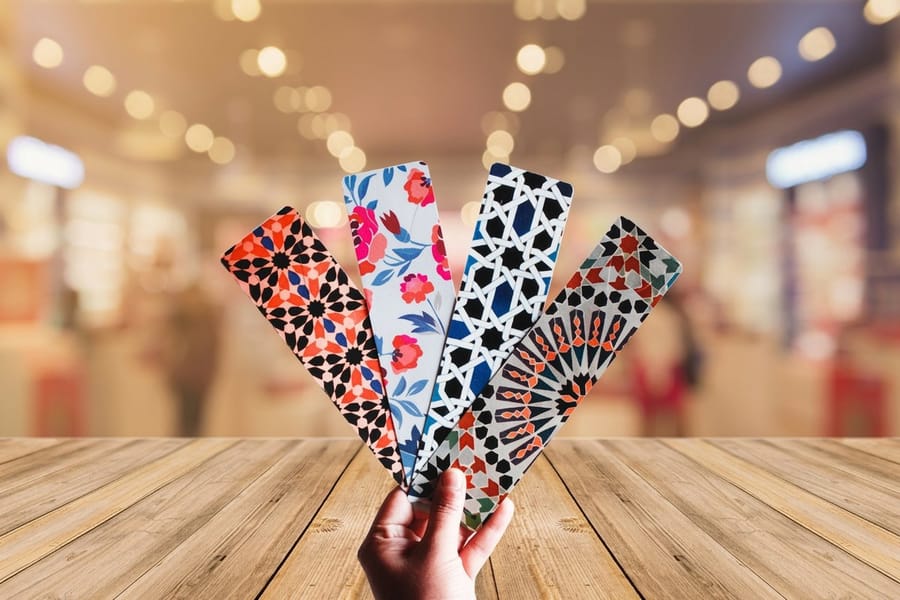
Seasonal corner bookmarks are a cute, festive way to brighten your reading. Each design captures the feeling of a season, which makes them lovely as handmade keepsakes or small gifts. They do more than hold your pages. They add a little joy to your reading routine. Here is a season-by-season starting point for your next crafting session.
Spring pastels, petals, and fresh starts
Nature leads every spring motif. The feeling of rebirth brings out a rainbow of pastels and floral shapes. Think cherry blossoms, daisies, or soft watercolor washes that echo a spring shower. A corner bookmark cut into a flower petal feels breezy and light, and a few hand-drawn bees push the cuteness even further.
Paired together, light cardstock and vellum give a design an airy, almost translucent quality. Tiny touches like sequins or a real pressed flower make perfect finishing details. If you want that pressed-flower look without the fragility, print your design on velvet laminated bookmarks for a soft, tactile finish that lasts.
Summer bold colors and beachside vibes
Summer is all about bright palettes and playful shapes. Sunny coastlines, ripe fruit, or the sun itself add real personality. A corner bookmark shaped like a watermelon slice instantly reads as summer, while seashell and wave motifs feel calm and inviting at the same time.
Thicker paper or a laminated finish helps these bookmarks shrug off summer humidity while you read outdoors. That is exactly where professional printing shines. You keep the personality of your own art and gain the durability of commercial stock.
Autumn earthy tones and cozy textures
Autumn brings warm, earthy color and a cozy mood. It is the ideal season for leaves, pumpkins, and plaid. A corner bookmark cut like a red maple leaf looks beautiful, and a scatter of little acorns makes it even better. Textures such as burlap or faux leather add a homespun, comforting feel.
A short line of calligraphy like Fall Reads gives the whole piece a personal, seasonal touch. If you are branching into other paper projects, our guide on how to make greeting cards is full of matching seasonal ideas.
Winter holiday sparkle and warm textures
Winter designs stretch from holiday motifs to cozy hot chocolate scenes and full snowy wonderlands. Snowflakes, holly berries, or a tiny Santa hat bring instant cheer, whether you draw them by hand or add them as stickers. For something quieter, try a background inspired by a knitted sweater pattern.
Metallic silver and gold accents add a touch of luxury, and felt or velvet captures the warmth of the season. Those textures also make a bookmark durable while keeping it soft to the touch. To get that velvety feel without the DIY hassle, 4OVER4.COM offers velvet lamination that gives professionally printed stock the same premium softness.
Materials that make a great bookmark
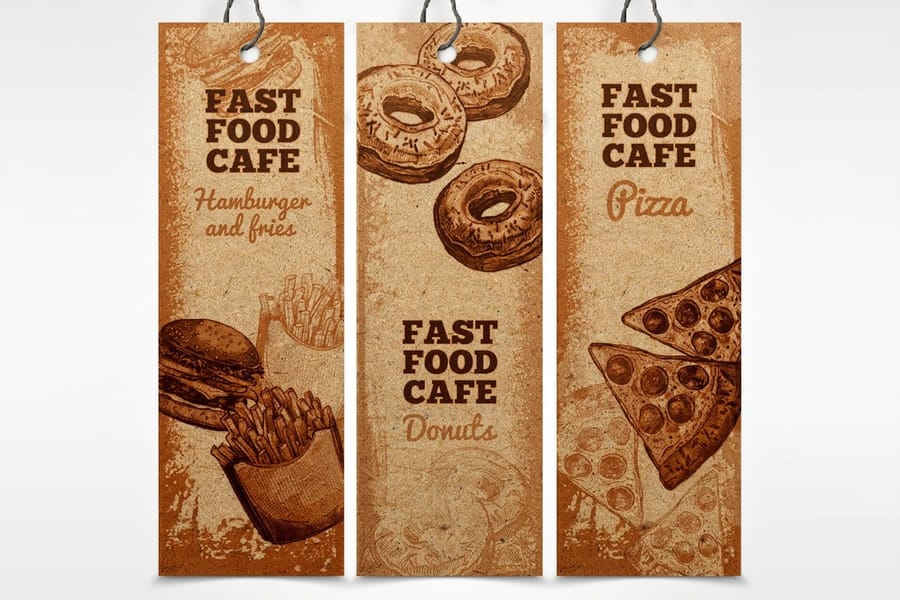
The best all round bookmark material is laminated 16pt cardstock. It is stiff enough to hold its shape inside a paperback, cheap enough to hand out by the hundred, it takes full color print on both sides, and the laminate is what keeps it alive at the bottom of a bag.
Before you start cutting and gluing, gather your supplies. The real beauty of paper crafts is how simple and accessible they are. For most easy DIY bookmark ideas, a short list of essentials covers almost everything you will reach for.
Keep these core materials on hand: cardstock or heavyweight paper, patterned paper or scrapbook sheets, ribbon or yarn, sharp scissors and a precision craft knife, glue or double-sided tape, small embellishments like glitter or buttons, and a ruler and pencil for clean measurements.
A few optional extras open up the more advanced projects: laminating sheets or clear contact paper, a hole punch, stamps and ink pads, and watercolors, colored pencils, or markers. You can make every one of these bookmarks at home, or take a favorite design and have it printed professionally. Both paths are worth trying.
How the common bookmark materials compare. Four things decide it: how long it survives, what it costs, what you can print on it, and what happens when it gets wet.
Cardstock, 80lb to 100lb cover. Durability: fine on a desk, soft corners within a month in a bag. Cost: lowest. Printability: full color both sides. Water: no.
Laminated 16pt cardstock. Durability: high, because the laminate takes the wear instead of the paper. Cost: low per piece at quantity. Printability: full color both sides, in gloss, matte, or velvet. Water: wipes clean.
Plastic. Durability: highest, it outlasts the book. Cost: high. Printability: full color, though fine text needs a heavier gauge. Water: fully waterproof.
Wood. Durability: high until it bends, then it splits. Cost: high. Printability: engraving and single color, not photographs. Water: no.
Fabric and felt. Durability: soft and forgiving, but it frays at the cut edge. Cost: low. Printability: limited, best with stitching or applique. Water: survives a splash, warps when soaked.
Metal. Durability: permanent. Cost: highest. Printability: etched or stamped, no full color. Water: yes.
Three easy techniques anyone can start today
How to fold a paper corner bookmark in five steps
The corner bookmark is the one to start with. It needs a square of paper and nothing else, it takes about two minutes, and it grips the page corner so it cannot slide out of the book.
Step 1. Start with a square of paper, 6 inches on a side, patterned face down.
Step 2. Fold it corner to corner into a triangle and press the crease hard with your thumbnail.
Step 3. Fold the two bottom points up to meet the top point, crease both, then unfold those two again.
Step 4. Fold only the top layer of the top point straight down to the base of the triangle and crease it.
Step 5. Fold the two side points back up and tuck them into the pocket you just made, then slide the finished pocket over any page corner.
Washi tape bookmarks, five-minute craft magic
What you need. Two or three rolls of washi tape, a popsicle stick or a 2 by 6 inch cardstock strip, scissors, and a hole punch if you want to add a tassel.
Step 1. Cut your base to 2 by 6 inches, or use the popsicle stick exactly as it comes.
Step 2. Lay the first strip of tape across the base at a slight angle and press it down from the middle outward so no air gets trapped under it.
Step 3. Add a second and a third pattern beside it, overlapping each edge by a hair so none of the base shows through the gaps.
Step 4. Flip the piece face down and trim the overhang flush, using the edge of the base as your cutting guide.
Step 5. Punch a hole a quarter inch down from the top, thread a ribbon or a tassel through it, and knot it close to the card.
Washi tape bookmarks are the easiest way into DIY bookmarks. You need three things. Washi tape, a popsicle stick or a cardstock strip, and scissors. Layer a few patterns of tape across your base, trim the edges, and you have a bookmark that looks like it came from a boutique stationery shop.
The trick is mixing patterns. Pair a floral tape with a geometric one. Set metallic gold against a muted pastel. That contrast is what makes the bookmark pop. Kids love making these too, which makes them a great classroom or party craft. For more print projects, browse the full library of printing articles covering everything from stickers to greeting cards.
Pressed flower bookmarks
What you need. Thin flat blooms such as pansies, violets, or small ferns, two sheets of parchment or plain printer paper, a heavy book, a 2 by 6 inch cardstock strip, tweezers, and clear contact paper or a laminating sheet.
Step 1. Pick flowers that are dry to the touch and naturally flat, because thick buds hold moisture and turn brown under the press.
Step 2. Lay them face down between the two sheets of parchment, close the book on them, and stack more weight on top.
Step 3. Leave them a week or two, then lift each one with tweezers so the petals do not tear at the edges.
Step 4. Arrange the pressed flowers on your cardstock strip and hold each stem down with the smallest dot of glue you can manage.
Step 5. Seal the whole strip with contact paper or a laminating sheet, leaving a sealed border all the way around so nothing can lift at the edge.
There is something deeply satisfying about preserving a real flower inside a bookmark. Press wildflowers or garden clippings between heavy books for a week or two. Once they are flat and dry, arrange them on a strip of cardstock and seal with clear contact paper or a laminating sheet. The result is a one-of-a-kind bookmark that doubles as a tiny piece of art.
For anything you want to keep, lamination is the key. A pressed flower bookmark with no protection will crumble within weeks, while a laminated one lasts for years. If you are making a batch for a book club or a wedding, professional lamination from 4OVER4.COM gives you that crystal-clear, protective layer with no bubbles or peeling edges.
Watercolor bookmarks
What you need. Watercolor paper, a pan or tube set, one round brush, a jar of water, paper towel, a fine-tip marker, a hole punch, and ribbon or a tassel.
Step 1. Cut the watercolor paper into 2 by 6 inch strips and tape the edges down flat so the paper cannot buckle as it soaks.
Step 2. Brush clean water across the whole strip until it shines, then wait for the shine to dull.
Step 3. Touch a loaded brush to the damp paper and let the color spread on its own, tilting the strip to steer where it runs.
Step 4. Let it dry flat and completely before you touch it again, because damp watercolor paper pills the moment a marker crosses it.
Step 5. Add a quote, a small drawing, or your name with the fine-tip marker, punch the hole, and thread the ribbon.
Watercolor bookmarks let you play with color in a low-pressure way. Cut watercolor paper into 2 by 6 inch strips. Wet the paper lightly, drop in color, and let it bleed on its own. You do not need to be an artist. Abstract washes of blue and purple, or warm sunset gradients of orange and pink, look stunning with no drawing at all.
Once the strip is dry, add details with a fine-tip marker. A quote, a small illustration, or just your name. Punch a hole at the top and thread a tassel or ribbon through. These make gorgeous gifts, especially paired with a book. For a look at how creative print work comes together, these logo sticker design ideas show the same eye for color and contrast.
Bookmark ideas for every occasion
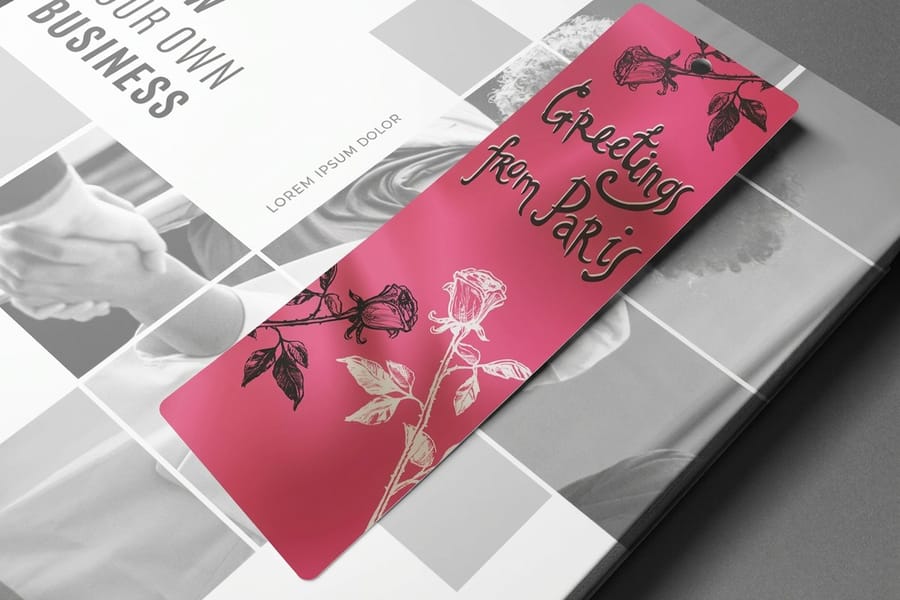
Easy DIY bookmark ideas are not just for personal use. They fit almost any moment where you would hand someone a small, thoughtful item. Here are the use cases people reach for most.
Wedding and party favors
Custom bookmarks make elegant wedding favors that guests actually keep. Print them with both names, the wedding date, and a favorite quote on thick stock with a satin or velvet finish for a premium feel. Unlike candy or trinkets that get tossed, a beautiful bookmark sits on a nightstand for months. For more handmade touches, these printable party decoration ideas pair well with a bookmark favor.
Classroom and library programs
Teachers and librarians use bookmarks as reading incentives, summer program giveaways, and reward prizes. A bright bookmark with a reading challenge checklist on the back is both useful and motivating, and kids love to collect them. For a sense of how brands use printed pieces creatively, take a look at these funny print ad examples.
Small business marketing
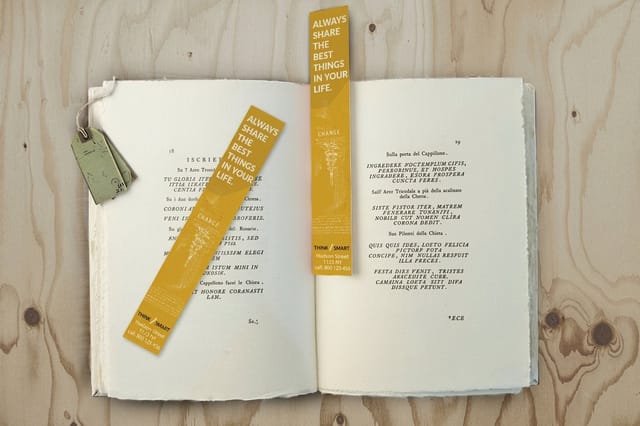
Bookmarks are one of the most underrated marketing tools around. They are cheap to print, easy to hand out, and people rarely throw them away. A bookstore, coffee shop, or yoga studio can print bookmarks with its branding and a discount code on the back, then leave a stack by the register. The cost per impression is remarkably low next to flyers or postcards.
Author book launches
Indie and traditionally published authors alike use bookmarks as giveaways at signings, conventions, and store events. Print the cover, a teaser line, and where to buy. It becomes a small billboard that lives inside whatever book a reader is holding and reminds them about yours every single day.
From DIY to professional, when to print your bookmarks
Here is the honest truth about DIY bookmarks. They are fun, they are personal, and they are perfect when you need one or two. But when you need 50 for a book launch, 200 for a school fundraiser, or 500 branded bookmarks for a small business, cutting and gluing by hand stops being charming and starts being exhausting.
That is the moment to take your DIY design and have it printed. You keep the creative vision and skip the hand cramps. 4OVER4.COM prints custom bookmarks on thick, premium stock with gloss, matte, velvet, and even 3D lenticular finishes, so your handmade idea gains the durability and polish of commercial printing. Explore the full branded merchandise range if you want matching pieces.
Print it
Standard bookmarks, ready to print
Preset sizes on thick stock, the fastest way to turn your design into real bookmarks that ship in days.
| Quantity | Price Per Unit | Total |
|---|---|---|
| 50 | 33.0¢ | $16.48 |
| 100 | 25.3¢ | $25.27 |
| 200 | 15.9¢ | $31.86 |
| 300 | 12.8¢ | $38.45 |
| 400 | 11.3¢ | $45.04 |
| 500 | 10.3¢ | $51.62 |
Pressed and sealed
Gloss laminated bookmarks that last
A crystal-clear laminate protects delicate art like pressed flowers with no bubbles or peeling edges.
| Quantity | Price Per Unit | Total |
|---|---|---|
| 100 | $2.01 | $200.84 |
| 250 | 90.4¢ | $226.11 |
| 500 | 50.3¢ | $251.36 |
| 1,000 | 28.9¢ | $289.25 |
| 2,500 | 20.2¢ | $503.99 |
| 5,000 | 13.9¢ | $693.46 |
3D lenticular bookmarks, the wow factor
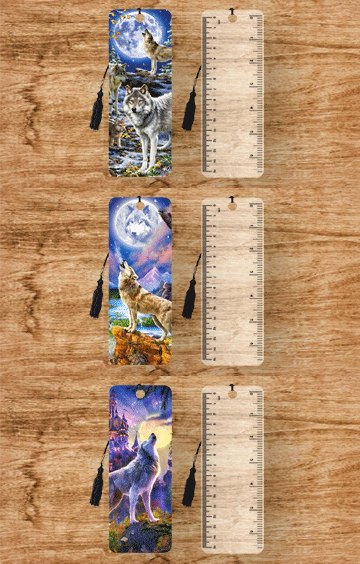
If you want bookmarks that genuinely surprise people, 3D lenticular bookmarks are in a class of their own. They use a special printing process that creates the illusion of depth or motion when you tilt the bookmark. You cannot replicate that at home, but it pairs beautifully with a hand-designed concept.
Picture sketching a character or a scene, then having it printed with lenticular technology so it appears to move. That is a bookmark people keep forever. It is especially popular for children reading, library giveaways, and bookstore promotions.
The wow factor
3D lenticular bookmarks in depth
Tilt the bookmark and the art shifts. Real motion you cannot reproduce by hand.

Compare bookmark printing options and pricing
When you are ready to move from DIY to printed bookmarks, it helps to see the finishes side by side. Gloss lamination makes colors pop and resists fingerprints, which suits kids designs. Matte gives a modern, sophisticated look. Velvet lamination feels like suede and reads as pure luxury.
Here are the most-ordered bookmark products at 4OVER4.COM with real starting prices. If you are new to the shop, you can even order a set of free business cards to test the print quality first. Same paper stocks, same process, so you know exactly what to expect.
Compare formats
Popular bookmark products, side by side
Stock, finish, quantity, turnaround, and from-price across our most-ordered bookmarks.
 Standard Bookmarks | 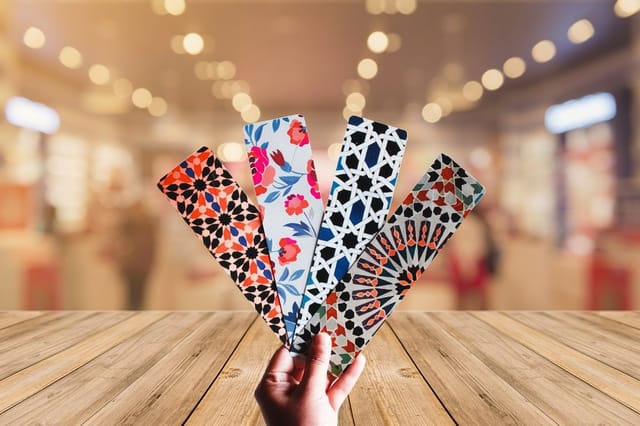 Suede Bookmarks | 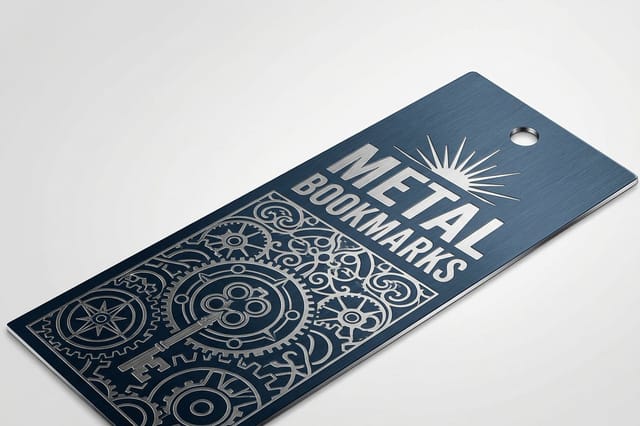 Metal Bookmarks | 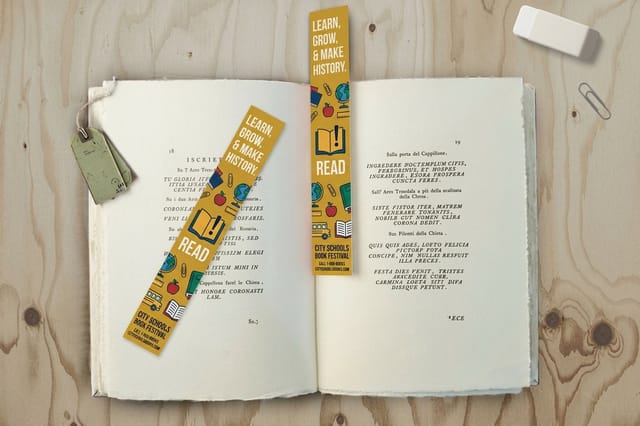 Back to School Bookmarks | |
|---|---|---|---|---|
| Min price | $16.48 | $200.84 | $247.15 | $16.48 |
| Paper / stock | 14pt Gloss Cover | 16 Point Suede Laminated | - | 14pt Gloss Cover |
| Finish | Standard Finish | - | - | Standard Finish |
| Size | 2" x 6" | 2" x 6" | - | 2" x 6" |
| Default qty | 50 | 100 | - | 50 |
| Turnaround | 3 business days | 4 business days | - | 3 business days |
| Rating | ||||
| View & customize | View & customize | View & customize | View & customize |
Free printable bookmark templates
If you want to print tonight, start from a free blank instead of guessing at the size. Every 4OVER4.COM bookmark blank is built at the standard 2 by 6 inch trim with the bleed and the safety margin already drawn, so your art lands where you expect whether it comes off a desktop printer or off our press.
Grab the bookmark blank templates for standard strips, or the 3D lenticular bookmark blanks if you want the art to shift as the card tilts. Print one on plain paper first, cut it out, and hold it inside a book before you commit to cardstock. It is the cheapest proof you will ever make.
Design templates and blank files to start fast
Not everyone wants to start from a blank page, and that is completely fine. 4OVER4.COM offers free design templates that give you a professional starting point. Pick a template, change the colors and text, upload your own art, and you are done, with no design software required. If you already have a file ready, a blank template makes sure your dimensions and bleed are correct before you upload. For the same clean layout principles across print, this amazing business card design inspiration is worth a look.
Grab print-ready bookmark blank templates or 3D lenticular bookmark blanks to line your artwork up with the cut and bleed. If you need help setting up a file, the Help Center walks you through it step by step.
Start fast
Print-ready blank templates
Exact-size blanks so your bookmark art lands inside the cut line and bleed area.
Wally turns your bookmark idea into a keepsake
From a paper craft at the kitchen table to a printed run
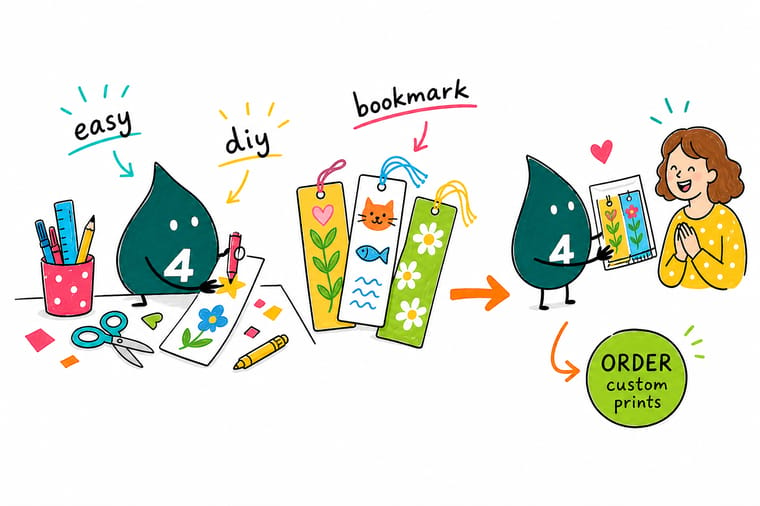
A great bookmark starts simple. Fold a corner, brush on watercolor, or press a flower, then seal it so it lasts. When you need more than a couple, upload your design and 4OVER4.COM prints it sharp on thick stock with gloss, matte, velvet, or 3D lenticular finishes. Start small, then scale up without losing your handmade look.
Order custom bookmarks →What to remember about DIY bookmark projects
Finishes worth knowing
- Gloss lamination. Makes colors pop and resists fingerprints, ideal for bright, kid-friendly bookmarks.
- Matte finish. A smooth, modern look with no glare that photographs beautifully.
- Velvet lamination. A soft, suede-like touch that instantly reads as premium.
- Silk and soft touch. A refined, tactile surface that feels great in the hand.
- Kraft stock. Natural, recycled character that suits eco and artisan brands.
- 3D lenticular. Motion and depth that turn a bookmark into a keepsake.
Explore more
More ways to design and print bookmarks
The cards below open the velvet, gloss, and kraft laminated bookmarks, plus the greeting card guide.
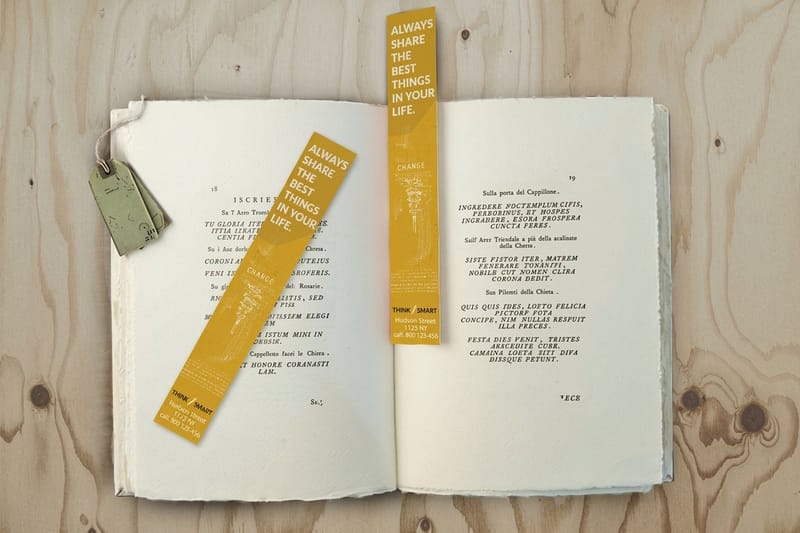 Shop Bookmarks Printing Browse every bookmark format in one place.
  Hub Branded Merchandise 1,000+ customizable products to build recognition.
 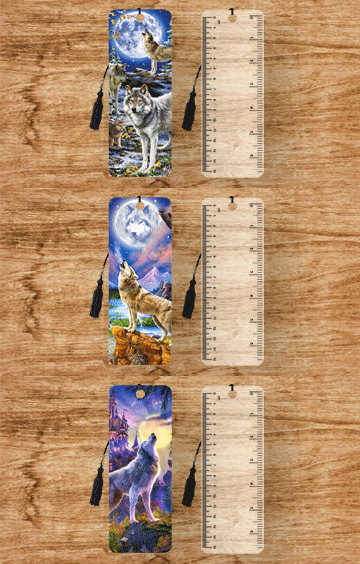 Product 3D Lenticular Bookmarks Motion and depth effects from $987.45.
 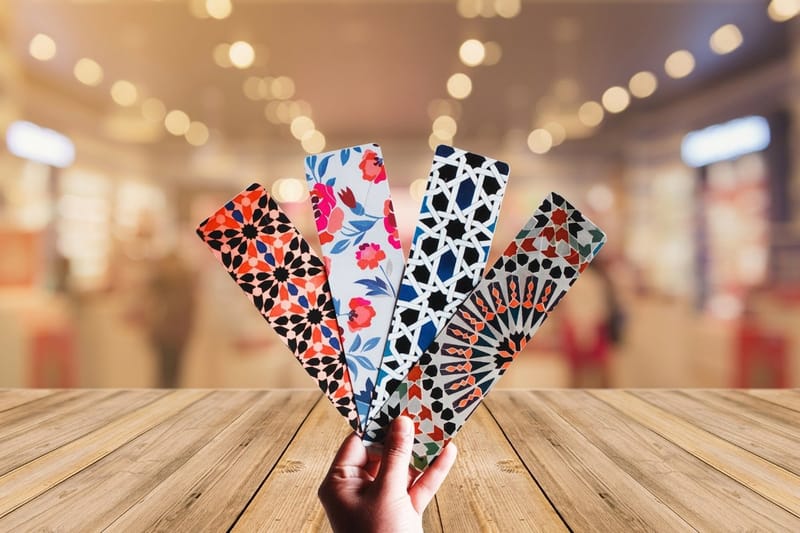 Product Velvet Laminated Bookmarks Soft, tear-resistant, luxurious from $200.84.
 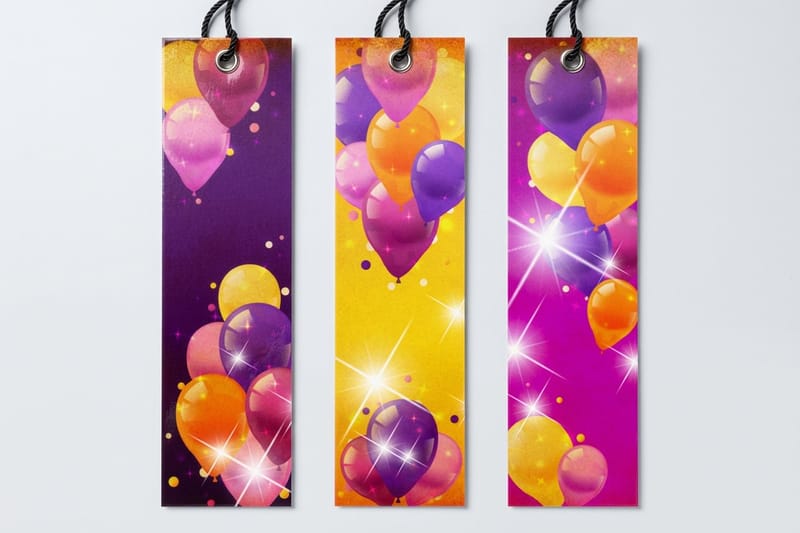 Product Gloss Laminated Bookmarks Sleek glossy finish, double-sided from $200.84.
 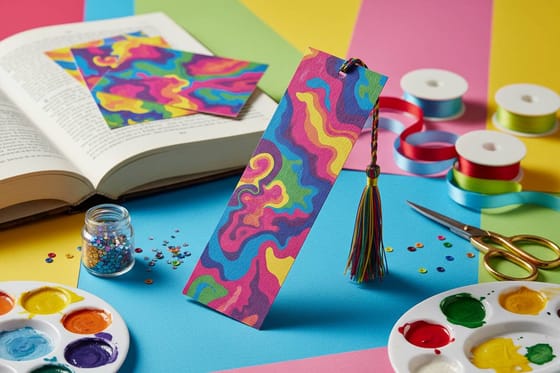 Article Custom Bookmark Inspiration Creative shapes, finishes, and layouts.
  Article Logo Sticker Design Ideas Turn your logo into stickers people display.
  Guide How to Make Greeting Cards Design-to-print guide on 60+ paper stocks.
 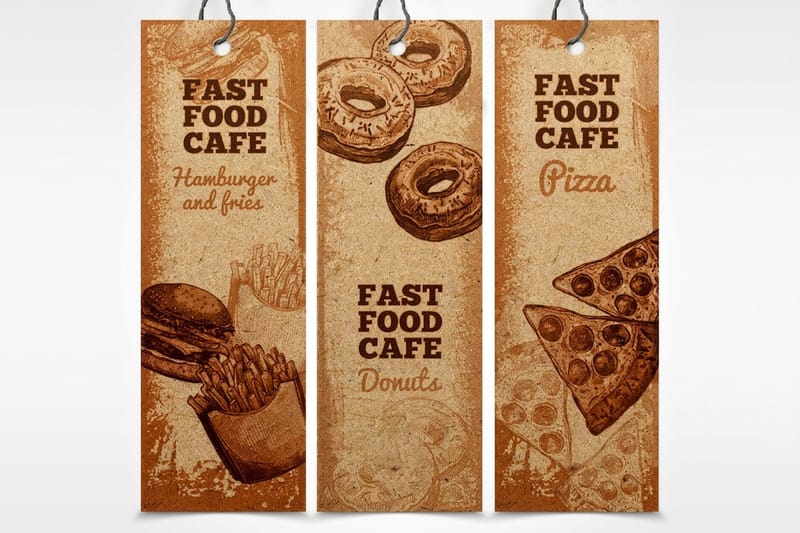 Product Kraft Bookmarks Recycled kraft paper on thick 18pt stock.
 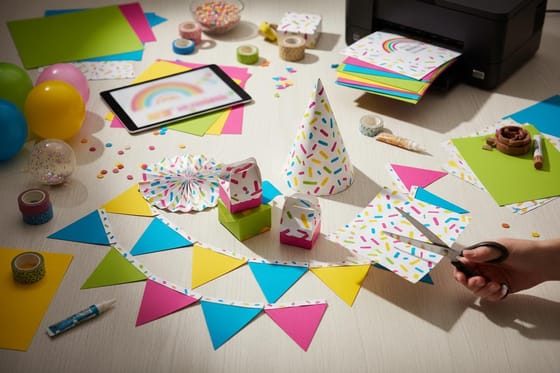 Article Printable Party Decorations DIY banners, centerpieces, and garlands.
 Ready to turn your bookmark idea into a printed run?
Pick a finish, upload your design or a free template, and 4OVER4.COM prints it sharp on thick, premium stock.
Common questions about DIY bookmark projects
What weight of card stock survives being used daily?
Start with sturdy cardstock of at least 14pt so your bookmarks do not bend or tear. Keep your first few projects simple, like washi tape strips, stamped patterns, or basic watercolor washes. Always laminate or seal a handmade bookmark if you want it to last more than a few weeks. For a bulk run, upload your DIY design to 4OVER4.COM and print on professional stock. Visit the Help Center if you need file setup guidance.
Classroom craft or wedding favor, which style travels?
Match the style to your audience and occasion. Corner bookmarks are great for kids and classrooms, while watercolor or pressed-flower designs suit adult gifts and wedding favors. For promotional pieces, go with a clean, branded design printed professionally. If you want a truly unique effect, try 3D lenticular notebooks and bookmarks that create motion or depth, impossible to copy by hand.
How long does a bookmark stay in front of someone?
Bookmarks have an unusually long shelf life next to other printed marketing. People keep them for weeks or months, so your message stays visible far longer than a flyer. They are compact, light, and cheap to print in bulk. Add a discount code or a QR link on the back and you have a low-cost tool with real staying power. The same lenticular process works on 3D lenticular magnets for even longer brand exposure.
When is it worth printing instead of cutting by hand?
Pure DIY bookmarks cost almost nothing, since cardstock, tape, and basic supplies run under $10 for dozens. When you are ready to print, standard bookmarks from 4OVER4.COM start at $16.48, and ordering more drops your per-unit cost fast. Gloss laminated bookmarks are a budget-friendly upgrade, while velvet and 3D lenticular finishes cost more but deliver a premium feel that earns its keep.
