
How to Make a Scrapbook That Becomes a Perfect Gift


Pick one theme, size the album before you print, get the photo resolution right, and mount pages that will still lie flat in ten years. Here is the whole build, in the order you should do it.
Choose one narrow theme, pick the album size first, print the photos on matte paper at 300 pixels per inch, and mount them on acid free cardstock with photo safe corners or tape. Size decides the workload: an 8 by 8 page carries one photo and a caption, a 12 by 12 page needs three to five. Leave a half inch clear at every edge for the page protector, keep a couple of pages light so the album still closes, and end the book with something usable, such as a printed gift certificate in a mounted pocket.
Quick answer
One theme, the right size, and photos printed to the file's limit
A scrapbook becomes a gift when it has a subject, an order, and an ending. Choose one story rather than a decade of highlights, set the album size before you order prints because it decides how many photos each page needs, and print at 300 pixels per inch on matte paper so the book survives being handled. Mount on acid free stock with photo corners, hold a half inch clear at every edge for the protector and the rings, and finish the last page with something the person can use.
Decide the Theme, the Size and the Ending First

Most abandoned scrapbooks were abandoned at the same point: page nine, when the maker ran out of story. Fixing that is a decision made before any glue comes out.
Pick one narrow subject. A single trip, one wedding, a baby's first year, a grandparent told through the people who knew them. Narrow subjects come with a built in running order, which means every page answers the question of what comes next without you having to invent one.
Then pick the album size, because it silently sets the workload. An 8 by 8 page holds one photo and a line of writing and looks finished. A 12 by 12 page needs three to five photos, or a large single image with real space around it, or it reads as unfinished. Multiply your page count by that number and you have your print order before you have opened a single package.
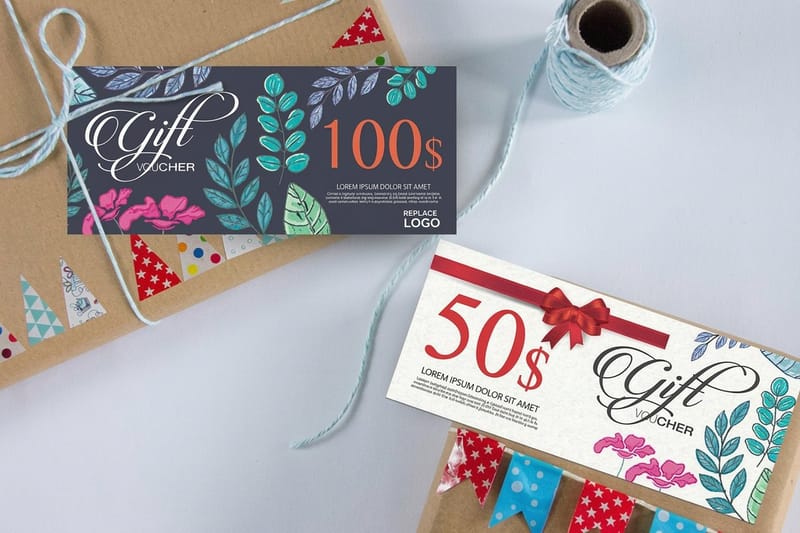
Decide the last page now as well. A book that stops because the photos ran out feels like it stopped by accident. A book that ends with something the person can use feels finished on purpose, and that is usually a mounted pocket holding a printed gift certificate for the next dinner, the next session, the next trip. Knowing the ending also tells you how much room to leave for it.
Print the Photos at a Size the Files Can Support
Print quality in a scrapbook comes down to one piece of arithmetic. Multiply the printed size in inches by 300 and you get the pixels the file has to hold. Enlarge past that number and the print goes soft, and there is nothing anyone can do about it afterward.
| Print size | Pixels needed at 300 ppi | What it suits | Watch for |
|---|---|---|---|
| 4 x 6 in | 1200 x 1800 | The workhorse. Two per page on 8 by 8, three or four on 12 by 12. | Nothing. Any original phone or camera file clears this. |
| 5 x 7 in | 1500 x 2100 | The anchor photo on a spread, with smaller prints around it. | Older phone files and heavy crops start to get tight here. |
| 8 x 8 in | 2400 x 2400 | A full bleed page in an 8 by 8 album. | Cropping a landscape photo to a square throws away a third of the pixels. |
| 12 x 12 in | 3600 x 3600 | A full page opener in a 12 by 12 album. | Only worth it from an original file. A downloaded copy will not hold. |
The files that fail are rarely the old ones. They are recent photos that travelled: pulled out of a group chat, saved off a feed, forwarded in an email. Each of those hops compresses the image, and a compressed copy never recovers. Go back to the camera roll or the cloud original every time.
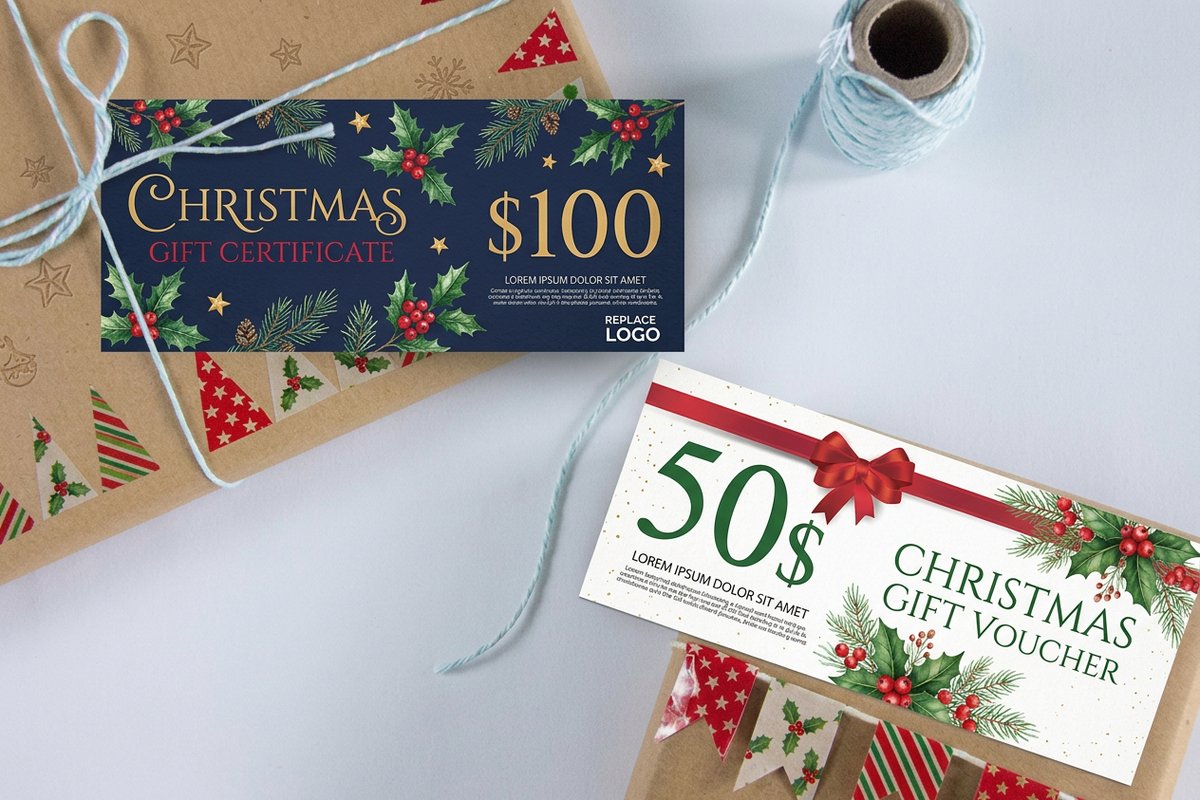
Choose matte over glossy for anything that goes in a book. Glossy prints take fingerprints on the first viewing and can bond to a facing page under the pressure of a closed album in a warm room. Matte handles being touched, which is the entire point of a scrapbook. The same rule holds for anything else you print for the project, including the Christmas gift certificates people tuck into a December book, and the wider gift card printing range if you want a smaller format that mounts inside a pocket.
Build Pages That Lie Flat and Do Not Eat the Photos
Two things wreck a scrapbook over time, and neither is visible on the day you give it. The first is acid. The second is bulk.
Ordinary paper contains lignin, which yellows and grows brittle as it ages, and it takes whatever is mounted on it down with it. Buy cardstock and page protectors marked acid free and lignin free. It costs a little more per sheet and it is the difference between a book that looks the same in fifteen years and one that has gone the colour of weak tea.
For mounting, use photo safe tape runners or photo corners, and prefer corners for anything irreplaceable. Corners hold a print without any adhesive touching its back, so the photo can be lifted out later intact. Keep rubber cement, hot glue and household white glue away from prints entirely: the water in white glue buckles a photo into a wave that never flattens again.
Bulk is the problem beginners meet last. Every layer, cardstock, mat, tape, protector, ribbon, ticket stub, piles up on the outer edge while the spine stays thin, so a finished album fans open and the covers stop meeting. Plan for it: leave two or three pages deliberately light, keep embellishments away from the outer edge, and buy the album a size deeper than the page count suggests. Anything thick that has to be in the book belongs in a flat mounted pocket rather than glued proud of the page.
- Leave a half inch clear all round. Page protectors overlap the edges and binder rings crowd the spine, so anything within that margin gets covered or curls.
- Write on the page, not on the back of the photo. Ink transfers and pen pressure marks the front. Use a journaling strip instead.
- Lay a whole spread out before any adhesive. Both facing pages read as one image at arm's length, and you only see the imbalance when you look at them together.
Finish It So It Reads as a Gift, Not a Project
The gap between a nice scrapbook and a gift people keep on the shelf is the last twenty minutes of work, spent on three things: the first page, the last page, and how it arrives.
Write the first page by hand. One paragraph, in your own writing, saying who the book is for and why you made it. It dates the gift, it carries a voice no printer can produce, and it is the page people reread. Handwriting on page one also gives you licence to keep the rest of the layout clean.
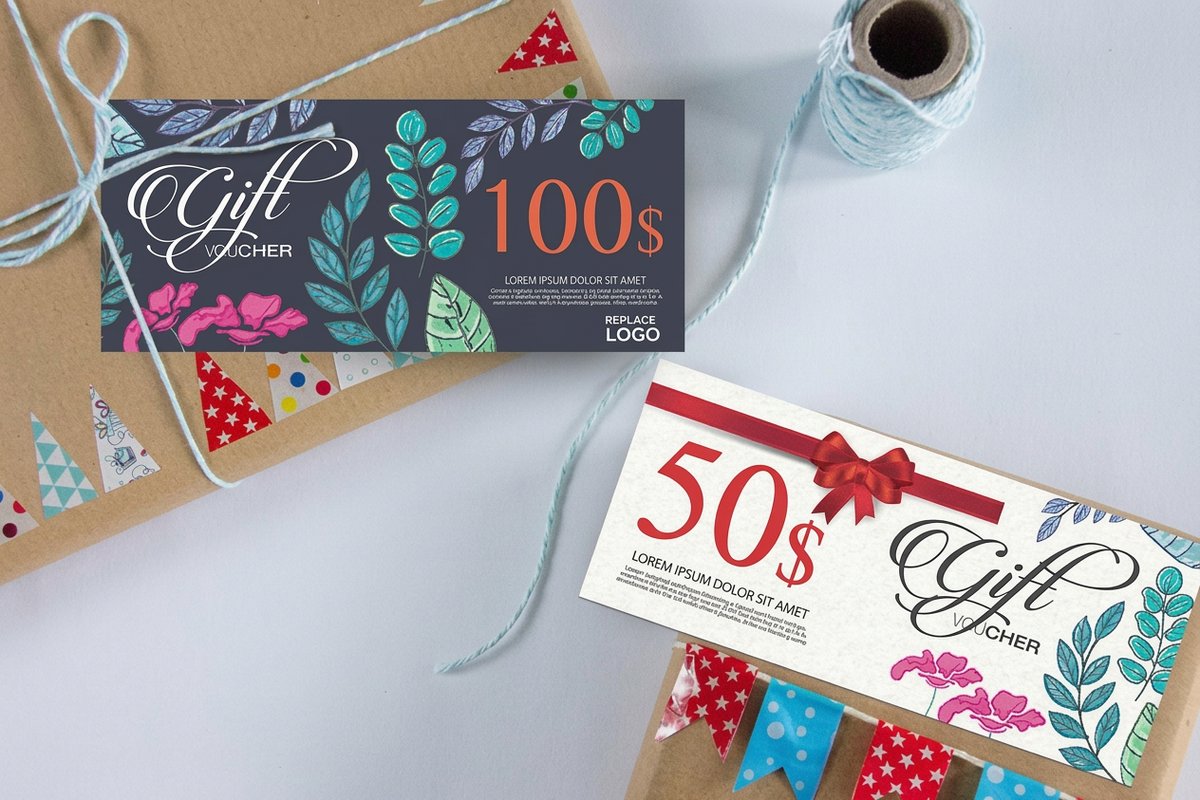
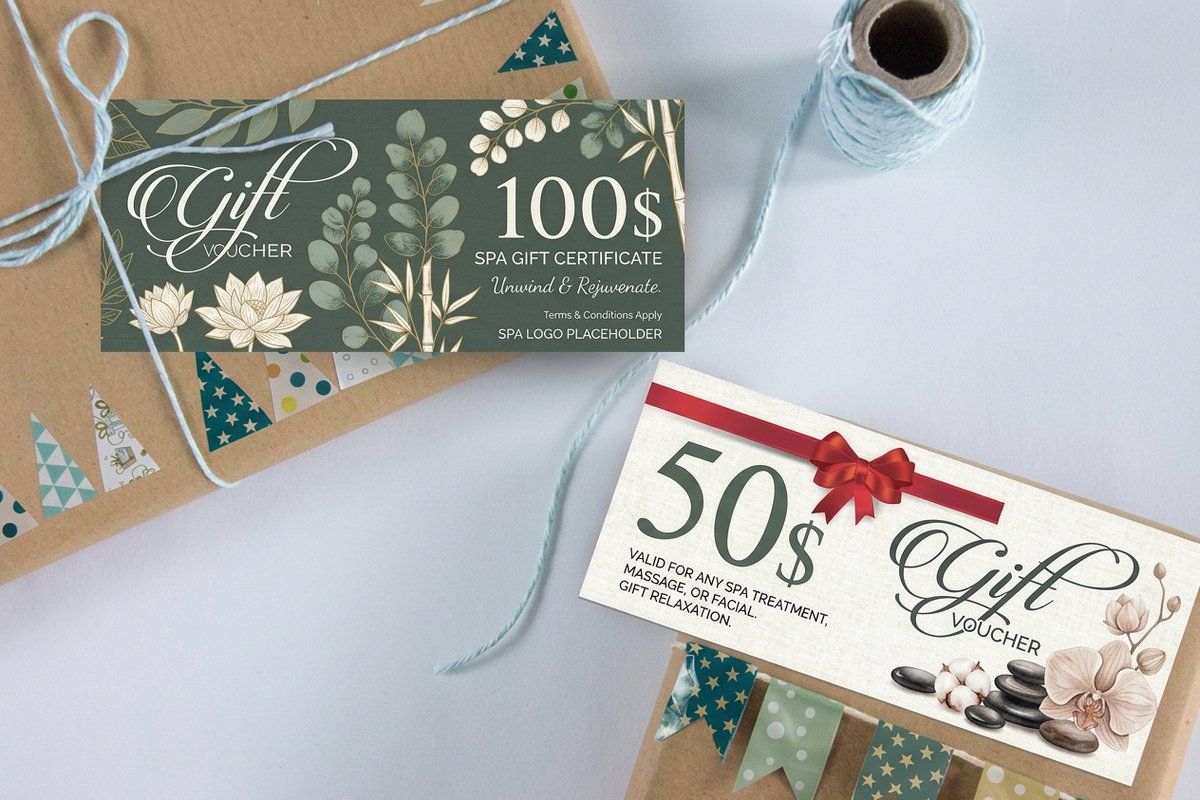
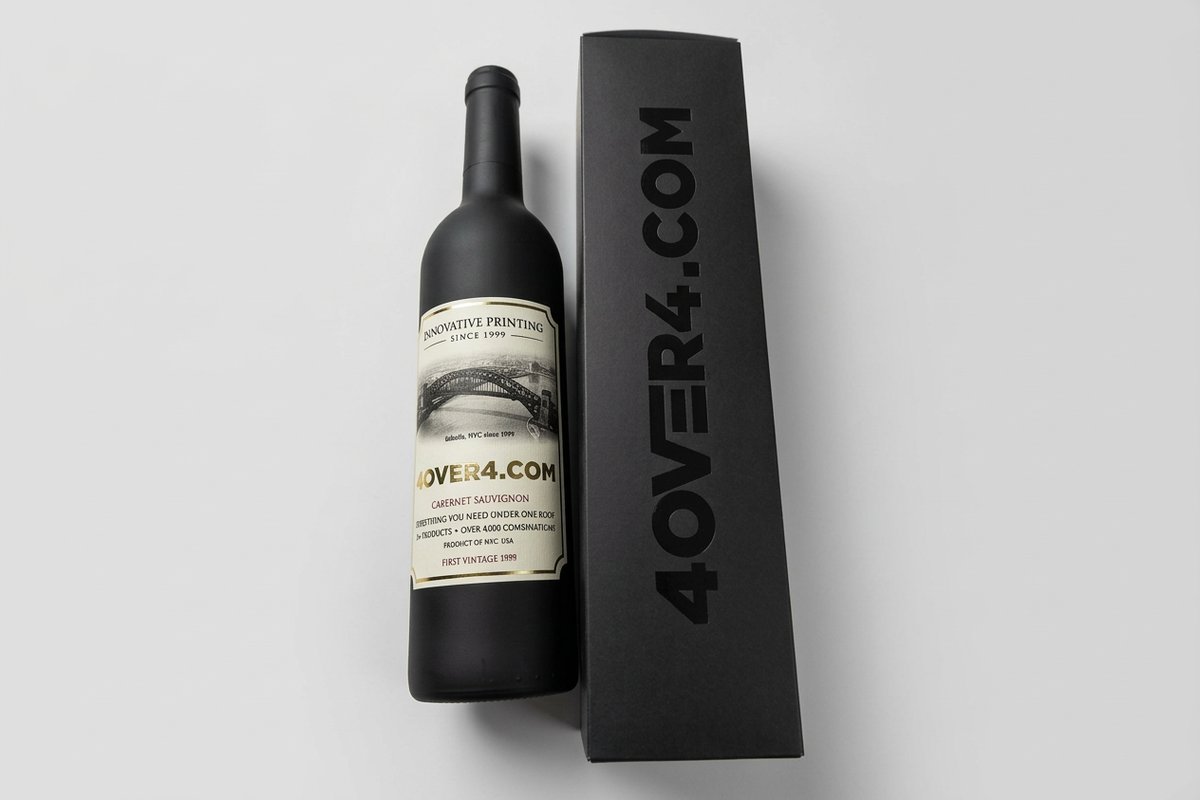
Give the last page a use. A mounted pocket holding a spa gift certificate, a certificate for the restaurant in the photos, or a voucher for the next trip turns a book of things that happened into an invitation to the next one. Gift certificates start at $42.84, so the closing gesture costs less than the album itself. If you would rather the object did the talking, a wine bottle shaped wine gift set starts at $15.00 and sits neatly beside the book in a bag.
Then handle the presentation. A finished album is heavier and thicker than people expect, and a corner bent in transit undoes the whole effort, so wrap it flat and carry it in something rigid. Our gift bag design and printing guide covers sizing a bag that does not crush the covers, and if you want a companion piece for the recipient to open first, the scratch off card tutorial shows how to hide a message they have to reveal by hand. When the book becomes part of a larger present, the gift basket ideas list is a useful place to steal a structure from.
Wally explains the scrapbook gift
One story, one size, and an ending you can use
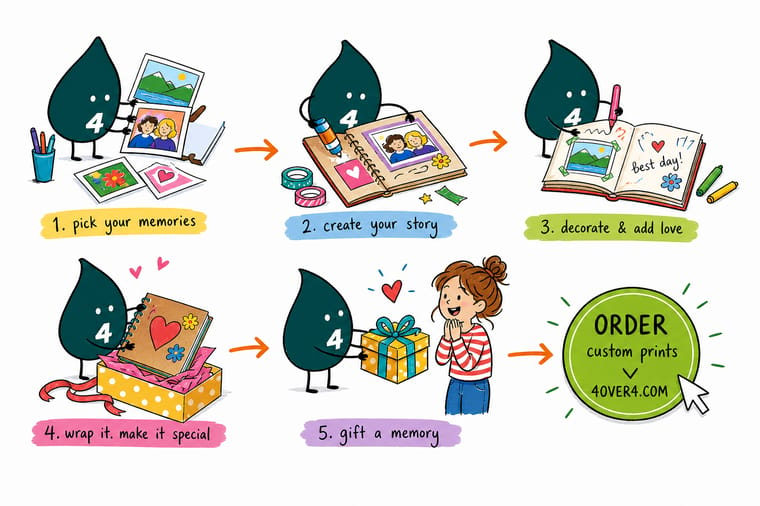
Wally picks a single trip instead of a whole decade, so the pages have an order. He sizes the album first, then orders prints to match: two photos on an 8 by 8 page, four on a 12 by 12. Everything goes down on acid free cardstock with photo corners, half an inch clear of the edge so the protector does not cover it. He writes page one by hand, keeps a couple of pages light so the covers still close, and mounts a printed gift certificate in a pocket at the back so the book ends with an invitation rather than a full stop.
Print gift certificates for the last page →Specs and pricing
Printed keepsakes for the last page, sized and priced
Compare the certificate options side by side, with live configuration choices and starting prices straight from the 4OVER4.COM configurator.
Print it
Order the piece that finishes the book
Explore more
Where to go next

By the numbers
Keepsake printing you can count on at 4OVER4
Common Questions
Your scrapbook questions, answered
How many photos do I need for a scrapbook gift?
Work backwards from the album. Twenty double sided pages at two photos a page is eighty prints, and that is a realistic first project that takes a weekend of layout time. If you are working at 12 by 12, plan three to five photos per page instead, which pushes the same twenty pages toward a hundred and fifty prints. Order ten percent more than the layout calls for, because you will crop some badly, glue one down crooked, and change your mind about at least a few.
Are the photos on my phone good enough to print?
The originals almost certainly are. A current phone camera produces files far above the 1200 by 1800 pixels a 4 by 6 print needs at 300 pixels per inch. The trouble is never the camera, it is the copy: images pulled out of a chat thread, downloaded from a social feed, or forwarded through email are compressed on the way, and a compressed copy stays compressed. Go back to the original file in your camera roll or cloud library before printing anything you care about.
What paper should scrapbook photos and pages be printed on?
Photos on matte photo paper, backgrounds and mats on acid free and lignin free cardstock. Acid free matters because ordinary paper contains lignin that yellows and turns brittle as it ages, and it will take the photo taped to it along for the ride. Matte matters because a scrapbook is a thing people touch, and glossy holds every fingerprint. If you want to feel the stocks before committing, order free paper samples and handle them.
What adhesive is safe to use on photos?
Photo safe double sided tape runners or photo corners. Both are removable in the first minutes and neither soaks the print. Avoid rubber cement, hot glue and household white glue on the photos themselves: they carry solvents or water, and water buckles a print into a wave you cannot flatten again. Corners are the conservative choice because they hold the photo without any adhesive touching its back at all, which means you can lift a picture back out years later.
Is a handmade scrapbook better than an ordered photo book?
They are different gifts. A photo book is uniform, flat, quick to produce and easy to reorder, and it wins if the recipient wants something tidy to keep on a shelf. A handmade scrapbook wins on the things nobody can automate: handwriting, a ticket stub, a pocket with something real inside it, pages that are visibly assembled by a person. If the whole point is that you spent time on it, the handmade version is the correct answer, and the extra work is the gift.
What should go on the last page?
Something the recipient can actually use, so the book ends with a forward look rather than a full stop. A printed gift certificate for a shared meal, a session, or a shop they like slips into a mounted pocket and turns a memory book into an invitation. Gift certificates start at $42.84 at 4OVER4.COM, and seasonal and spa versions are printed on the same stock, so the piece you tuck in matches the care that went into the rest of the pages.
Get Started
Ready to finish the book with something they can use?
Print a gift certificate on heavy stock, mount it in a pocket on the last page, and the album ends with an invitation instead of a blank sheet.
Legal Disclaimer
Gold Standard guarantees apply to all standard orders placed through 4over4.com. Price match requires verifiable proof of a competitor's published price for an equivalent product with matching specifications and turnaround time. Satisfaction guarantee covers manufacturing defects and print quality issues. Contact support with order number and documentation. On-time delivery rate based on tracked orders 1999 to 2026. Individual results may vary based on shipping carrier performance.
