
How to Make Image Backgrounds Transparent for Print


A transparent file drops the background so your art prints with a clean edge, not a white box. Here is how to cut out a subject and export a print-ready transparent PNG for die-cut stickers, clear labels, and window clings.
To make an image transparent for print, remove the background and export it as a PNG-24 with its alpha channel intact. Select the subject, mask out the background, refine the edge to kill halos, confirm 300 DPI at final size, and save as PNG, never JPG. Transparency is what lets die-cut stickers, clear labels, and window clings print clean at 4OVER4.
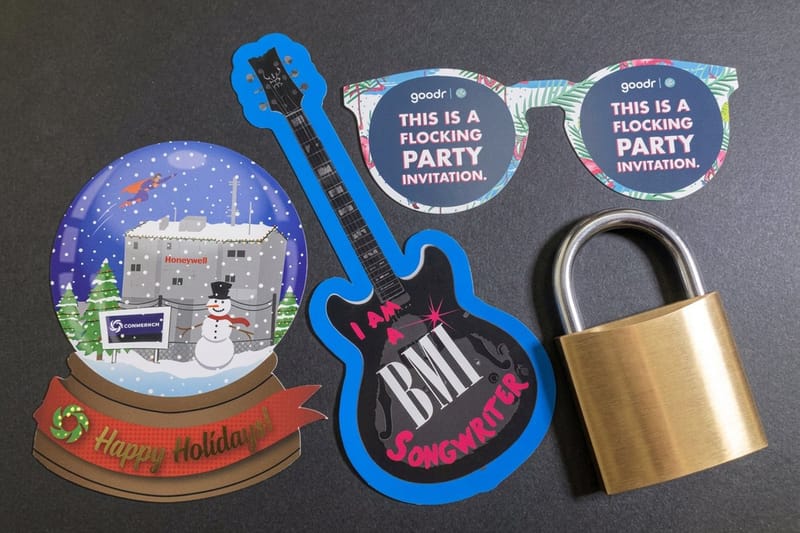
Start here
Transparent images for print in one paragraph
A transparent image drops its background so the subject prints with a clean edge, not a white box. Select the subject, mask out the background, refine the edge to remove halos, confirm 300 DPI at final size, and export as PNG-24 with the alpha channel intact. Save it as a JPG and the transparency is lost. This is exactly the file die-cut stickers, clear labels, and window clings need at 4OVER4.COM.
What transparency means for print
A transparent image is one with no background behind the subject. Instead of a photo sitting inside a rectangle, you get just the logo, the product, or the illustration, with everything around it dropped out. In print terms, that dropped-out area is where the press lays down no ink, so the material or the surface behind shows through.
This works because of an alpha channel, an extra layer of data that records how opaque each pixel is. Full opacity prints normally, full transparency prints nothing, and partial values create the soft edges that make a cutout look natural. Without an alpha channel, there is no way to tell the press where to leave the paper bare.
Transparency is not a nice-to-have for certain products, it is a requirement. Die-cut stickers, clear labels, and window clings all depend on a transparent file so the shape and the see-through areas come out right. This guide shows how to build one cleanly.
Step by step: removing the background
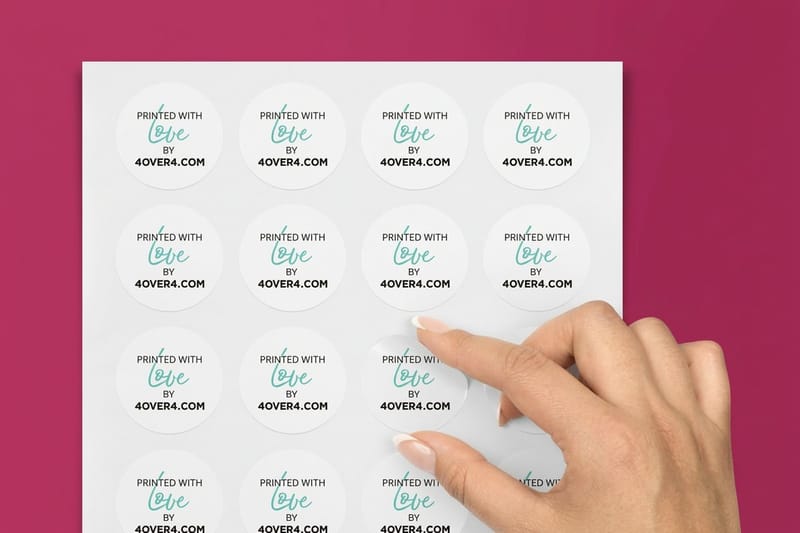
Start from the largest, sharpest version of your image so the cutout has real detail to work with. Then select the subject. In Photoshop, the select-subject and quick-selection tools handle most photos automatically, the pen tool gives the most precise outline for hard-edged shapes, and free web tools like Photopea or a background remover cover simple jobs without any software to install.
Once the subject is selected, remove the background by adding a layer mask rather than erasing. A mask hides the background without deleting pixels, so you can refine the outline later without starting over. Vector logos are the easy case: rebuild them as vector art and there is no background to remove at all.
The goal at this stage is a clean subject on a checkerboard, the standard way software shows transparency. If you see a checkerboard around your subject, the background is gone. Getting here well sets up everything that follows, including a proper die-cut label or sticker.
Export a transparent PNG at 300 DPI
The format decides whether your work survives. Export as PNG-24, which stores a full alpha channel and keeps the transparent background intact. Do not save as JPG: JPG has no alpha channel, so the moment you export, the transparent area fills back in with solid white and the cutout is lost.
Resolution still matters as much as ever. A perfectly clean cutout at low resolution will still print soft, because transparency and sharpness are separate things. Confirm the image is 300 DPI at its final printed size before you export, and if it falls short, source a larger original instead of enlarging, which only stretches the pixels you have.
Set the color for print too. Work in CMYK, or supply a clean, tagged RGB that converts predictably, so your colors stay true on press. The same resolution discipline covered in our image resolution guide applies to a cutout exactly as it does to a full-bleed photo.
When transparency actually matters
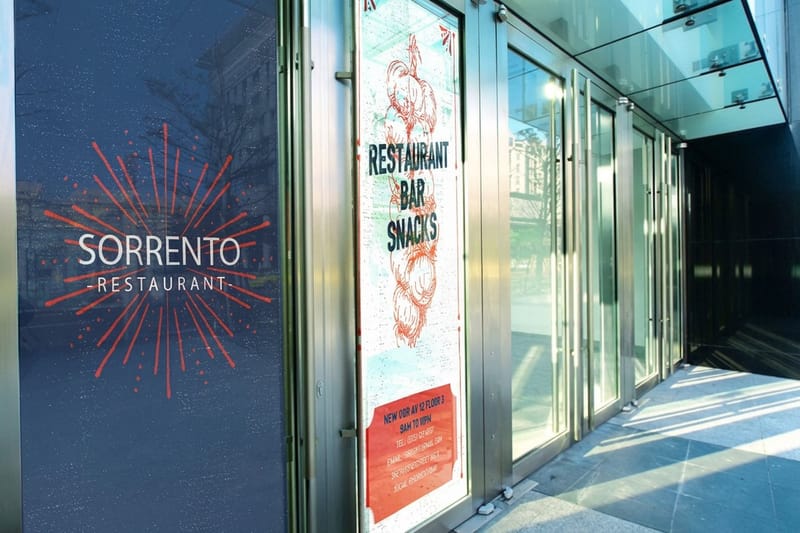
Transparency earns its keep on products where the shape or the surface is not a solid rectangle. Die-cut stickers use the transparent outline to define the cut, so the finished sticker takes the shape of your art rather than a square around it. Clear and transparent labels rely on it so only your design prints while the rest of the label stays see-through.
Window clings and clear decals need it so the glass shows through everywhere except your artwork, which is what makes a storefront graphic look like it floats on the window. Get the transparency wrong on any of these and you get an ugly white box where there should be a clean edge.
A transparent PNG is also handy in everyday layout work, any time you drop a logo or a cutout over a colored background and need it to blend seamlessly. Explore the products that depend on it in our stickers and labels range and window clings collection.
Common mistakes that ruin a cutout
The most common failure is the white box: the file was saved as a JPG or flattened onto a white layer, so the transparency vanished. Keep the cutout on its own layer with the background truly masked, export as PNG-24, and check the file against a colored background before uploading to be sure the transparency held.
The second is fringing and halos. When a subject is cut from a colored background, a thin rim of that old color can cling to the edge and stand out in print. Refine the edge, remove the color halo, and feather only slightly so the outline looks natural on the sticker, label, or glass.
The third is low resolution. A clean cutout at 72 DPI still prints soft. Always confirm 300 DPI at final size, and never enlarge a small file to fit. Our free file check flags these issues before printing, but building the file right the first time saves a round trip.
File setup for die-cut products
Die-cut products need one more piece: a cut path. This is the line the cutter follows, and for a die-cut sticker or label it should trace just outside your subject so the finished piece takes your shape with a small even border. The transparent outline of your art guides where that path goes.
Keep important detail inside a safe margin from the cut, just as you would with bleed on a printed card, so nothing critical sits right on the edge where a slight cutting shift could clip it. If the product page provides a template, build to it so your art and cut path line up with what the cutter expects.
When the file is ready, upload it and let our free file check confirm the transparency, resolution, and cut path before it prints. Use the live specs and pricing panel below to set size, material, and quantity, or order a free sample first to see the die-cut in hand.
Wally cuts the background, not the corners
A clean alpha channel makes a clean die-cut
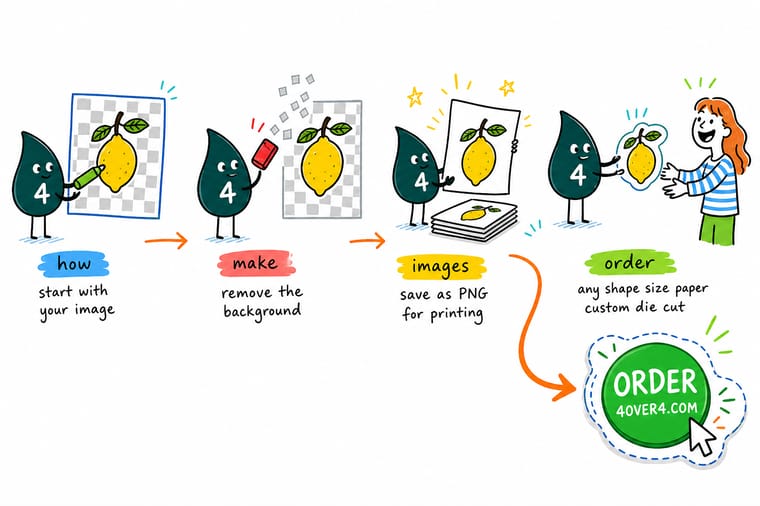
Wally masks out the background, refines the edge so there is no halo, and checks the art is 300 DPI at final size. Then he exports a PNG-24, never a JPG, so the transparency survives. Now the die-cut follows the shape of the art instead of a rectangle, and the sticker, label, or window cling prints with a crisp, clean edge every time.
Print die-cut stickers →Quick reference
The transparent print file setup, at a glance
Every clean cutout comes down to the same settings. Match these and your transparent artwork prints correctly on stickers, labels, and clings.
| Setting | Get it to | Why it matters |
|---|---|---|
| File format | PNG-24 (with alpha) | PNG-24 stores a full alpha channel, so the transparent background survives export instead of filling with white. |
| Resolution | 300 DPI at final size | A crisp cutout still needs full resolution at the printed dimensions, or the artwork prints soft no matter how clean the edge. |
| Color mode | CMYK or tagged RGB | Set the file to CMYK for print, or supply a clean tagged RGB that converts predictably, so colors stay true on press. |
| Edge quality | Refined, no halo | Remove color fringing and leftover background so the subject sits cleanly on the sticker, label, or glass. |
| Cut path | Follows the subject | For die-cut products the transparent shape defines the cut line, so the sticker or label matches your artwork, not a rectangle. |
| Avoid | JPG and flattened white | JPG cannot hold transparency and flattening onto a white layer bakes the background back in, undoing the cutout. |
Step by step
Make a transparent print file in 7 steps
- Start from the highest-resolution originalOpen the largest, sharpest version of your image so the cutout has real detail to work with, ideally already at or above the final print size.
- Select the subjectUse a select-subject or quick-selection tool in Photoshop, the pen tool for hard edges, or a free tool like Photopea or a background remover for simple shapes.
- Remove the backgroundDelete or mask the background so only the subject remains. A mask is safer than erasing, because you can refine it without losing pixels.
- Refine the edgeClean up the outline, feather slightly if needed, and remove any color halo left from the old background so the edge looks natural on any surface.
- Confirm resolution at final sizeCheck the image is 300 DPI at the size it will print. If it is short, source a larger original rather than enlarging, which only softens the art.
- Export a transparent PNGSave as PNG-24 with transparency preserved. Do not flatten onto a white background and do not save as JPG, or the transparency is lost.
- Add a cut path for die-cut productsFor die-cut stickers or labels, provide a cut line that follows the subject so the finished piece takes your shape, then upload and let our free file check verify it.
Specs and pricing
Die-cut sticker specs and live pricing
Once your transparent file is ready, set size, material, and quantity and watch the price update. Here are the live specs and price-per-unit for die-cut stickers at 4OVER4.COM.
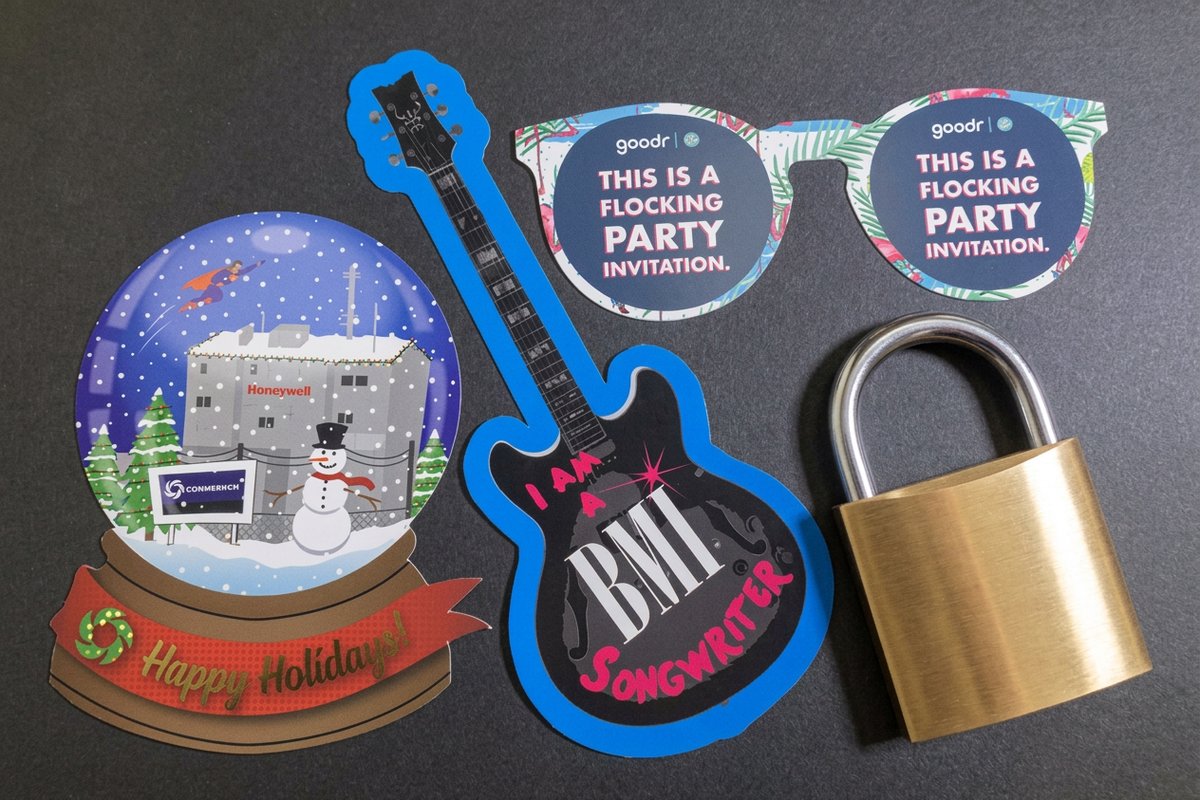
| Quantity | Price Per Unit | Total |
|---|---|---|
| 50 | $1.74 | $87.00 |
| 100 | 91.0¢ | $91.00 |
| 200 | 51.2¢ | $102.50 |
| 300 | 37.7¢ | $113.00 |
| 400 | 30.9¢ | $123.50 |
| 500 | 26.6¢ | $133.00 |
| 600 | 24.0¢ | $144.00 |
| 700 | 22.1¢ | $155.00 |
Print it
Print your transparent artwork with 4OVER4
See it in use
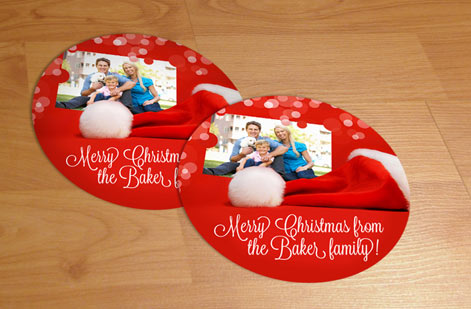
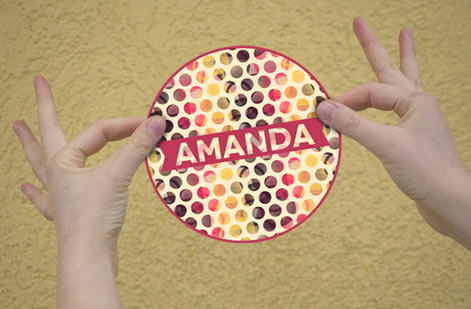
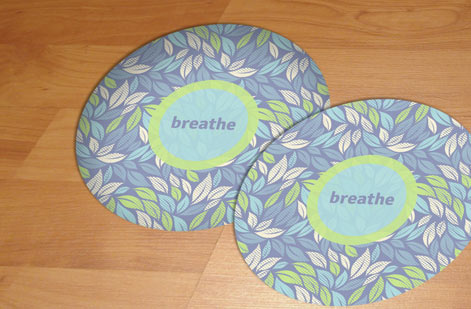
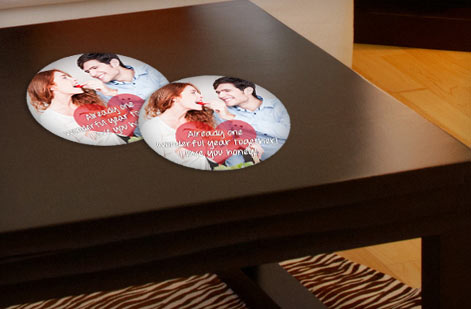
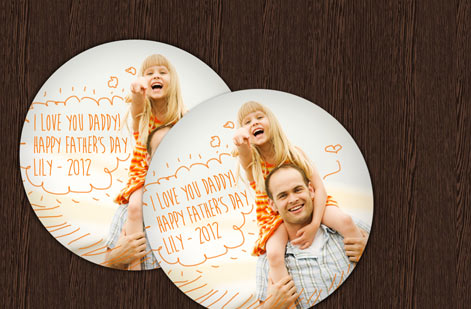
Real die-cut work, printed in-house


Explore more
Where to go next

By the numbers
Printing you can count on at 4OVER4
Common Questions
Common questions about transparent images for printing
What does making an image transparent mean?
Making an image transparent means removing its background so the subject stands alone with nothing behind it, no white box, no color fill. Technically, a transparent image carries an extra layer of information called an alpha channel, which records how opaque each pixel is. Where the alpha says a pixel is fully transparent, the printer lays down no ink there, so the material or the surface behind shows through. This is what lets a logo, a product cutout, or an illustration sit cleanly on a sticker, a clear label, or a window instead of printing inside a rectangle of background.
How do I choose the right way to make an image transparent?
Match the tool to the edge. For a simple subject on a plain background, a one-click background remover or the select-subject tool in Photoshop is fast and clean. For crisp, hard-edged shapes like logos, the pen tool gives the most precise outline, and vector art avoids the problem entirely because it has no background to remove. For hair, fur, or soft edges, use Photoshop refine-edge or a dedicated masking workflow so the transition looks natural. If you do not have Photoshop, free web tools like Photopea handle most jobs. Whichever route you take, always finish by refining the edge and checking resolution before export.
What does it cost to print transparent artwork, and how are prices set?
Preparing the transparent file yourself costs nothing beyond your design time, and running it through our free file check before you order is included. The print price then depends on the product and its options: for die-cut stickers, clear labels, or window clings, cost scales with quantity, size, material, and finish, with larger runs lowering the unit price. You set each option in the configurator and the total updates live, so you can see exactly how size or quantity changes the number. The transparency itself does not add a fee, it is simply how the file has to be built for these products to cut and print correctly.
What products and materials need a transparent file?
Transparency matters most for products where the shape or the surface is not a solid rectangle. Die-cut stickers use the transparent outline to define the cut, so the sticker takes the shape of your art. Clear and transparent labels rely on it so only your design prints while the rest of the label stays see-through. Window clings and clear decals need it so the glass shows through around the artwork. A transparent PNG is also useful any time you place a logo or cutout over a colored background in a layout. With die-cut, clear label, and window cling options, 4OVER4 supports all of these from a properly built transparent file.
How long does it take to print die-cut and clear products from a transparent file?
Once your transparent file is ready, turnaround depends on the product, size, and quantity, but 4OVER4 produces die-cut stickers, clear labels, and window clings quickly and ships on a schedule you can plan around, with on-time delivery on the vast majority of orders. The file itself does not slow anything down as long as it is built correctly, which is why the free file check matters: it confirms the transparency, resolution, and cut path before printing so there are no back-and-forth delays. Order a sample first if you want to confirm how the transparency and material look in hand before the full run.
Why does my transparent image keep printing with a white background?
Almost always because the file was saved in a format that cannot hold transparency, or the transparency was flattened before export. JPG is the usual culprit: it has no alpha channel, so the moment you save a cutout as a JPG the transparent area fills with solid white. Flattening the layers onto a white background does the same thing. The fix is to keep the cutout on its own layer with the background truly deleted or masked, then export as PNG-24 with transparency preserved. If you place the image into a layout, make sure the layer or object stays transparent rather than sitting on a white fill, and always double-check by viewing the file against a colored background before you upload.
Get Started
Ready to print a clean, background-free design?
Bring your transparent PNG to 4OVER4.COM and print die-cut stickers, clear labels, or window clings. Set size, material, and quantity and watch your price update live.
Legal Disclaimer
Gold Standard guarantees apply to all standard orders placed through 4over4.com. Price match requires verifiable proof of a competitor's published price for an equivalent product with matching specifications and turnaround time. Satisfaction guarantee covers manufacturing defects and print quality issues. Contact support with order number and documentation. On-time delivery rate based on tracked orders 1999 to 2026. Individual results may vary based on shipping carrier performance.
