
How To Make The Background Of A Picture Transparent


A transparent background is the difference between a logo you can place anywhere and a die-cut sticker that cuts to shape. Here is how to remove a background, save a clean PNG, and prep the file for print.
Making a picture background transparent means removing the backdrop and saving the image as a PNG that keeps the empty area see-through. Select the subject, delete the background, clean up the edges, and export a PNG that preserves transparency. For print, keep the art high resolution and use that clean cutout as the basis for a logo placement or a die-cut sticker shape.
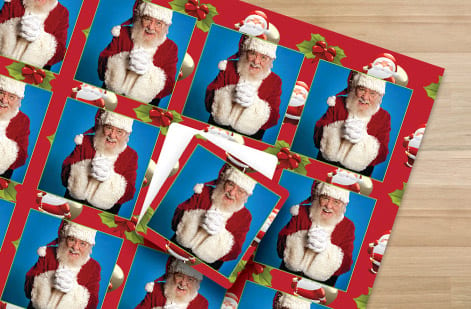
Why a transparent background matters
A transparent background frees an image from its box. A logo saved on a white square looks fine on a white page and terrible everywhere else, with an ugly rectangle showing the moment you place it over color or a photo. Remove that background and the logo drops cleanly onto any layout, any color, and any product, which is why a transparent version of your mark is one of the most useful files a brand can own.
For print, the payoff goes further. A clean cutout with a transparent edge is exactly what a die-cut sticker needs, because the machine cuts the sticker to the shape of your subject rather than a plain rectangle. The transparent edge becomes the cut line. So learning to make a background transparent is not just a design nicety, it is the first step toward a logo you can use anywhere and a sticker that cuts to shape.
Remove the background, step by step

The whole job is one thing done well: separating the subject from everything behind it. Start from the highest-resolution version of the image you have, since you cannot add detail back later. Use a subject-select or magic tool to isolate what you want to keep, then delete or mask the background so the area behind the subject goes empty. Free online background removers do this automatically in seconds and are more than enough for most logos and simple shapes.
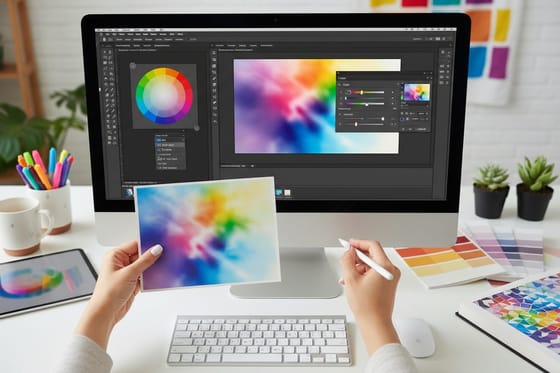
The difference between an amateur and a clean cutout is the edges. Zoom in and refine the selection so the border looks natural, softening hair, fur, or fine detail rather than leaving a hard, scissored line. A tiny amount of feathering helps the subject sit naturally on any background. For difficult images, a program like Photoshop gives you masks and edge tools for finer control. Our guide on image resolution for printing covers keeping that detail sharp.
Save a clean, print-ready PNG
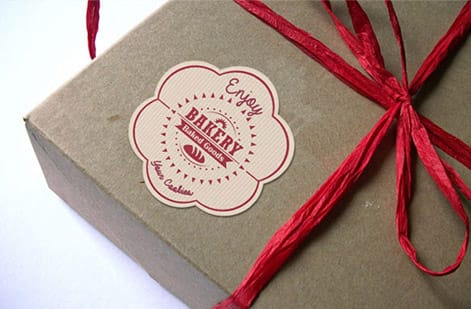
The format is the part people get wrong. A JPG cannot store transparency, so saving your cutout as a JPG fills the empty area with white and undoes all your work. Save as a PNG instead, which preserves the see-through area, and keep the resolution high, ideally 300 DPI at the size it will print, so the cutout stays sharp rather than soft. If your subject is a logo or a hard-edged graphic, keeping a vector version alongside the PNG gives you the crispest possible result at any size.
Before you trust the file, place the PNG over a colored layer and look hard at the edges for stray background pixels, a faint halo, or a rough border, then clean up anything you find. This quick check is the difference between a cutout that looks professional and one that betrays its origins. Once the PNG is clean, it is ready to drop into a print layout or become the basis of a die-cut. If it is headed to print, convert the color to CMYK per our RGB to CMYK guide.
Turn the cutout into a die-cut sticker

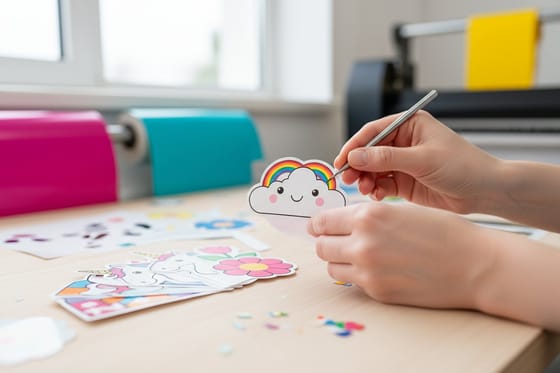
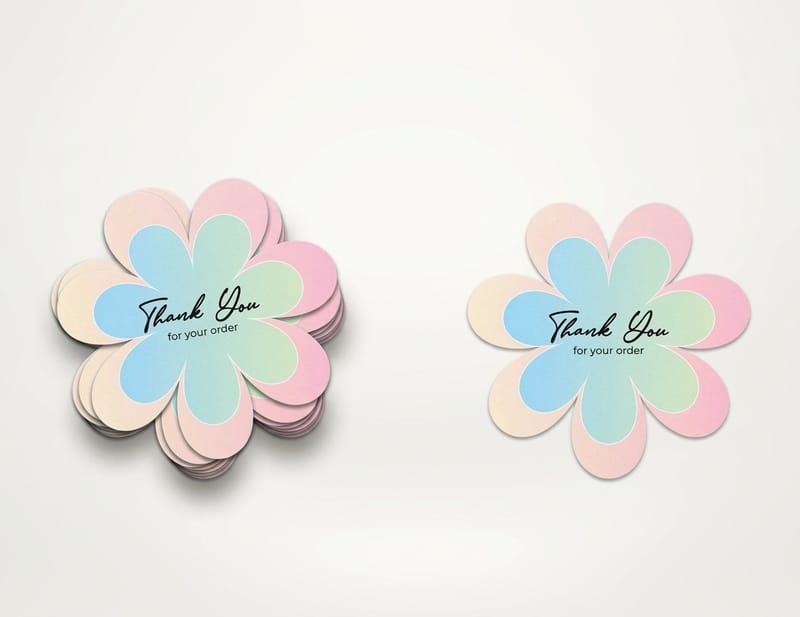
A clean transparent PNG is a head start on a die-cut sticker, because the transparent edge is already the shape you want cut. To turn it into a sticker, the cut line follows that edge, so the finished piece is trimmed to your subject rather than a rectangle. That is what gives die-cut stickers their custom, professional look, and it all depends on the quality of the cutout you made. A rough edge in the PNG becomes a rough edge in the cut.
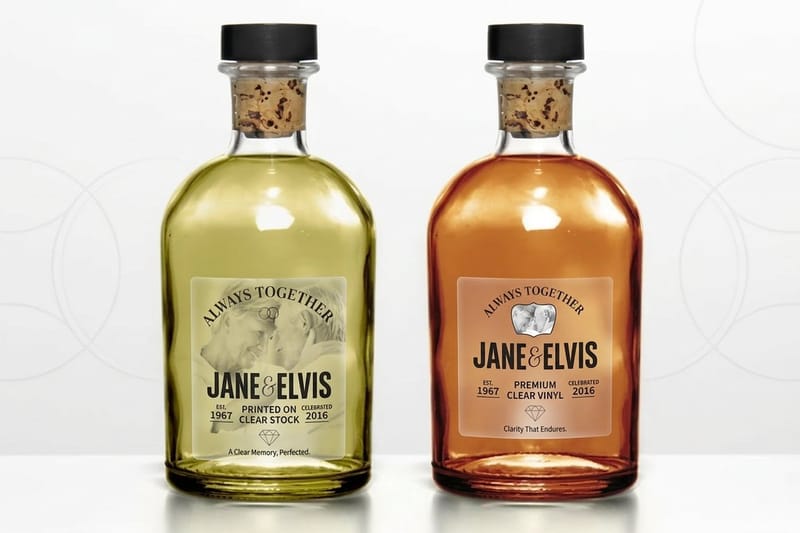
For the print itself, keep the art high resolution, convert to CMYK, and add a small bleed of color past the cut line so a slight blade shift never shows a white edge. Then pick your material and finish: durable vinyl for anything outdoors, clear film for a see-through look, or a die-cut label for packaging. When the file is ready, use the live specs and pricing panel below to set your size, material, and quantity, and order your die-cut stickers.
Wally cuts the background, keeps the shape
Clean edges, a real PNG, ready to die-cut
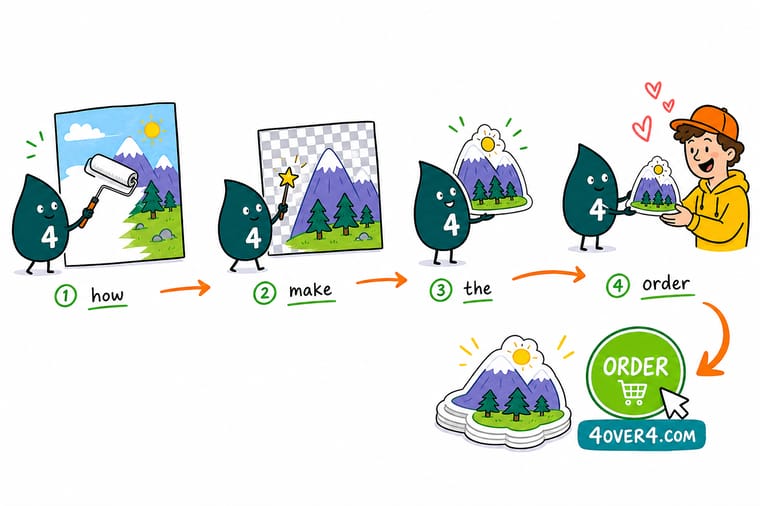
Wally isolates the subject, deletes the background, and refines the edges so the cutout looks natural, not scissored. Then the golden rule: save a PNG, never a JPG, so the transparency survives, and keep it high resolution for print. That clean transparent edge becomes the cut line for a die-cut sticker, and 4OVER4 trims it to your exact shape.
Order die-cut stickers →Quick reference
The key details, at a glance
| Detail | What to know | Why it matters |
|---|---|---|
| File format | PNG (not JPG) | PNG preserves transparency; JPG fills the empty area with white. |
| Selection | Isolate the subject | A clean selection is the whole job, so take time on the edges. |
| Edges | Refine and feather lightly | Natural edges avoid a harsh cut-out look, especially on hair. |
| Resolution | 300 DPI at final size | High-resolution source keeps the cutout sharp in print. |
| Tool | Free remover or Photoshop | Free tools handle most jobs; pro software gives finer control. |
| Print use | Logo or die-cut art | A clean cutout drops onto any layout or becomes a die-cut shape. |
| Cut line | Follow the subject edge | For a die-cut sticker, the cut line traces the transparent edge. |
Step by step
How to do it in 7 steps
- Open a high-resolution imageStart from the sharpest, largest version you have so the finished cutout stays crisp when it prints.
- Select the subjectUse a subject-select or magic tool to isolate the thing you want to keep from the background around it.
- Remove the backgroundDelete or mask the backdrop so the area behind the subject becomes empty and transparent.
- Refine the edgesZoom in and clean the selection, softening hair and fine edges so the cutout looks natural rather than cut with scissors.
- Export a transparent PNGSave as a PNG so the empty area stays see-through, keeping the resolution high for print use.
- Check it on a backgroundPlace the PNG over a colored layer to confirm no stray background pixels or rough edges remain.
- Use it for print or a die-cutDrop the cutout into a layout as a logo, or use its edge as the cut line for a die-cut sticker, then order.
Specs and pricing
Live specs and pricing
Once your design is ready, the print decisions come down to size, stock, and finish. Here are the live specs and price per unit at 4OVER4.COM, straight from the configurator.
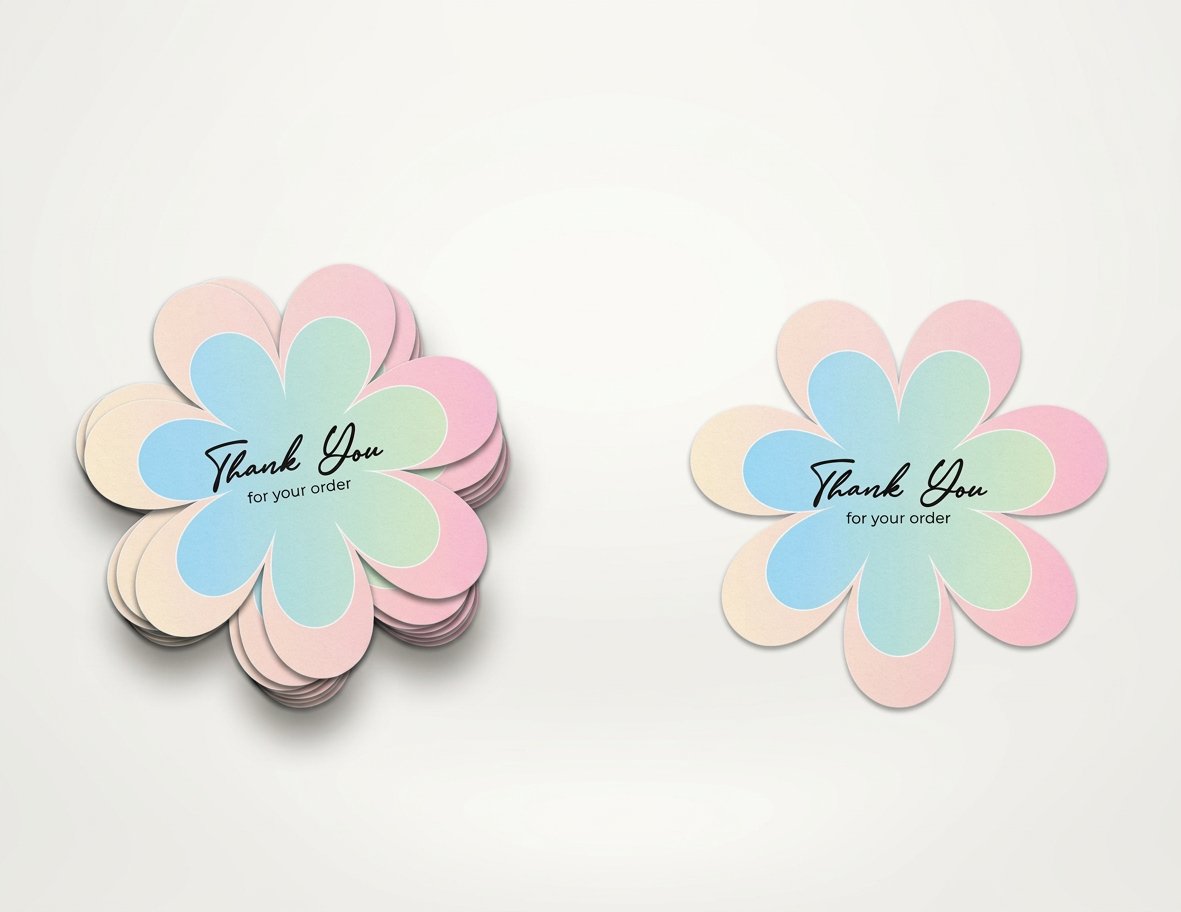
| Quantity | Price Per Unit | Total |
|---|---|---|
| 25 | $3.73 | $93.37 |
| 50 | $1.91 | $95.56 |
| 100 | 100.0¢ | $99.95 |
| 200 | 56.3¢ | $112.59 |
| 300 | 41.4¢ | $124.13 |
| 400 | 33.9¢ | $135.65 |
| 500 | 29.2¢ | $146.10 |
| 600 | 26.4¢ | $158.17 |
Order it
Bring your project to 4OVER4
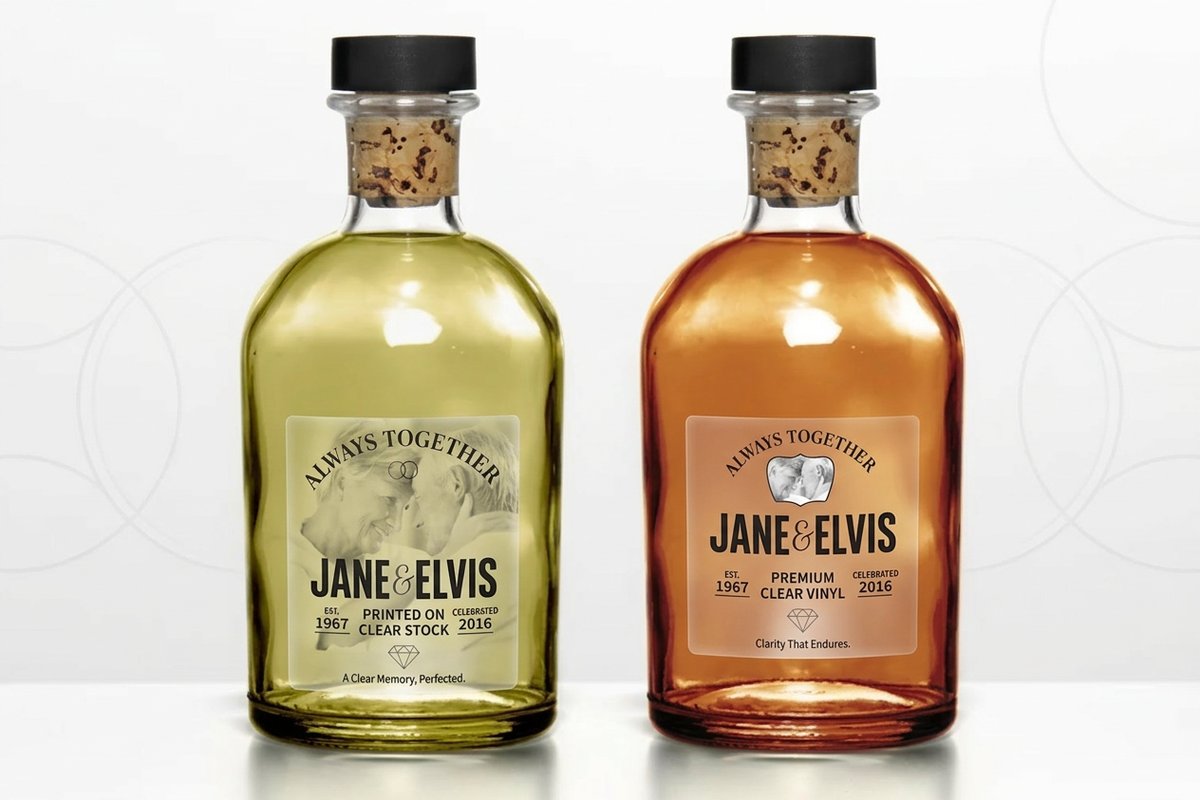
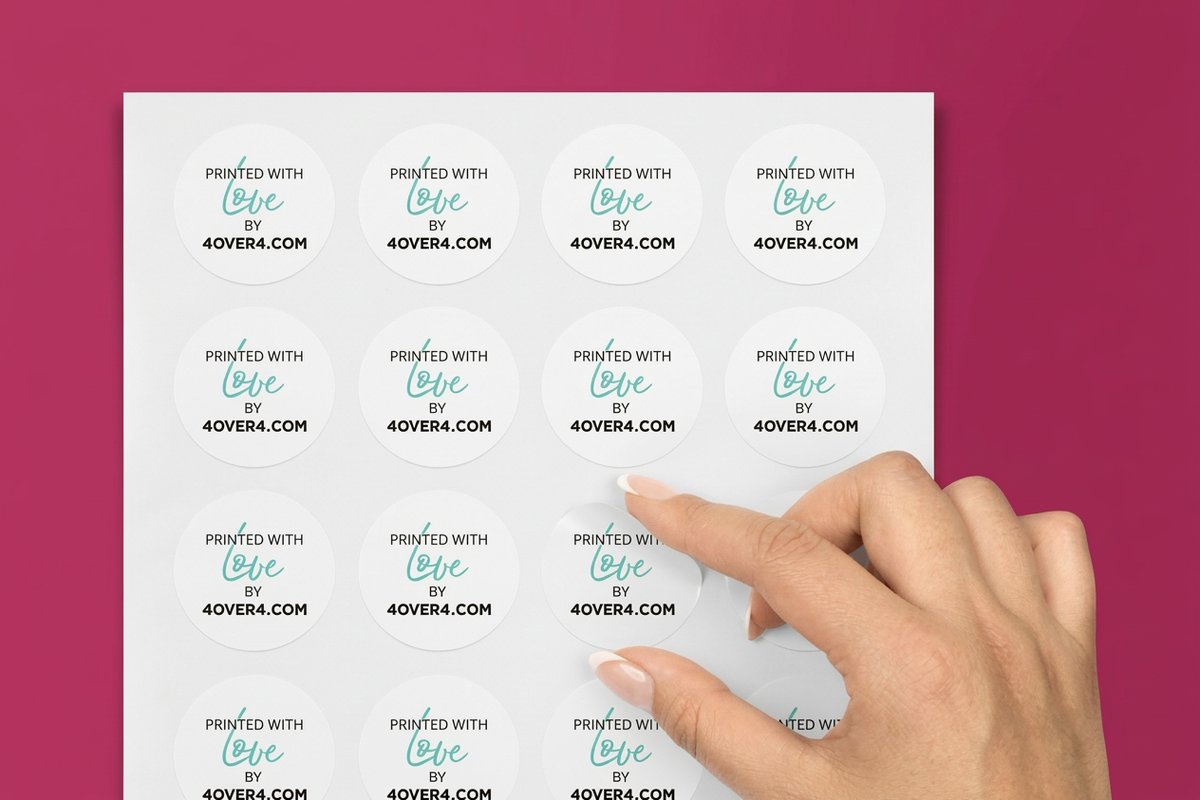
Explore more
Where to go next
By the numbers
Printing you can count on at 4OVER4
Common Questions
Common questions
What does making a picture background transparent mean?
It means removing the backdrop behind a subject so that area becomes empty and see-through rather than a solid color. You select the subject, delete or mask the background, refine the edges, and save the result as a PNG, which is the common format that preserves transparency. The payoff is a cutout you can place over any color or layout without a white box around it, which is essential for logos and for die-cut stickers that cut to the shape of the art.
How do I choose the right way to make a background transparent?
Match the tool to the image. A free online background remover handles most straightforward subjects in seconds and exports a transparent PNG, which is plenty for logos and simple cutouts. For tricky edges like hair, fur, or semi-transparent areas, a program like Photoshop gives finer control with masks and edge refinement. Whichever you use, start from a high-resolution image and save as a PNG so the transparency survives, especially if the cutout is headed for print.
Does a transparent background affect print cost?
The transparency itself does not change the price. What matters for print cost is the product you put the cutout on, so a die-cut sticker made from your transparent art is priced by size, material, finish, and quantity like any sticker. You set those options in the 4OVER4 configurator and the total updates live. Preparing the transparent PNG yourself with free or existing software adds no cost to the print job.
What file settings work best for a print-ready transparent image?
Save a PNG to keep the transparency, and make sure the source art is high resolution, ideally 300 DPI at the size it will print, so the cutout stays sharp. Keep logos and hard-edged graphics as vectors where possible for the crispest result, and check the cutout over a colored background to catch stray pixels or rough edges. For a die-cut sticker, the clean transparent edge becomes the cut line the blade follows.
How long does it take to print die-cut stickers from a transparent PNG?
Turnaround depends on the sticker size, material, finish, and quantity, and the product page shows the current production time for your configuration. Once your transparent PNG is clean and high resolution, the file is ready to become a die-cut shape quickly. You can add expedited shipping to meet a deadline, and checking the edges and resolution first avoids a reprint for a soft or roughly cut result.
Get Started
Ready to get it printed right the first time?
Set your options below and watch the price update live as you choose size, stock, and quantity, then place your order with 4OVER4.COM.
Legal Disclaimer
Gold Standard guarantees apply to all standard orders placed through 4over4.com. Price match requires verifiable proof of a competitor's published price for an equivalent product with matching specifications and turnaround time. Satisfaction guarantee covers manufacturing defects and print quality issues. Contact support with order number and documentation. On-time delivery rate based on tracked orders 1999 to 2026. Individual results may vary based on shipping carrier performance.
