
How to Safely Remove Stickers and Sticky Residue From a Laptop


Peeling a sticker off a laptop the wrong way leaves a gummy mess or a scratched lid. Here is how to remove stickers and sticky residue safely, what to avoid, and how to reorder fresh custom stickers that come off clean next time.
To remove a sticker from a laptop, peel it slowly at a low angle, then lift any leftover residue with a little isopropyl alcohol on a soft cloth. Work gently, avoid high heat and harsh solvents, and never scrape with anything metal. For a stubborn sticker, warm it slightly with a hair dryer on low first. Then reorder stickers on a material that peels clean so the next round is painless.

Start here
Removing laptop stickers, in one paragraph
To remove a sticker from a laptop, peel it slowly at a low angle so it lifts in one piece, then dissolve any leftover residue with a small amount of isopropyl alcohol on a soft microfiber cloth. Avoid high heat, harsh solvents, and anything metal that can scratch the lid.
Most laptop lids survive sticker removal just fine if you go slow and gentle. Soften a stubborn one with a hair dryer on low before you pull again, keep acetone off the finish, and finish by wiping the surface clean and letting it dry. Then reorder stickers on a material that peels clean, and the whole job gets easier next time.
Before you start: what a laptop lid can take
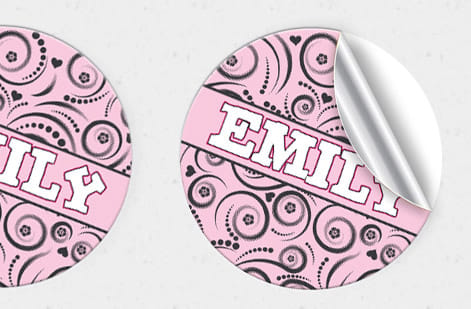
A minute of prep saves you from a scratched lid. First, power down and unplug the laptop so no liquid meets a live port, and work on a clean, flat surface. Then look at your lid finish: anodized aluminum and hard plastic are forgiving, while painted, soft-touch, or glossy finishes are more delicate and hate abrasion and strong solvents.
Gather a few gentle supplies: a plastic card or your fingernail, a soft microfiber cloth, and a small bottle of isopropyl (rubbing) alcohol. If you have it, a hair dryer helps with old adhesive. Notice that nothing on that list is metal or harsh, and that is the point. The gentler your tools, the safer your finish. This same care is what lets a good vinyl sticker come off cleanly when you are ready for a change.
Peel the sticker without tearing it
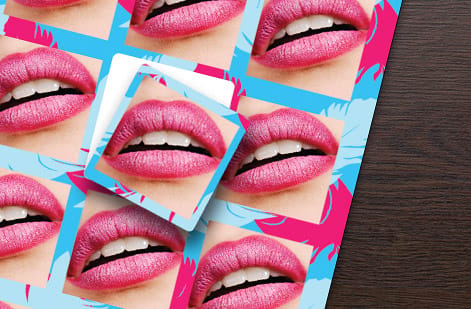
The peel is where most of the mess is made or avoided. Find a corner and lift it gently with a fingernail or the edge of a plastic card. Then pull slowly and at a low, shallow angle, keeping the sticker close to the surface rather than yanking it straight up. A slow, low pull keeps the adhesive attached to the sticker instead of leaving it on your lid.
If the sticker starts to tear or fight you, stop and warm it. Run a hair dryer on its lowest heat setting a few inches away for fifteen to thirty seconds to soften the adhesive, then resume the slow peel. Patience here is everything: rushing is exactly what tears the sticker and multiplies the residue you have to clean up afterward. Reusable, cleanly removable die-cut stickers make this step far kinder on your surface.
Remove sticky residue safely
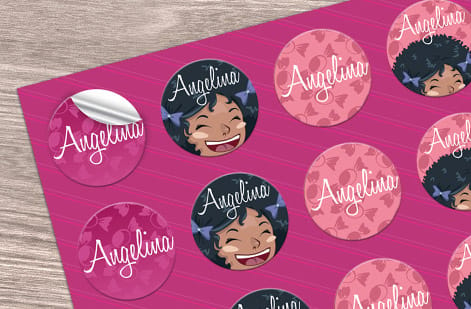
Even a clean peel can leave a faint gummy film, and that is normal. The safest solvent for most laptop finishes is isopropyl alcohol. Put a small amount on a corner of a soft microfiber cloth (never pour it directly on the laptop), and rub the residue in gentle circles. It dissolves adhesive quickly and evaporates fast, so it will not linger in seams or ports.
For a light, fresh residue, sometimes a soft eraser or even a fresh piece of the same sticker dabbed against the glue will lift it. Work in small sections, re-dampen the cloth as needed, and keep liquid away from the keyboard, screen hinge, and vents. If the alcohol lifts most of it but a shadow remains, a second gentle pass usually finishes the job without any harsher chemical.
What to avoid: heat, harsh solvents, and scratching
Most laptop damage during sticker removal comes from over-correcting. Avoid high heat: a heat gun or a hair dryer on full blast can warp plastic and loosen adhesives inside the lid, not just under the sticker. Avoid harsh solvents like acetone, nail polish remover, and strong household cleaners, which can strip paint, dull a finish, or cloud plastic.
And never scrape with metal, a knife, a razor, or a coin will scratch even tough aluminum. Stick to plastic edges and your fingernail. If a finish is painted or soft-touch, test your alcohol on a tiny hidden spot first. The theme is simple: the sticker is not the threat to your laptop, the aggressive removal method is. Choosing quality custom stickers in the first place means you rarely need any aggressive method at all.
Cleaning and protecting the surface after
Once the sticker and residue are gone, give the whole area a final wipe. Use a microfiber cloth lightly dampened with water or a little more isopropyl alcohol to remove any last film and fingerprints, then let the surface dry completely before you close the lid or apply anything new. A clean, dry surface is also the best base for the next sticker to adhere evenly.
If your lid looks a little dull where the sticker sat, that is usually just clean versus slightly hazed surrounding areas; a full gentle wipe evens it out. Now the lid is a blank canvas again. This is the ideal moment to plan a fresh look with stickers made to be applied and removed cleanly, which is exactly what our sticker and label range is built for.
Reorder fresh custom stickers that peel clean

The best defense against a messy removal next time is a better sticker this time. Quality vinyl stickers with a strong but clean-release adhesive hold firmly while they are on and lift without a fight when you want a change, which is exactly what you want on a device you will re-sticker more than once. A run of die-cut stickers at 4OVER4 starts around $93.37, and vinyl stickers start around $25.
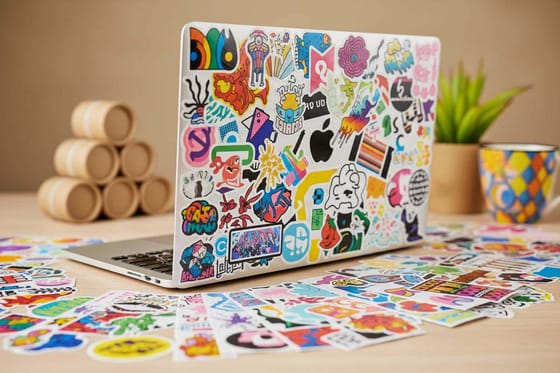
Design your own laptop stickers, logos, art, or a full stickerbomb layout, in our free online design tool, then pick a durable vinyl and a shape, circle, die-cut, or custom-shaped, and print a set. Use the live specs and pricing panel below to choose your material and size, so your next laptop refresh is as easy to remove as it was to apply. For inspiration, our stickerbomb guide is a fun place to start.
Wally peels slow, low, and gentle
The sticker is never the threat, the rough removal is
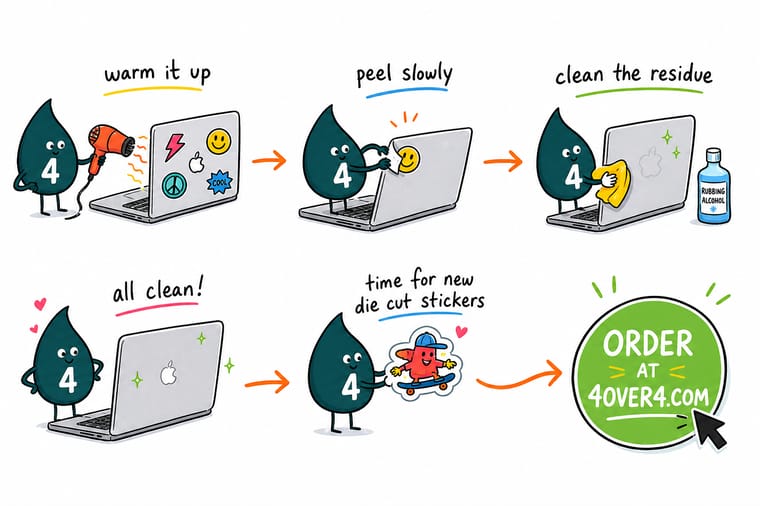
Wally removes every laptop sticker the same calm way: lift a corner, pull slowly at a low angle, warm a stubborn one with a hair dryer on low, then lift the residue with a little isopropyl alcohol on a soft cloth. No heat guns, no blades, no harsh solvents. Then he reorders fresh vinyl stickers from 4OVER4 that peel clean, so the next refresh is just as easy.
Reorder your custom stickers →Quick reference
Removal methods, matched to the job
Pick the gentlest method that works, then step up only if you need to. Always keep liquid off the keyboard and vents.
| Method | Best for | Caution |
|---|---|---|
| Slow low-angle peel | Any sticker, as the first step. | Rushing or pulling straight up tears it and leaves glue. |
| Hair dryer on low | Old or stubborn stickers before peeling. | Keep it moving; never use a heat gun or high heat. |
| Isopropyl alcohol on a cloth | Leftover sticky residue. | Apply to the cloth, not the laptop; keep away from ports. |
| Soft eraser or sticker dab | Light, fresh residue. | Rub gently so you do not mar a soft-touch finish. |
| Plastic card edge | Lifting a stuck corner. | Never substitute metal, which scratches the lid. |
Step by step
Remove a laptop sticker cleanly in 6 steps
- Power down and set up Turn off and unplug the laptop, work on a clean flat surface, and gather a plastic card, microfiber cloth, and isopropyl alcohol.
- Lift a corner gently Use a fingernail or the edge of a plastic card to lift one corner of the sticker without gouging the finish.
- Peel slowly at a low angle Pull the sticker back on itself, slowly and close to the surface, so the adhesive stays with the sticker.
- Warm stubborn stickers If it tears or resists, warm it with a hair dryer on low for fifteen to thirty seconds, then continue the slow peel.
- Dissolve leftover residue Dab isopropyl alcohol onto a microfiber cloth and rub the residue in gentle circles until it lifts.
- Wipe clean and dry Give the area a final light wipe, let it dry fully, and it is ready for a fresh sticker whenever you are.
Specs and pricing
Sticker specs and live pricing
Ready for a fresh look, the choices come down to material, shape, and size. Here are the live specs and price-per-unit for die-cut stickers at 4OVER4.COM, straight from the configurator.
| Quantity | Price Per Unit | Total |
|---|---|---|
| 25 | $3.73 | $93.37 |
| 50 | $1.91 | $95.56 |
| 100 | 100.0¢ | $99.95 |
| 200 | 56.3¢ | $112.59 |
| 300 | 41.4¢ | $124.13 |
| 400 | 33.9¢ | $135.65 |
| 500 | 29.2¢ | $146.10 |
| 600 | 26.4¢ | $158.17 |
Print it
Reorder stickers that peel clean
See it in use
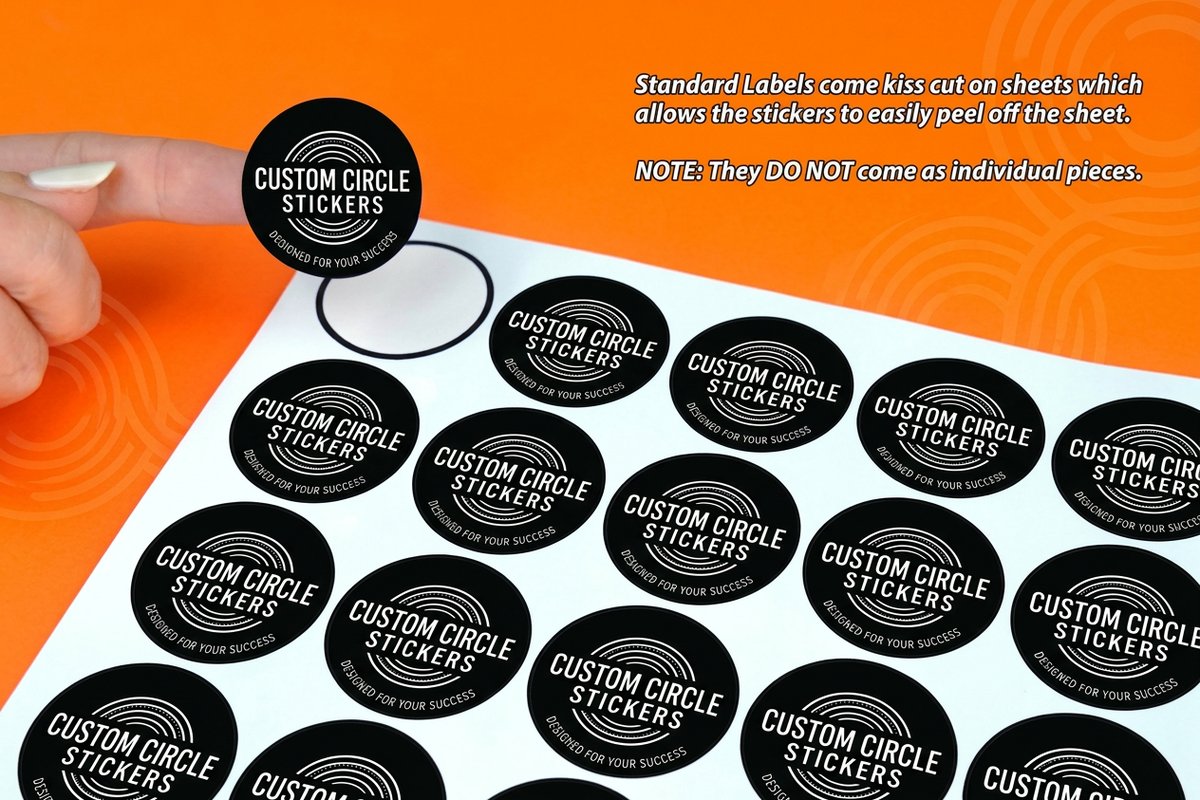
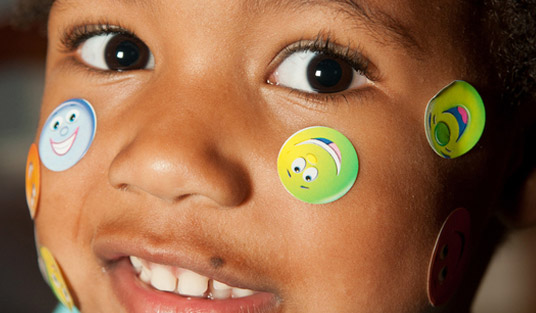
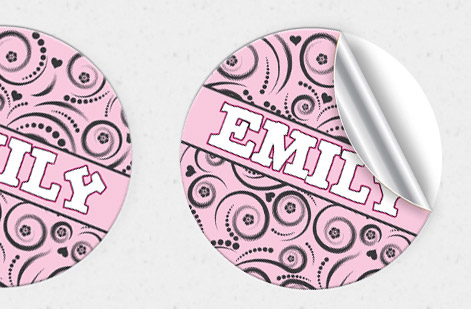
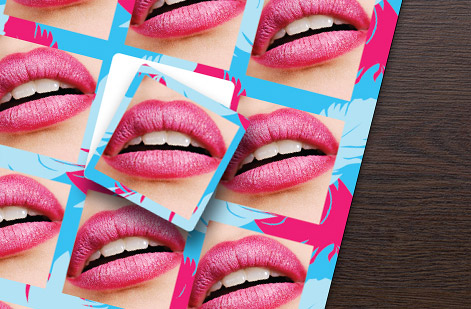
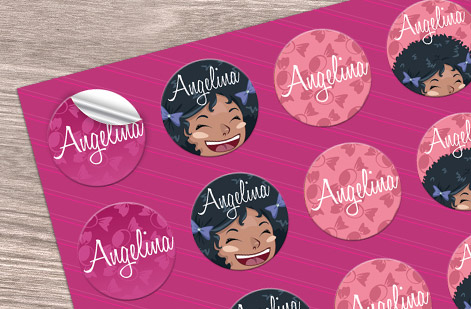
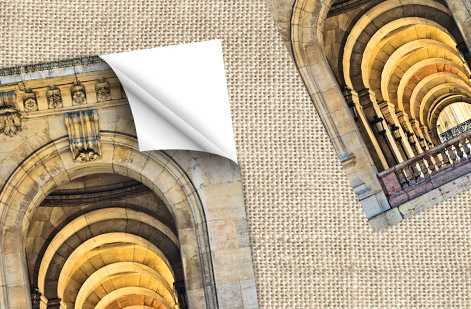
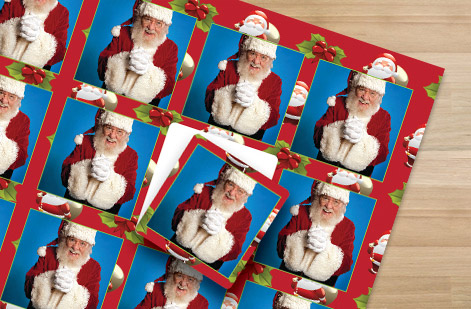
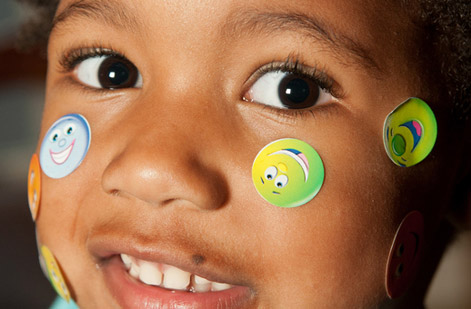
Real custom stickers, printed in-house

Explore more
Where to go next


By the numbers
Custom printing you can count on at 4OVER4
Common Questions
Common questions about removing stickers from a laptop
How do I remove a sticker from my laptop without damaging it?
Power down the laptop, then lift one corner of the sticker with a fingernail or a plastic card and peel slowly at a low, shallow angle so the adhesive stays with the sticker. If it resists, warm it with a hair dryer on low for fifteen to thirty seconds and continue peeling. Once the sticker is off, dab a little isopropyl alcohol on a soft microfiber cloth and rub away any residue. Avoid high heat, harsh solvents like acetone, and anything metal that could scratch the finish.
How do I remove sticky residue left behind on a laptop?
Isopropyl (rubbing) alcohol is the safest option for most laptop finishes. Put a small amount on a corner of a microfiber cloth rather than pouring it on the laptop, then rub the residue in gentle circles until it dissolves. For light, fresh residue, a soft eraser or dabbing a fresh piece of the same sticker against the glue can also lift it. Work in small sections, keep liquid away from ports, the keyboard, and vents, and do a second gentle pass if a faint shadow remains.
What should I avoid when removing laptop stickers?
Avoid the aggressive shortcuts that actually cause damage. Do not use a heat gun or a hair dryer on high, which can warp plastic and loosen internal adhesives. Do not use harsh solvents such as acetone or nail polish remover, which can strip paint and dull or cloud a finish. And never scrape with metal like a knife, razor, or coin, since that scratches even tough aluminum. On painted or soft-touch lids, test your alcohol on a small hidden spot first, and always keep liquids away from the keyboard and vents.
What does it cost to reorder custom stickers and how are prices set?
Sticker price scales with quantity, size, material, and shape or finish. Larger quantities lower the unit price, while premium materials, special shapes, or finishes add to it. At 4OVER4, die-cut stickers start around $93.37 and vinyl stickers start around $25, and you set each option in the configurator so the total updates live as you adjust it. That lets you see exactly how material, size, and quantity change the number before you order a fresh set for your laptop.
Which stickers are best for a laptop so they peel off cleanly later?
Look for quality vinyl stickers with a strong but clean-release adhesive, which hold firmly while applied and lift without a fight when you want a change, ideal for a device you will re-sticker more than once. Durable vinyl also resists scuffs, moisture, and fading better than cheap paper stickers. Die-cut, circle, and custom-shaped vinyl stickers all work well on a lid, and you can design your own in the free online tool. The live specs panel on this page shows the materials and sizes available.
Get Started
Ready to give your laptop a clean fresh look?
Design your own laptop stickers at 4OVER4.COM and print them on durable vinyl that holds tight and peels clean. Use the free online designer or upload your art, pick a shape and size, and watch your price update live.
Legal Disclaimer
Gold Standard guarantees apply to all standard orders placed through 4over4.com. Price match requires verifiable proof of a competitor's published price for an equivalent product with matching specifications and turnaround time. Satisfaction guarantee covers manufacturing defects and print quality issues. Contact support with order number and documentation. On-time delivery rate based on tracked orders 1999 to 2026. Individual results may vary based on shipping carrier performance.
