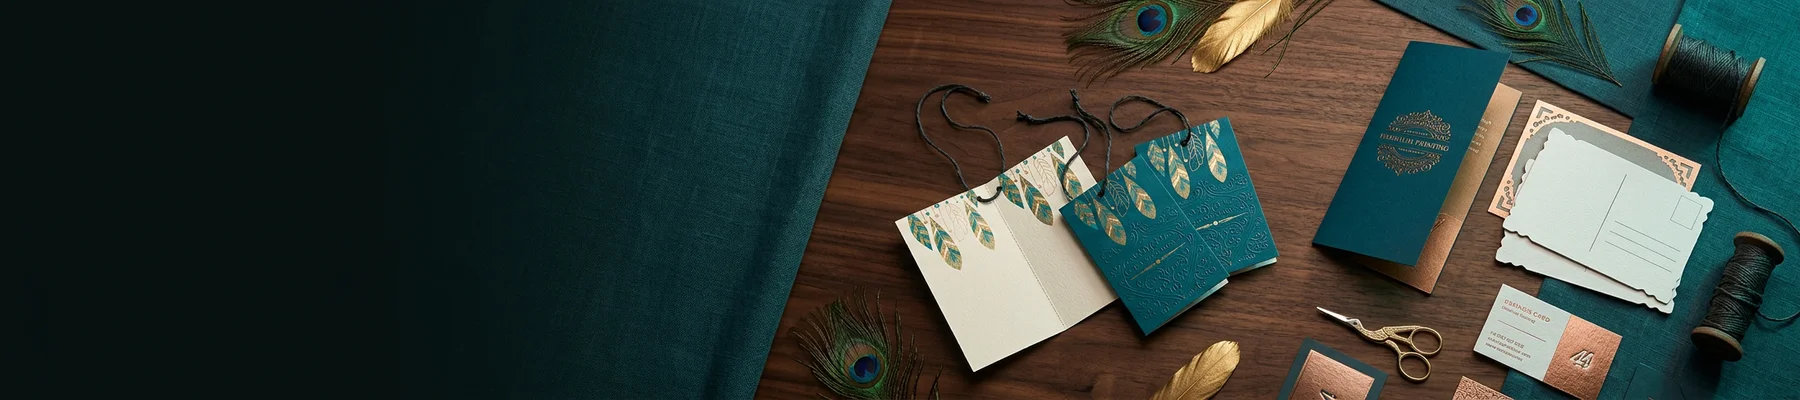
What You Need to Know About Spot UV Printing
Spot UV printing applies a glossy, ultraviolet-cured coating to specific areas of a printed piece, creating contrast between shiny and matte surfaces. It's a finishing technique, not a printing method. You pick which parts of your design get the gloss - a logo, a headline, a pattern - and the rest stays flat. 4OVER4.COM offers spot UV across 1,000+ products, from business cards to hangtags, with 10,000+ reviews backing the quality.
How Spot UV Coating Turns Ordinary Print Into Something People Actually Keep
Here's the thing about printed materials: most of them get tossed. A standard matte business card or a plain postcard doesn't give anyone a reason to hold on. Spot UV printing changes that equation. When someone runs their thumb across a raised, glossy logo on an otherwise matte surface, they pause. They notice. That tactile moment is what separates forgettable print from print that sticks around.
With spot UV printing explained in practical terms, you're looking at a clear polymer coating applied to targeted areas of your design, then hardened instantly under ultraviolet light. The result is a high-gloss, slightly raised finish that catches light and feels different to the touch. 4OVER4.COM makes this accessible across business cards, greeting cards, hangtags, and more - all customizable through the Online Designer.
You don't need to be a designer to get this right. And if you're worried about cost, 4OVER4.COM's Price Match guarantee means you won't overpay. Pair your spot UV pieces with a scannable code from the QR Code Generator to bridge print and digital in one move.
| Quantity | Price Per Unit |
|---|---|
| 500 | $0.40 |
| 1,000 | $0.30 |
| 2,000 | $0.24 |
Ink Color
Glitter Spot UV
Foil Stamping
Spot UV
Rounded Corners
Proof Options
Below you'll find some of 4OVER4.COM's most popular spot UV products to get you started.
Ink Color
Spot UV
Scoring
Matching Blank Envelopes
Proof Options
Ink Color
Spot UV
Hole Drilling
Hole Drilling Position
Proof Options
How Spot UV Printing Actually Works - From File Setup to Finished Product
The UV Curing Process, Step by Step
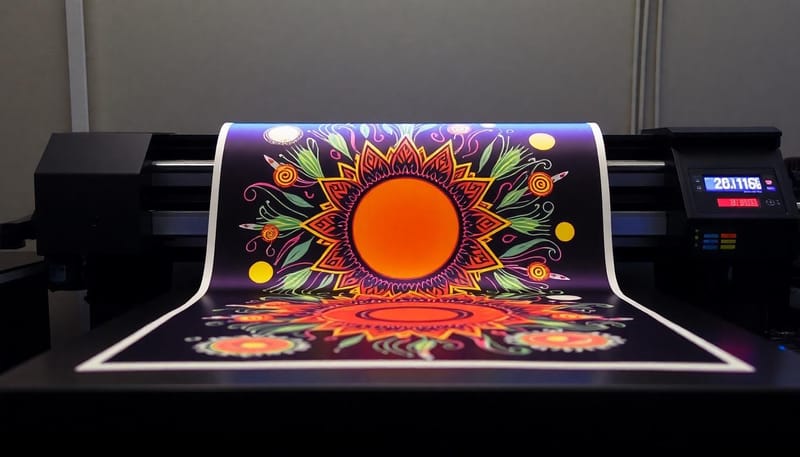
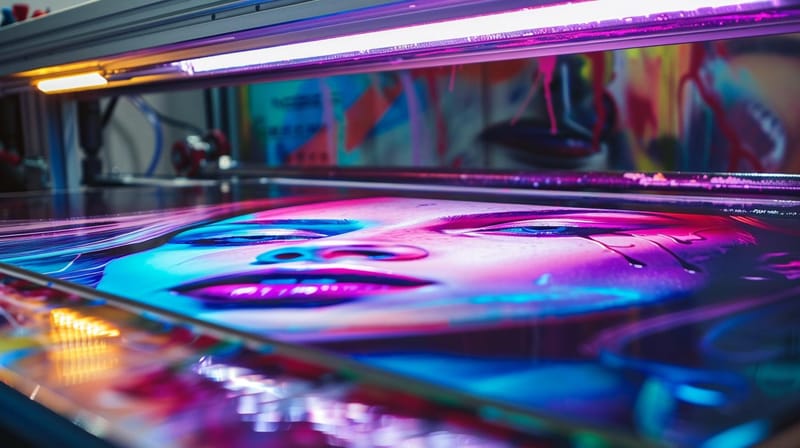
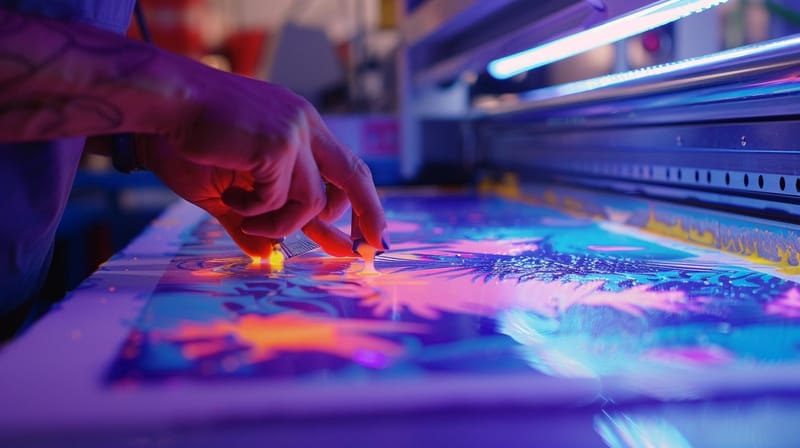
Spot UV printing starts after your base piece is already printed and dried. A clear UV-reactive varnish gets applied only to the areas you've designated in your file. Then the piece passes under an ultraviolet lamp. The UV light triggers an instant chemical reaction that hardens the varnish in less than a second. No drying time. No smudging. Just a crisp, glossy accent locked into place.
The "spot" part is what makes this different from a full UV coating, which covers the entire surface. With spot UV, you're choosing exactly where the shine goes. A logo. A border. A pattern. The rest of your piece stays matte, creating that contrast your eye can't ignore.
"We ordered Raised Spot UV Business Cards for our real estate team, and the glossy logo against the matte background gets comments at every open house. People actually keep these cards."
- Derek L., ★★★★★
Spot UV vs. Full UV Coating - Know the Difference
Full UV coating covers every square millimeter of your printed piece. It protects against scuffing and adds a uniform sheen. It's practical. But it doesn't create contrast or draw attention to specific design elements.
Spot UV is selective. It targets only the areas you want to pop. That selectivity is what creates the visual and tactile drama. When you hold a spot UV business card, your fingers feel the difference between the coated and uncoated areas. That sensory experience is what makes people remember your brand.
Think of full UV as a protective layer. Think of spot UV as a design tool. They serve different purposes, and many print projects actually use both - a matte laminate base with spot UV accents on top. If you're exploring other finishing options for different projects, the Faq Hub covers techniques across dozens of product types.
Raised Spot UV - Adding a Third Dimension
Standard spot UV sits relatively flat against the surface. Raised spot UV takes it further. The varnish is applied in thicker layers, creating a texture you can feel with your eyes closed. Run your finger across a raised spot UV greeting card and you'll feel the logo or pattern standing up from the paper like a subtle embossing.
This raised effect works best on:
- Logos and brand marks - makes your identity literally stand out from the surface
- Decorative patterns - geometric lines, floral motifs, or abstract textures that add depth
- Headlines or key text - draws the reader's eye to your most important message
- Borders and frames - creates a premium, finished feel around your design
4OVER4.COM offers raised spot UV on business cards, greeting cards, and hangtags. The effect pairs especially well with heavier card stocks where the tactile contrast is most noticeable.
Setting Up Your Files for Spot UV - The Technical Side
Creating a Spot UV Mask Layer
Your printer needs to know exactly where to apply the UV coating. You tell them with a separate layer in your design file, usually called the "UV mask" or "spot UV layer." Here's how it works:
- Design your piece as normal - colors, images, text, all on your standard layers
- Create a new layer - name it "Spot UV" or "UV Mask"
- Fill your UV areas with solid black (100% K) - anywhere you place black on this layer gets the glossy coating
- Leave everything else empty - white or transparent areas on the mask layer receive no coating
- Export as a separate file or labeled layer - depending on your printer's requirements
The black shapes on your mask layer should align perfectly with the elements in your design. If your logo is 2 inches wide on the design layer, the black shape representing it on the UV layer should be exactly 2 inches wide in exactly the same position. Even a fraction of a millimeter off can create visible misalignment on the final piece.
Need a starting point? Download ready-to-use files from 4OVER4.COM's Blank Templates page. These templates include proper bleed, trim, and safe zones already set up.
Blank Templates

File Format and Resolution Requirements
Your spot UV mask should be a vector file whenever possible. Vector shapes produce clean, sharp edges on the coating. If you're using raster elements (like a photographic texture for the UV area), make sure they're at least 300 DPI at final print size.
Submit files as PDF, AI, or EPS. Keep your UV layer separate from your print layers. And double-check that your UV elements don't extend past the trim line unless you specifically want the coating to wrap around the edge.
Where Spot UV Makes the Biggest Impact
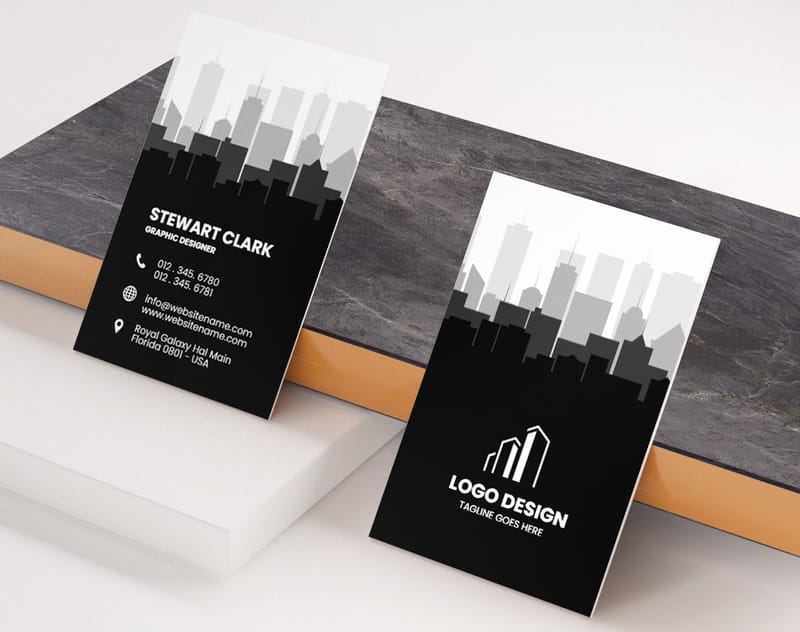
Business Cards That Don't Get Thrown Away
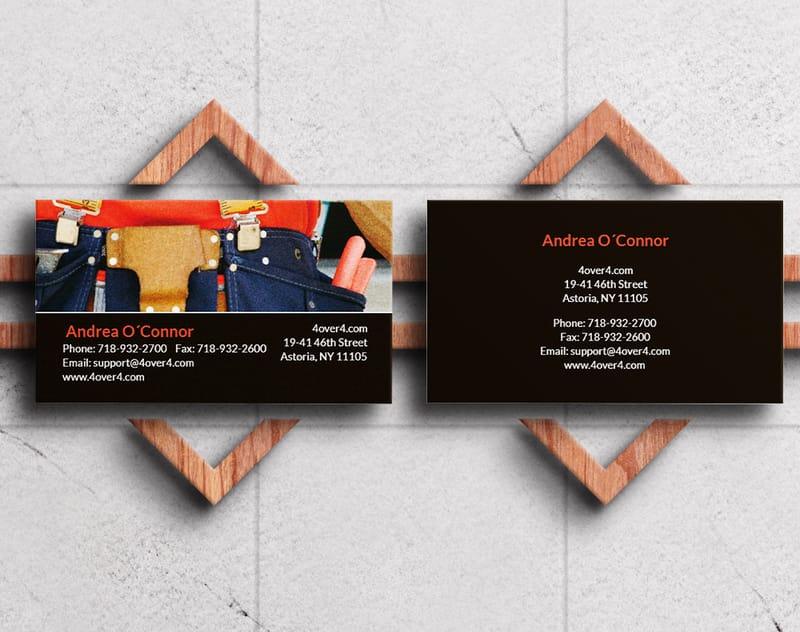
A matte business card with a spot UV logo creates an instant perception of quality. The person receiving it feels the glossy texture and subconsciously associates your brand with attention to detail. Real estate agents, salon owners, startup founders - anyone handing out cards at events benefits from this finish.
"I run a small bakery and ordered spot UV business cards with our cupcake logo glossed up. Customers at the farmers market always comment on how nice they feel. It's a small detail that makes a big difference."
- Maria K., ★★★★★
If you're creating other marketing materials alongside your cards, check out guides on How To Make Flyers and How To Fold A Brochure for a cohesive brand look across all your print pieces.
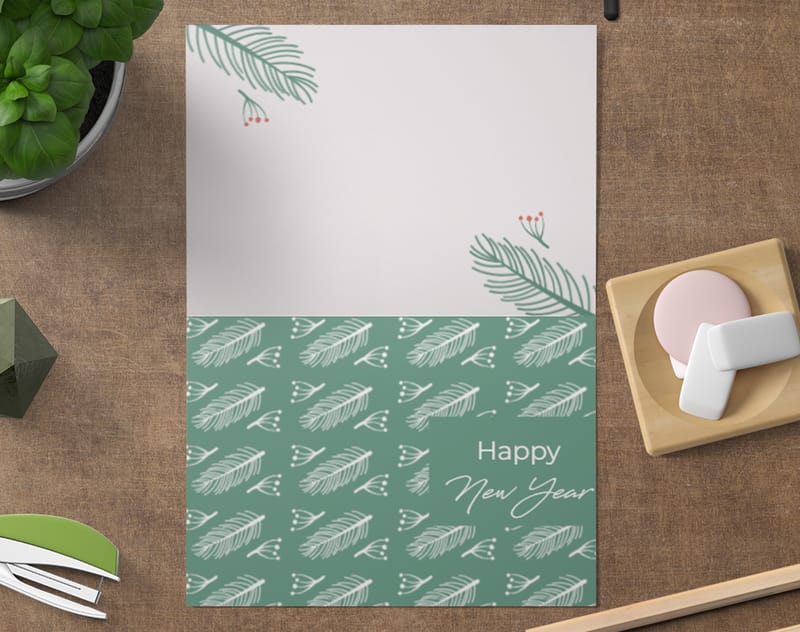
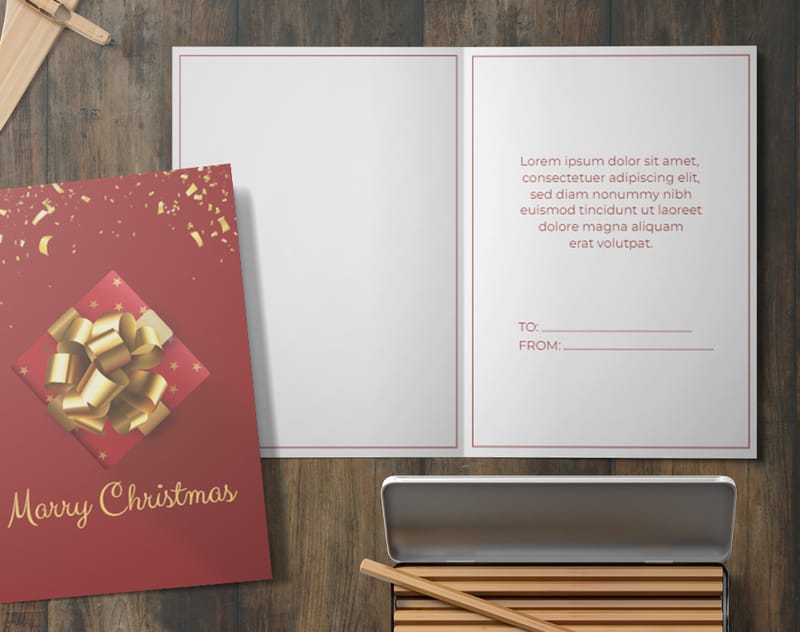
Greeting Cards and Invitations
Spot UV on greeting cards adds a luxury feel without luxury pricing. Wedding invitations with a raised spot UV monogram. Holiday cards with glossy snowflake patterns. Thank-you cards where the recipient's name shines. These small touches make printed cards feel personal and worth keeping.
Free Design Templates:
Hangtags and Packaging
Retail hangtags with spot UV branding look more expensive than they are. Clothing brands, jewelry makers, and artisan product companies use this technique to signal quality before a customer even touches the product itself. The glossy logo on a matte tag says "premium" without adding big cost per unit.

Promotional Materials and Beyond
Spot UV isn't limited to small-format pieces. Brochure covers, folder fronts, postcards, and booklet covers all benefit from selective gloss. The technique works on any flat printed surface where you want to create visual hierarchy and tactile interest. For other creative print ideas, explore guides on Custom Magnets Faq and How To Make Envelopes.
Choosing the Right Paper Stock for Spot UV
Why Matte Bases Work Best
Spot UV creates contrast. Contrast needs a matte or uncoated surface to work against. If you apply spot UV to a glossy base, the effect is barely visible - gloss on gloss just doesn't pop. A matte laminate or soft-touch matte base gives the UV coating something to contrast with, making the glossy areas jump off the surface.
Soft-touch matte is the most popular pairing. The velvety, almost suede-like feel of soft-touch lamination makes the glossy UV areas feel even more dramatic by comparison. It's like the difference between a whisper and a shout.
Paper Weight Matters
Heavier stocks - 16pt, 32pt - hold spot UV better and feel more big in hand. A thin 10pt card with spot UV still looks good, but you lose some of the premium tactile experience. If you're investing in a specialty finish, pair it with a stock that matches the quality level. For ideas on pairing print techniques with other projects, the guide on How To Clean Rubber Stamps covers care for another popular customization tool.
Here are some design templates to help you get started with spot UV layouts.
Spot UV Pitfalls That Waste Your Money
Getting spot UV printing explained is one thing. Avoiding the common file mistakes is another. Here are the errors 4OVER4.COM's prepress team catches most often:
- Using spot UV on a glossy base - The coating disappears against a shiny surface. Always use a matte or soft-touch matte laminate as your base.
- Misaligned UV mask layers - If your mask file doesn't match your design file exactly, the gloss lands in the wrong spot. Check alignment at 400% zoom before submitting.
- Too-small UV elements - Fine text under 8pt or hairline details under 0.5pt don't hold UV coating cleanly. Keep spot UV elements bold enough to register clearly.
- Covering too much area - If you coat 80% of the surface, you've basically done a full UV coating. Spot UV works best when it covers 20-40% of the design, creating real contrast.
- Forgetting to order a proof - Spot UV is hard to visualize on screen. 4OVER4.COM offers proofs so you can see and feel the finish before committing to a full run.
Best 4OVER4.COM Products for Spot UV Finishes
Ready to put spot UV printing into action? 4OVER4.COM carries dedicated spot UV products across multiple categories. Whether you need business cards that demand a second look or hangtags that signal premium quality, there's a product built for it. For a completely different tactile experience, 30Mil Clear Plastic Cards offer a transparent, modern alternative worth exploring alongside your spot UV pieces.
Below you'll find 4OVER4.COM's top spot UV products, current pricing, detailed specs, and verified customer reviews.
Free Design Templates
Ink Color
Spot UV
Scoring
Matching Blank Envelopes
Proof Options
Your Spot UV Printing Questions, Answered
What exactly is spot UV printing?
Spot UV printing is a finishing technique that applies a clear, glossy coating to specific areas of a printed piece. The coating is cured instantly under ultraviolet light, creating a shiny, slightly raised surface that contrasts with the matte areas around it. It's a design accent, not a full printing method.
Does spot UV work on any paper stock?
Technically yes, but it looks best on matte or soft-touch matte surfaces. Applying spot UV to a glossy base produces almost no visible contrast. For the strongest effect, pair spot UV with a matte laminate on 16pt or heavier stock.
How do I set up my file for spot UV printing?
Create a separate layer in your design file called "Spot UV" or "UV Mask." Fill the areas you want coated with solid black (100% K). Leave everything else transparent. This mask layer tells the printer exactly where to apply the UV varnish. You can also generate a scannable code with the QR Code Generator and add spot UV to it for a polished look.
What's the difference between spot UV and raised spot UV?
Standard spot UV sits nearly flush with the surface, adding gloss without much texture. Raised spot UV applies thicker layers of varnish, creating a noticeable 3D texture you can feel with your fingertip. Raised spot UV is ideal for logos, monograms, and decorative patterns where tactile impact matters.
Can I use spot UV on text?
Yes, but keep text at 8pt or larger. Smaller type and thin serifs don't hold UV coating cleanly, which can result in blurry or uneven gloss. Bold sans-serif fonts and headline-size text produce the crispest results.
How much does spot UV printing cost compared to standard printing?
Spot UV adds a modest premium over standard matte or gloss finishes, typically a small upcharge per unit. The exact cost depends on the product, quantity, and how much surface area the UV covers. 4OVER4.COM's pricing pages show exact costs for each spot UV product before you order.
"Ordered Raised Spot UV Hangtags for my handmade candle line. The glossy logo on matte black looks incredible, and customers always ask about the tags. Worth every penny for the brand perception upgrade."
- Tanya R., ★★★★★